Last week I was visiting one of my favorite blogs, TidyMom. (It truly is a place for everything! ; ) Cheryl over there was sharing a recipe for her Homemade Peanut Butter Eggs. Ohhhh, how I wanted one! In fact, I have been missing Reese’s Peanut Butter Cups, and the Reese’s PB Eggs that come out every Easter, for years now! But peanut and peanut butter anything has been removed from our life, since we discovered our son has a severe, life threatening allergy to it. It was a hard pill to swallow, for this life-long-die-hard-peanut-butter-lover. But Sunbutter has helped me survive. And anyway, I love my son way more, and keeping him has been worth the sacrifice! Sunbutter can be found in the organic section of most grocery stores. We love it so much, we order it online by the case, and also because it is cheaper that way.
Now, as anyone with a peanut-allergy child knows, Easter and Halloween especially, can be quite the challenge, when it comes to finding a few treats and candy for our kids! This is because so much of anything with chocolate, has a real risky potential to be contaminated with peanuts, within the factory manufacturing. And most packaging even says so.
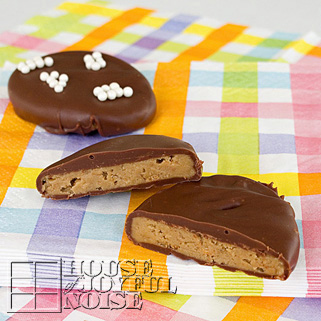
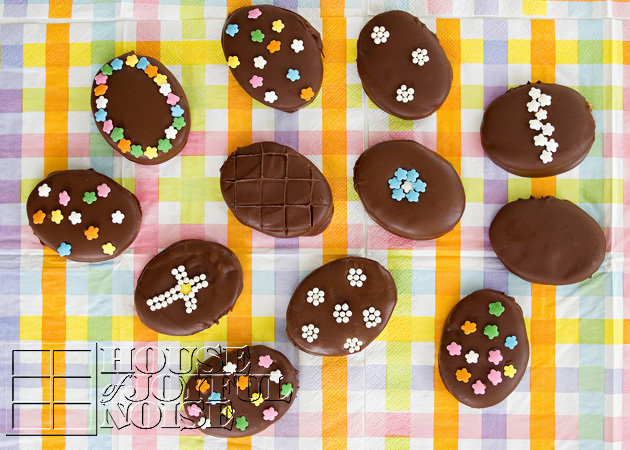
That being said, I have wondered right along, how well any recipe that calls for peanut butter, could be substituted with Sunbutter! When I saw TidyMom’s Homemade Peanut Butter Eggs, I knew it was time to find out! And guess what? It was a delectable success! Sunbutter tastes very similar to peanut butter, to us, and these eggs bring all of the joy to our mouths, that Reese’s Peanut Butter Cups/Eggs ever did. This is how they came out lookin’!…..
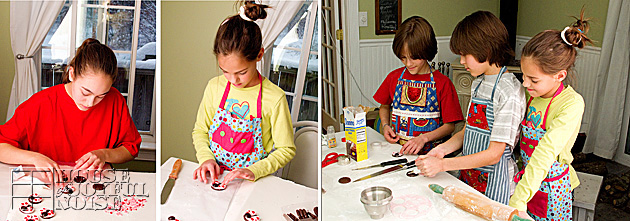
 So, I thought I’d share how we did it with you all. Now, if peanut allergies are not an issue for your family, and you’d like to make your own peanut butter eggs, you are welcome to follow (Cheryl’s) TidyMom’s Recipe. If you’d like to try the Sunbutter version, you can follow ours right here. Our recipe using Sunbutter here, was experimental, but we were just switching out the peanut butter from Cheryl’s recipe. (I did make one little tweak I’ll mention.) I got a little help from my husband, because I needed to take photos too. But we might have done some things a tad differently, just trying to find to make it work for us. It did get messy as Cheryl said it does, but like any project, once we get going and figure things out, we find our groove.
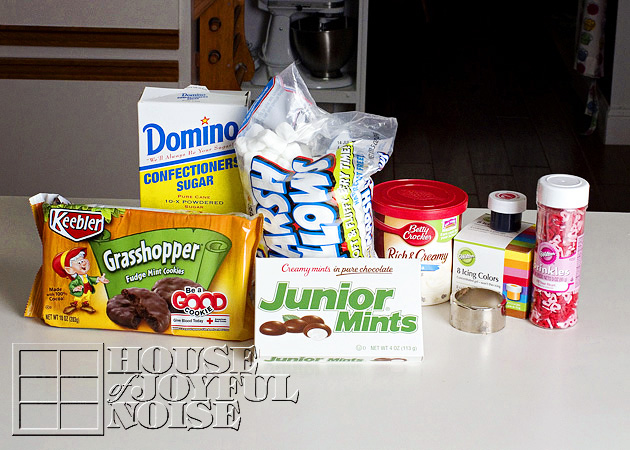
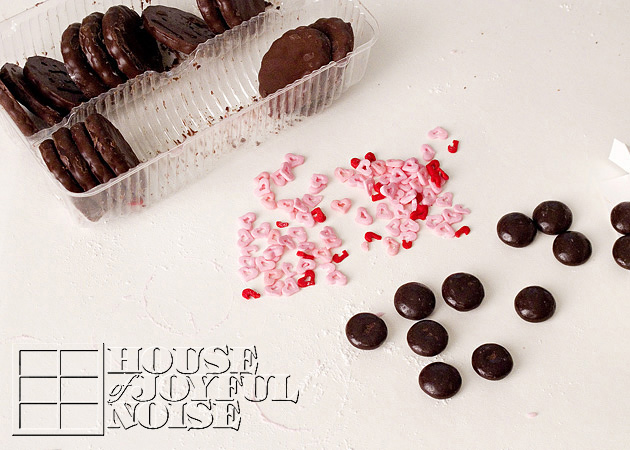
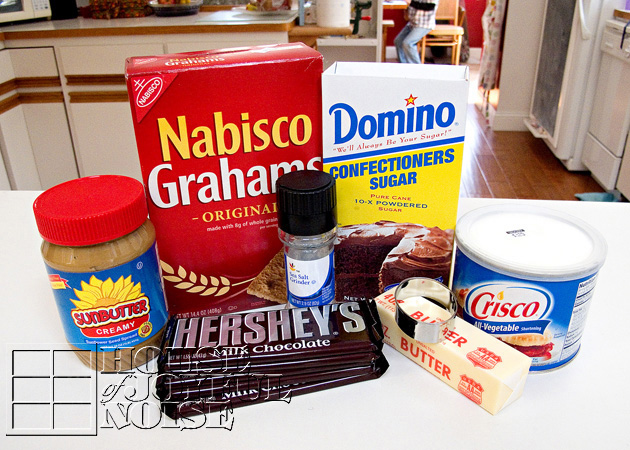 Participating Ingredients:
- 1 1/4 cup of Sunbutter
- 5 Tablespoons unsalted butter, softened
- *1 Cup graham cracker crumbs
(*-Cheryl’s recipe calls for 3/4 cups, but the Sunbutter seemed so sticky, we added a little more.)
- 1 Cup powdered sugar
- 1/2 Teaspoon Sea Salt
**14 ounces of chocolate (milk, semi-sweet or chocolate)
(**-We used the flat Hershey bars with the squares to break, and they worked perfectly! The ones with the squares are peanut-safe!)
- 1 Tablespoon shortening
- an appropriately sized egg-shaped cookie cutter–
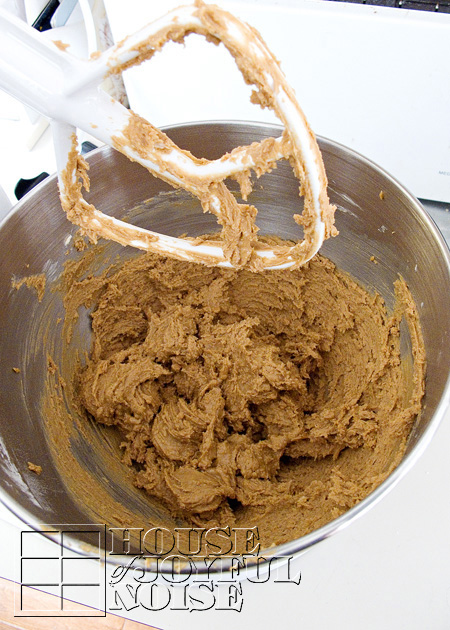
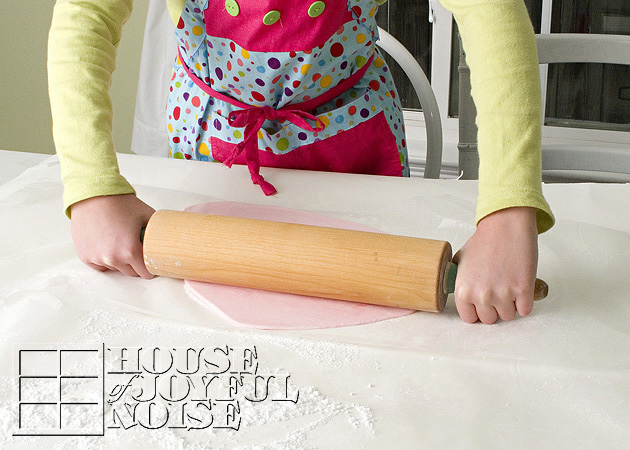
In a large bowl mix together peanut butter, butter, graham cracker crumbs, powdered sugar and salt until well combined. We used our Kitchen Aid, stopping it once and using a spatula scraper to get it all to the middle and off of the attachment. It was while mixing that we decided to add that extra 1/4 cup of graham cracker crumbs, for a total of 1 cup, to make it a little less sticky.
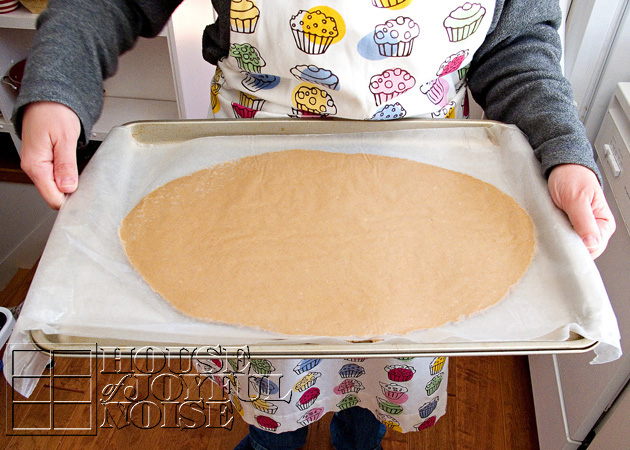
Next, put the whole (Kitchen Aid) bowl into the freezer for a few minutes, to get it easier to work with. Then we plopped the whole mix on a big piece of wax paper, covered it with another piece, and rolled it out. Then we placed the whole rolled out dough between the wax sheets, on a cookie sheet.
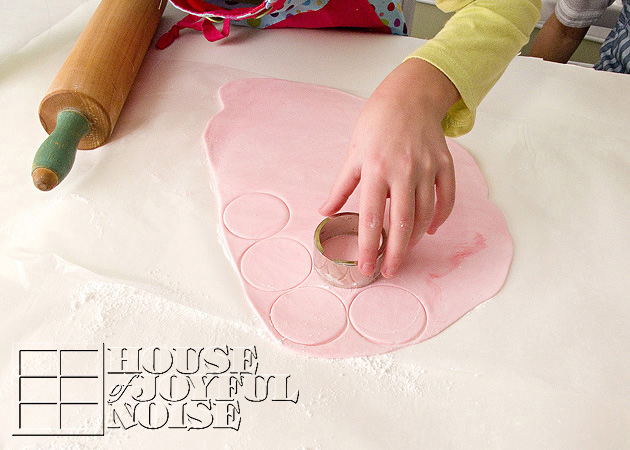
 We then placed the whole cookie sheet back into the freezer, to help really firm it up. We left it in for maybe 15 minutes.
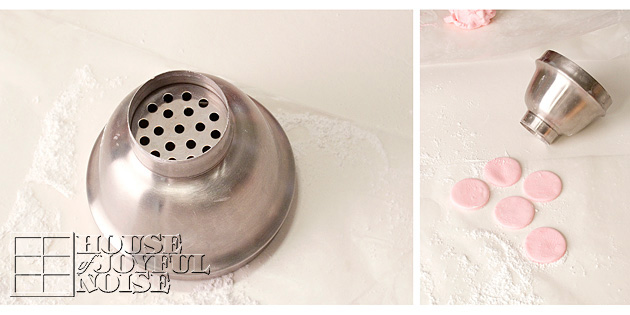
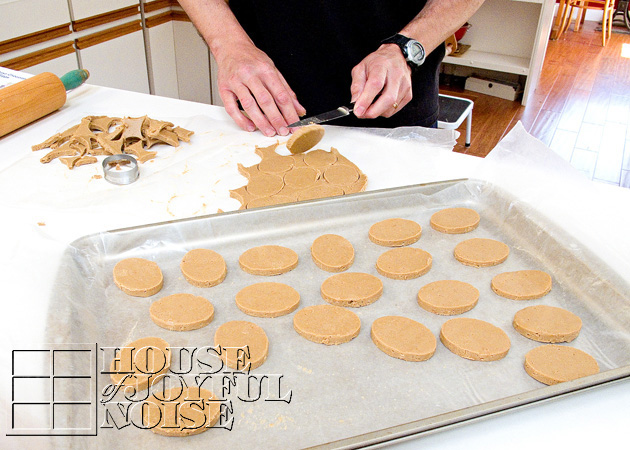 After removing the tray from the freezer, we put the wax papered dough onto the counter, peeled off the top sheet, and got cutting with our little egg cutter, right away. It’s important to work quickly, because the dough softens quickly, depending on how warm it is where you are working. We rubbed just a dab of shortening all over the cutter, and because the dough was really firm from the cold, and the eggs cut out really nicely. We placed them on another cookie sheet lined with a fresh sheet of wax paper.
Again (not shown), we put the cut eggs back into the freezer to firm up once again.
Meanwhile, we broke up all of the Hershey chocolate bars into a bowl with a tablespoon of shortening, and melted it. Using the microwave, put the bowl in on high for 20 seconds to start. Remove, and stir with the handle of a wooden spoon. It’ll still be chunky at this point. Put in for another 10 seconds, and another 10, always stirring in between intervals, until the chocolate is all smooth.
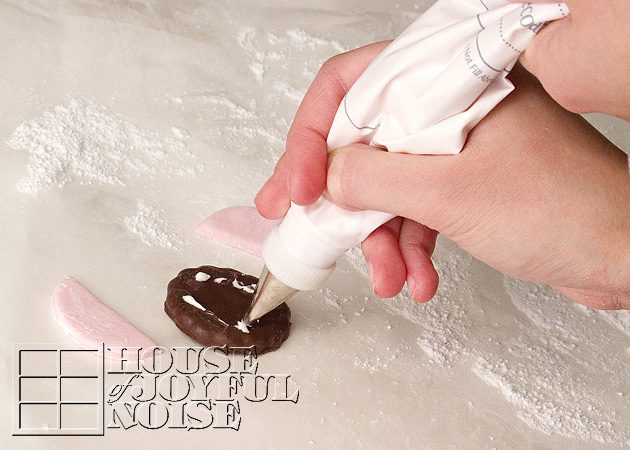
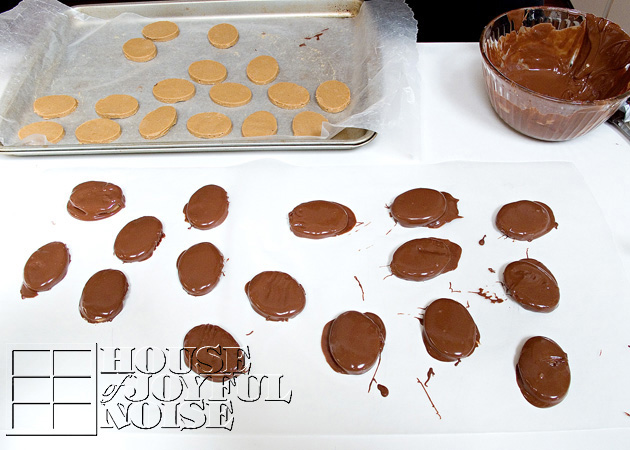
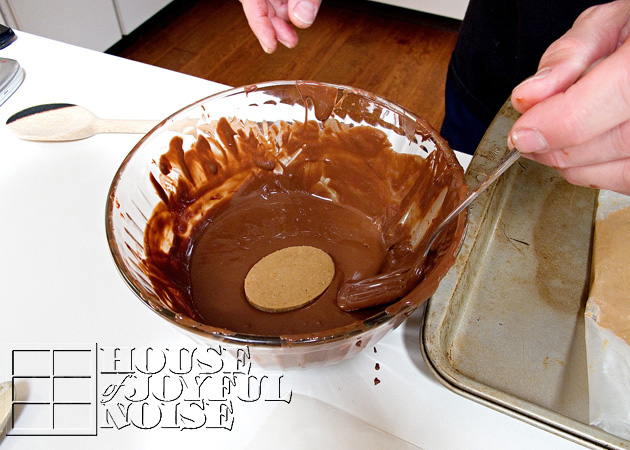 By the time the chocolate is melted nicely, the eggs should be nice and cold. So remove the tray, have another freshly lined tray ready, and get dipping! Now remember, the chocolate is pretty warm, and you want your eggs to stay as firm as possible, so you need to get that egg in and out of the bowl quickly! We just let them belly-flop in one at a time, flipped it over and lifted it out with a fork, as seen in the next photo as well.
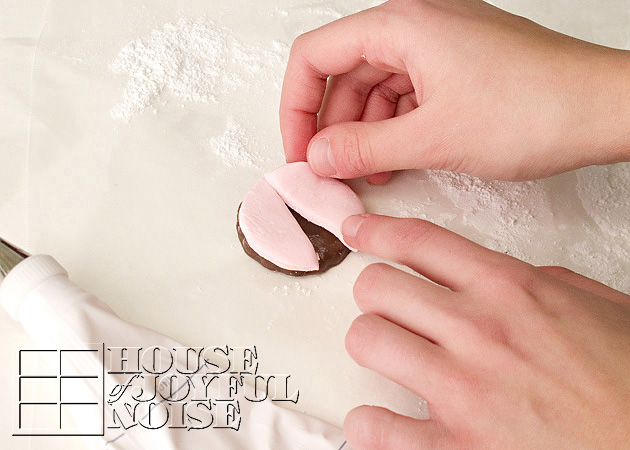
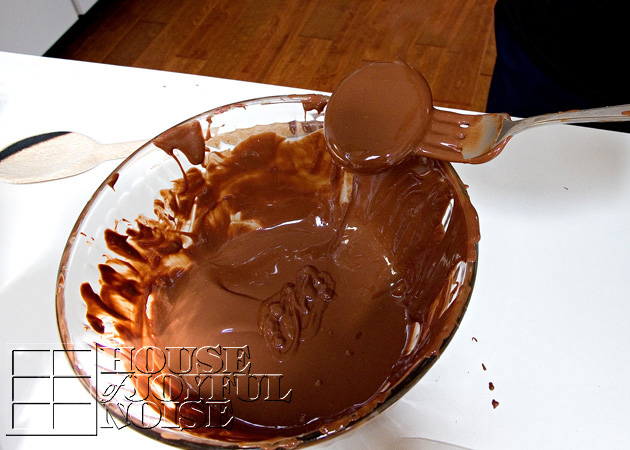 Just tap the fork on the side of the bowl to remove the excess dripping chocolate off as best as you can, and then gently let the chocolate covered egg onto the cookie sheet.
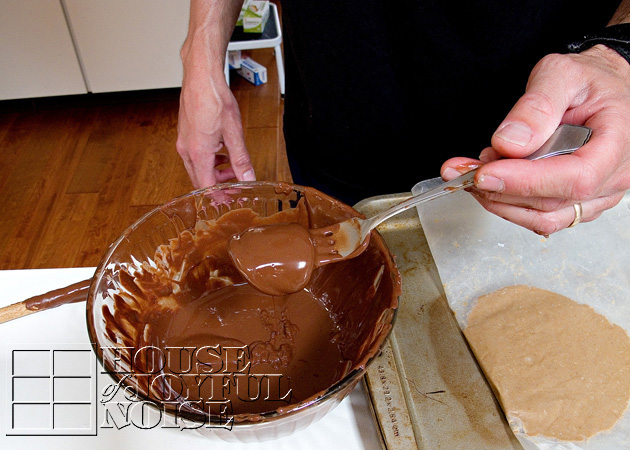 This photo is just to show you what happens if you don’t get the egg out of the bowl fast enough. It goes soft very quickly. If at any point you think your un-dunked eggs are getting too soft work with, it never hurts to pop them back in the freezer, again and again.
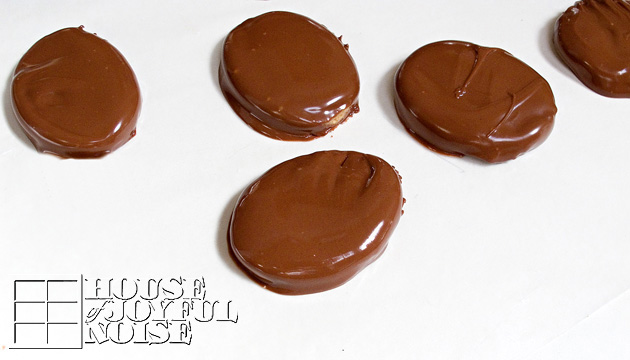
 As you can see here, putting them down without making them a mess, is not easy! We felt like we were really making a mess of things, and wondered if we would even have something to be proud of or be worth sharing when finished, but we did! Just like craft projects and the like, when you keep going, you get better at it and quickly find what works better. And we did get much better at it as we went along……
 Some we placed on wax paper directly on the counter for the time being…
...and other went on a lined cookie sheet.
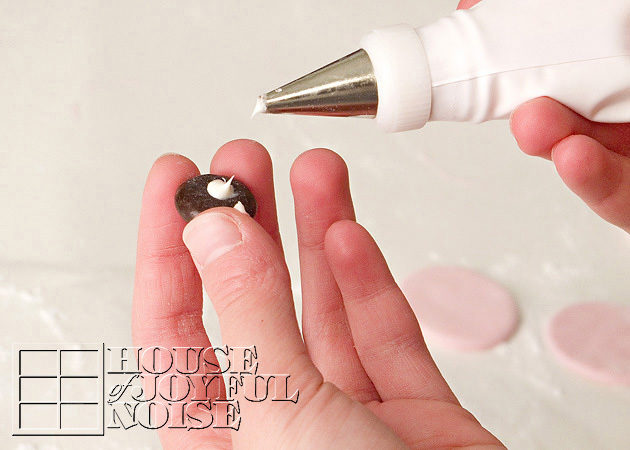
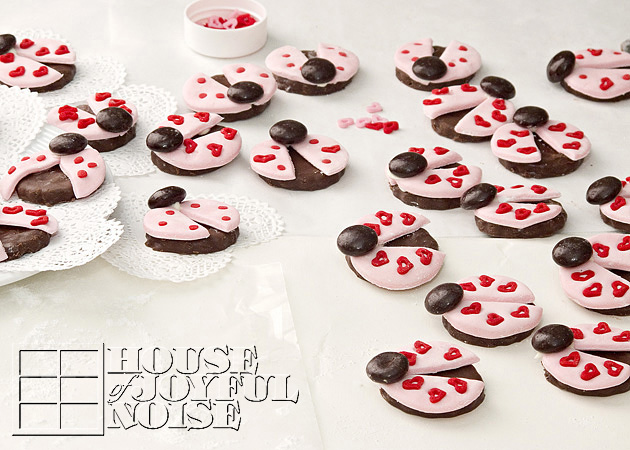
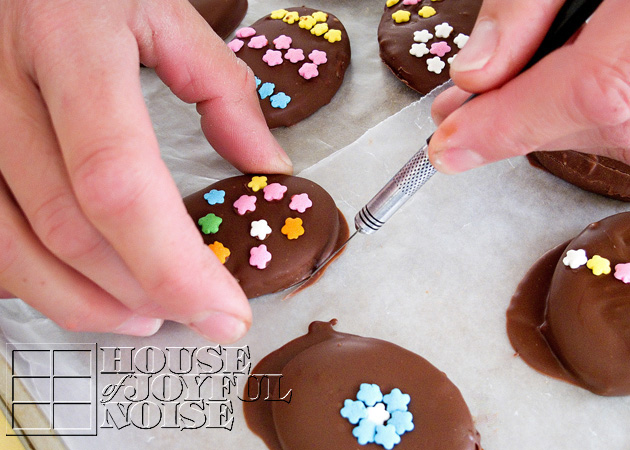
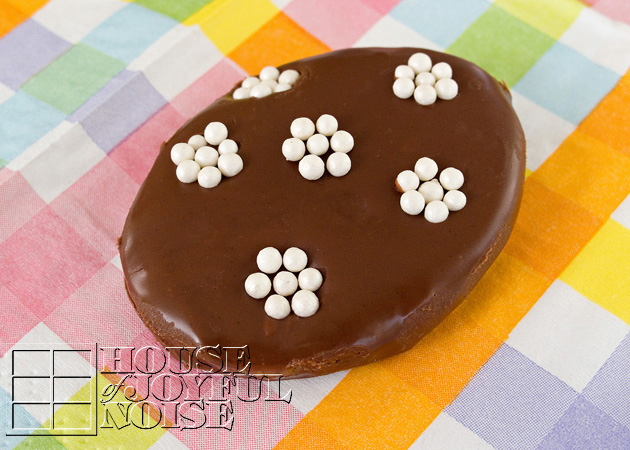
Once they were all dipped, the first one’s chocolate was firming up enough, that we could decorate them a little. We just used various sprinkles for some. My oldest daughter is great at decorating. Such patience! So she was in on the helping there.
After we were done decorating them, once again, we wanted to chill them again. There was one more thing we wanted to do to ours, before taking some photos of them…..
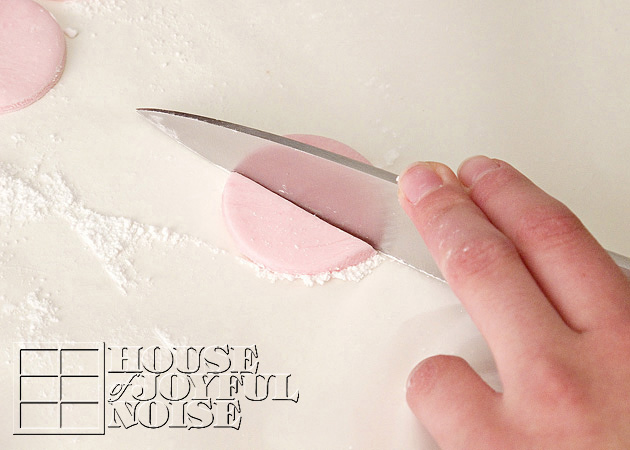
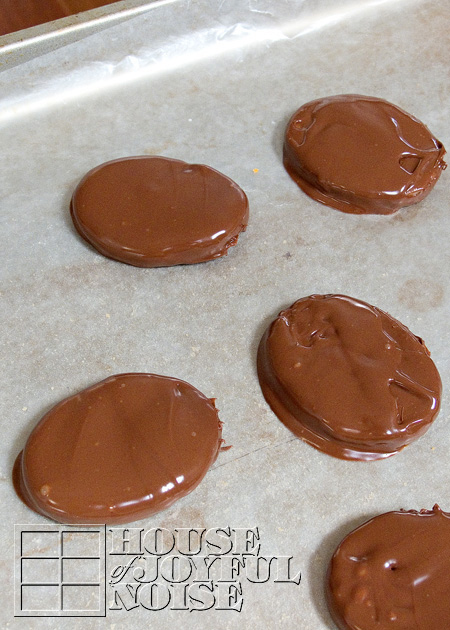
 If you like to try and perfect anything you can, when you can (raising my hand..), we figured out a way to clean our egg’s edges up a little bit….
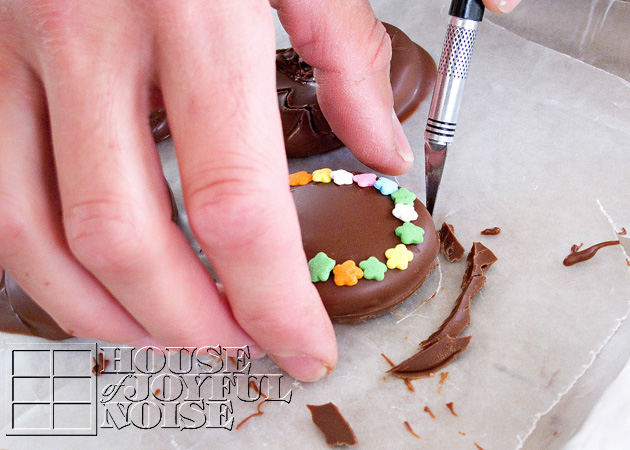 Using a clean x-acto blade, just trim off the excess chocolate that dripped down and spread when placing the eggs down.
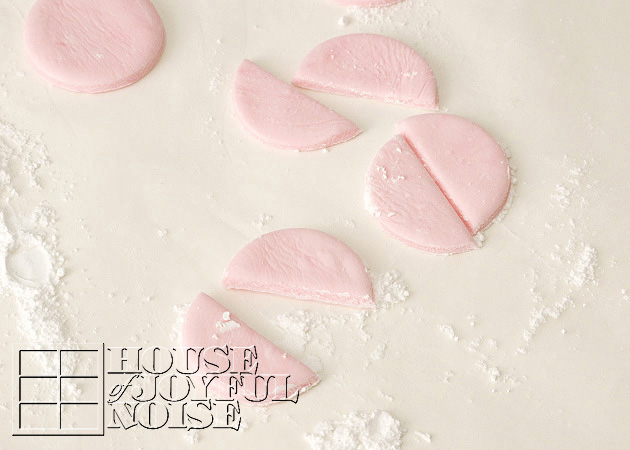
We didn’t do it to every single one. Just the ones that really needed it.
These are just some. Some of the eggs we left as plain chocolate, and others we kind of drew in with a toothpick when the chocolate was just firming up. Do you see the criss-cross one? That one I used a french-fry cutter plate. Just placed it down, and lifted! Look around your utensil and kitchen tools drawers, and see what you can find to use, to make some neat designs!
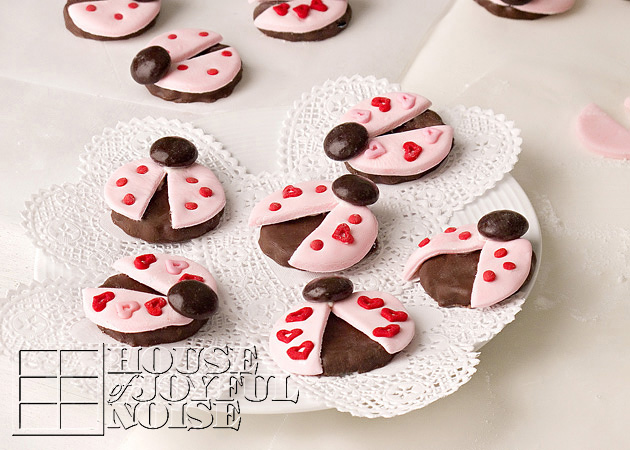
We were really happy with how well they came out. Cute!
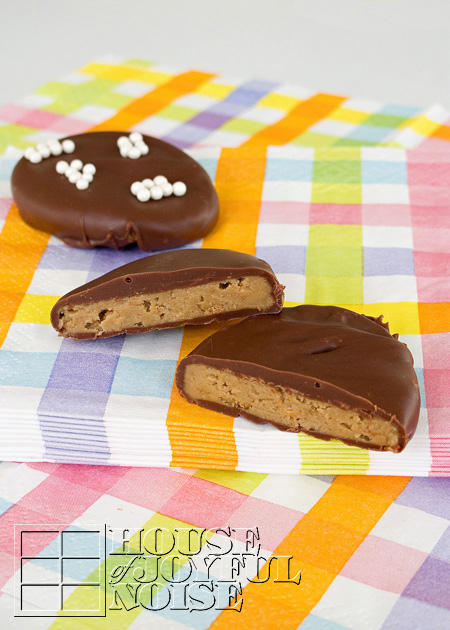
…and OH-SO-GOOD!
The salty-sweet melty party in your mouth is just divine! What I really love about them too, is the little crispy-crunch surprises, from the graham cracker!
We have all already had some of these of course, and we’ll be enjoying and sharing the rest, right through Easter Day! We’re also encouraged and inspired, to try more peanut butter recipes that we can substitute Sunbutter with! One thing is for sure; we’ll be making these again with other holiday shapes and decorations! They are SO worth the mess. (Especially when your husband cleans it up for you. ; )
Special thanks to TidyMom/Cheryl, for the inspiration, and allowing us to adapt your recipe!
—–
Love it? PIN it, or share it! And come join us on FACEBOOK! We’d love to have you.
If you’d like to print this recipe, just cut & paste the whole thing to a document, and delete any photos or paragraphs you don’t need before printing.