• HOME
  • {A}’s Chipmunk Training Archives

 Homepage

  • The Homestead
    • Home Projects
    • Home Improvement
    • Home Decor
      • Seasonal Home decor
        • FALL Home Decor
        • WINTER Home Decor
        • SPRING Crafts and Creations
        • SUMMER Crafts and Creations
    • Our Chickens
    • Gardening
    • Organization
    • Re-Purposing
    • Furniture Refinishing
    • Budget
  • Crafts & Creations
    • Seasonal Home decor
      • FALL Crafts and Creations
      • WINTER Crafts and Creations
      • SPRING Crafts and Creations
      • SUMMER Crafts and Creations
    • DIY (Do-It-Yourself) Project
    • Kids Arts and Crafts
    • Homemade/Handmade Gift Ideas
    • Holiday Crafts
    • Fan Pulls
    • Free Printable/Downloadable
    • Sewing Projects
    • Giveaways
    • Business Features
  • Recipes/FoodFun
    • Breakfast
    • Lunch
    • Main Dish
    • Sandwiches
    • Appetizers
    • Slow Cooker
    • On The Grill
    • Side Dishes
      • Soups
      • Salads
    • Baking
      • Breads, Rolls and Muffins
    • Snacks
    • Treats
    • Desserts
    • Drinks
  • Homeschooling
    • Elementary Homeschooling
      • Elementary Homeschooling READING
      • Elementary Homeschooling MATH
      • Elementary Homeschooling LANGUAGE ARTS
      • Elementary Homeschooling SCIENCE
      • Elementary Homeschooling HOME ECONOMICS
      • Kids Arts and Crafts
    • Middle School Homeschooling
      • Middle School Homeschooling SCIENCE
      • Middle School Homeschooling HOME ECONOMICS
    • Language Arts
    • Math
    • History / Social Studies
    • Geography
    • Foreign Language
    • Field Trips
    • Games
    • Nature Study
  • The Big Picture
    • Life In General
    • Celebrations
    • Faith
      • Into the Light; The Series
    • Giveaways
    • Reviews & Sponsors
  • Photography & Lettering
    • Photography
    • truck lettering
    • vehicle graphics
    • Newborns
    • Kids
    • Engagement
    • High School Senior Pictures
    • High School Senior Pictures Sneak Peeks

Simple & Savory Homemade Applesauce (Recipe)

October 13, 2014 By Laura Leave a Comment

With the Fall season, comes apple season!  And we all know there are innumerable wonderful and delicious things, that can be made with apples!
They really are a fruit of so many gifts. But some recipes take a lot more ambition, than others!
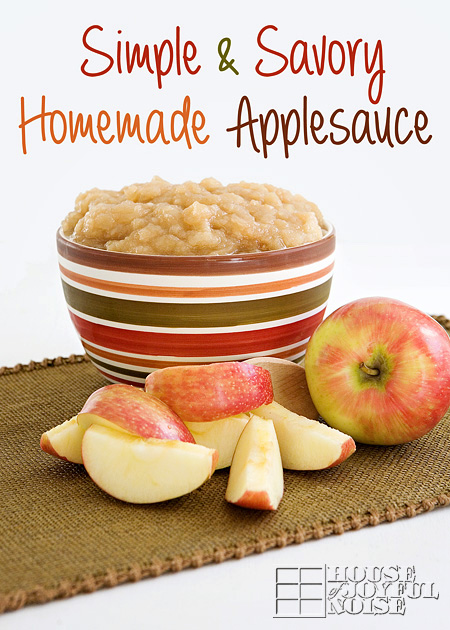
If you just want to enjoy the simplicity and goodness of apples, while still having a great celebration happening in your mouth, than this applesauce recipe is for you!
Applesauce is also a versatile food, that can be used in so many different ways. We’ll talk about there here, too.


  • 4-6 pounds Apples, Peeled, Cored, And Cut Into 8 Slices
  • 1 cup Water
  • Juice Of 1 Lemon (or 6 shakes of Lemon Essential Oil)
  • 1/2 cup Brown Sugar, Packed
  • 1 teaspoon Cinnamon or Cassia, More Or Less To Taste

(*Optional Ingredients: Nutmeg, Maple Syrup, Allspice, Butter)

It’s This Simple:

1. First, we always recommend you begin with washed, organic apples, if possible.
What kind of apples? That’s up to you! But varieties of the sweet and soft kind, are best when making applesauce. In this recipe, we used all McIntosh apples, and so can attest to the goodness of an applesauce made with that variety!  But other varieties you may want to consider, that we have heard are very good also, are Galas or Fujis.
For us, we’ll use whatever organic soft and sweet apples that we can find available at the store, Farmer’s Market, or orchard.

2. Wash, peel, and core your apples.  You’ll want to cut them into 8 pieces generally the same size, so if you have one of those round apple slicers, then this simple recipe, just got even simpler, for you.

3. Combine *all ingredients in a large pot and cook over medium heat, stirring occasionally, for 25 minutes.

* NOTE: Let’s talk about all ingredients for a second, and what we use:

– We did not use any of the ‘optional ingredients’, but you are free to make it to your own taste!
– We used Cassia (fresh and fine ground), because we had that, and did not have cinnamon.
– Also, instead of squeezing a fresh lemon, I  just did about 6 bottle shakes of our Lemon Essential Oil!  (It may have been the secret ingredient, that made this recipe such a hit!)

On to the cooking…..

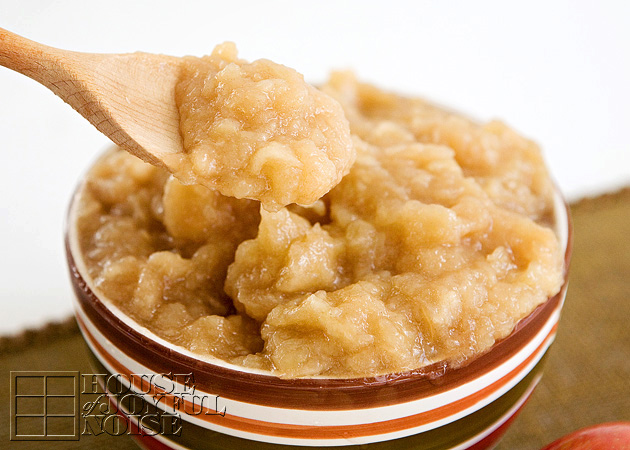
4. We just let it cook down, as we stir it now and then, and don’t try to break up the big pieces. We love it chunky! But if you prefer your applesauce pureed, you can do that in a food processor or blender once it’s done cooking, to your preferred texture or consistency, in suitable size batches for your appliance.

OHHH, the Many Uses for Applesauce!

Store in the fridge and serve alone as a breakfast side, or an afternoon snack!
Or, warm and ladle over your pork chops, or on the side with your ham, cold over ice cream, or a instead of syrup over pancakes or waffles. You can even use it as delectable surprise filling in your baked goods! Also, did you know that pureed applesauce can be used as a substitute for any baked good recipe that calls for vegetable oil? That’s a less fattening option, that’s much healthier for you.


It’s This Savory:
One first bite, and my husband, Michael, was love-ing-it!  He was like…”Honey, is there lemon in this?!”.  He loves lemon anything! He was clearly really enjoying it. I told him I used our lemon oil, instead of the fresh lemon, and he was so impressed! He also loved it chunky. Everyone does!
As my family stated, “This is way better than the boring applesauce from the store.”  I sure agree.

So there you have it! Fresh, homemade applesauce.
It couldn’t be simpler to make yourself. ENJOY!
——
**P.S.  If you’d like to get some lemon essential oil, or any other oils for yourself, you can email me and I’ll point you to where: TheRichardHome@aol.com .


Save

Filed Under: Desserts, Recipes, Snacks, Treats Tagged With: apple-recipes, applesauce, fruit-recipes, fruit-sauce-recipes, healthy snacks, healthy-treats, homemade-applesauce, lemon-essential-oil-recipes, recipes

Granola Goodness | Recipe

February 1, 2012 By Laura Leave a Comment

granola-recipe-1

We love granola around here!  It’s such a good and wholesome snack, handful after handful, with CrUnCh!  (Oh, how I love crunch.)  It’s really a great way to start your day off right too, in the morning!  Throw some in a bowl with a few splashes of cold milk, or load it on top of a serving of yogurt!

Unfortunately, it’s next to impossible to find ‘peanut-safe’ granola at the markets.  Added to the allergies now, is cashews and pistachios. Even small amounts of granola are kind of pricey to buy, ready-made, anyway.  So, if we want granola (and we do!), it’s up to us to make it homemade.  But we don’t mind, because it’s easy and fun to make, and we can make BIG batches.

granola-recipe We have posted another granola recipe here on the blog before, and that one can be found here.  There is so many ways to make granola! Experimenting with different ingredients, is half the fun and surprise!  Here is the granola recipe we’ve been crunching on this week!

Granola Goodness

(Note: All C.(cup) measurements are heaping – not level.)

  • 4C rolled oats
  • 1 1/2 C shredded unsweetened coconut
  • 1 C wheat germ
  • 1/2 C natural bran (We used Fiber One cereal.)
  • 2 C raisins
  • 1/2 C cooking oil
  • 1/2 C honey
  • 1/2 tsp. vanilla

(*Chopped nuts optional. We have a kiddo allergic.)

Preheat oven to 350 degrees. Combine dry ingredients in a large bowl.  In a small saucepan, combine oil and honey.  Stir over low heat until the honey is melted and it’s warm and blended with the oil enough. (About 5 minutes.)  Stir in vanilla.  Pour oil mixture over dry ingredients, little by little, mixing to blend well.  Spread mixture on two cookie sheets, and bake for for 15-20 minutes until lightly browned, stirring and flipping mixture over about half way through time. Let cool completely.  Store in an airtight container.  Makes about 12+ cups!

Granola Goodness
 
Print
Prep time
15 mins
Cook time
15 mins
Total time
30 mins
 
There is nothing like a good granola! Here we are sharing our recipe with you, in hopes you'll enjoy it as much as we do!
: House of Joyful Noise blog
: Snack
Serves: 12 Cups
Ingredients
  • 4C rolled oats
  • 1½ C shredded unsweetened coconut
  • 1 C wheat germ
  • ½ C natural bran (We used Fiber One cereal.)
  • 2 C raisins
  • ½ C cooking oil
  • ½ C honey
  • ½ tsp. vanilla
  • (*Chopped nuts optional. We have a kiddo allergic.)
Instructions
  1. Preheat oven to 350 degrees.
  2. Combine dry ingredients in a large bowl.
  3. In a small saucepan, combine oil and honey.
  4. Stir over low heat until the honey is melted and it's warm and blended with the oil enough. (About 5 minutes.)
  5. Stir in vanilla.
  6. Pour oil mixture over dry ingredients, little by little, mixing to blend well.
  7. Spread mixture on two cookie sheets, and bake for for 15-20 minutes until lightly browned, stirring and flipping mixture over about half way through time.
  8. Let cool completely.
  9. Store in an airtight container. Makes about 12+ cups!
3.4.3177

Filed Under: Baking, Breakfast, Recipes, Snacks, Treats Tagged With: cereal, crunchy-snacks, granola, granola recipe, healthy snacks, home made granola, homemade granola, printable-recipes, recipe

Banana-Fanna-Fo-Fanna…Fe-Fi-Fo-Fanna…Banana.(CHIPS!) | Recipe

February 2, 2011 By Laura 7 Comments

There’s nothing like a snack you can give your kids, and feel good about!
So today, we’re going to show you how to make a simple, healthy and natural snack – Banana Chips!

banana chips recipe

Like most recipes, there are always a few variations or different ways to go about preparing a food.  Banana chips can either be fried, or baked.   We try to opt for the healthy options first.

Making baked banana chips really couldn’t be any simpler.

Get this:

Participating Ingredients:

  • Bananas!

Need I say more?   Maybe.  Some may want to know exactly what to do with them.  But I am willing to bet, this is going to go just about how you think it is.

bananas The main thing you need to make banana chips, is a bunch of bananas.

bananas-1

But really, if you want a bunch of banana chips, you might want to go with two bunches of bananas.  Because they shrink up to nothing, and you may find yourself asking in the end, “That’s all we got?  Seriously?”     Much like mushrooms, or onions…..you start out with a big pile, get cooking them, and wonder where it all went!

banana chips recipe

So, you’ll want to peel and slice the bananas to about 1/8″ thick.  Now…above, is a little thicker than that.   I went thinner after this one.  (And after I already took the photo.)

banana chips recipe

But either way….if you cut them or like them a little thicker, you’ll just bake them a little longer, and I’ll get to that.

banana chips recipe

If it’s gardening season, and you garden, remember…..banana peels are a wonderful organic compost ingredient!  They are a great source of potassium for the soil.  That means excellent nutrients for your producing plants.   When burying peels near your rose bushes, you’re bound to get bigger blooms too!

But right….we were talking about banana chips.

Preheat your oven to ~150 degrees for thinner slices, 200 degrees for thicker.

Then, you can lightly grease your pans, or spray oil on them.

Spread your banana slices on the cookie sheets, not touching.

healthy-banana-chips-recipe-3

Now, if it’s important to you that the banana slices maintain their color for the most part, and don’t turn too brown, you can spray them with lemon juice.

We didn’t care, and I was afraid I would taste the lemon juice.  (Not a lemon fan.)  So….we skipped that.

How long you bake them, depends on how thick you sliced them:

1/8″ : 2-3 hours, turning over every 30 minutes or so.

(The temp is so low, I used a spatula the first time, but used me fingers after that.)

When they are dried out and nice and a little golden brown, they are done.

Thicker than 1/8: Bake an hour, turn over and check if they are dehydrated yet.  If not, put in a little longer.

Really……when they are chippy, they are done.  You can’t do it wrong,  People. (Unless they are still mushy, or burnt. ; ).  After that, just leave them out to harden a little more.   Then put them in a storage container to keep fresh.

banana chips recipe

Ours came out crunchy at first bite, and then a little fun and chewy.

They can be eaten alone, or added to a trail mix.

A couple of other Fun Banana Facts!:

1)   Bananas make you HaPpY!!   They contain the natural chemical found in prozac.

2)  Bananas, eaten raw, do not make me happy. Well, they used to make my mouth happy.  But then I found, they do not make my stomach happy.  After several bouts of excruciating stomach pains, on different occasions, I had always asked myself what I had recently eaten.  The common consumption?  A banana.    I’ve come to the conclusion that my stomach can digest anything under the sun, except raw bananas.  Which is a bummer, because I love them.  So I make myself feel better with, banana chips!….banana bread…..banana muffins…..banana pancakes…..banana-fanna-fo-fanna….you get the idea.

008_

Banana chips (baked)  are a healthy, organic snack for the kiddos too!  So be sure to share!


Save

Save

Filed Under: Recipes, Snacks Tagged With: banana-chips-recipe, banana-snacks, healthy snacks, how-to-make-banana-chips, kids-snacks, snack-ideas

We are wicked happy to have you here! We hope you find much inspiration, help, humor and enjoyment here.


Archives


POPULAR POSTS

* * * * * *

SUBSCRIBE to House of Joyful Noise blog! Every new post, delivered right to your email box!


Privacy Policy

Amazon Affiliates

Never at any additional cost to you, we may earn a small commission for our endorsement, recommendation, testimonial, and/or link to any products from our website. Your purchase through our links helps support our family, while sharing with you the products we authentically use and recommend, for various ideas, and letting you know where you can purchase them. Thank you for your support!

[footer_backtotop]

Copyright © 2026 HouseOfJoyfulNoise.com · Genesis Framework by StudioPress