• HOME
  • {A}’s Chipmunk Training Archives

 Homepage

  • The Homestead
    • Home Projects
    • Home Improvement
    • Home Decor
      • Seasonal Home decor
        • FALL Home Decor
        • WINTER Home Decor
        • SPRING Crafts and Creations
        • SUMMER Crafts and Creations
    • Our Chickens
    • Gardening
    • Organization
    • Re-Purposing
    • Furniture Refinishing
    • Budget
  • Crafts & Creations
    • Seasonal Home decor
      • FALL Crafts and Creations
      • WINTER Crafts and Creations
      • SPRING Crafts and Creations
      • SUMMER Crafts and Creations
    • DIY (Do-It-Yourself) Project
    • Kids Arts and Crafts
    • Homemade/Handmade Gift Ideas
    • Holiday Crafts
    • Fan Pulls
    • Free Printable/Downloadable
    • Sewing Projects
    • Giveaways
    • Business Features
  • Recipes/FoodFun
    • Breakfast
    • Lunch
    • Main Dish
    • Sandwiches
    • Appetizers
    • Slow Cooker
    • On The Grill
    • Side Dishes
      • Soups
      • Salads
    • Baking
      • Breads, Rolls and Muffins
    • Snacks
    • Treats
    • Desserts
    • Drinks
  • Homeschooling
    • Elementary Homeschooling
      • Elementary Homeschooling READING
      • Elementary Homeschooling MATH
      • Elementary Homeschooling LANGUAGE ARTS
      • Elementary Homeschooling SCIENCE
      • Elementary Homeschooling HOME ECONOMICS
      • Kids Arts and Crafts
    • Middle School Homeschooling
      • Middle School Homeschooling SCIENCE
      • Middle School Homeschooling HOME ECONOMICS
    • Language Arts
    • Math
    • History / Social Studies
    • Geography
    • Foreign Language
    • Field Trips
    • Games
    • Nature Study
  • The Big Picture
    • Life In General
    • Celebrations
    • Faith
      • Into the Light; The Series
    • Giveaways
    • Reviews & Sponsors
  • Photography & Lettering
    • Photography
    • truck lettering
    • vehicle graphics
    • Newborns
    • Kids
    • Engagement
    • High School Senior Pictures
    • High School Senior Pictures Sneak Peeks

Part II: A Day of Celebration Fun! | Our Triplets’ 10th Birthday

September 10, 2012 By Laura 1 Comment

triplets-10th-birthday-beach-10

 I told you Part II was coming!  There could be a Part III but, I can let it go. It was a big day though, and I took a lot of photos of so many special moments. (If you missed it, you can find Part I here.) But listen, here’s the truth of it all:  You know I (we) love to share with you our crafting ideas, house projects, decor, recipes, and all of that. But our kids . . . . . . They are our greatest creation of all! Well, God’s creation, of course, of ours. They are the reason we celebrate, every day. And they really love to see and read the posts on our blog!  Especially the ones about them. It’s their childhood memories recorded, for them to hold onto. So if you want to skip it, we won’t hold it against you.  : )

So, after their big water balloon fight at the park, we came straight to the beach for just a couple of hours, before dinner and their birthday surprise.  Of course they had already been in the sun for some time, so birthdays or not, it was time for sunscreen! Confession time:  Over the past 15 years of raising my 4 kids, I have realized there are only 2 ‘mom jobs’ I have really hated:  1) When they were very little, putting on and tying all of their shoes! Uuu-Gh. 2) And the other is putting sunscreen on them.  (OH!  And the wiping in the bathroom while potty training too! But gosh, that one’s a given. Isn’t it?)  Sometimes, Michael and I can still hear in our heads, the little voices yelling from the bathroom, “I’M DONE!!”

What you should know about me is, when I really hate doing something, I’m going to find a way out of it! So all of the shoes and boots thing got to a point with the triplets where I just announced one day “OK! That’s it. Today, we are going to spend the whole day just learning how to put on and tie your very own shoes, all by yourself! Isn’t that exciting, Guys? I don’t really care if you are only 9 months old.”  (Kidding.)

For the sunscreen applying, here’s my trick.  First I just spray them, and then I line them up like a train . . . . . .
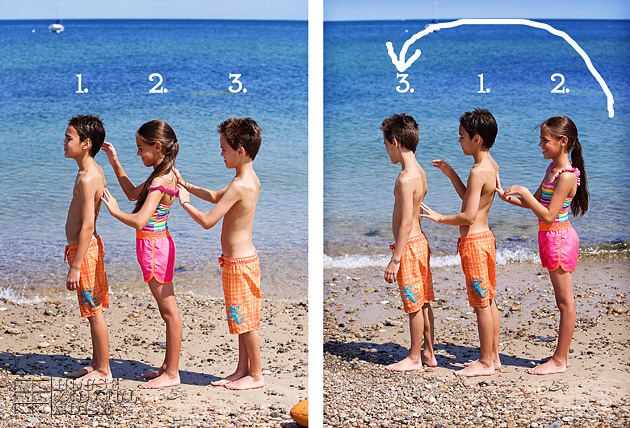
sunscreen-tip-for-moms-of-many-kids Am I a mean Mama, or what? Turns out, they don’t like putting sunscreen on any more than I do! Imagine that. They just had no idea the fun they were missing out on. For the rest of their bodies, I spray it where it needs to go, and the rub it in themselves. But for their backs, they need each other.  What do you think of that?

Personally, I think I’m a genius.

Something had to be done. We practically live on the beach.
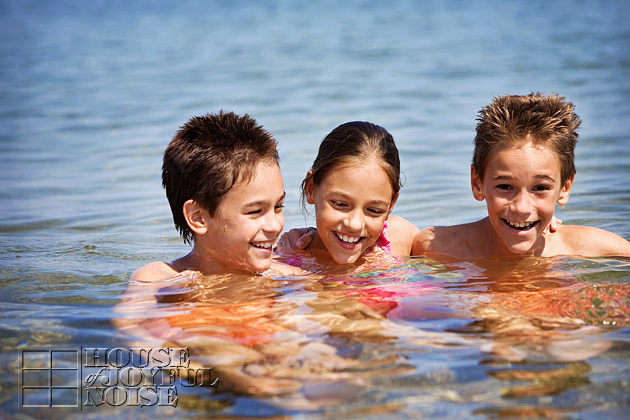
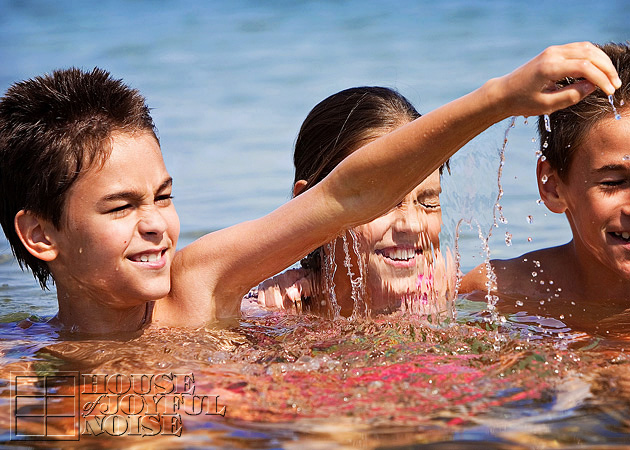
triplets-10th-birthday-beach The ocean is like our backyard.

triplets-10th-birthday-beach-1 They are all serious water babies.  Probably most of all Olivia, who is difficult to get out of the water. She even asks to take a shower at really odd times; and I know she just wants/needs to get into the water.
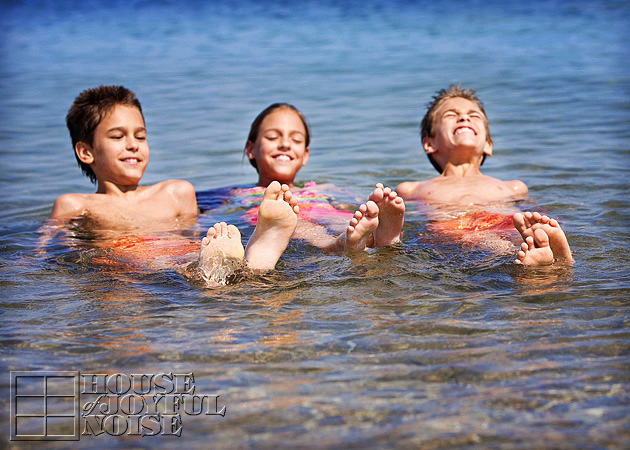
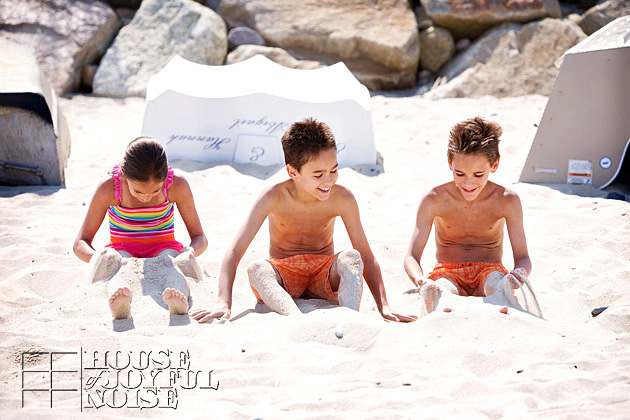
triplets-10th-birthday-beach-2 Probably least of all, is Shane. The boy cannot take the cold water! Look at him!  Its like . . . . . . excruciating for him! They were trying to all put their feet up together and next to each other, but he just couldn’t stand it any longer, and bailed.
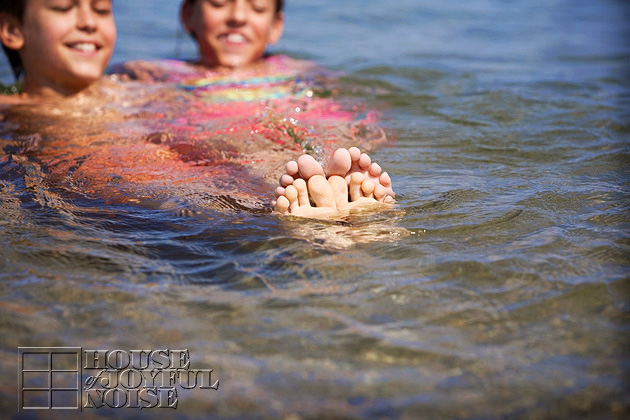
triplets-10th-birthday-beach-3 But Olivia and JackMichael managed.  And that got me pondering one of those little weird life questions . . . . . .
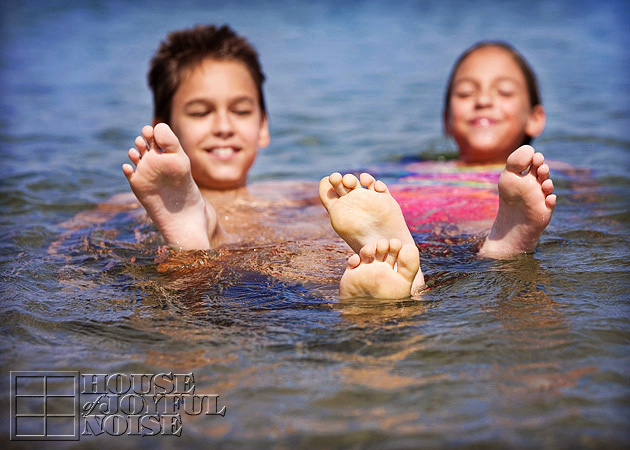
triplets-10th-birthday-beach-4 How can the bottom of 2 little people’s feet, be such different colors?  They are siblings. ‘Super-twins’, even.  I do know that JM’s feet sweat and stink more.  Maybe that is some kind of clue to this mystery. But I’m not sure what to do with it, to figure this out.
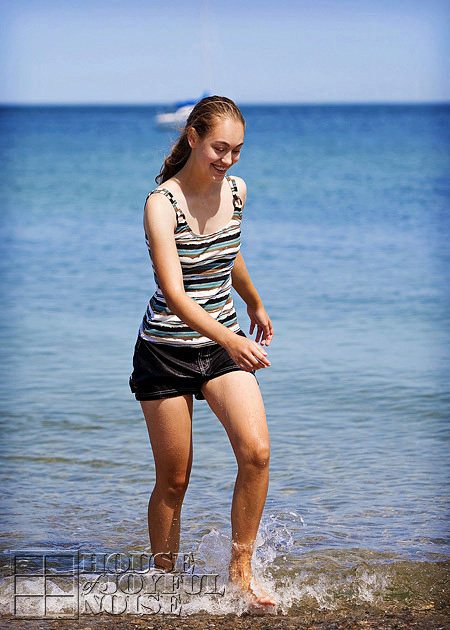
007
Oh; this one.  I’ve got to catch you all up on her. She’s got a lot of exciting things happening in her life. Especially for a just-turned-15 year old.  And I’ll tell you what else:  I think I’ve been warned 1,000 times over in life, about what a nightmare being a parent of a teen is. I’m here to say, if this is as bad as it gets with any of our kids, we’ll be getting off easy! I’m thanking God she’s our ‘trail-blazer’. (That’s what I call her. ; )  That’s my little hot reminder to her, that she is setting an example, every day! Hoping the littles are taking notes!

Not to say she is perfect, by any means . . . . . .
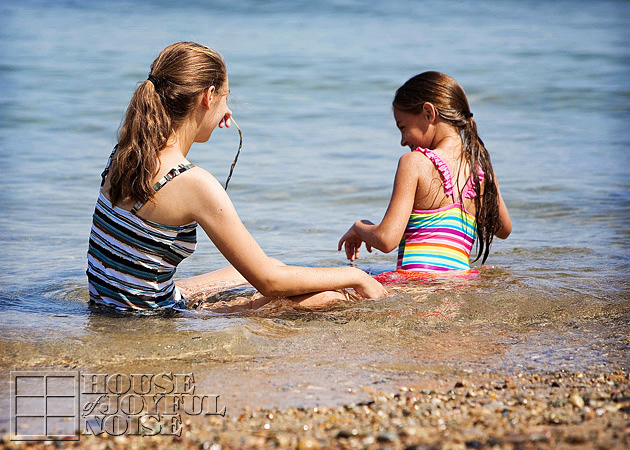
triplets-10th-birthday-beach-5 ( Taunting her sister with seaweed. )

triplets-10th-birthday-beach-6 Remember doing this as a kid? There’s a sure way to get sand in your shorts.
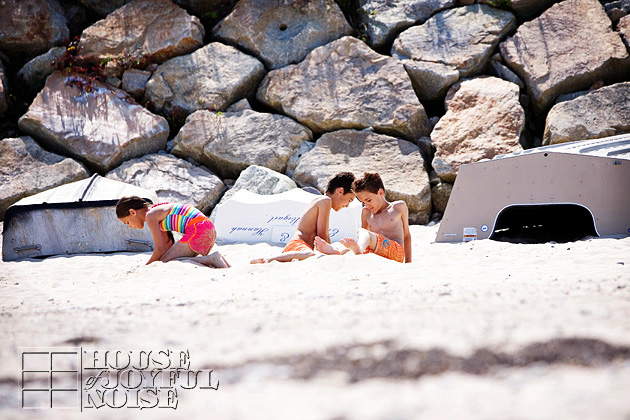
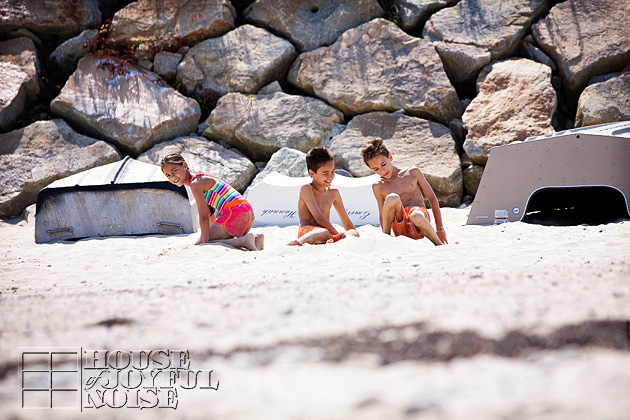
triplets-10th-birthday-beach-7 Sometimes, I love to just watch them.

triplets-10th-birthday-beach-8 Olivia senses the Mamapaparrazzi is watching.

I’ve got to tell you:  My most favorite photo of the day, I can’t even show you! It’s almost killing me, too. But my boy asked me not to please blog it or put on Facebook.  (Actually, he said, “You better not!”) And, I would never go ahead and do it anyway. I try very hard not to embarrass my kids, or ever disrespect their privacy, online.  When I think of it, I’m pretty happy my mother wasn’t blogging and all over the internet while she was raising . . . you know . . . . Cain. (Or is it…me, who was raising cane? Well, whatever.) But back to the photo of my boy – I’ll just tell you that it involved losing his bathing suit shorts a bit, on his backside.  Oh my goodness. It’s just the sweetest shot. When they were little toddlers, and losing their diaper a bit, I thought it was so cute! I would have thought that my gushing over it would go away as they got older but….nope!  Still wicked cute. (Ask me again when they are teens. I promise you; There will be no “lookin’ like a fool with their pants on the ground”. ; )  Not cute, and not happening, when they are older.
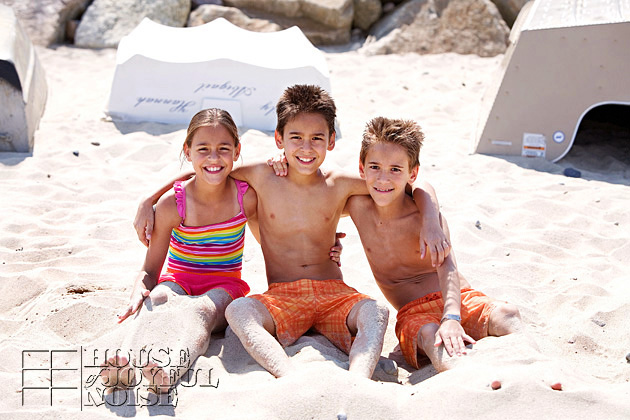
triplets-10th-birthday-beach-9 Anyway. This day was going by too fast. It was time to get home and take showers, before heading to dinner and their big surprise, which would be Part III. But as of this posting, those photos aren’t even processed yet.  So in case I never get to it, after dinner we went to our favorite park, and gave them their gift: Razor Scooters in their own colors, and gear. (Helmets, pads, etc.) Boy were they happy! It was awesome to see them so excited, hop right on them and go racing off and racing each other, around the park.

I know most of you have your own joys and blessings, in the way of children, as well. And for those we know, we love to watch your children grow up, in various ways as we can too.  It’s nice to share the special (or difficult) moments of this parenting gig, with each other. Kids. They don’t always make life easy. But gosh, they sure do make life worth it!  God is so good, and we are so thankful to Him, for blessing us as He has.

Thanks for stopping by. And please say hi. Hope you didn’t get any sand in your shorts while you were here. : )
Save

Save

Save

Save

Save

Save

Filed Under: Celebrations, Parenting, Photography, The Big Picture Tagged With: Catholic-blogs, Catholic-families, family-celebrations, kids-beach-fun, multiple-kids-sunscreen-trick, triplet-birthdays, triplets

A Day of Celebration Fun! | Our Triplets 10th Birthday: Part I

September 3, 2012 By Laura 3 Comments

triplets-10th-birthday-2

We have yet another furniture refinish coming up, as well as more fun & easy crafty ideas to share with you all! However, for the sake of those who also like to follow our family’s more personal antics, for this post and a Part II coming up, we are giving a peek via (many) photos into the day of our triplet’s 10th birthday.  It was a day jam packed with fun for sure, from morning until bedtime!  As the Mama of these 3 babes, I just wanted to really enjoy watching them have fun all day, and casually get a lot of photos of them being 10!  Here just some of them from the first part of their day. We hope you enjoy them, if only to realize what a crazy family we are. : )
001

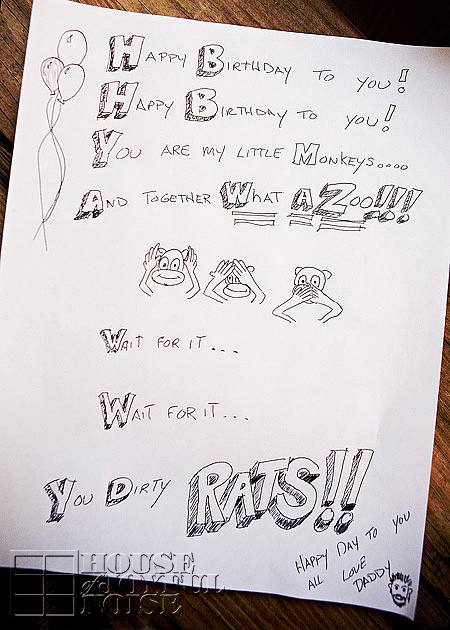
Michael, their Daddy, needed to run out in the morning for a bit.  He was sure he would not be home when they got up in the morning, so he left them a note.  (He’s a clever one, with a pen, too.)  This got the morning giggles on a roll, and the day’s chaos into 2nd gear, anyway.

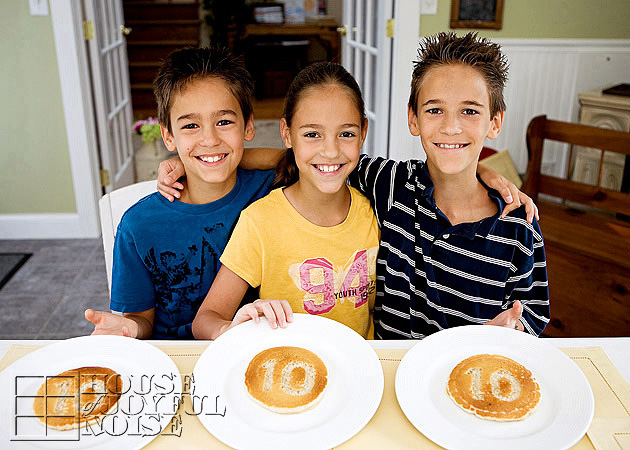
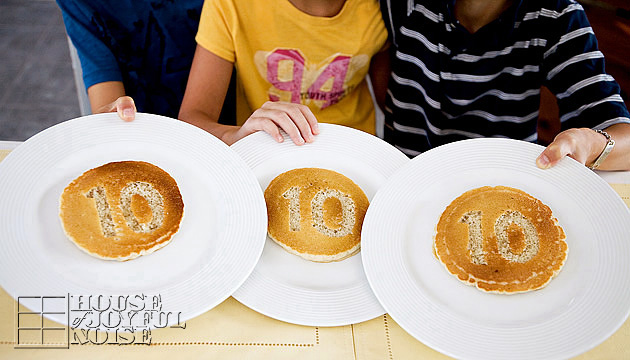
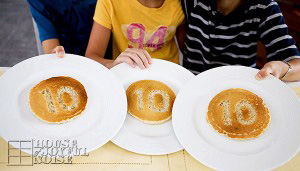
triplets-10th-birthday He was home before we knew it, and the birthday trio were able to have their traditional birthday number pancakes.

triplets-10th-birthday-1 Speaking of 10, I think that’s about how many they each usually eat.  I don’t know where it goes.

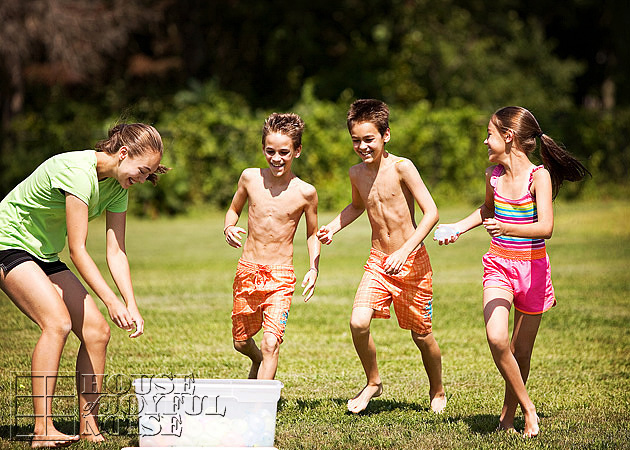
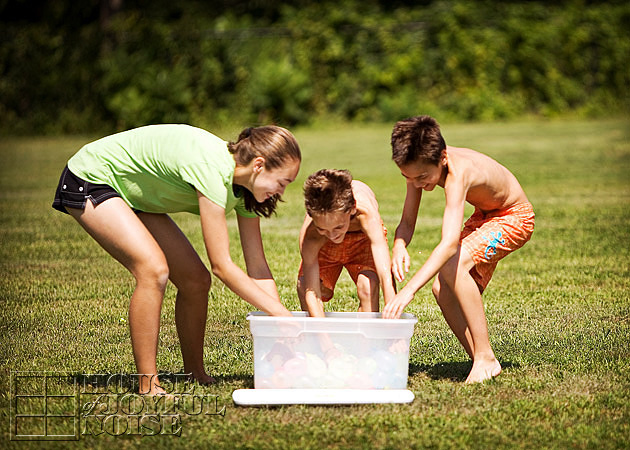
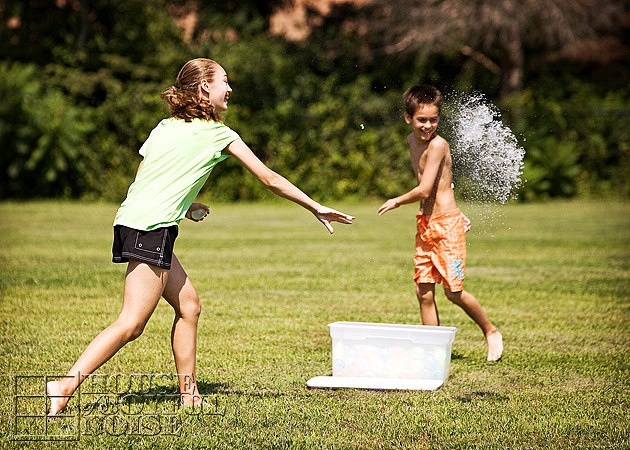
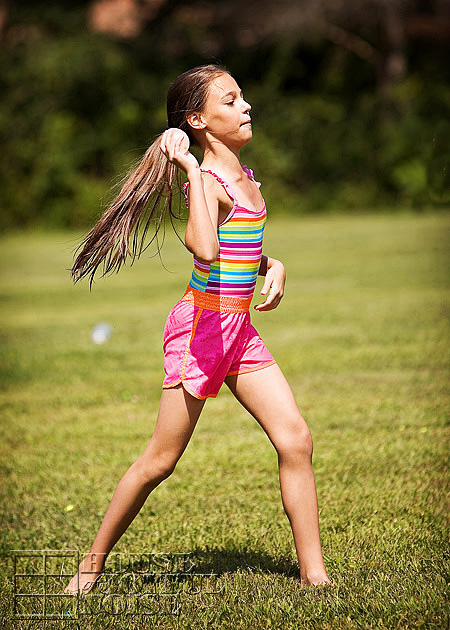
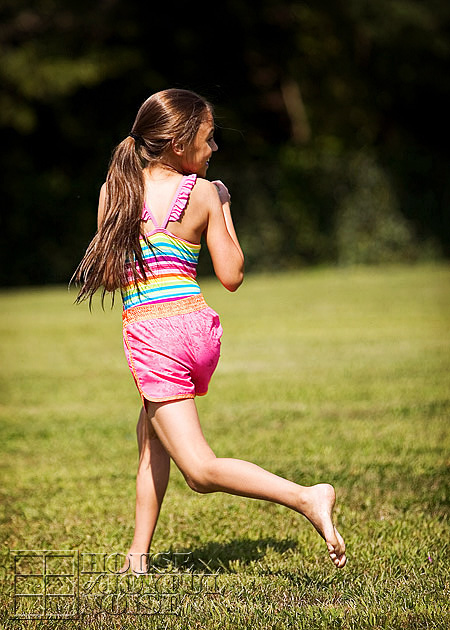
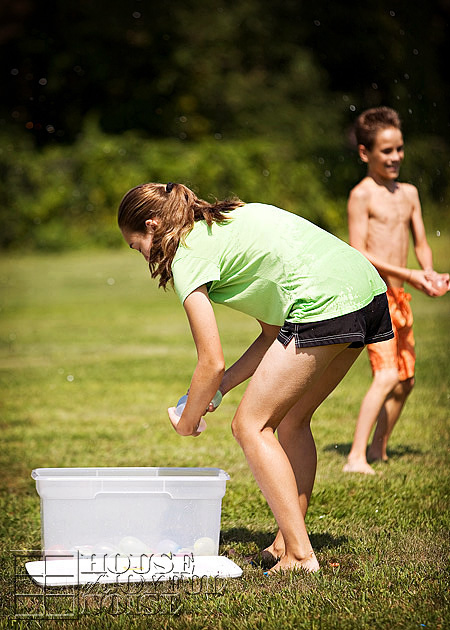
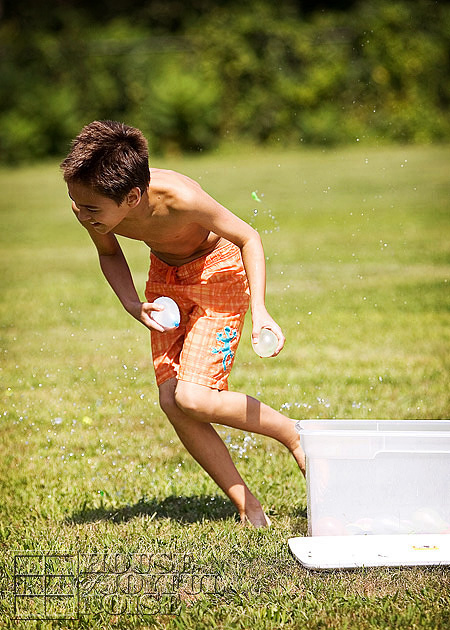
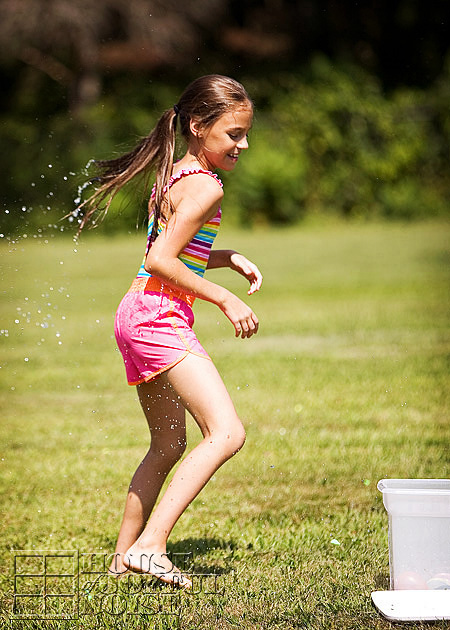
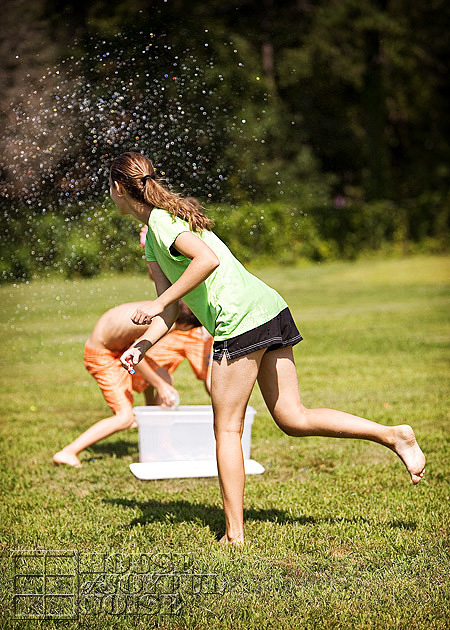
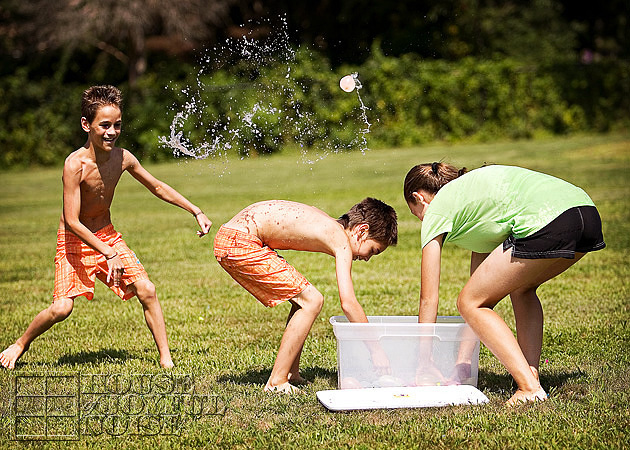
004_water-balloons We decided a great water balloon fight was in order!  So we filled 180 balloons, tied them off, and collected them all in a big plastic bin.

As excited as they all were, we suddenly had a whole knew idea for the water balloons:

We wondered which would be more fun:  Having the water balloon fight that we planned?…..

or……..

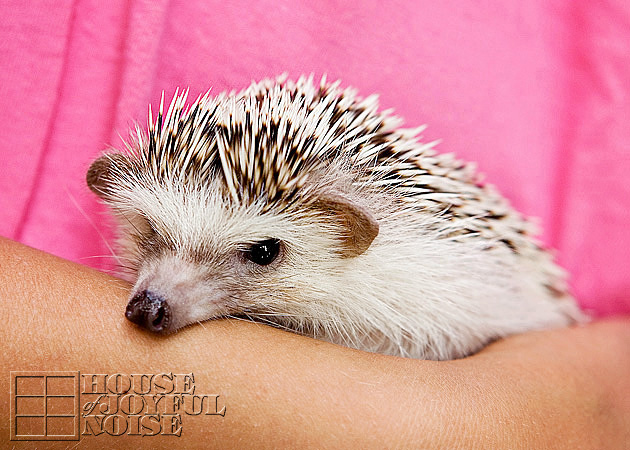
005_hedgehog Putting our hedgehog, Pixel, in the bin their on top of all of the water balloons, and watch her freak out as every move she made popped another balloon, with her razor sharp quills!  We got laughing pretty hysterically, just imagining the sight of witnessing that. But, we decided that was probably too mean to do to our beloved little pet, and stuck with our original idea.

Our yard is simply not the best area for a balloon fight of this manner, in terms of open wide space. So we hit the great grassy green park, just down the street.  Had the whole place to ourselves too!

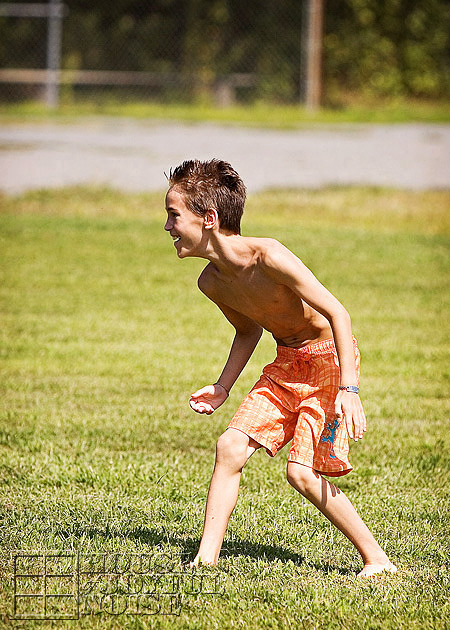
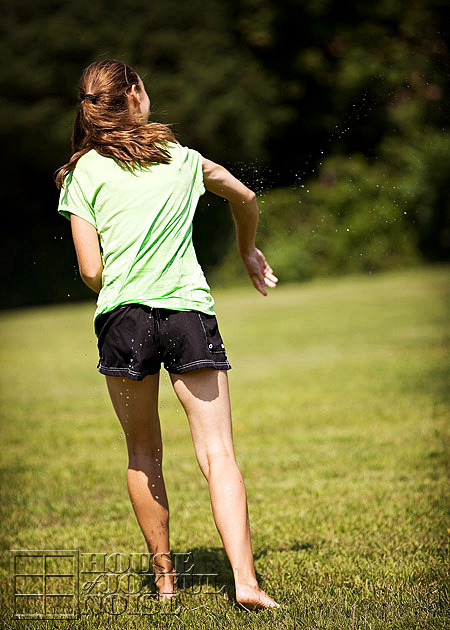
LET THE WATER BALLOON FIGHT BEGIN!

triplets-10th-birthday-3

007_
08_
09_
010_ Alexis hit her target, alright!

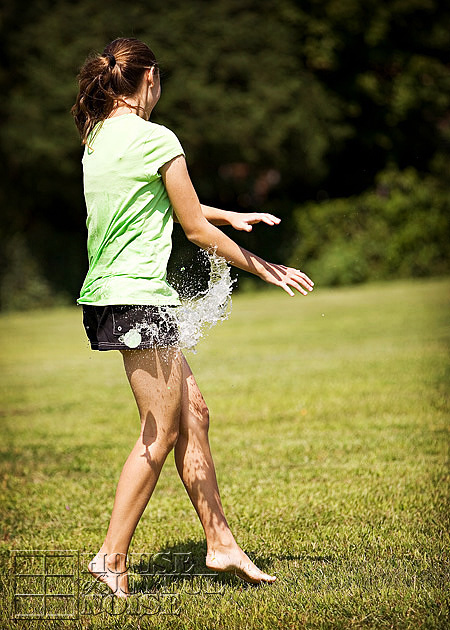
011_ But pay-back, was IMMEDIATE!

  012_
013_water-balloon-fight
Run, O!!

014_
015_
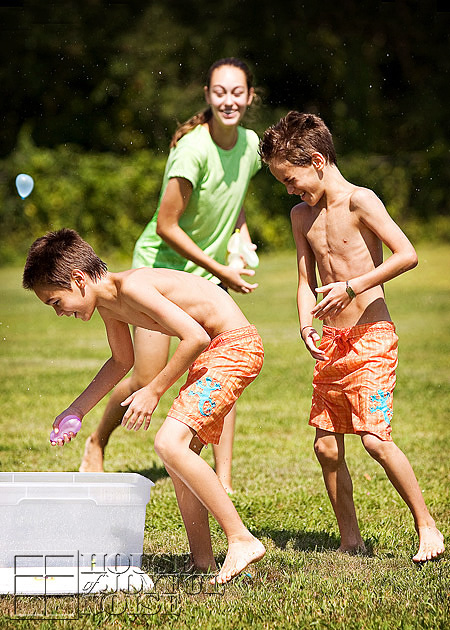
JackMichael tried to re-arm himself quickly, without getting hit. But he wasn’t quite fast enough.

016_

017_

018_

019_
This last photo cracks me up, when I look at Shane, on the far right. He often gets laughing so hysterically, he becomes unable to fully function.  I am just like he is. I’ve almost drowned more than once, laughing too hard out in deep water. I just sink! Seeing my kids laugh makes my heart so happy. (As long as their not in deep water, of course.)

There was a lot more fun on the agenda this day, including the trio’s big surprise!  We hope you enjoyed this post, and look forward to coming back again for Part II!

Have you or your kids had a good water balloon fight this summer?  What are your favorite childhood memory activities? Share with us your stories. We’d love to read about them!


Save

Save

Filed Under: Celebrations, Photography, The Big Picture, Traditions Tagged With: Catholic-blogs, Catholic-families, family-celebrations, triplet-birthdays, triplets, triplets-10th-birthday, water-balloon-fights

Blessed, Blessed, Blessed | Our Triplets Turn 10!

August 30, 2012 By Laura 4 Comments

Today, on this last day of August, we happily celebrate our triplets’ 10th birthdays.

triplets-10-2012 JackMichael, Olivia Faith & Shane Jacob.

Ten years ago today, they doubled the size of our family, multiplied the love in our hearts, and became three of the greatest blessings we have ever known.

Filed Under: Celebrations, The Big Picture Tagged With: 10-year-old-triplets, blessings, Catholic-blogs, Catholic-families, celebrations, multiple-births, multiples, multiples-birthdays, triplets

My Custom Built Farmhouse Home Office Desk

August 25, 2012 By Laura 33 Comments

custom-built-farmhouse-home-office-desk-5

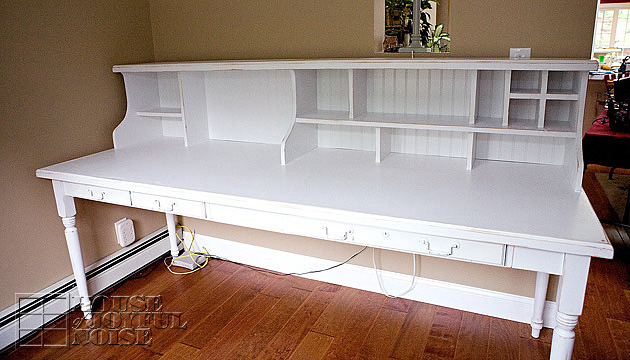
 I know many of you have been waiting for this, with all of my teasing about it! And I have been dying to show you (show off…whatever) my custom-built farmhouse home office desk, that that my husband made for me!  For this first post, I am simply sharing with you the build itself, and some of the story behind it.  In upcoming posts, I will show you my work-space all set up and pretty. (When I get that far.)

So first, to put my appreciation and excitement in context here, you should know how I have been working.

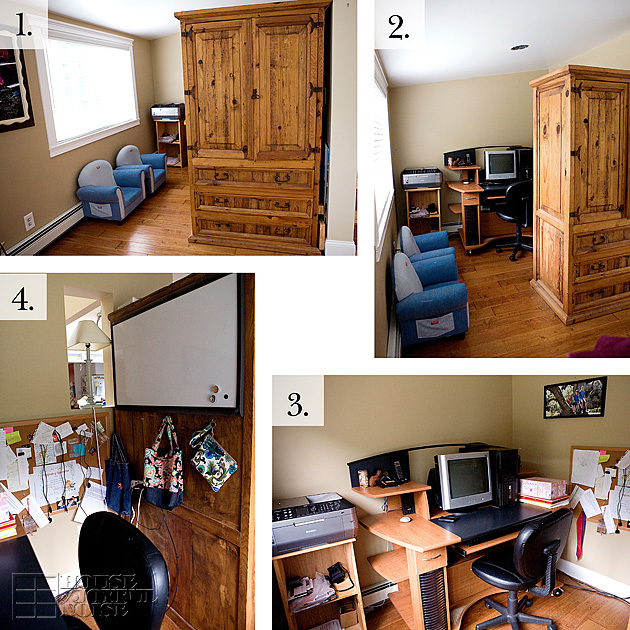
In this large amoire in the photos below, is our TV, which we rarely use at all. But behind it was my work cubby.  It was always amusing when someone who had been to our house a few times before, before they realized there was a work space behind there.  They’d always react with such surprise and intrigue.  So come around the amoire (following the numbered photos), and see my little space I have had . . . . .

001_old-office-cubby-space It certainly was a workable idea for the past few years, in that it gave me a little privacy for editing client portrait work. It is rather organized and cleaned up here, but that is not how it has always appeared or felt. (I had already started cleaning out here, to empty this whole cubby.) To start, I hated the desk. The photo is deceiving I think, because this desk was mammoth, and yet not efficient at all; with shelves I couldn’t easily get to (dusting nightmare), and virtually no storage or room to work.  With a modern design, fake wood laminate and black accents-ugh! I wanted it GONE.  And what a dust magnet this cubby has been!

Anyway, imagine on the desk-top, on either side, a tall pile of papers, notebooks and dozens of folders.  And not just here. When I worked on my laptop for school and blogging, I’d sit on the couch, where beside the couch was small table with another 2 piles of papers, notebooks and folders.  Then there is the school room, where I’ve kept all of my teacher books.  I can’t stand clutter or disorganization, so having everything everywhere has tended to make me cranky, and yelling when I couldn’t find something!

 Between homeschooling my 4 kids, their work needing correcting or keeping, educational planning stuff, their activity schedules, forms needing to be filled out, home and life maintenance with mail, bills and records and the like that needs to be kept up with, and my work paraphernalia for the blog and it’s website, it has felt like unorganized madness to me! Like….losing my mind. I can’t manage and work my best like that.

What I needed and wanted was one organized management center to work from, with a style that said me, and reflected our farmhouse home decor.  A Pottery Barn home office knock-off, of sorts.  Yes please, Honey!

Whenever a new school year is about to turn over in the next 2-3 months, I always get into this nesting mode frenzy, wanting to get super organized and ready for the next year. So my chatter about my dream custom-built farmer’s table home office desk had picked up speed as of late!  I completely cleaned out that cubby, moved the amoire, and just gave away that huge desk to a very grateful girl, who really needed it.  It was going to be an all new space, that I could manage everything from.  Open, bright, stylish and cheery.

As always, Michael and I first got some initial drawings down on paper, which Michael threw out by accident! ; ( , and a few revisions later, Michael got to making it a reality for me.

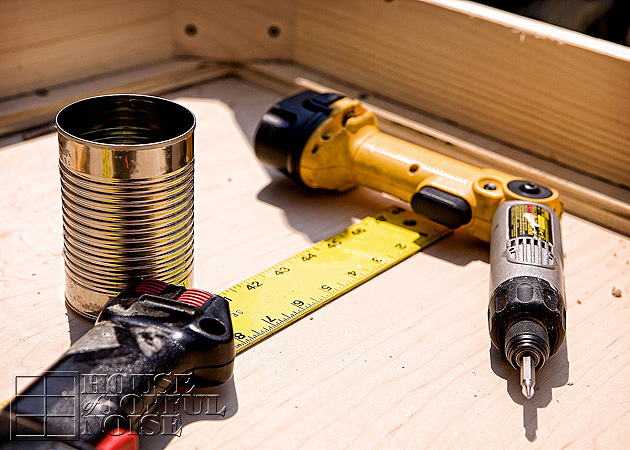
002_carpenter-tools My design idea was simple;  the base of a plain old farmer’s table, with cubbies and shelving for storage. But it needed to be BIG. The full length of the wall opposite the large window, to accommodate and organize all areas of my life and family I need to manage, as well the larger equipment I need to do it, such as my 2 computers, hard-drives, copier, etc.

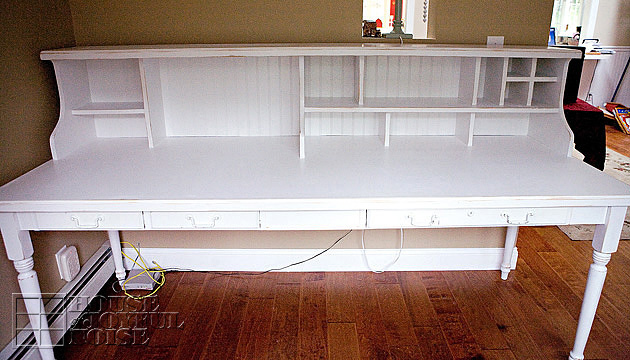
So if you haven’t scrolled down and peeked already (uh-huh), the reveal is next. But I have to say, this was SO HARD to photograph with the lenses I have, as this desk is 7 feet long!  But every inch was custom designed with a purpose for it’s space. Take a look . . . . . .

custom-built-farmhouse-home-office-desk Is it not GORGEOUS?!
I can answer that.

custom-built-farmhouse-home-office-desk-1
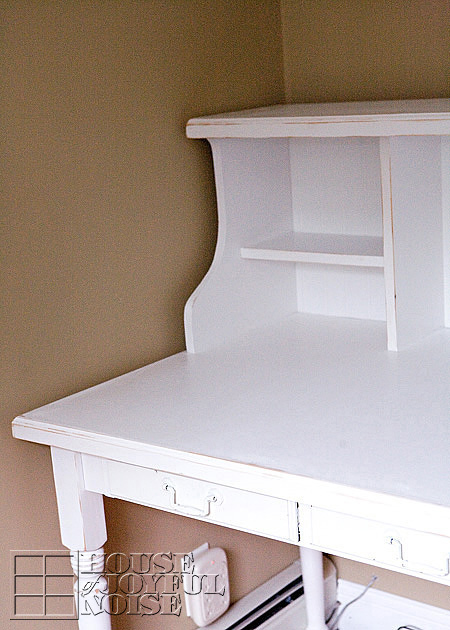
While there were no initial plans for drawers at all, the craziest things happen to us, and we ended up with some beautiful ones! I’ll get to that story-bit in a minute, but as you can see, the general structure of the desk is very much a farmer’s table design.

Let’s talk about some of the details:

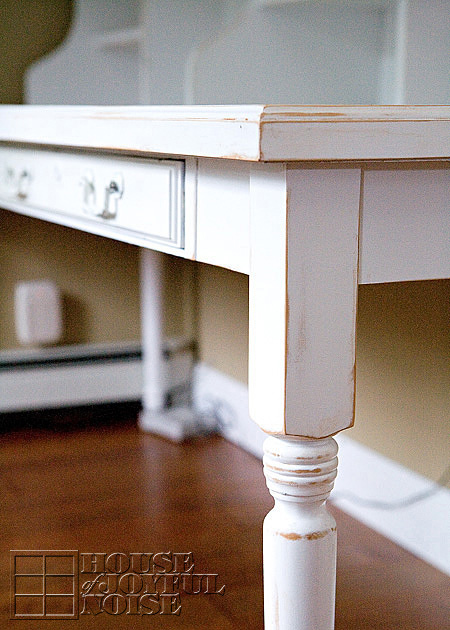
custom-built-farmhouse-home-office-desk-2
Simple table legs support the desk.

Now let me tell you about the drawers, which really have added such beauty to the piece as a whole.  In the beginning, I had just planned on using lots of cubbies and little containers, for all of the little things, all built upon a farmers table, much like the one we eat at in our sunroom. But the craziest blessings happen to us all of the time, and this amazing happenstance is no different:

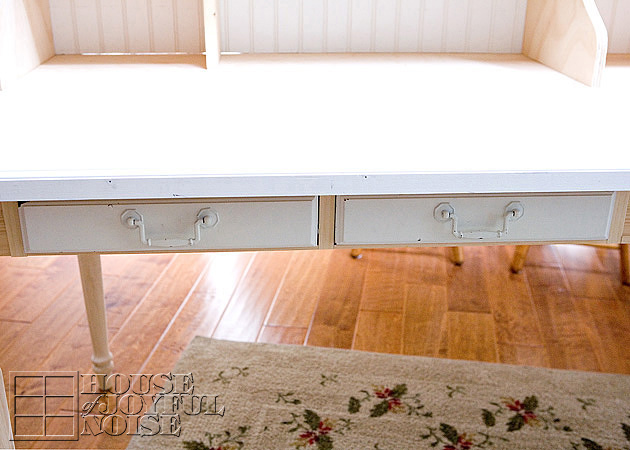
custom-built-farmhouse-home-office-desk-3 About the time the table was pretty much built, and yet still bare wood and unfinished (as seen above, minus the drawers), Michael had a job to go re-letter the back of one of his client account’s large moving trailer. While he was there on the job site, he went to throw some things in the dumpster. There, in the container, were 3 of these beautiful drawers and some big desk all broken apart! I can only imagine how beautiful the desk must have been, because the drawers are to me, breath-taking.  Crazier, the slim design and depth of the drawers would fit and work perfectly within the table side of the desk he was building for me. So he grabbed the drawers, and all of the attachment trackings for them, and  brought them home.  I was astonished. I immediately fell in love with them, and he installed them.

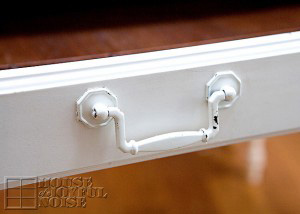
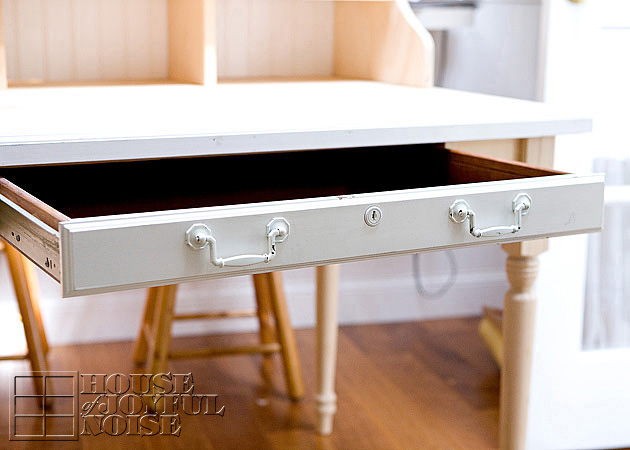
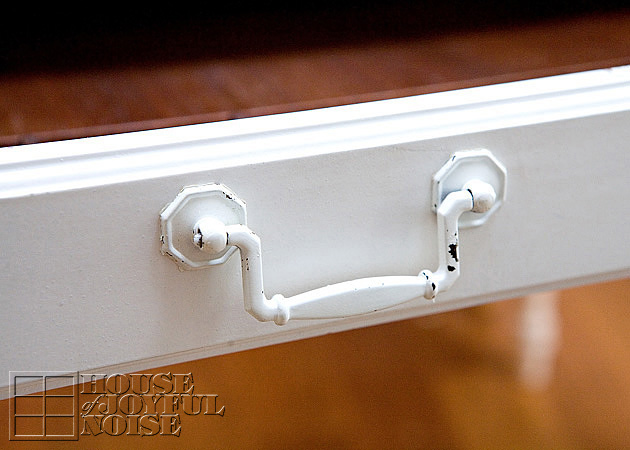
custom-built-farmhouse-home-office-desk-4 Just look at the hardware!

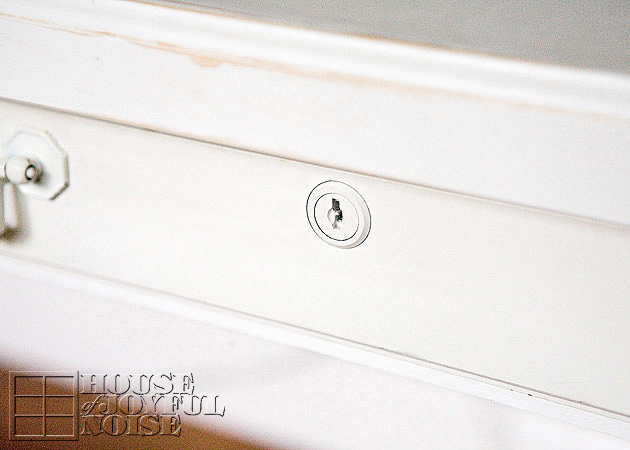
custom-built-farmhouse-home-office-desk-6 Even the keyhole makes me gasp and smile inside.

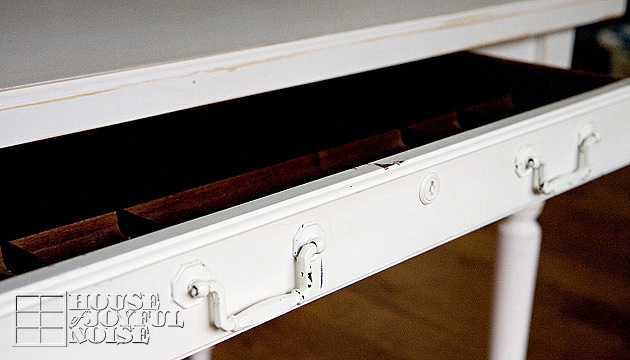
custom-built-farmhouse-home-office-desk-7 They silently and smoothly just roll out, like butt-ah!

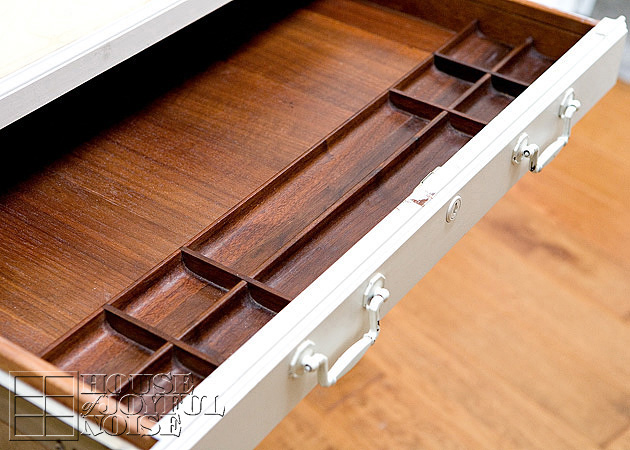
And the inside of the large drawer had me flipping out with joy . . . . . .

custom-built-farmhouse-home-office-desk-8 Talk about great quality. HOW, could anyone throw these drawers away?  And what a blessing just meant to be, that Michael was there at that site on this particular day, and looked in that waste container, right when we were building this project!  The waste removal company was coming to empty that container the very next morning! The drawers would have been gone forever.

011 These two smaller drawers were installed side by side, on the opposite end of the large one.   Take note of the bare wood before finishing.  Aside from the drawers, the table-top is made of cabinet grade plywood, while the rest is plain pine and bead board.  A very light color wood.

Now, how I was going to finish this desk, was such a torn-dilemma! I even did various techniques experiments on several scraps of wood, trying to decide:  Did I want to just paint it white and then sand it down to worn in various places?  Crackle it? Use some dark wax or antiqued glaze?

Honestly, it feels like such a big an important decision, that it kind of paralyzed me.  So I kept it simple for now, and will likely continue to alter the finish more when I decide on one, or all of the ways I am contemplating. But at least then it will be a thought-out decision. For now here’s all I did:

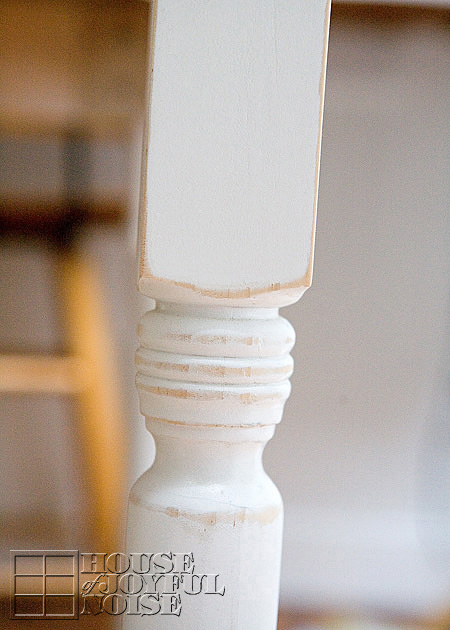
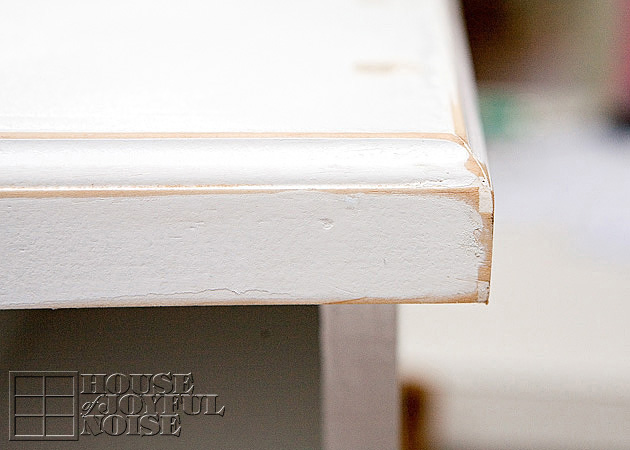
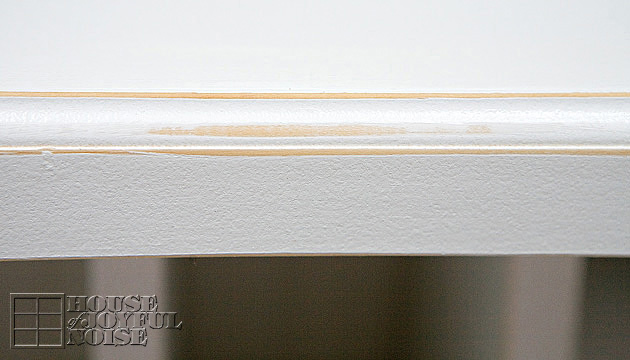
0121 I sanded it to a worn state in specific places, such as corners, edges, and raised areas.

But because the wood underneath was so light, I went a step further using a possibly odd technique and medium, to bring the distress work out more . . . . . .

013 I mixed clear glaze and straight burnt umber watercolor paint.  I painted just over the areas where it was sanded to wood, let it sit a minute, and wiped off with a clean dry rag.  It stained the exposed under-wood just enough, to have a more distinct worn look.  As I said, I still may do some crackle work in areas, and/or antique it more with wax or glaze.  But I also expect it will get wear and age naturally, simply from me using it a lot, and owning it for a very long time to come. But for now, I am loving it as it is.  It may stay like this forever.

custom-built-farmhouse-home-office-desk-9
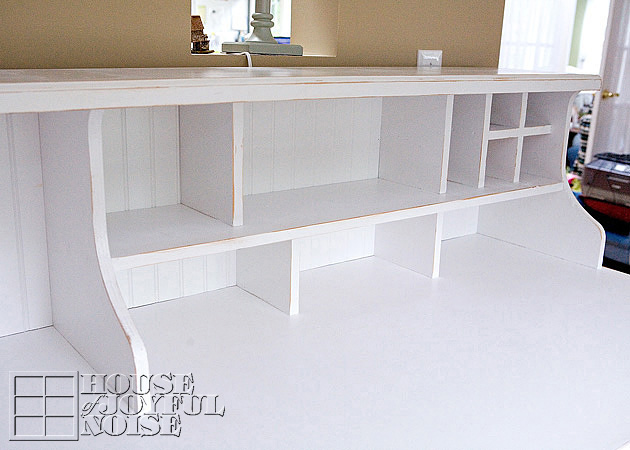
I am still ‘moving in’ to this large piece of furniture that is quickly organizing my whole world, and there will be a follow up post to show you how I arranged everything I needed in this space.  But as I said, parts of the desk were very specifically designed for certain things.  To give you one example today; that top left cubby you see, will hold my 4 external hard-drives, most of which are about to dumped of all client work. They are already mostly free space even still,  so I will be using them for a good many years to come, for external storage space for all of my other personal photo storage and designs.

custom-built-farmhouse-home-office-desk-10 As I am sure many of you know and will agree, it’s the accessorizing that is the most fun!  It’s the pretty little things, that really make a space yours, and I have always felt it’s important to surround yourself in your home and work space, with the things that make you feel those little leaps of joy inside. (Or that’s what happens to me, anyway. ; ) So I hope to share with you all just how I’ll be utilizing the space of my new custom-built workspace, the ways in which it’s organizing my life, and all of the little things I love that make me smile, and maybe will make you smile too. Or give you some ideas of your own.
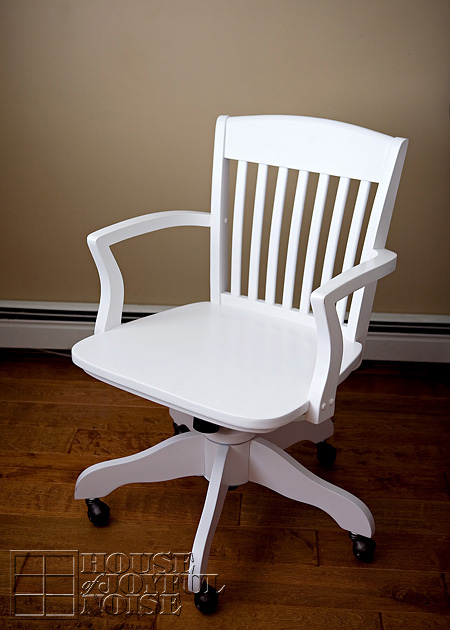
Another crazy blessing story-bit:  I had told Michael I would probably just use one of our regular white farm chairs at the desk, rather than a black computer chair.  But that some day, I would love to find a nice white office chair on wheels, much like the Pottery Barn chairs, that we could never afford.
Well guess what he found and brought home with the drawers? . . . . . .

016_white-desk-chair
Again, for free. When Michael was chatting one of the moving company employees at the job site where he pulled the drawers out of the waste container, and told him all about this desk he built, the guy said, “I have a chair inside that went with the desk we got rid of, if you want to see it.” And this is what he brings out!  Oh, you know I’ll distress this some too, and get some pretty shabby-chic cushions for it.  But what a high-quality chair!  It not only is on wheels and swivels, but it rocks! I’m a rocker, still. Between my first baby-girl that loved to nurse forever, and then my triplets, Mama-rocking is a just part of my natural movement now. This is a big chair though. It definitely needs the cushions. I feel like a kid in it right now.  Michael was more excited about getting the chair for me, than the drawers. But the drawers were actually the biggest pleasant surprise for me.  Honestly, the chair is massive! Like, too wide and heavy for me. I may just keep using my computer chair for now.

custom-built-farmhouse-home-office-desk-11 So there it is! I know I am ridiculously blessed to have a husband whose skilled hands can create these things for me.  This desk would cost thousands of dollars, bought. And it wouldn’t be custom-built, for me and my specific needs. Or made with love! He’s built so many things for me, big and small.  This one is certainly very special to me, as it will really help me manage the most important aspects of my life; primarily teaching my children, and managing our family details, and lastly, doing what I can to help my husband provide for us, through blogging, which I love to do anyway.

I do apologize for the length of this post and number of photos, but there was a lot to share with you, and I’ve been SO excited to!
Wouldn’t you be?
Tell me what you think of it! Do you have a special space in your home, that helps keep you organized and everything managed? Please tell us about it, and leave any ideas you may have for us as well.  Thanks so much for coming by and looking!

Save


Save

Filed Under: Furniture Refinishing, Furniture Refinishing, Home Decor, Homeschooling, Re-Purposing, Refinishing, The Homestead Tagged With: Catholic-blogs, Catholic-families, custom-built-desks, custom-built-farmhouse-home-office-desks, custom-furniture, dream-home-office-desk, farmhouse-desks, furniture-refinishing, office-home-desk, pottery-barn-home-office-desk-knock-off

Adorable Stretch Jewelry for Little Girls | Craft Tutorial

August 15, 2012 By Laura 12 Comments

little-girls-stretch-jewelry-craft-tutorial

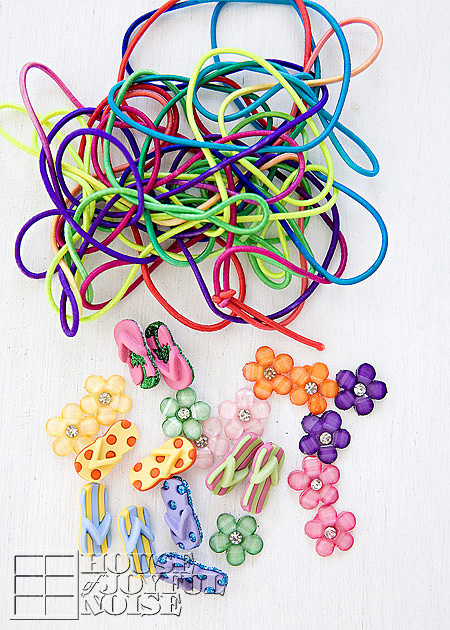
My little girl, ‘O’, is always in a crafty mood. Her name is Olivia, but we call her ‘O’ almost as much.  She gets excited about any craft or project going on, and always (always) wants to help.  So she and I were chatting one day, and had come up with the plan to make her some cute stretch jewelry, possibly using buttons of some sort.  The next time we were in the craft store for other projects, we picked up the supplies for her jewelry too.  It’s a simple project, with adorable results, and practical for little active girls, too.
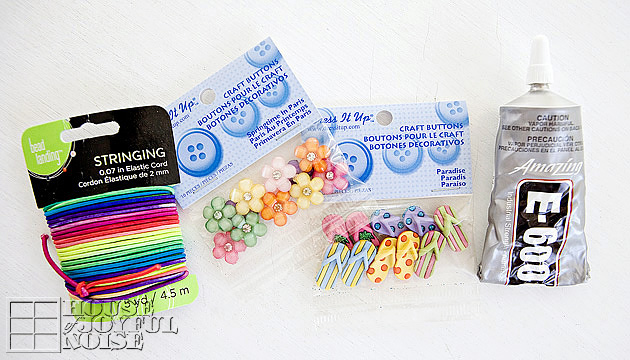
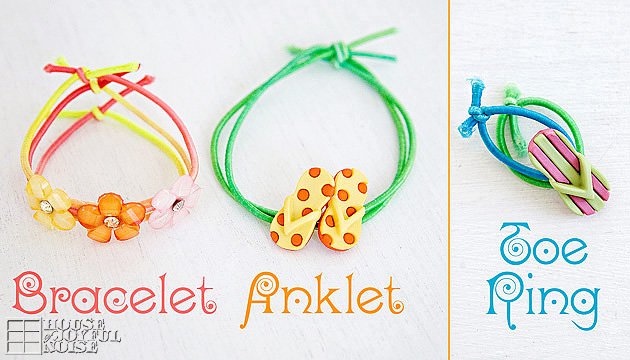
little-girls-stretch-jewelry-craft-tutorial-1 We found a whole section of all kinds of cute element buttons.  I would have had a hard time choosing, but ‘O’ is a pretty decisive girl, and decided the flowers with the rhinestone centers, and the flip flops, were what she wanted.  Interestingly, while they were all labeled buttons on their packaging, some did not have any hole or loop on the backs, to thread in any way! Such was the case with the flowers.  The flip-flops however, did have a loop on the backs.  No worries though. I was sure my Amazing E-6000 would do the trick. We also picked up stretchy elastic string.  I wanted to show you these supplies in their packaging (these bought at Michael’s Arts and Crafts), so that you would know what to look for, if you wanted to do this project yourself.

little-girls-stretch-jewelry-craft-tutorial-2
The string we got, as you can see, is all one long piece that changes colors.  So you can just choose an area of color you want, and cut it to the length you need.  Really fun matching up up with the buttons.  Aren’t they so cute?

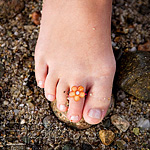
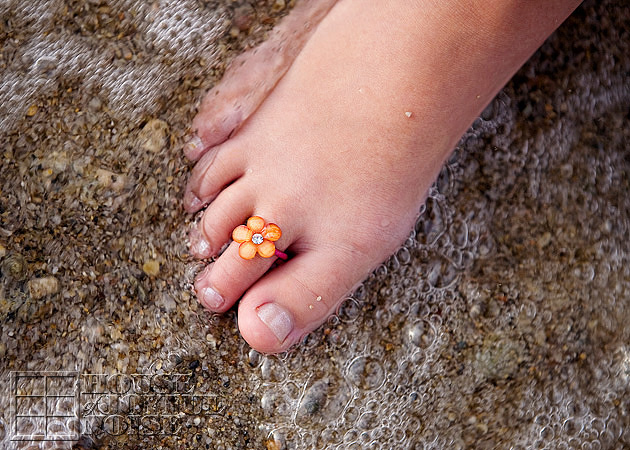
So we had a plan to make some bracelets, anklets, and toe rings.

0031

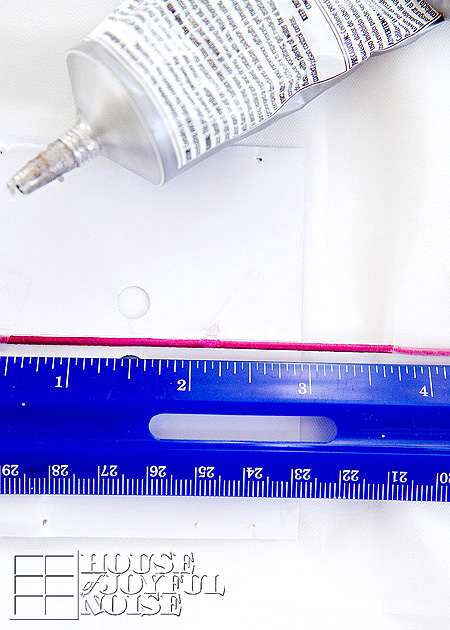
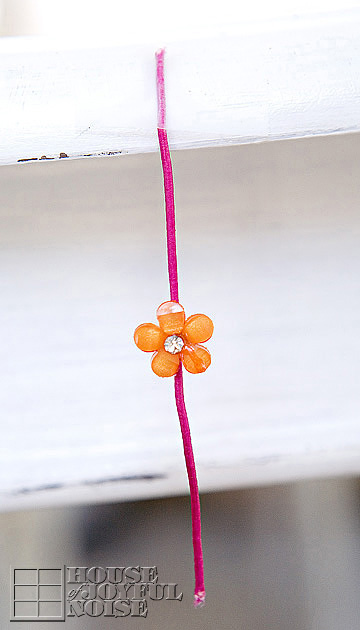
Depending on if your piece will be for the wrist, ankle, or toe, just take a quick measurement using the string around that body part, and than add an adequate amount more, for tying.  Now buttons with a hole or loop to thread of course will just slide right onto your string.  But the flowers we needed to glue.  So after cutting the string to length, we found the center of the string by using a ruler we had nearby. But you can estimate by folding the string in half or whatever.  In the center, we put a dab of glue, and then set the flower on and held it for a second.  We were working on a piece of paper, to protect our table from the glue. But being that the glue dribbles right over the string, we didn’t want the string adhering to the paper. So when it was set enough . . . . . .

0041
. . . . . .we just taped them to the table’s edge, and let them hang, to completely dry.

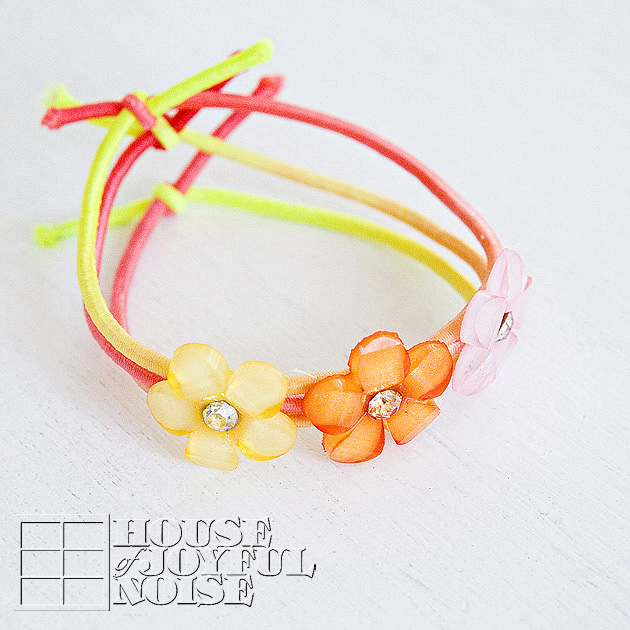
little-girls-stretch-jewelry-craft-tutorial-3 ‘O’ really had fun, choosing different elements, and then choosing what colors of string to go with it.  We especially liked how this one came out. We chose to use three pieces of string, and knot each of them on their own, instead of all together. It really alters the look!  The E-6000 really works amazing.  After knotting the jewelry on for the proper fit, you can then trim any excess string end with scissors. You just want to be sure they are tied to be snug, but not tight or uncomfortable, cutting off circulation or leaves band marks.

TIP: You may also want to dab the string ends with some kind of nail polish top coat, just so they don’t unravel or get fuzzier. I did, and I also put a dab on the knots, for extra security.

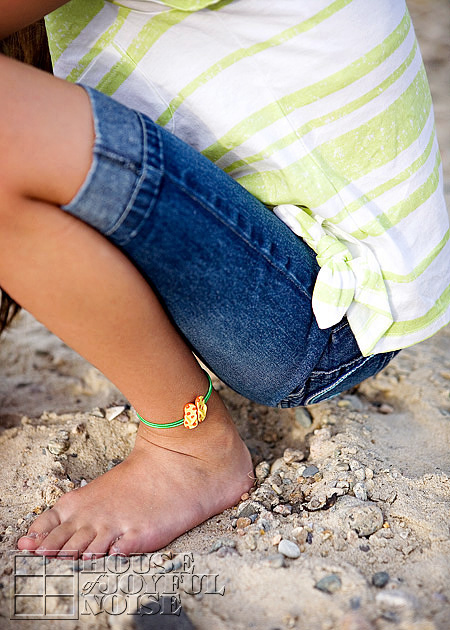
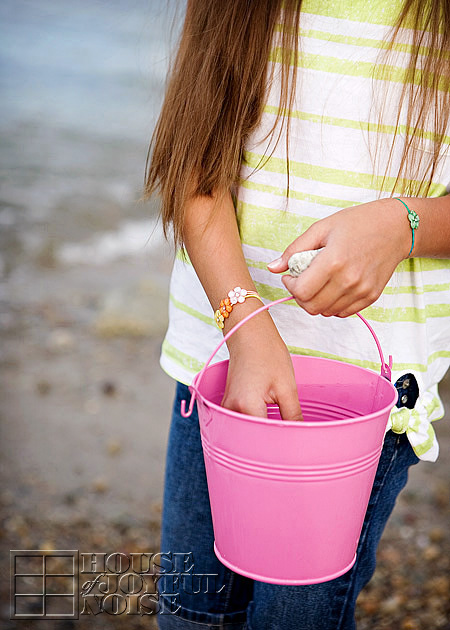
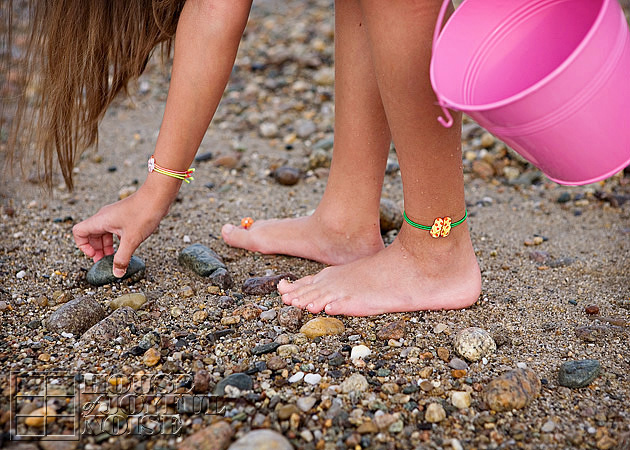
little-girls-stretch-jewelry-craft-tutorial-4 Aside from these accessories just looking adorable and so age appropriate, they really are great for every day play wear, being that they are fitting, and not the kind that will get caught on anything. They are not likely to break in any way, or get lost.  But even if they did, none of it is valuable in any way, and they can so easily be made again.

little-girls-stretch-jewelry-craft-tutorial-5
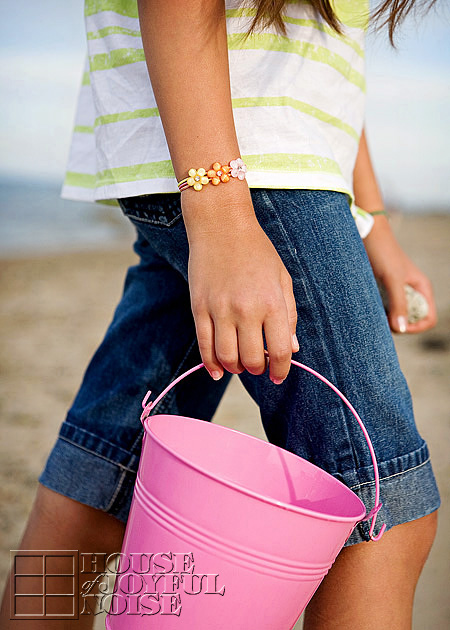
So little girls can just HAVE FUN, as they should, and not worry about their *bling*.

little-girls-stretch-jewelry-craft-tutorial-6
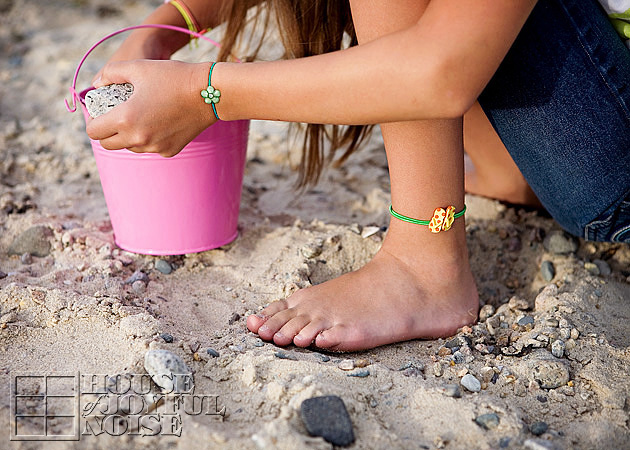
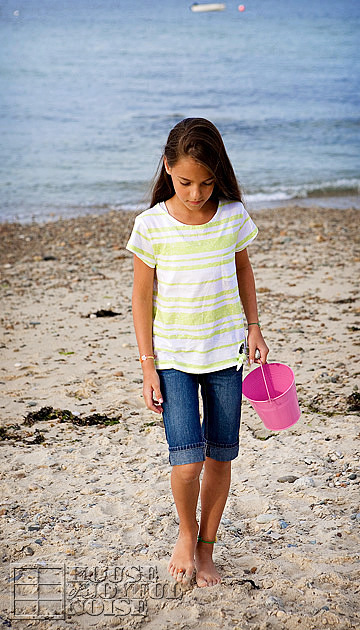
So perfect, for a little pretty style at the beach.

little-girls-stretch-jewelry-craft-tutorial-7 And they can even get wet, without a problem.

little-girls-stretch-jewelry-craft-tutorial-8
The options really are endless, and I can already see us ending up with a larger collection.  Because how cute would it be to make holiday accessories?  We can find button elements like this for Christmas . . . . . .Halloween . . . . . .Easter . . . . . . and it would also look lovely with any kind of clothing, including dressy-dresses.

If you are hoping to make homemade gifts this year, this is a great inexpensive and quick idea, for any little girls on your list.  If you aren’t sure of their sizes, just leave them untied, and when you give jewelry to them, you can just tie it off on them, and trim the excess.  Just as we did it making these for ‘O’.

little-girls-stretch-jewelry-craft-tutorial-9 We did not make any choker style necklaces, or pony-tail holders, but those are a couple more ideas.

012
‘O’ is the kind of girl who enjoys fashion.
She likes shopping for clothes, and enjoys putting her outfits together every day, including any accessories for her hair or as jewelry.

little-girls-stretch-jewelry-craft-tutorial-10 Love it? Say it. Pin it! Share it. Make it!


Save

Filed Under: Crafts & Creations, Kids Arts and Crafts Tagged With: crafts, kids-anklets, kids-bracelets, kids-stretch-jewelry, kids-toe-rings, little-girl-crafts, little-girl-handmade-accessories, little-girls-home-made-jewelry, safe-stretch-jewelry-for-girls

  • « Previous Page
  • 1
  • …
  • 21
  • 22
  • 23
  • 24
  • 25
  • …
  • 100
  • Next Page »

We are wicked happy to have you here! We hope you find much inspiration, help, humor and enjoyment here.


Archives


POPULAR POSTS

* * * * * *

SUBSCRIBE to House of Joyful Noise blog! Every new post, delivered right to your email box!


Privacy Policy

Amazon Affiliates

Never at any additional cost to you, we may earn a small commission for our endorsement, recommendation, testimonial, and/or link to any products from our website. Your purchase through our links helps support our family, while sharing with you the products we authentically use and recommend, for various ideas, and letting you know where you can purchase them. Thank you for your support!

[footer_backtotop]

Copyright © 2026 HouseOfJoyfulNoise.com · Genesis Framework by StudioPress