As promised, today I am sharing with you our spring mantels decor for March, the month of St. Patrick’s Day, and the beginning of the spring season. (Calendar-wise anyway. God-willing the weather will reflect the same.)
The decor for these mantels is super minimal and simple. It also features artwork I recently did, 4-Leaf Clover Art, which I blogged about most recently. Visit the link to see more about the inspiration for the piece. But right now in this post, here are some photos to [Read more…]
Back-To-School Mantels | Home Decorating Ideas

There is something about the back-to-school season, that I have always loved. With all of the fresh new supplies and clothes, and the whole new school year stretched out before us, with so much yet to be learned, it’s just always been an exciting time to me. Even though we homeschool, and even school right through the summer, we (even the kids) still love the excitement that the start of a whole new school year brings! All new books, fresh supplies, new experiences, and a new season to grow academically.
It’s that love for all things ‘back-to-school’ that inspired these mantels in our home! It’s a theme that fits just right, through the month of September!
I used [Read more…]
Reversible Fall to Thanksgiving Home Decor Blocks Craft Tutorial
I’ve got one last Fall-themed project to share with you this season, before I move on.
You may remember I shared these happy Fall blocks in this post, in which I was giving you a little close-up tour of my Fall mantels. I mentioned that I had made these blocks, that they were more versatile than they appeared, and that I would share why when I got to that project post.
Well this is that post!
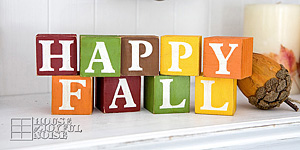
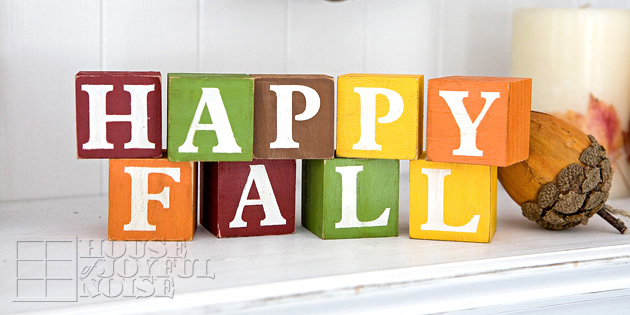 Here are the blocks already shown to you. They were created to look well worn, long loved, and a bit old.
Just how I like everything. 🙂
And shown here, are the blocks backsides . . . .
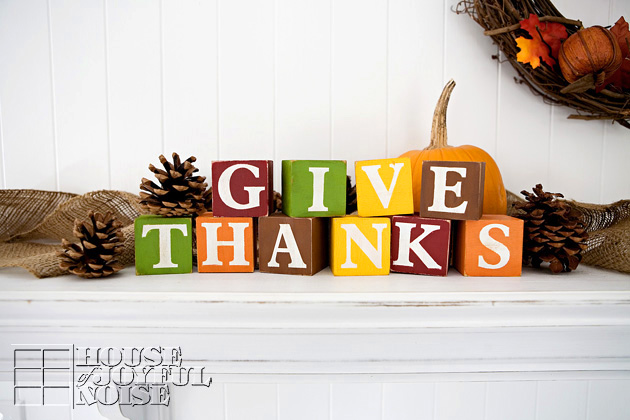 I made the block to transition from every day Fall, to a Thanksgiving-themed message for those weeks in November.
What do you think? Nice surprise? Good idea? I was thinking so!
They are really simple to make. I just found making these blocks fun and relaxing.
I tend to get a little Zen, working in my studio anyway.
So if you think you’d like to make some, sometime, I’m going to show you just how I did it, right now.
–
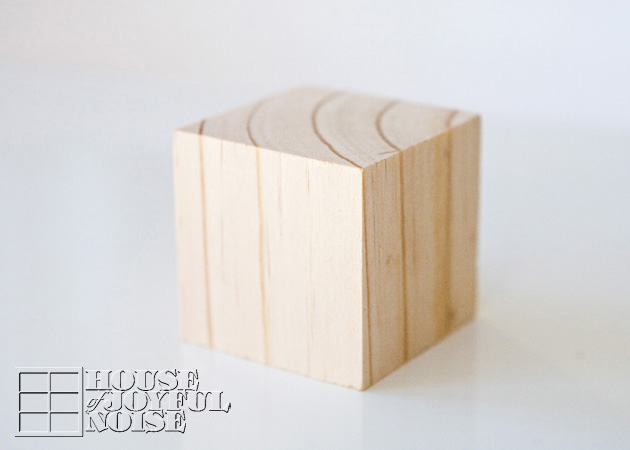 I started out with 10 blocks, just like these.
Well, actually, I started out with 8 blocks just like these. Then 9. And finally 10. But that is a frustrating story I’ll tell you about later on. But the project took 10 blocks, anyway.
These simple wooden blocks come in various sizes; these are the 2″ blocks. I got them at A.C. Moore’s. They are not available at my local Michael’s, anyway.
They are smooth and finished-feeling on 4 sides, except for what I considered the tops and bottoms.
–
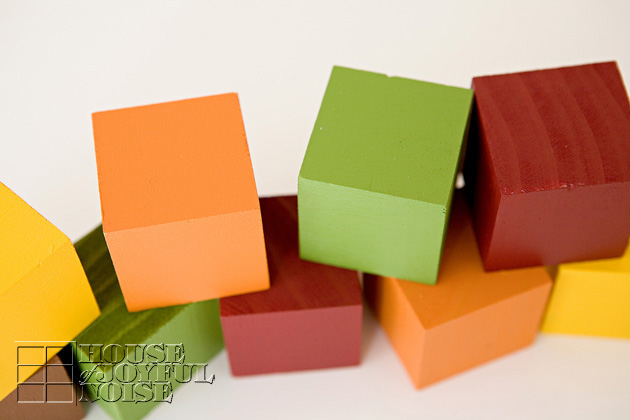 I chose my favorite Fall hues of acrylic paint, and painted them all. They did take two coats.
–

Next I had Michael cut two inch letters out of vinyl, and weeded out the letters.
–
 After covering that sheet with transfer tape, I cut each letter block to size.
–
 Peeling off the back, I then applied them well to a face of each block, one at a time with a squeegee, and pulled off the transfer .
It was important to make sure the rough surfaces were not used. The vinyl would work as a mask.
–
 I had a pile of scraps that looked like I had been working really hard, so I photographed it, and left it for awhile. 🙂
–
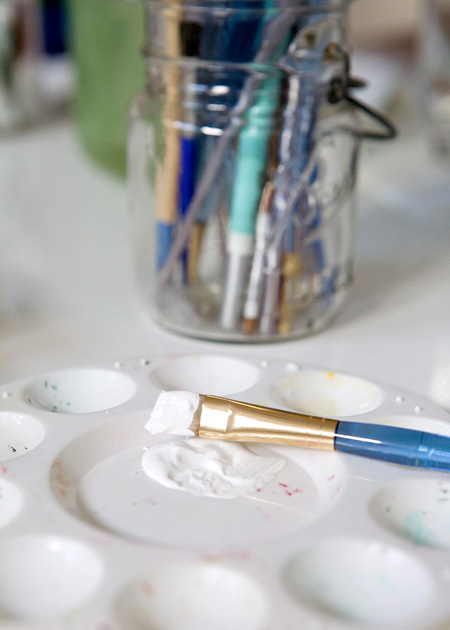
White acrylic paint and flat brush, ready to go.
–
 All painted in. I think it required two coats.
–
 Before the second coat dried all of the way, I carefully peeled off the mask.
–
Now while painting them was rather enjoyable for me, these next steps are the part I really love to do….
 But I didn’t really photograph those steps. :/ Sorry! It’s easy enough to tell you about though.
I’m talking about sanding and aging the blocks.
To sand, I used 100 grit sand paper on a sanding block. I use the sanding block because it keeps my sanding surface flat and hard, for my uniform sanding. Also, it’s a lot easier on my fingers, which get torn up very easily. Where do I sand? I like to hit the surface, to wear that a little. But I really go at the edges and corners, where they would normally wear the most.
But after sanding, we are left with clean, bare new wood. Not good, for antique blocks. Right?
So next I rub around some dark wax, with an old t-shirt rag. I-love-this-stuff! It really does age the look of the paint, and just dirty things up just right.
You rub it on and essentially, rub it back off to. While working not as hard to get it off, where you want to leave more.
Make sense? The stuff is messy, as you might guess from that rag up there. And it stinks to high Heaven. But, somehow I don’t mind it much, working with it. It’s like the smell of creativity, at work!
 Here’s a closer look at the effects of my sanding and waxing . . . .
And now, my blocks all on display . . . .

Ta-DAAA!!! I was so happy not to have to put my blocks away, to make room for some Thanksgiving decor.
I’m already pondering making more block sets for other holidays and seasons. In fact, actually, I already have a set for spring (in a very different finishing style and size) I made last year and never shared. I plan to come spring though.
But, back to the here and now.
–
 Because it’s the details I worked so hard for (in a fun/playing sort of way), that make these blocks look like maybe one of our grandmothers passed them down to us, I couldn’t stop photographing them . . . .
 Ok enough of that. Now, you can skip this little story-paragraph if you want, right down to after the next photo.
But I’d like to explain the story of the 10th block:
For weeks, I only had 8, and then 9, blocks. Because that’s all there was at the store! In fact the first trip, I bought none, because there wasn’t enough to spell what I wanted! I needed 10 to do this project. I inquired though, and the lady assured me that if they were low, more was coming in the next day. So I returned the next day, and there were still only 8!! So I figured…I need to buy those, so they be sure to get more! (Because supposedly, it’s all electronic.)
Next trip, the bin there was still empty. I was desperate!! So I plopped down on the floor and pulled out all of the other sized blocks onto the floor, hoping to find some 2″ers in the wrong bin.
And I found ONE!! ARRGGG!! So I worked with the 9 I had. I got those all done, and had enough to make my HAPPY FALL. But I’d need that last one to complete GIVE THANKS.
Finally, a new shipment of them came in, and I got my last block, which I did start to finish, all by itself, just in time. It was the “A” in THANKS.
What to do with the other side? . . . .
 I made an exclamation point! To use from then on, with my HAPPY FALL(!). Because if you all know me, you know it’s worthy of an exclamation point. I do love Fall, that much!
If you love what I’ve done here, believe me when I say, (if you have a vinyl cutter of any kind), you can do this! And if not, other crafters will love you for sharing the idea!
So go ahead and PIN the image below on Pinterest, share on Facebook – whatever!!
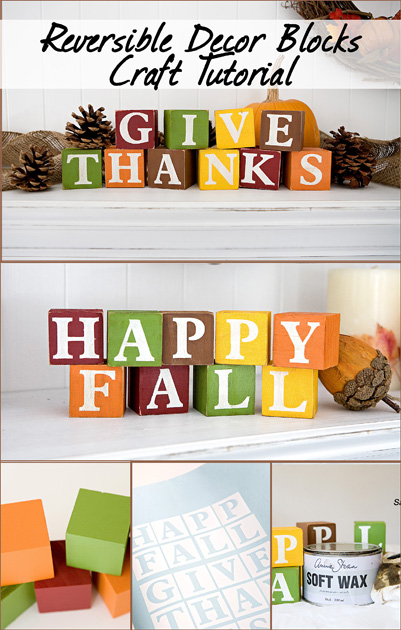
That’s a wrap for projects for this season this year. ( I think. 😉 ) Time to start thinking about Christmas!
Thanks for making my day, and coming by!
Hope you take a moment to share your thoughts, and say hello!
~Laura
A Custom Fall Decor Sign
The details of the season of Fall inspires me so much!
This time, it was to make a custom fall decor sign for our home.

–
I was going through some scrapbooking supplies recently, when I came across a handy little quote book. Naturally I took the opportunity to take a break from the big task at hand, to read through it, because I was sitting in the middle of an overwhelming mess. One of the quotes I came upon expressed some of the many little things I so love about the season of Fall, and I was immediately inspired to use that quote as a custom sign for my home decor. The quote read:
Scarecrows, corn rows, pumpkins on the vine.
Leaves curl, wind swirls, Fall is right on time.
There was no credit to the quote, so I did an internet search. I found the quote has been widely utilized, which tells me I’m not the only one this beautiful little phrase speaks to. I had just never heard of it before. Still, I found no credit, or else I would feel compelled to give credit where credit is due! (It’s only right to, Folks.) Whoever you are though, thanks for such a lovely expression of the picturesque moments of Fall, and for the inspiration!
Here is a look at the finished sign, and then I thought I would share the makings of it with you today.
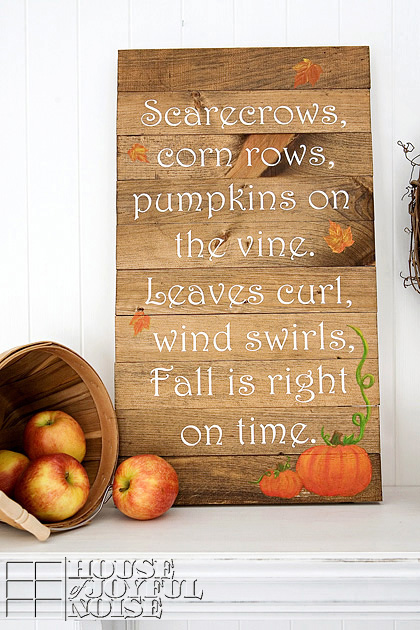
My mental vision of the sign was instant, really. There was no brainstorming session, although I did sketch out on paper the structure of the sign I was asking Michael, my husband, to build. Could I do these things myself? Yes, but why would a girl, when a girl doesn’t have to? It would take me so much longer, and it probably wouldn’t come out as perfectly. Michael is happy to whip up these things for me in astonishing time, when I ask, and I say that with much appreciation.
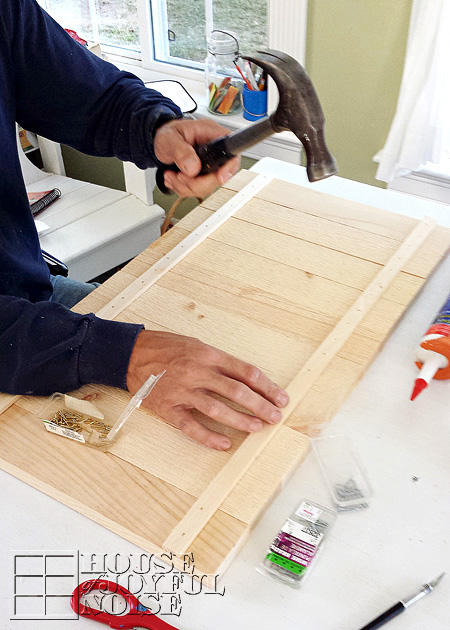
The 14 x 25″ sign consists of 10 2.5 x 14″ slats of wood, secured together on the back as seen above, with 2 little strips of pine.
–
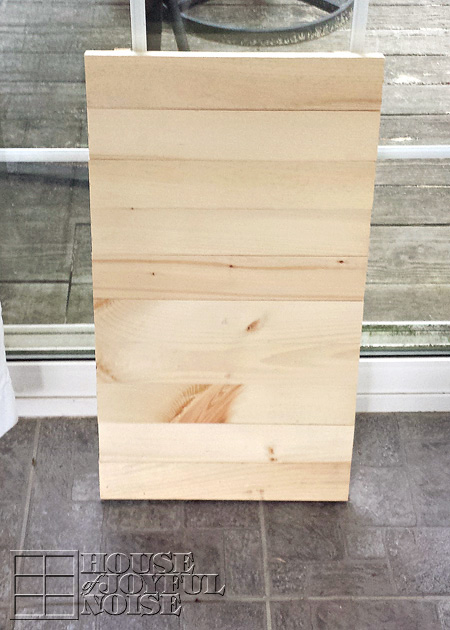
Finish build, and ready to stain.
I chose a dark stain.
(Minwax brand; Provincial)
The lettering was laid out in design to have a line of text on each slat of the sign, with a spare slat at the top and bottom, for any artwork.
The lettering was cut out and applied in vinyl.
My vision also involved some hand-painted artwork on the sign. Oh, these grand ideas are always pulled off so very simply in our minds; aren’t they? 😉
I foresaw pumpkin vines climbing all the way up the side of the sign, and many leaves, swirling everywhere.
But my physical execution of painting these things, proved to be a bit more challenging than I managed so beautifully, mentally.
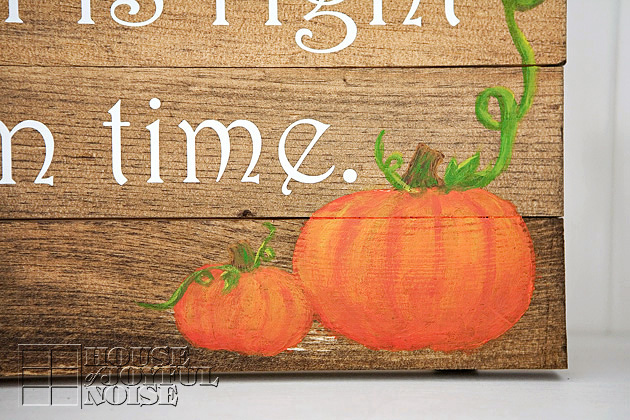 While, after much effort, I don’t think my pumpkins came out too bad in the end, my vines didn’t climb quite as high and wild, and I acquired far fewer leaves swirling about, than I had hoped as well. Still, I am happy with the simplicity of the final outcome.
I’m also encouraged, because I realized when I was all finished with the painting project, that I really worked with a difficult medium. They were acrylic paint tubes I had around and found in a baggie, but really poor and cheap quality. They were very soft and clumpy, which really made it challenging to paint smoothly, and the paint application itself did not have any longevity for longer strokes. Having painted with my more high quality acrylic paints on another project some days later, I really saw and experienced the difference, and I won’t make that mistake again. I look forward to trying my hand at some more hand-painted work soon, with more cooperative paint, and I suspect I’ll have a more enjoyable time in the midst of it, with more pleasing results.
Nonetheless, I do love my sign, and believe I will include it as part of our Fall decor for many years to come.
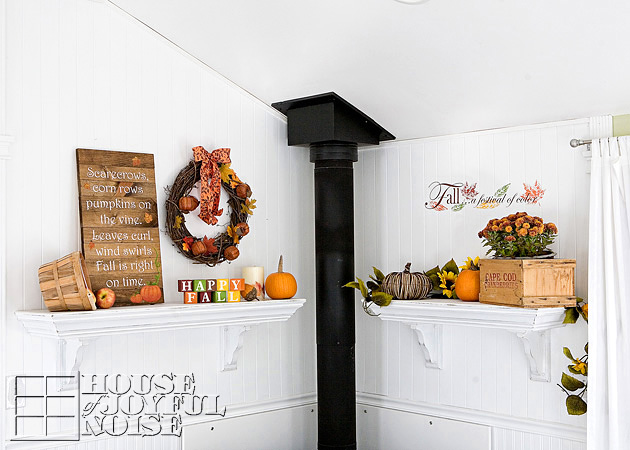 If you saw the tour of our Fall decor mantels post, you may have noticed the sign then. It was one of four handmade items included on the mantels.
Did you guess any of the others?
I hope this inspires you to try making some simple signs yourself, or purchasing some to include in your own home decor.
~Laura
Please come follow me here and there:
Our Fall Mantels 2013 | Home Decor Ideas
Today, I wanted to share with you our mantels, decorated for Fall! Alright, so I realize Fall is a month in here, and many are maybe so over it. But you know….there is two months more of the Fall season to go, you know! (Can you even believe it is the Fall season until December 20th?) Yes, in the bloggers’/crafters’ world, I could be a little late with this. But that’s OK! I figure, you can pin it for some ideas on Pinterest for next year! Or find a little inspiration in it for your Thanksgiving mantels. Regardless, I am really enjoying the mantels I put together for our home decor and for my family, and I hope you enjoy seeing them as well.
By the way, I actually did ‘Back-to-School’ mantels, you never got to see. YET. That’s a season shorter lived than Fall! BUT….take heart, I did take photos to share with you next year, in a timely manner, that would allow time to be inspired. But let’s get back to our mantels decorate for Fall here, shall well?
Here’s an overview of our Fall double mantels.
 Can’t tell you how much I love having double-mantels.
–
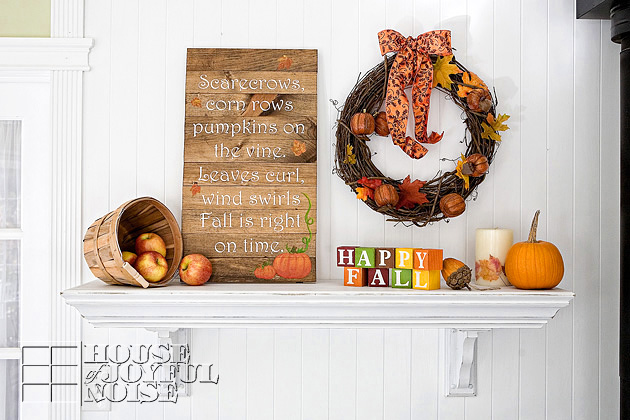
A closer look at the first mantel….
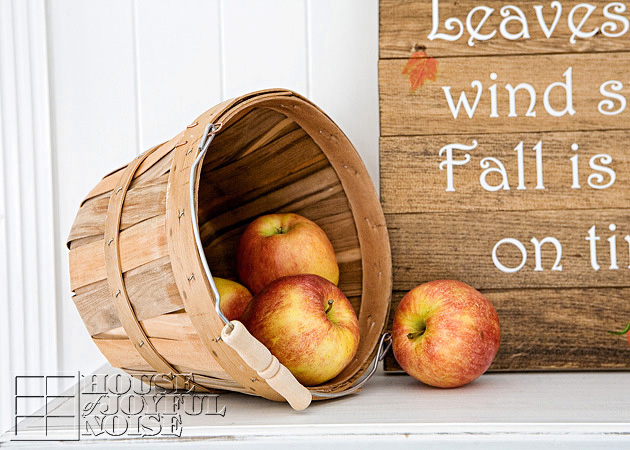 Now for some details . . . . . . (I so love details . . . .) . . . .
By the way, I made four of the objects on this mantel. I’ll discuss a little about them along the way here. Pay attention if you care to. 😉
A simple basket of apples. Which wasn’t quite as simple as you think. You see, my Fall mantels have been done for some time, except for one project I was working on. So while I wanted this basket of apples to be part of my decor, I also wasn’t going to make it off limits for my kids to eat. Because….they just seem to always be hungry, always looking for food, and always eating. So I told them, “Hey, go ahead and grab an apple off the mantel whenever you want. I don’t want them on the mantel going bad.” Well, I think I had to buy more apples and resupply this basket four times already. And the cycle will continue until, well, I guess December!
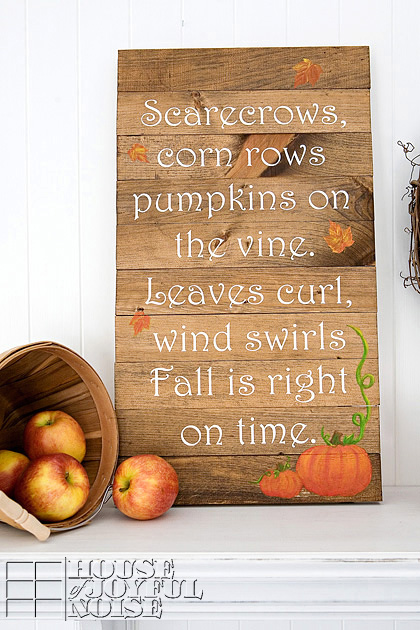
This sign; I did make it. I’ll do a separate short and simple post about it, such as what inspired it and how I made it, at some point soon.
I can tell you now, that I love it. It’s not quite as elaborately simple as I had intended….more simply simple in the end….but I love it nonetheless.
–
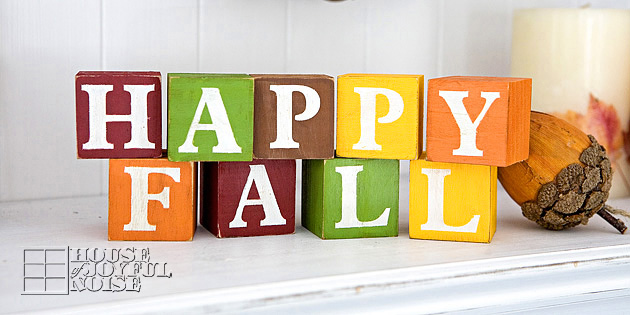 I also made this set of greeting blocks, which were so fun to make! And…..there is much more than meets the eyes with these! I can’t wait to show you how versatile they are! I took photos along the way, and will have a whole tutorial for you on this project as well.
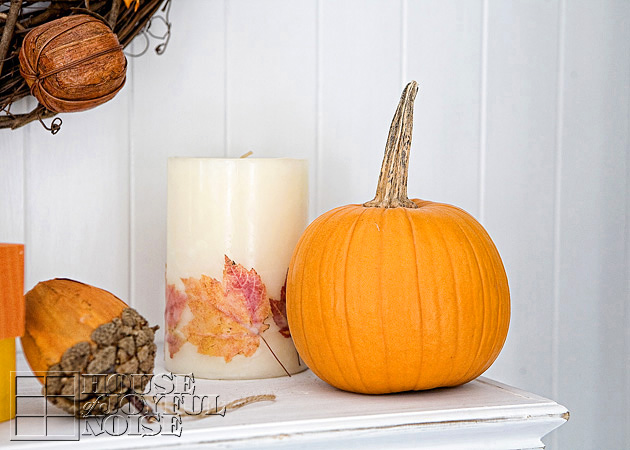 I did not grow the pumpkin, because, well, if you follow me on our Facebook Page (please come ‘LIKE’ us if you’re on Facebook!) you may know that our pumpkin patch bit the dust hard and early this year!
(Vine borers…..I despise them oh so much!)
BUT, I did indeed make the candle a bit behind the pumpkin, with real leaves embedded. I made two, and gave one to my sister.
You can find the post with directions about how I made them HERE.
This rustic Autumn wreath is the fourth homemade item I made last year, as of the date of this post Simple, simple, simple. It’s more….assembled, than homemade.
You can see just how I did that, what I used, and from where, in this post on this wreath HERE.
And that concludes the details of the first mantel.
–
On to the second mantel….
for which I made nothing for, with my own hands. But I can share some ‘where to get’ info, for this year anyway.
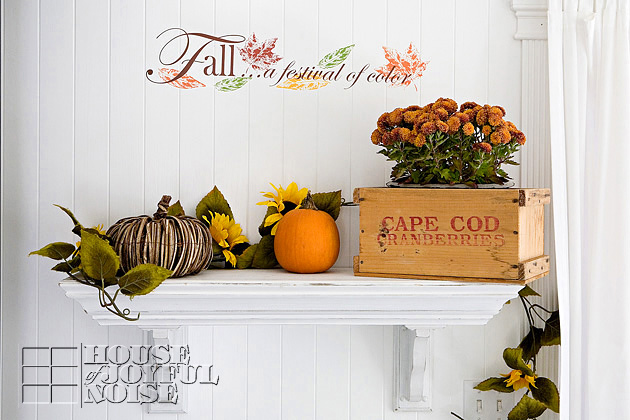 The overview, of mantel #2.
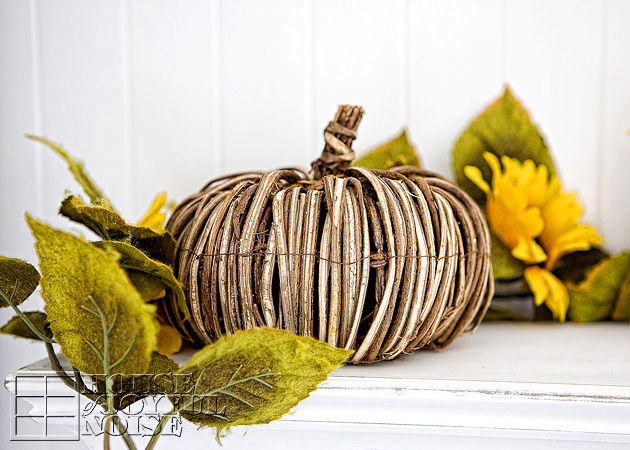 I spotted this pumpkin, adored it, and purchased it at the Home Goods dept of TJ Maxx.
I think it has a really high cute-factor, and I love the rustic qualities of it.
–
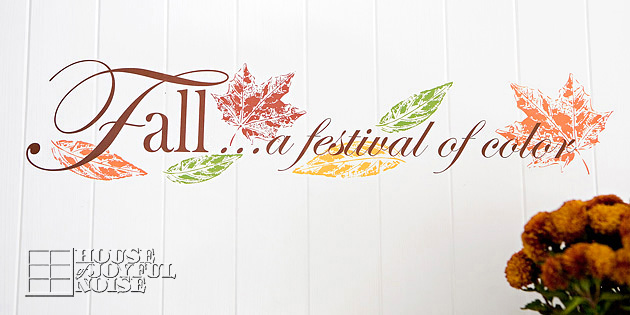 Now, you all may know custom lettering is at the snap of my finger! As my husband, Michael is a professional truck letterer / sign maker. But, I saw this wall adhesive at Michael’s Arts and Crafts, and fell right for it! It not only expresses one of the many things I love about Fall, but I really loved the leaves accents. So while I could have asked Michael to whip this up for me, why, when this was $1.99! And ready to go!
Here’s what’s even greater about it: I had imagined I would stick it on one of our painted walls. But when I got it home, I just though the best placement for it, was within the theme of our mantels. I wasn’t sure how well it would work on the bead board though, with all of the grooves. So I was very pleased to discover it worked beautifully! And I was really impressed with how discreet the fact that it’s a one-piece adhesive, is. People come into our home and when they see it, they get right up close to try and figure out…how did we do that? LOL. It’s a cool thing, and a very nice accent for the walls behind mantels! I always try to have some accents on the walls, behind the mantels, somewhere. Such as the wreath as well. It really just extend all of the beauty, and adds dimension with the various levels. It’s more pleasing to the eye.
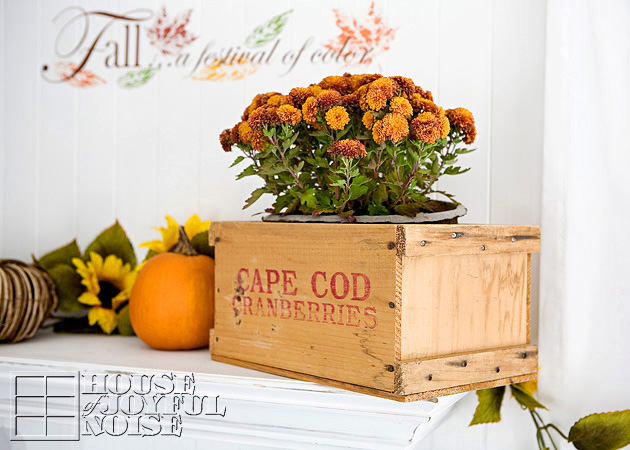 Lastly, I simply placed a pot of warm orange colored mums in an old cranberry crate Michael brought me home one day. (Actually, he brought me home two.) I love these crates, and I love that he found them in shed he was hired to clean out at the parish he was working for, and thought of me.
And that’s the end of our Fall mantels tour.
I may mix things up just a little for Thanksgiving, but I haven’t decided yet. I do know that I am enjoying my mantels as much as I dreamed, from putting them together through these various seasons, to the holidays we celebrate. I hope you’ve enjoyed seeing them as well, and have found any bits of inspiration in them, for any areas or even shelves in your own home. PIN away!
I plan to share the tutorials or details of some of the projects on mantel one, soon. So please share your thoughts, hopes, or questions of what you would like to know in those posts coming up, in our comments below! You are automatically notified by email if I reply to you, or if more fitting, I will address those questions in the posts coming up.
Hope you are relishing in all of the gifts of Fall, as much as we are!


