I’ve got one last Fall-themed project to share with you this season, before I move on.
You may remember I shared these happy Fall blocks in this post, in which I was giving you a little close-up tour of my Fall mantels. I mentioned that I had made these blocks, that they were more versatile than they appeared, and that I would share why when I got to that project post.
Well this is that post!
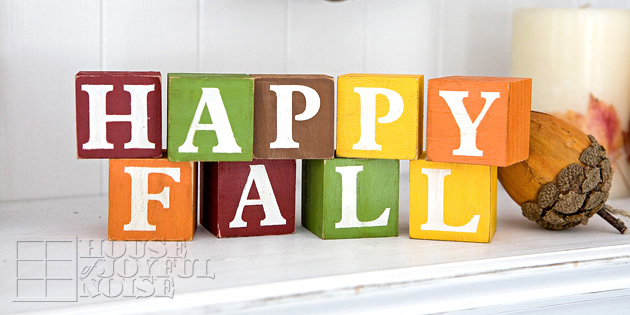 Here are the blocks already shown to you. They were created to look well worn, long loved, and a bit old.
Just how I like everything. 🙂
And shown here, are the blocks backsides . . . .
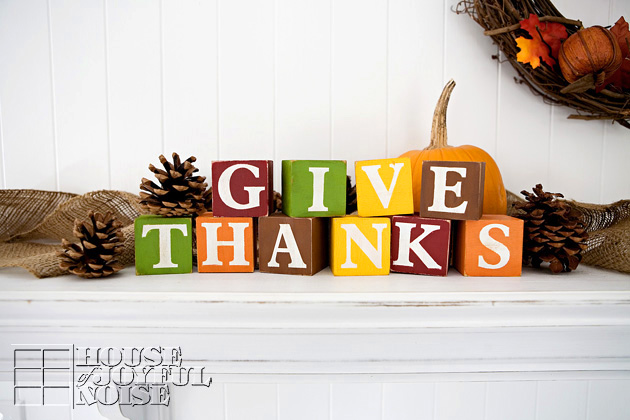 I made the block to transition from every day Fall, to a Thanksgiving-themed message for those weeks in November.
What do you think? Nice surprise? Good idea? I was thinking so!
They are really simple to make. I just found making these blocks fun and relaxing.
I tend to get a little Zen, working in my studio anyway.
So if you think you’d like to make some, sometime, I’m going to show you just how I did it, right now.
–
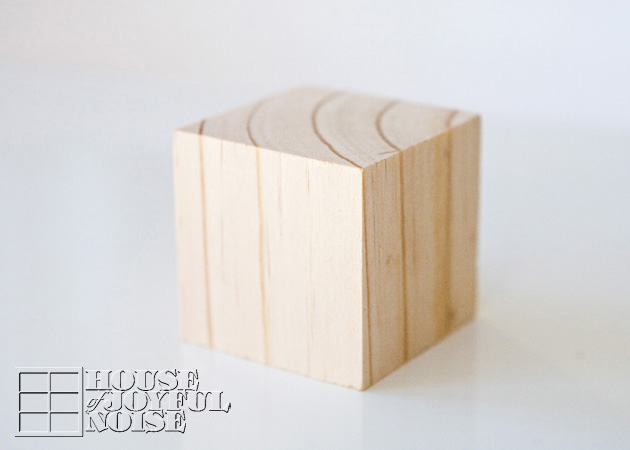 I started out with 10 blocks, just like these.
Well, actually, I started out with 8 blocks just like these. Then 9. And finally 10. But that is a frustrating story I’ll tell you about later on. But the project took 10 blocks, anyway.
These simple wooden blocks come in various sizes; these are the 2″ blocks. I got them at A.C. Moore’s. They are not available at my local Michael’s, anyway.
They are smooth and finished-feeling on 4 sides, except for what I considered the tops and bottoms.
–
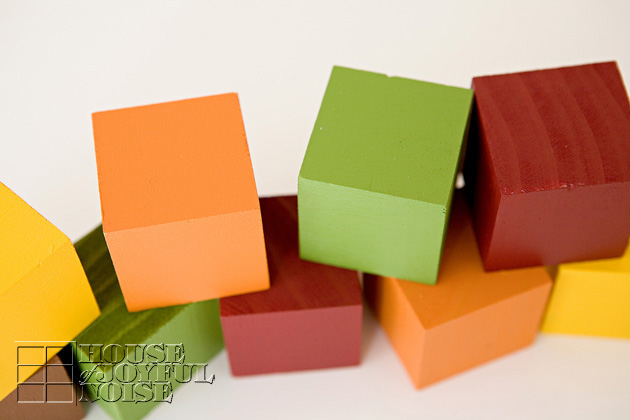 I chose my favorite Fall hues of acrylic paint, and painted them all. They did take two coats.
–

Next I had Michael cut two inch letters out of vinyl, and weeded out the letters.
–
 After covering that sheet with transfer tape, I cut each letter block to size.
–
 Peeling off the back, I then applied them well to a face of each block, one at a time with a squeegee, and pulled off the transfer .
It was important to make sure the rough surfaces were not used. The vinyl would work as a mask.
–
 I had a pile of scraps that looked like I had been working really hard, so I photographed it, and left it for awhile. 🙂
–
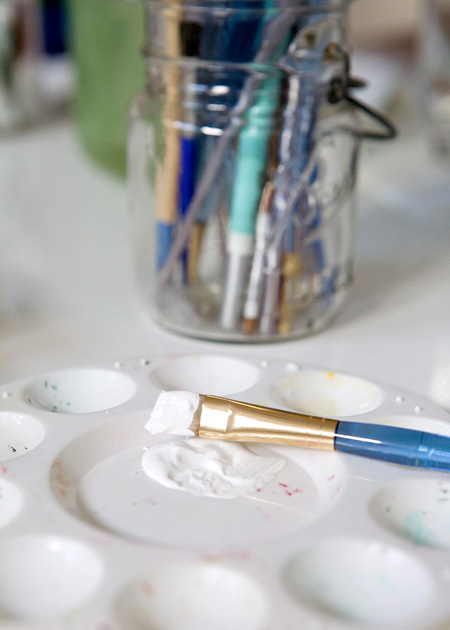
White acrylic paint and flat brush, ready to go.
–
 All painted in. I think it required two coats.
–
 Before the second coat dried all of the way, I carefully peeled off the mask.
–
Now while painting them was rather enjoyable for me, these next steps are the part I really love to do….
 But I didn’t really photograph those steps. :/ Sorry! It’s easy enough to tell you about though.
I’m talking about sanding and aging the blocks.
To sand, I used 100 grit sand paper on a sanding block. I use the sanding block because it keeps my sanding surface flat and hard, for my uniform sanding. Also, it’s a lot easier on my fingers, which get torn up very easily. Where do I sand? I like to hit the surface, to wear that a little. But I really go at the edges and corners, where they would normally wear the most.
But after sanding, we are left with clean, bare new wood. Not good, for antique blocks. Right?
So next I rub around some dark wax, with an old t-shirt rag. I-love-this-stuff! It really does age the look of the paint, and just dirty things up just right.
You rub it on and essentially, rub it back off to. While working not as hard to get it off, where you want to leave more.
Make sense? The stuff is messy, as you might guess from that rag up there. And it stinks to high Heaven. But, somehow I don’t mind it much, working with it. It’s like the smell of creativity, at work!
 Here’s a closer look at the effects of my sanding and waxing . . . .
And now, my blocks all on display . . . .

Ta-DAAA!!! I was so happy not to have to put my blocks away, to make room for some Thanksgiving decor.
I’m already pondering making more block sets for other holidays and seasons. In fact, actually, I already have a set for spring (in a very different finishing style and size) I made last year and never shared. I plan to come spring though.
But, back to the here and now.
–
 Because it’s the details I worked so hard for (in a fun/playing sort of way), that make these blocks look like maybe one of our grandmothers passed them down to us, I couldn’t stop photographing them . . . .
 Ok enough of that. Now, you can skip this little story-paragraph if you want, right down to after the next photo.
But I’d like to explain the story of the 10th block:
For weeks, I only had 8, and then 9, blocks. Because that’s all there was at the store! In fact the first trip, I bought none, because there wasn’t enough to spell what I wanted! I needed 10 to do this project. I inquired though, and the lady assured me that if they were low, more was coming in the next day. So I returned the next day, and there were still only 8!! So I figured…I need to buy those, so they be sure to get more! (Because supposedly, it’s all electronic.)
Next trip, the bin there was still empty. I was desperate!! So I plopped down on the floor and pulled out all of the other sized blocks onto the floor, hoping to find some 2″ers in the wrong bin.
And I found ONE!! ARRGGG!! So I worked with the 9 I had. I got those all done, and had enough to make my HAPPY FALL. But I’d need that last one to complete GIVE THANKS.
Finally, a new shipment of them came in, and I got my last block, which I did start to finish, all by itself, just in time. It was the “A” in THANKS.
What to do with the other side? . . . .
 I made an exclamation point! To use from then on, with my HAPPY FALL(!). Because if you all know me, you know it’s worthy of an exclamation point. I do love Fall, that much!
If you love what I’ve done here, believe me when I say, (if you have a vinyl cutter of any kind), you can do this! And if not, other crafters will love you for sharing the idea!
So go ahead and PIN the image below on Pinterest, share on Facebook – whatever!!
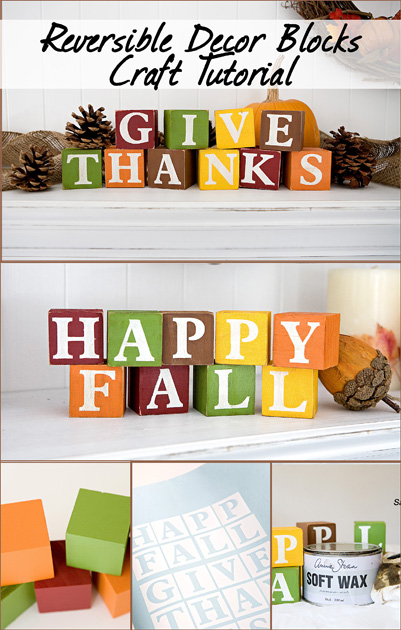
That’s a wrap for projects for this season this year. ( I think. 😉 ) Time to start thinking about Christmas!
Thanks for making my day, and coming by!
Hope you take a moment to share your thoughts, and say hello!
~Laura

I work with a group of girls and I want to make these but I am thinking of using the actual vinyl cut out letters. Maybe midge lodge over them instead of wax?
Hi Ann Marie,
I think your idea of using vinyl cut out letters over painted blocks and then Modge Podge’ing (?) them would work fine. What a fun idea for the girls.
Have fun with this project!
– Laura / House of Joyful Noise blog
Your blocks look great. I would love to try it myself so I’ll be on the look-out for supplies.
Glad to hear you’re inspired, Linda! Just think of the possibilities, with all of the other holidays/seasons! I’ll be making more, myself. It’s a real fun craft project.
Laura / House of Joyful Noise blog