
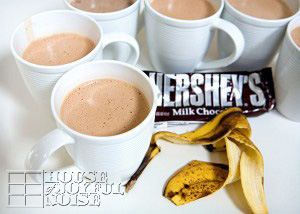
If you love chocolate and bananas, you just might love this hot sweet treat, in a cup: Banana Cream Cocoa.
I do love chocolate. Don’t all women? I also love bananas. But somewhere along the way, I saw a pattern, and realized eating raw bananas is not a good idea for me. My stomach goes to hell and back, trying to digest it. Lots of pain involved. (Does anyone else have this issue?). But, I can eat bananas cooked in all other forms: banana bread, banana nut crunch, banana pancakes, Banana Hannah, (just kidding. Wasn’t me. Swear.) And once upon a time, I loved eating chocolate covered bananas. Oh how I loved those. So Banana Cream Cocoa sounded good to me! We made some yesterday.
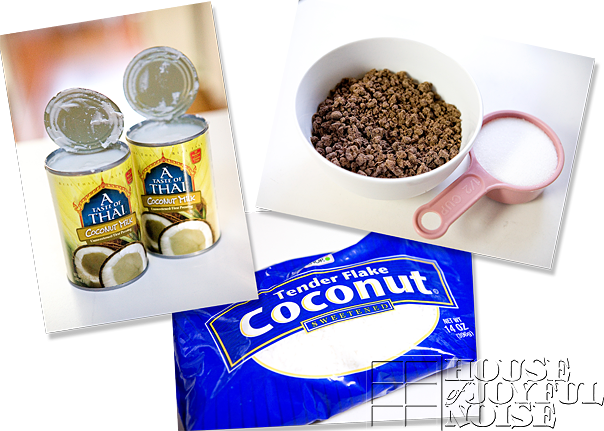
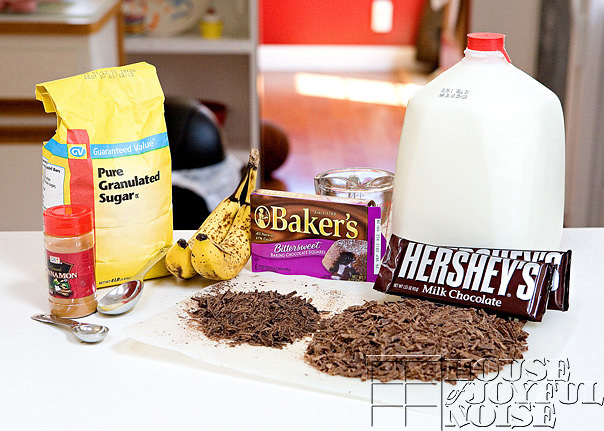 Participating Ingredients:
- 3 cups milk
- 1 chopped banana
- 2 Tbsp. sugar
- 1 tsp. cinnamon
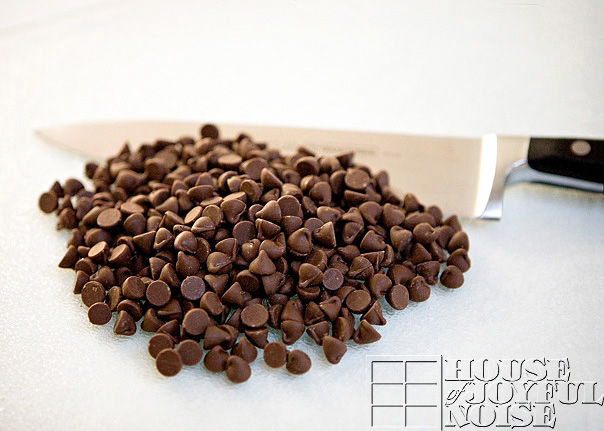
- 4 oz. chopped milk chocolate*
- 1 oz. chopped bittersweet chocolate*
*This time, we chopped chocolate bars with a serrated blade knife.
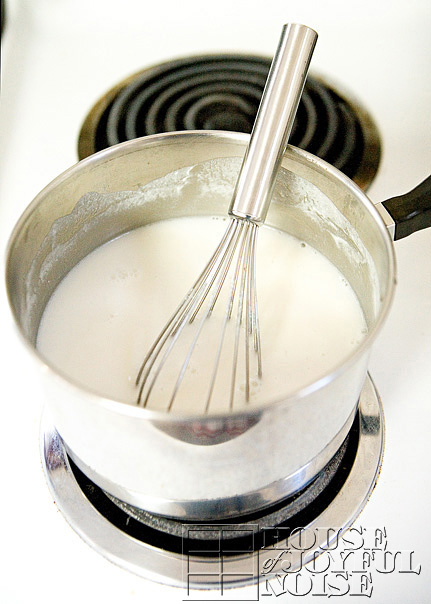
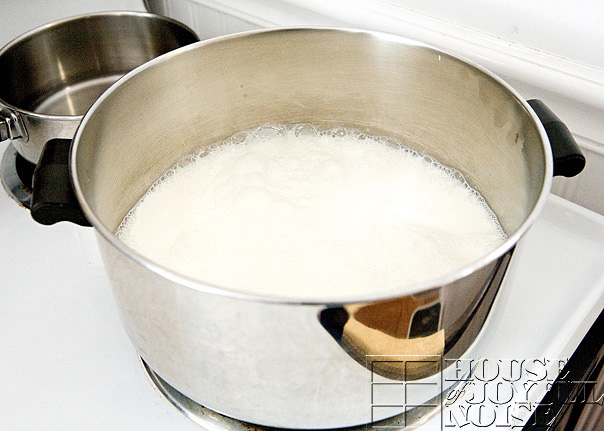 Bring 3 cups of milk…..
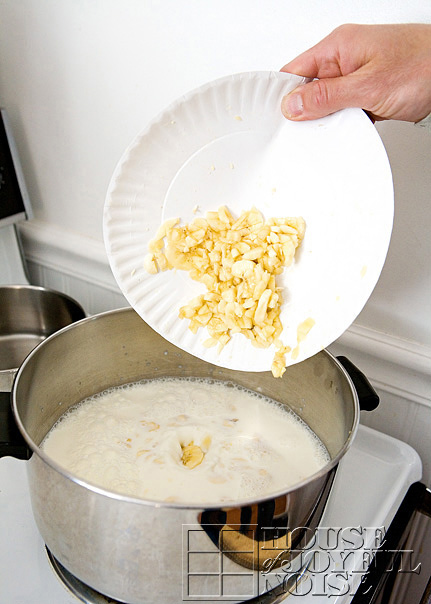
1 chopped banana….
–

2 Tbsp. sugar….
–
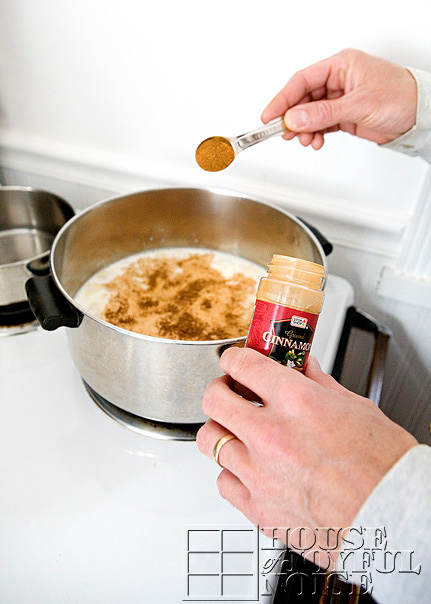
…and 1 tsp. of cinnamon to a boil, whisking frequently.
–
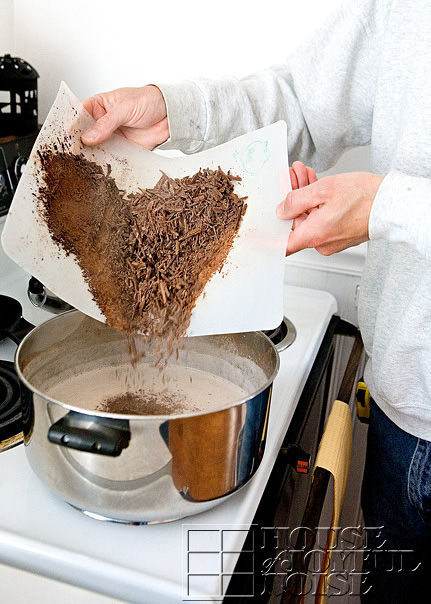
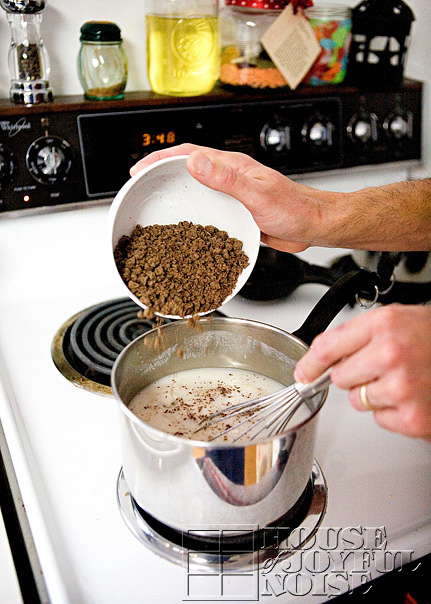
Add 4 oz. chopped milk chocolate, and 1 oz. bittersweet chocolate….
–
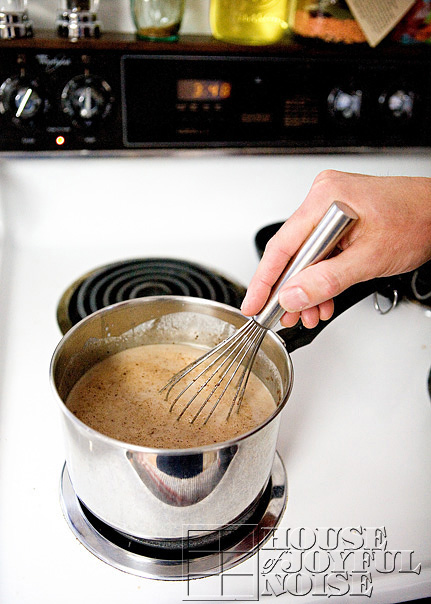
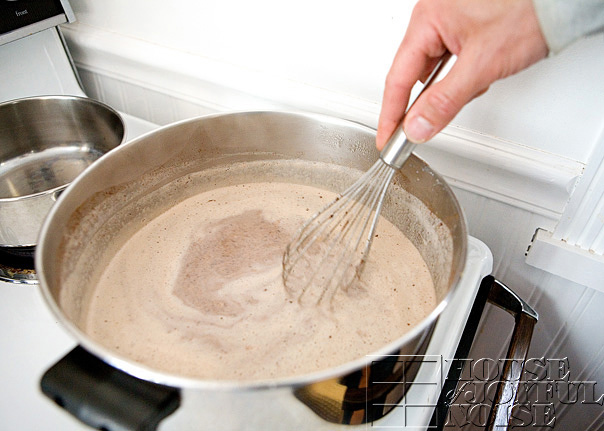 ….and mix some more.
…until all of the chocolate is melted nicely.
Remove from heat, and let sit 1 minute.
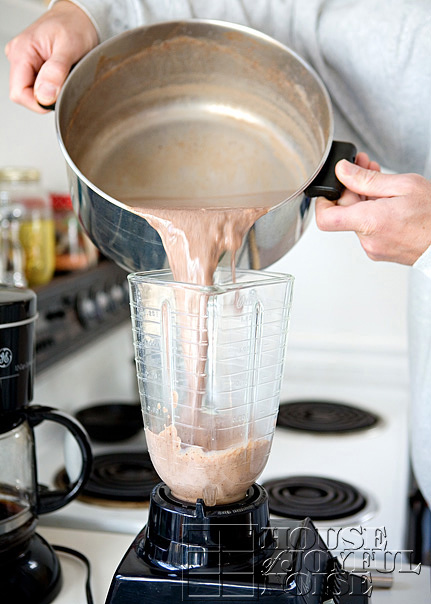
Pour mixture into blender….
–
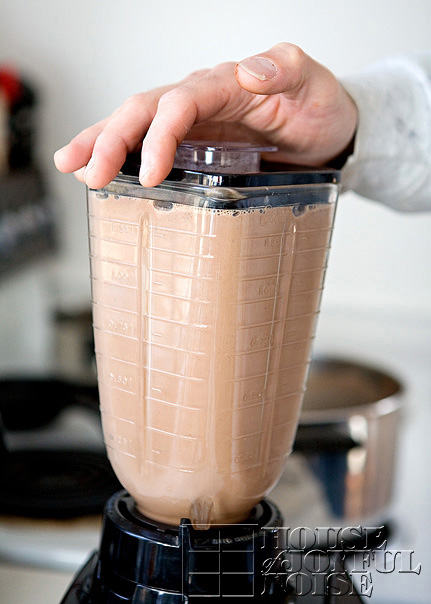
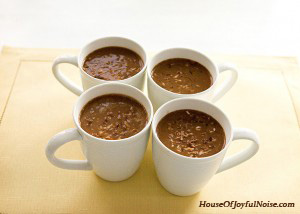
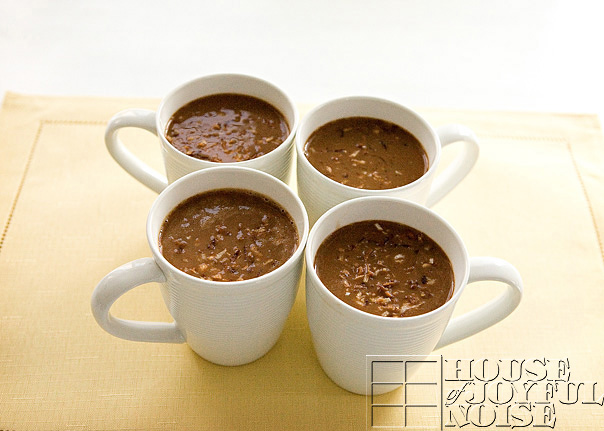
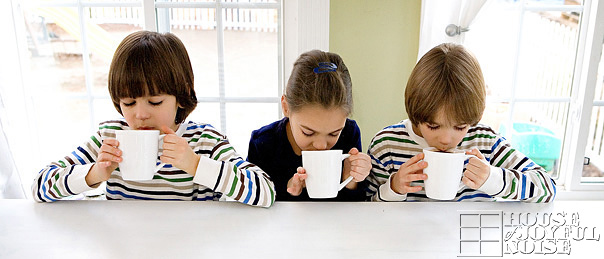
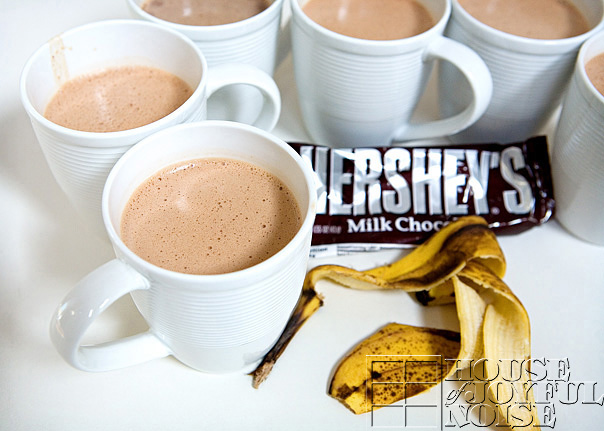 Divide into 4 mugs, and go bananas!
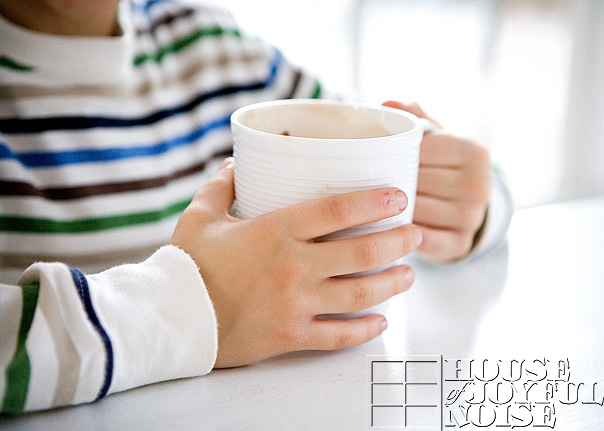
Note: My kids and husband loved it, but a couple of them did think it was very strong in banana, and maybe cinnamon, so you may want to cut those amounts-but of course it’s a personal taste. I found, when it cooled down enough in my mug, it was delicious!


