
I don’t know about you, but I just love my personal care routines! It’s a bit of ‘me-time’ that I embrace and look forward to each day. I choose to take my daily showers before a little reading time and bed every night, and it works out perfect for me. Because by the end of the day, I could not appreciate it and enjoy it any more than I do! I am usually exhausted by that time, both physically and mentally, and maybe even a little chilled to the bone, if I’ve been out and about in the freezing-cold temps that winter offers up around here. So that hot shower, and using my awesome smelling and soothing natural personal-care recipes, feels nothing less than a treat for me!
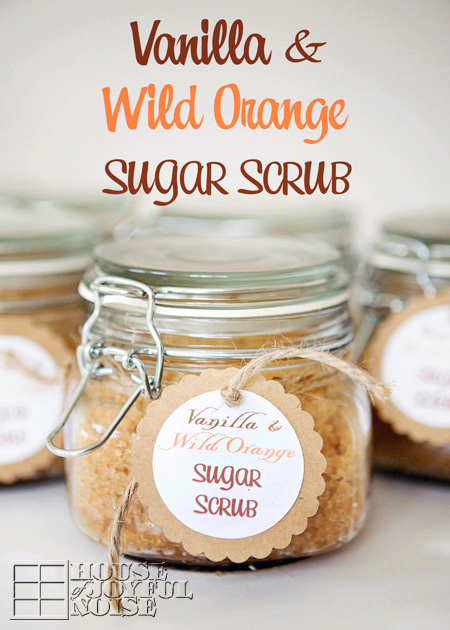
One of those recipes, is this sugar scrub, I am going to share with you today. You can learn how easy it is to mix some up for yourself, or as gifts! And just because I love you all, I also am sharing the tags I designed for the scrub. We gave tagged jars of this this as Christmas gifts last year, and they were a very big hit!
Now, I call it a recipe, but I don’t really have measurements for you. I just wing it. But please don’t let that scare you one bit, because:
1. I promise you, you can wing it, too! And…
2. You can’t even do it wrong!
So if those two bits of info don’t encourage you….I don’t know; you may be hopeless! And I can’t help you.
But be courageous! And try making some of this wonderful scrub for yourself, or someone you love. Because it’s really quite simple.
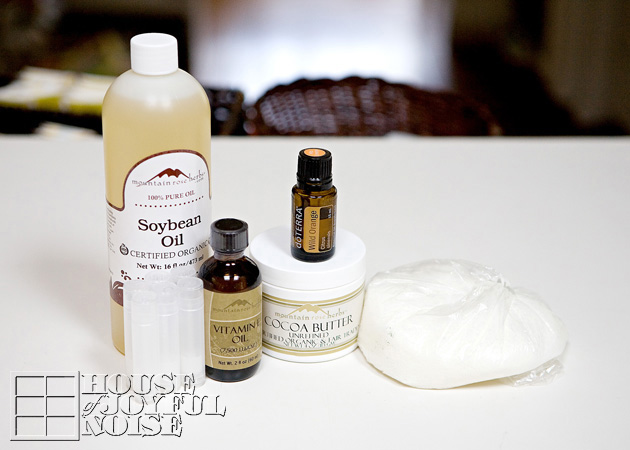
ALL YOU NEED:
Glass Containers with Sealing Lids (for shower storage)
Raw Sugar
Pure Vanilla Extract
*Grapeseed Oil
(*Or any natural carrier oil such as:
I prefer Grapeseed oil because if it’s benefits to the skin, and it’s rapid absorption rate.)
Wild Orange Essential Oil
WHERE THEY CAN BE PURCHASED:
Raw Sugar – Supermarket
Pure Vanilla Extract – Supermarket
Grapeseed Oil – Your local Health Food Store, Amazon or Rose Mountain Herbs
* Wild Orange Essential Oil –
* If you want Wild Orange essential oil and don’t have anywhere to get it, you can email me at TheRichardHome@aol.com, and I can direct you where to purchase some.

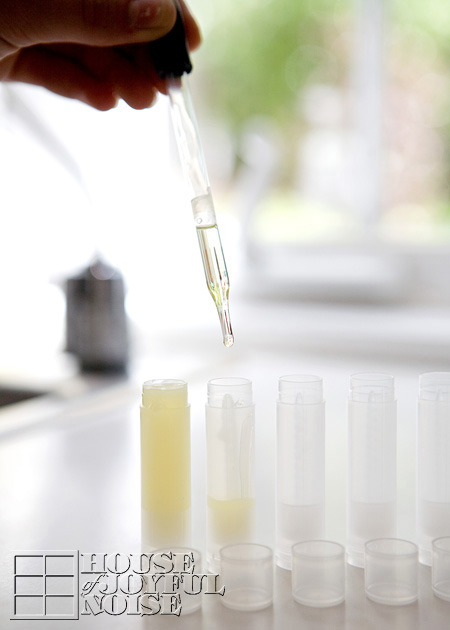
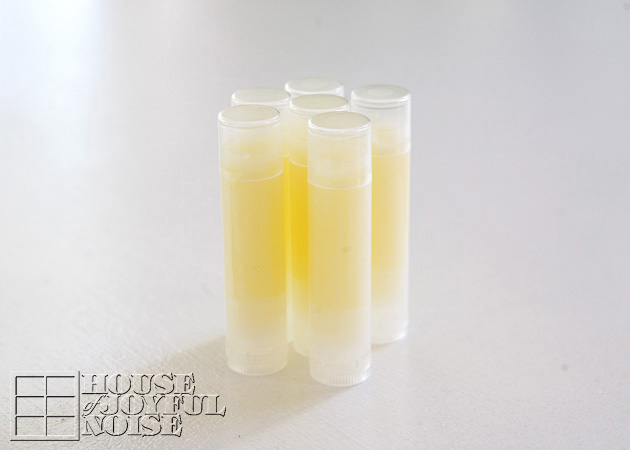
Note: We use our Wild Orange essential oil for all kinds of other things, besides in our scrub. We diffuse it (it’s *amazing* with Peppermint), we add a drop or 2 to our water, maybe to whatever we are baking, in our chocolate cake frosting, in our greek yogurt, in our homemade non-toxic house cleaners, in our air freshener spray, and to make our awesome Wild Orange Lip Balms. It’s a scent/properties that really lifts your spirits.
So for storing your sugar scrub, you can use any kind of glass containers, depending on the size batch(es) you want to make. But since they will likely be stored in the shower, or taken into the shower anyway, I highly recommend a container that has some kind of lid that seals tight, to keep water out while not in use. Consider: canning jars, jam jars, spice jars, etc.
TO MAKE THE SUGAR SCRUB
TO START: All you are going to be doing here, is combining and mixing the ingredients. So work in an adequate sized bowl. You are welcome to mix with your hands, with a large metal spoon, or use the help your Kitchen Aid. It really doesn’t matter. You just want to mix well as you work.
ADD the RAW SUGAR, in the amount that would fill the container(s) you are filling. A good tip would be to simply fill the container with the raw sugar first, and then dump it into your mixing bowls. Then you’ll have exactly enough! The benefit of the sugar is for exfoliation, but it also gives a nice scratch for itchy skin.
Option: If you’d like a sugar that is less course, using regular brown sugar works nicely as well.
SECOND, ADD the GRAPESEED OIL: How much is really an ‘eyeballed’ kind of thing. To help you gauge how much, remember that you want enough in there to see some saturation within the sugar, because the oil definitely holds some of the benefits of the scrub, to the skin. It’s moisturizing and soothing. Also, adding enough oil will help hold the sugar together more-so, to be able to scoop out and use it effectively, as opposed to loose sugar that is too dry. You just want a wet sugar consistency, to be able to handle with your hands. So those are your guidelines and line of thinking, when figuring out how much oil to add.
NEXT, ADD some PURE VANILLA EXTRACT: Just add a drop here and there over the surface of the sugar/oil mixture in your bowl. There are no therapeutic benefits to the vanilla except for the scent and nice coloring that results from it.
LAST, ADD DROPS of WILD ORANGE ESSENTIAL OIL: This is the best part! Wild Orange Essential Oil does have therapeutic benefits; it reduces stress and anxiety, and yet is uplifting to the mind and body! Again, add as many drops to acquire the level of scent you are wanting, also determined by the amount of sugar you are working with.
Smell to test! Does it smell awesome to you? It’s the combination of the vanilla and orange scent, that makes this scrub so amazing to the senses, so add a little more of this or that, and keep mixing, until it seems just right to you!
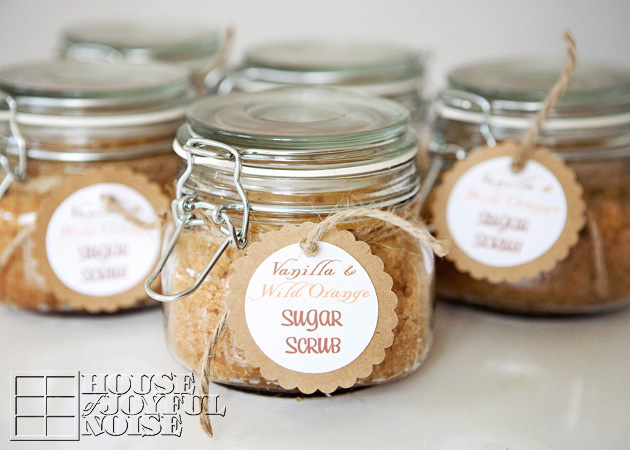 Our scrubs worked very well, in this style of jars, because it locks tight.
Want tags like ours?
Here you go! You can visit our DropBox and download them right from there!
The sheet shown below is only a low resolution sample, for you to see what your sheet of labels will look like.

Also you need to do is cut on the lines to get your individual labels, and use a round circle cutter or punch, to make them into circles. Then we used a wider scalloped punch on some brown paper, to attach and embellish the tag more, using sticky tabs. Use a paper punch to make a hole for your string. We tied them on with jute string, because I love that organic natural feel to it. But any ribbon or string will do!
It can be a beautiful and thoughtful gift, that someone will love you for! But be sure to make some for yourself. Because no doubt, it will feel like a treat to you, too. And no doubt, you deserve it!
<3


