• HOME
  • {A}’s Chipmunk Training Archives

 Homepage

  • The Homestead
    • Home Projects
    • Home Improvement
    • Home Decor
      • Seasonal Home decor
        • FALL Home Decor
        • WINTER Home Decor
        • SPRING Crafts and Creations
        • SUMMER Crafts and Creations
    • Our Chickens
    • Gardening
    • Organization
    • Re-Purposing
    • Furniture Refinishing
    • Budget
  • Crafts & Creations
    • Seasonal Home decor
      • FALL Crafts and Creations
      • WINTER Crafts and Creations
      • SPRING Crafts and Creations
      • SUMMER Crafts and Creations
    • DIY (Do-It-Yourself) Project
    • Kids Arts and Crafts
    • Homemade/Handmade Gift Ideas
    • Holiday Crafts
    • Fan Pulls
    • Free Printable/Downloadable
    • Sewing Projects
    • Giveaways
    • Business Features
  • Recipes/FoodFun
    • Breakfast
    • Lunch
    • Main Dish
    • Sandwiches
    • Appetizers
    • Slow Cooker
    • On The Grill
    • Side Dishes
      • Soups
      • Salads
    • Baking
      • Breads, Rolls and Muffins
    • Snacks
    • Treats
    • Desserts
    • Drinks
  • Homeschooling
    • Elementary Homeschooling
      • Elementary Homeschooling READING
      • Elementary Homeschooling MATH
      • Elementary Homeschooling LANGUAGE ARTS
      • Elementary Homeschooling SCIENCE
      • Elementary Homeschooling HOME ECONOMICS
      • Kids Arts and Crafts
    • Middle School Homeschooling
      • Middle School Homeschooling SCIENCE
      • Middle School Homeschooling HOME ECONOMICS
    • Language Arts
    • Math
    • History / Social Studies
    • Geography
    • Foreign Language
    • Field Trips
    • Games
    • Nature Study
  • The Big Picture
    • Life In General
    • Celebrations
    • Faith
      • Into the Light; The Series
    • Giveaways
    • Reviews & Sponsors
  • Photography & Lettering
    • Photography
    • truck lettering
    • vehicle graphics
    • Newborns
    • Kids
    • Engagement
    • High School Senior Pictures
    • High School Senior Pictures Sneak Peeks

Heart Strings / A Valentine’s Craft

January 17, 2011 By Laura 49 Comments

If brilliant colors make you happy, and you love fun projects, then this Valentine’s craft is just for you!  We’re showing you just how to do it, step by step today!

heart-strings-valentines-craft-30

While my home is not completely decorated for the upcoming ‘month of love’ just yet, I knew it was time to get to some Valentine crafting! I happened to see this craft from Martha Stewart Living, and was inspired to try it ourselves, with a spin or 2 of our own on it.  By melting crayons in between wax paper, and cutting out hearts, some very cute Valentine’s decor can be made!  That Martha is a clever one, huh? ( Or, her creative team – whatever. lol.)  You can make this craft as quick and simply. or as involved, as you choose, and I am going to tell you the ways how.

Supplies needed:

  • Crayons, with paper removed (This craft is a great way to use up those old broken crayon pieces!)
  • A sharpener with a fat hole.
  • *Wax paper
  • Clothing iron
  • Brown craft paper, or brown paper bags (Just a protection layer for ironing.)
  • Hearts stencils or cookie cutters (2-3 sizes is nice.)
  • Pen or pencil
  • Scissors
  • Scotch-like tape

*  DO NOT substitute parchment paper for the wax paper. It is not the same thing, as parchment paper has teflon in it.

Other optional supplies, depending on what you want to do with your crafts decoration:

  • White cotton twine and food coloring. (Simplified option:  thin ribbon in white or any Valentine color.)
  • A clothing hanger, or a long tree branch

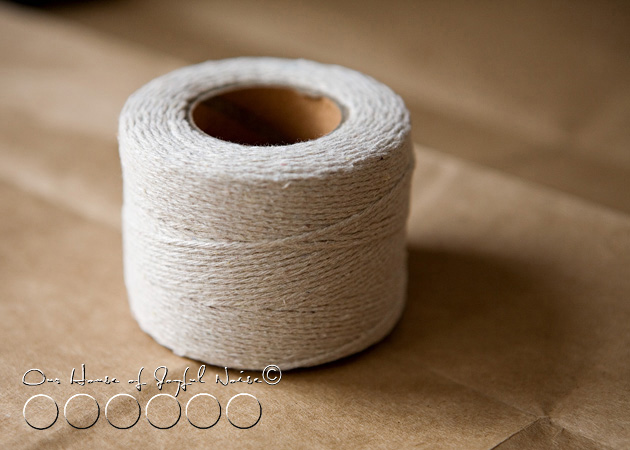
I intended to hang our hearts once they were done.  So instead of using some satin ribbon (which is simple and faster, if you want to go that route), I had this vision of hanging our hearts on dyed string, that varied in color.  So, with a roll of white cotton twine, and some food coloring, this is how I did it:
heart-strings-valentines-craft

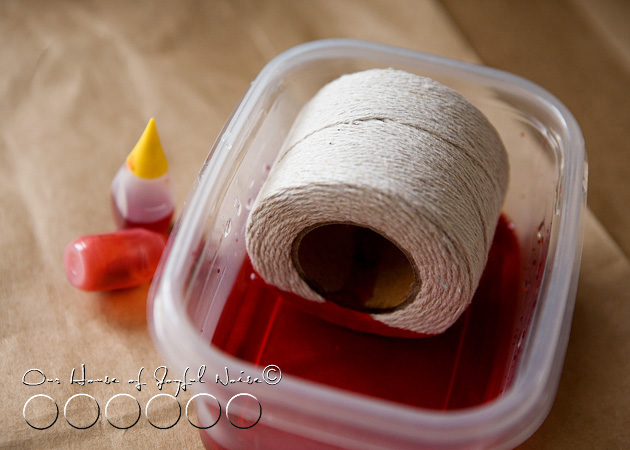
heart-strings-valentines-craft-1 In a plastic container, I added some red food coloring to some water, deep enough to soak the roll on it’s side to the cardboard roll core. I just let it sit for awhile, while I did other things,  until I thought it soaked through all of the layers of twine.  Then, I made orange and yellow soaks as well, letting a different side of the roll sit in each.
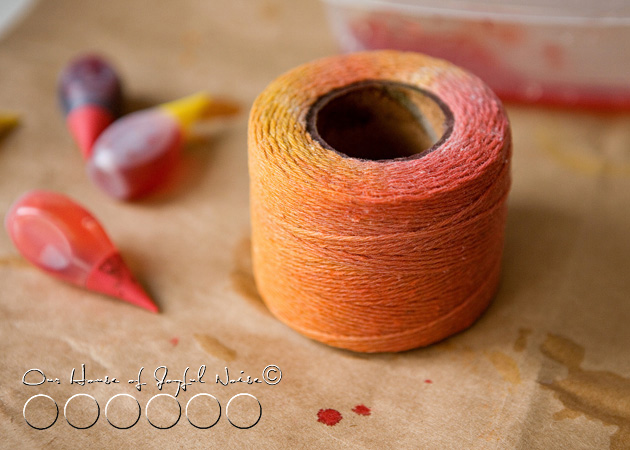
heart-strings-valentines-craft-2 I loved the results!   How pretty is that?
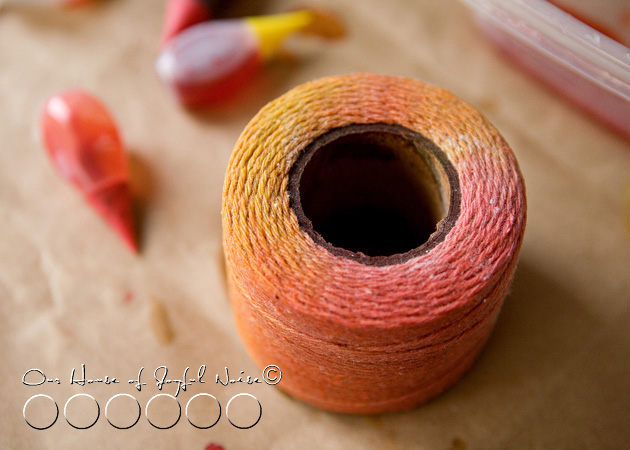
heart-strings-valentines-craft-3

I knew as the twine was pulled off the roll, the layers would get lighter, but that too would only help the variations in the string colors.  Now, all of this string is not going to dry on the roll all the way through, any time this year, but that’s o.k.  You’ll be able to use the string damp just fine, and it’ll dry hanging.

 

heart-strings-valentines-craft-4 But while the string roll was soaking in various colors, the kids and I got to making our hearts.
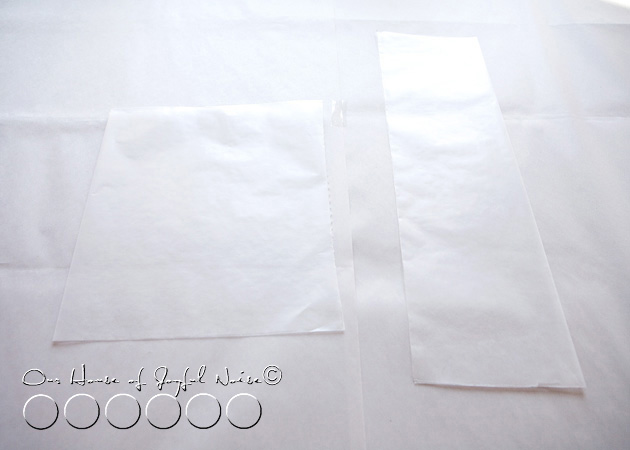
heart-strings-valentines-craft-6

Pull off a piece or 2 of wax paper, fold in half to make a good crease, and then open back up. . . .
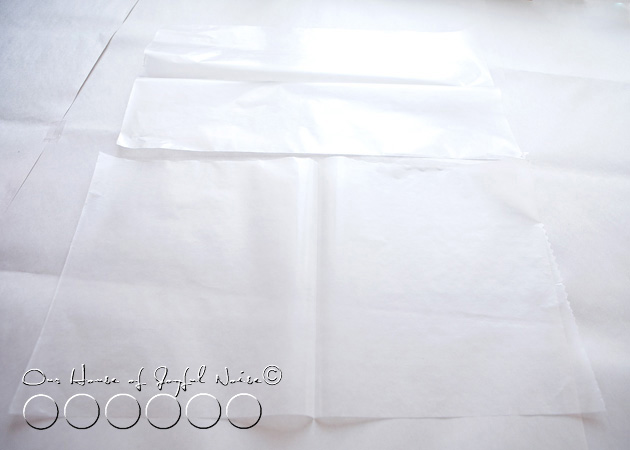
 

heart-strings-valentines-craft-5 What size piece you use depends on how many hearts you’ll want to make.  Remember, you’ll only be able to get hearts out of one half, as it will be ironed together soon, with crayon shavings in between.
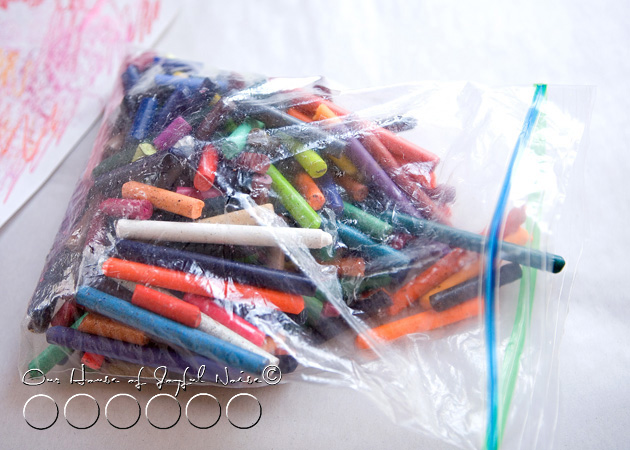
 

heart-strings-valentines-craft-7 Grab your old peeled crayons, and start choosing some great colors for Valentine hearts.  No need to stay with strictly traditional colors, such as red and pink.  Try some purples, raspberries, and even oranges and yellows!
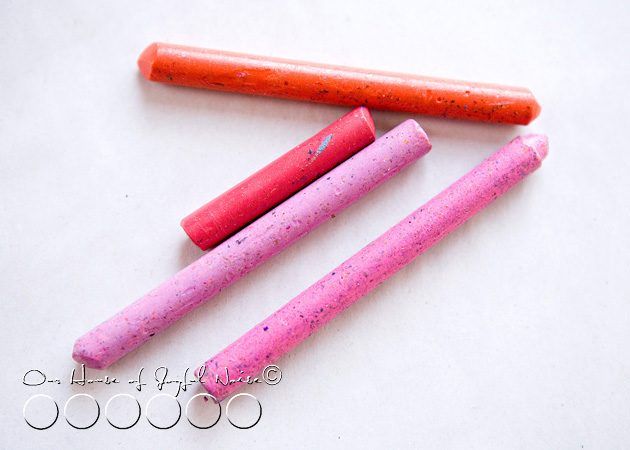
 

heart-strings-valentines-craft-8 Now, if your old crayons have been kicking around together for some time, as ours have, they are going to have yuckity-doo-dahs all over them.  Even as a kid, with me and my sibling’s bottomless bucket of crayons, I hated this.

So because I have had particular issues, long before I was a blogger, I have had a trick for this crayon problem.  And since you came to this blogger with issues blog, I’m going to share it with you.  : )
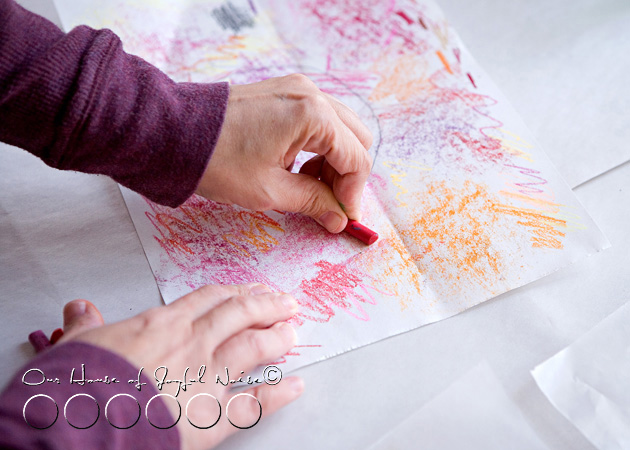
 

heart-strings-valentines-craft-9 Just lay the crayons down, one by one, on some scrap paper, and rub the yuckity-doo-dahs away!  I found this is also a good way to test what the color really looks like!!  Some crayons when used, do not look anything like the shade of the actual crayon!  So deceiving.
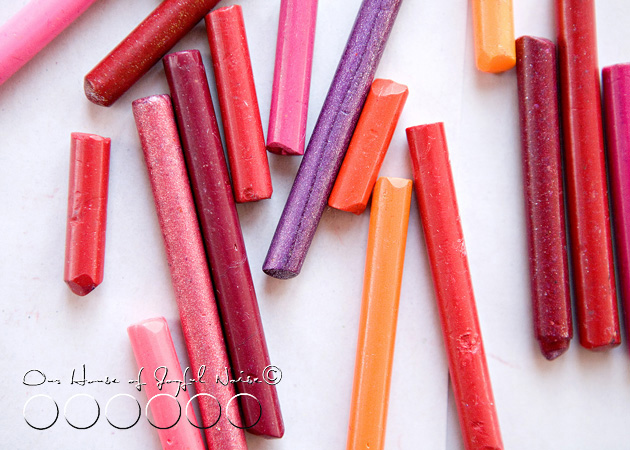
 

heart-strings-valentines-craft-10 Old crayons, like new:  Yuckity-doo-dah free!
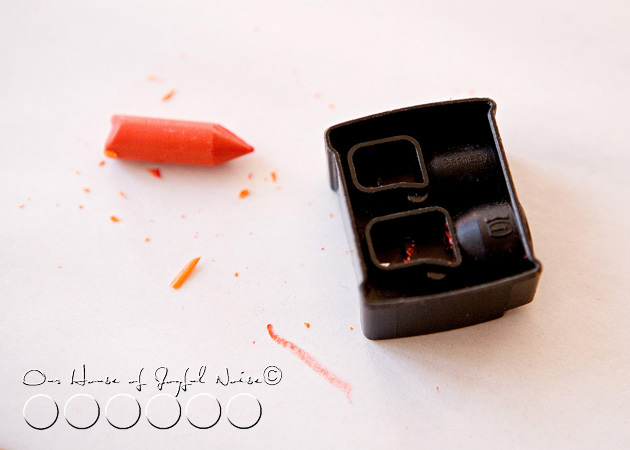
 

heart-strings-valentines-craft-11 To make crayon shavings, you need a sharpener of some kind.  Our little hand pencil sharpener did not have a hole big enough for a crayon, so we used my make-up one!  Thanks Lancome!

Now….you’ll need to iron on your table or other flat surface, so I highly recommend putting down some crafts paper to protect your surface, from both melting crayon, and the heat from the iron.

On top of the protected surface, lay your open wax paper pieces.
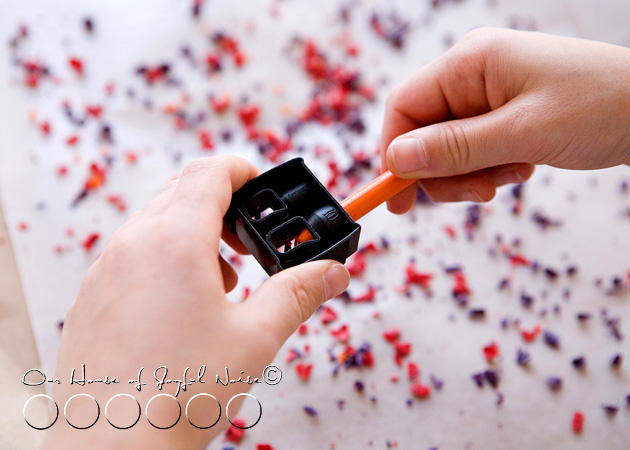
 

heart-strings-valentines-craft-12 Over only one side of your wax paper piece, sharpen your crayons and let the shavings fall onto the paper.  Each of my our kids did their own, and had their own unique colors combinations, which was going to make for a nice variety of colored hearts.

heart-strings-valentines-craft-13 Some of our crayons were metallic ones!!  So that was adding a whole new element of pretty!
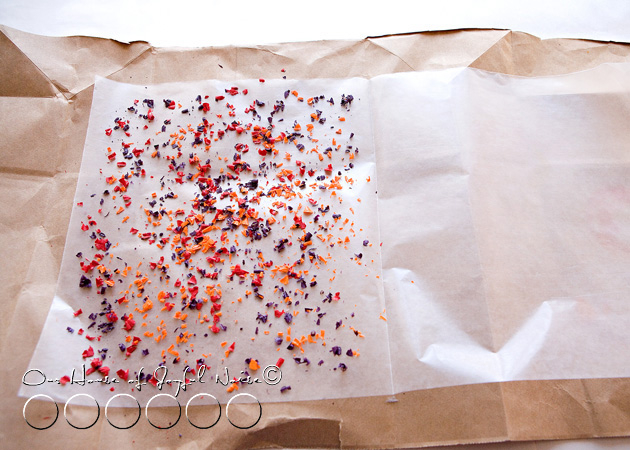
 

heart-strings-valentines-craft-14 Make sure you cover the whole side with shavings pretty well.  Brush any pieces in from the very edge though.
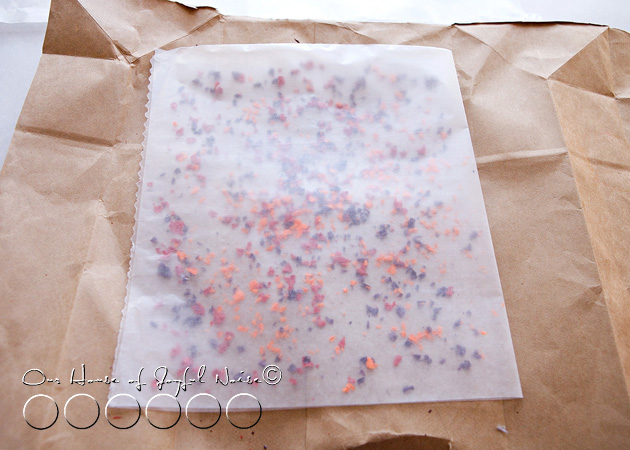
heart-strings-valentines-craft-15 Fold over the empty side of wax paper, onto the side with the shavings.

Now, Martha’s directions say to fold up each open side some, to keep the melting crayon in.  But, I didn’t want to waste any space, as we wanted to make lots of hearts, and some on the bigger side too.  So….I just made sure I was working on my brown paper bag.  (We also had other craft paper taped to cover our surface under that.)
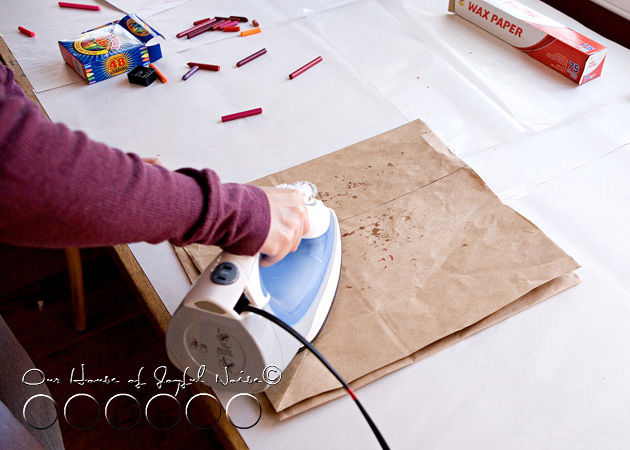
heart-strings-valentines-craft-16 Now, after putting brown paper on top of your waxed paper and shavings, you can start ironing.  What setting?  Good question!!  See, Martha said on a ‘medium setting’.  But guess what?  Our iron doesn’t have a medium setting!  So I set it between silk and wool, ; )  …. and adjusted the heat up or down from there.

As you can see, some oils from the crayons may seep through the wax paper and the brown paper.  It doesn’t cause any problems. Just make sure you clean the surface of your iron off when you are done with this craft, so it doesn’t transfer to your clothes!  What a hot mess that would be!   (Note to self:   Clean surface of iron from crayon craft!!)  (By the time I decide to iron an article of clothing, I’ll have forgotten I ever did this craft with it.)

As you iron, you’ll want to keep peeking,  to see if there are more shavings that still need melting in areas.
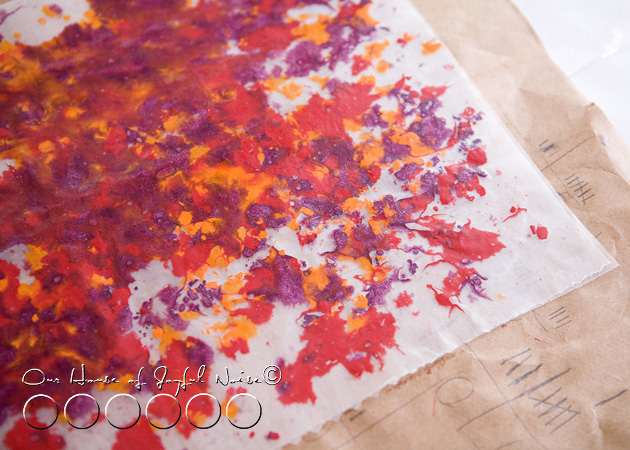
 

heart-strings-valentines-craft-17 Heavy in crayon wax…..but nice!!


heart-strings-valentines-craft-18 The next kiddo went with a lighter layer of shavings, for a new effect.  Or, his hands just got tired from sharpening the crayons.


heart-strings-valentines-craft-17 They were looking good!!  Just holding each of them up to the light, I could tell this was going to look super cool when we were done.
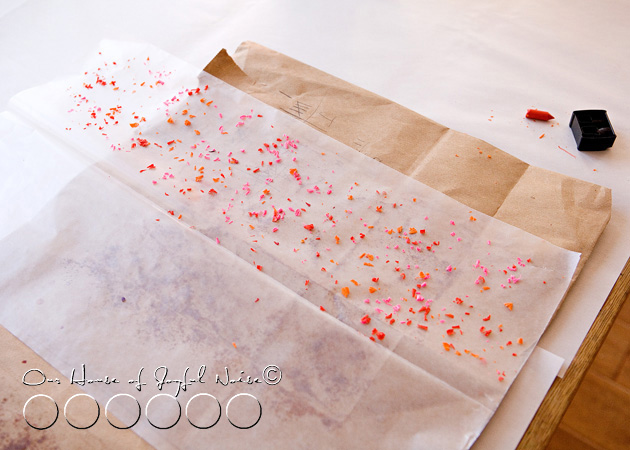
heart-strings-valentines-craft-18

I couldn’t wait to see what this one was going to look like, all melted.

heart-strings-valentines-craft-21 LOVE!!!


heart-strings-valentines-craft-22 Now, you may notice some bubbling or wrinkling in areas.  I’m not sure why this happened sometimes.  I was guessing maybe it was too much heat at times.  But since this was a fun crafts class, and not our Science class, we weren’t going to waste time running tests, to figure it out.  We decided it was a cool effect, and embraced it.

Next, came tracing hearts onto our waxed pieces, and cutting them out with scissors.
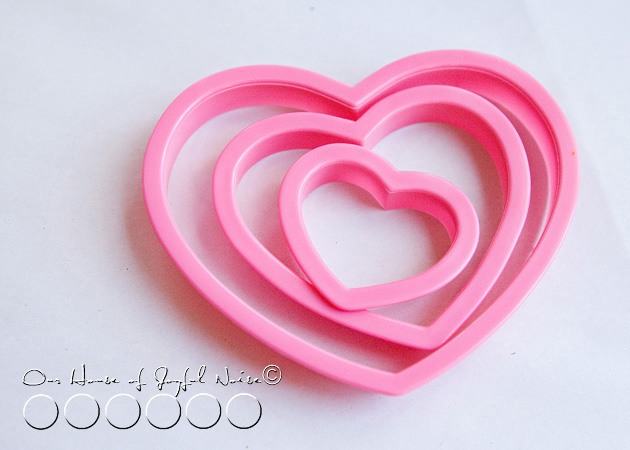
heart-strings-valentines-craft-19 We used simple heart shaped cookie cutters that we had, in 3 different sizes.  Just trace them using a pen or pencil, and then cut out on the heart shaped line.  I used a pen, and because I was using it on wax paper, it wouldn’t really write, which I preferred anyway.  I was able to see the tracing indention well enough to cut, just by tracing it a couple of times.    * I did not take photos of tracing and cutting.  I have faith you get the picture.

Nor did I take photos of exactly how we did the rest of our crafts.   BUT……Once your hearts are all cut out, there several things you can do with them:

1)  The easiest thing you can do, is just put them on your windows much like window clings, using a little transparent tape!  The hearts have a stained-glass look, and they would be beautiful  with the light coming through, and the colors so radiant.

2)  Another option, is using pieces of thin cut ribbon, tape one end to the back of each heart, and tie them to a clothing hanger at different lengths.  Instant Valentine’s themed mobile!!

3)  You can take it to the extreme, like we did…..
 

heart-strings-valentines-craft-23
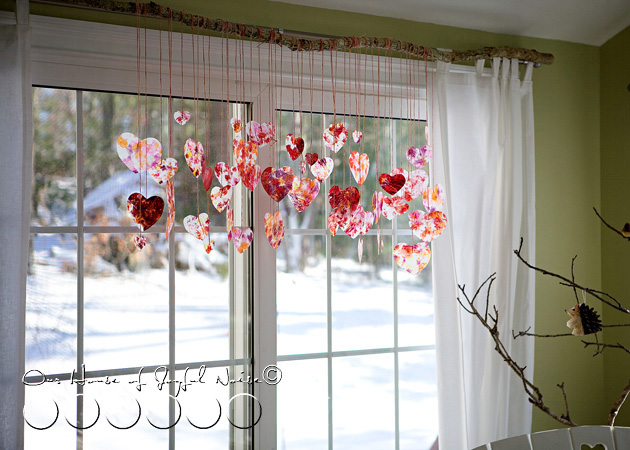
Michael went out and found us a really long and fairly straight tree branch, that would meet the length of our sliding glass doors.   Then, to work in a comfortable manner tying our hearts on it, we set 2 chairs very far apart, and rested each end of the stick on the top back of each chair.  Using long pieces of our dyed string, we wound one end around the stick a few times, and taped the dangling end to the back of each heart, at different lengths.
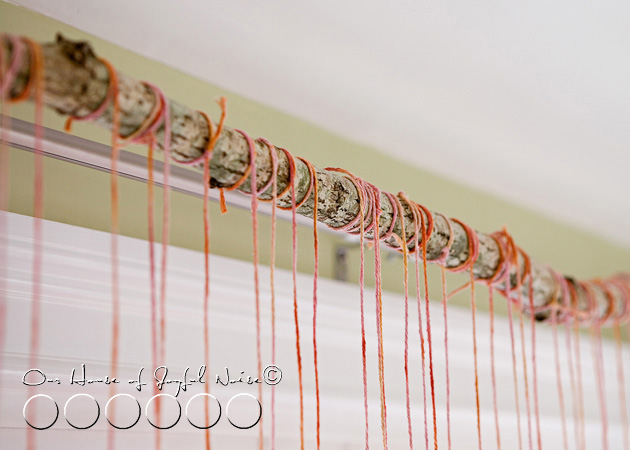
 

heart-strings-valentines-craft-24 Yes, you could just tie it on quickly, but I knew I would love the look of our pretty, hand-dyed string, wound around this rustic tree branch.  And I was right.
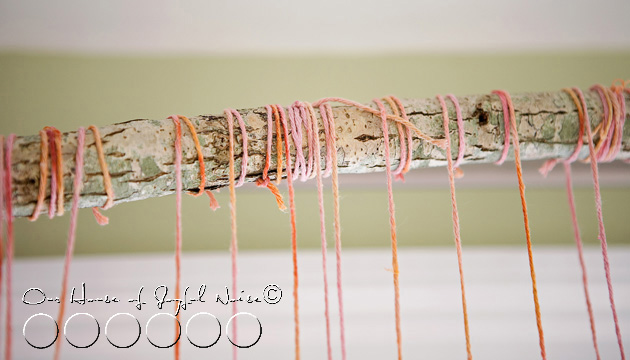
 

heart-strings-valentines-craft-25 It was worth ll of my efforts.  It may not be worth it to you.  Also….my girls helped with this some.
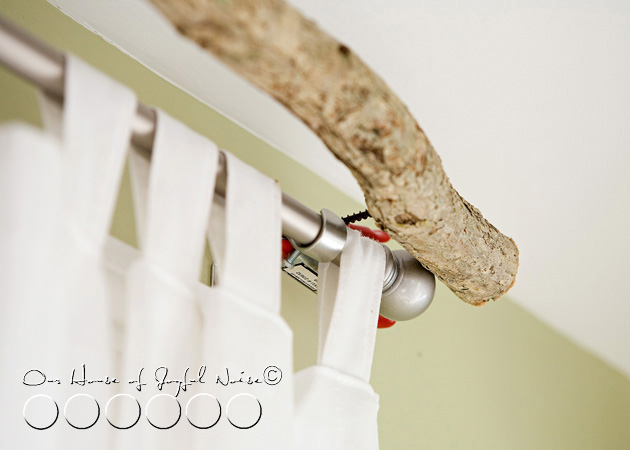
 

heart-strings-valentines-craft-26 If you’re wondering how we hung this long tree branch adorned with colorful Valentine hearts up high and across our slider glass doors, I’ll tell you:   Michael screwed a long screw into the backside of the stick on each end.  Then we simply used those little tight-clamp thingies, and clamped them to the curtain rod bracket.  See?  No permanent damage anywhere.
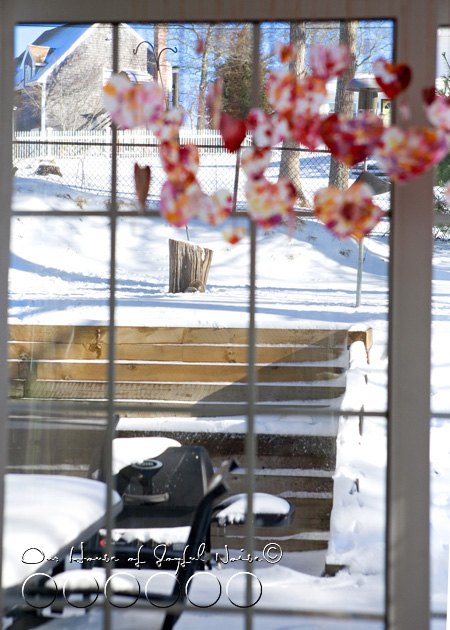
 

heart-strings-valentines-craft-27

They colors really look beautiful, hanging there, even as I look past them, through our window into the snowy scene behind them.   There are often squirrels out there frolicking in the snow (o.k. …finding the fallen bird seed), and birds at the feeders, eating.

We think the critters rather appreciate our Valentine decorations on display.
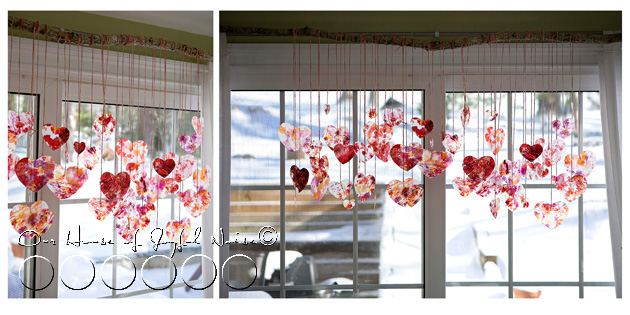
heart-strings-valentines-craft-28
I love coming in our front door, and seeing them swaying in the breeze across the room in front of us.  I can feel the love in the air.  It makes us smile.

 

heart-strings-valentines-craft-29 The colors of love are a beautiful thing.

Let them shine, shine, shine.

(Love this craft idea?  Share the link on your Facebook!  Your mom-friends will love it too! Or….*pin it* to one of your boards! ; )


Save

Filed Under: Crafts & Creations, Holiday Crafts, Home Decor, Kids Arts and Crafts, Tutorial, WINTER Crafts and Creations, WINTER Home Decor Tagged With: crayon crafts, February-crafts, February-projects, heart shaped crafts, heart-crafts, heart-strings, heart-strings-tutorial, kids crafts, Valentine-crafts, valentine-decorations

An Autumn Decor Peek & a Wicked Little Bit of Halloween.

October 18, 2010 By Laura 4 Comments

We’re sharing our current Autumn decor with you today!  We’re so glad you’re here. Come on in!

autumn-home-decor-2
I’ve been taking a couple of photos here and there, of our homestead autumn decor, simply because it is FUN for me, and I know many of you love to see this kind of stuff.  So, I’m sharing, just as I did last year.  It’s just a small collection of shots, and most all of the decor I’ve done is indoors.  Not much has been done with the outdoors at this point in time, although we did rip out all of the tomato plants and cosmos. It seems we still have some jalapeno and bell peppers growing though, so we’ve left those for the time being.  Marigold plants remain for now as well, adding some color to the near empty gardens now.  The strawberry beds need to be ‘put to bed’ before the first frost!  Which feels like it may be soon!  It’s gotten pretty chilly around here. Especially at night!  We’ve even built a fire or 2 in our wood stove, and it’s given us that nice cozy atmosphere we love through the cold season.


autumn-home-decor
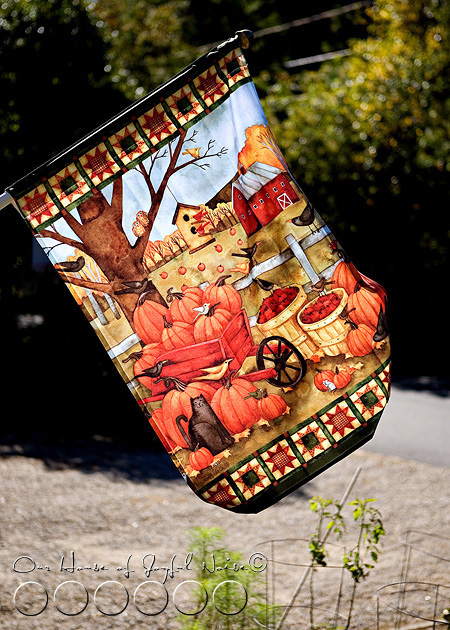
But one thing I do have outdoors,  is this new flag that I picked up for next to nothing.  It was one of maybe 50 designs, and apparently the last one.  It was the one and only I wanted. I made the staff of the store go through quite a bit to get this display one down for me. I really wanted it!  And I got it. And it makes me smile every day.
–

autumn-wreath-home-decor-1
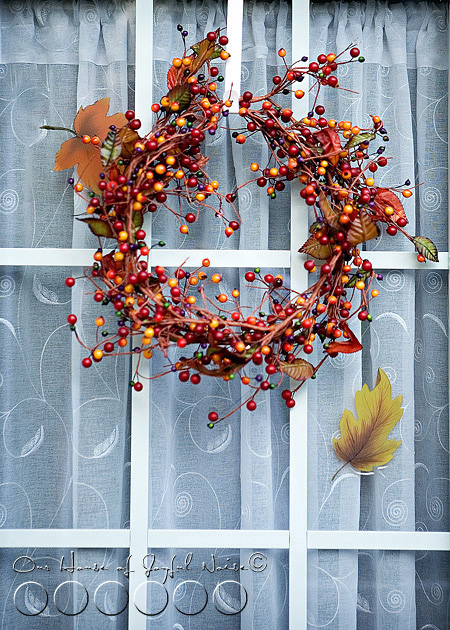
I made this wreath, but don’t be too impressed.  It was already vine like, and I made it into a circle, and hung it.

Come on in and take a little look around, to see a few other seasonal touches around the homestead.

autumn-home-decor-3
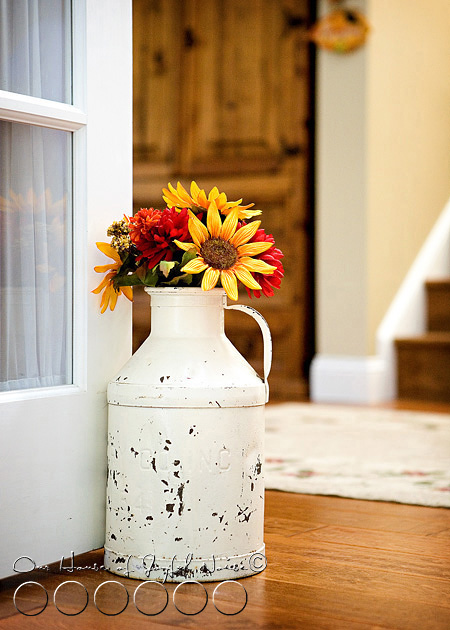
Some faux fall flowers, dropped into an antique milk jug.
–

autumn-home-decor-4
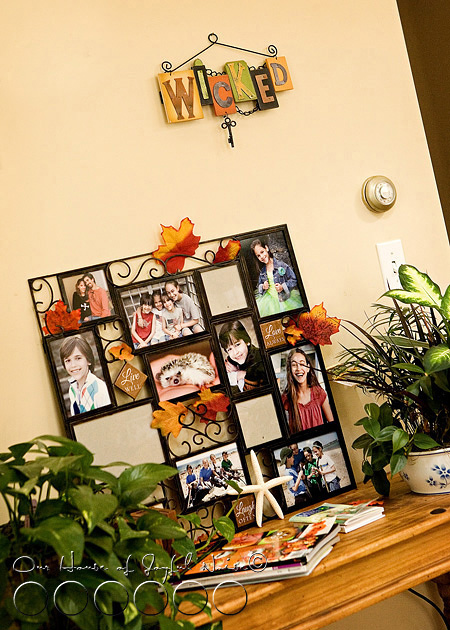
Our wall table, and some family photos in a big frame, that I just stuck some faux leaves in.   Above on the wall is a new sign I had to have, for the Halloween season.  I got it on sale too.
–

halloween-decor-details

It’s so suitable for the Halloween season. But I love it because it’s a slang word I have used all of my life.  I’m originally from western MA, and it’s common language out there.  When I came out to the Boston area to art school, I quickly found the whole world does not actually use the word like I do.  Or at all.  But I still use it.  I cherish it.  I find the word wicked useful.
–

halloween-decor-details-1
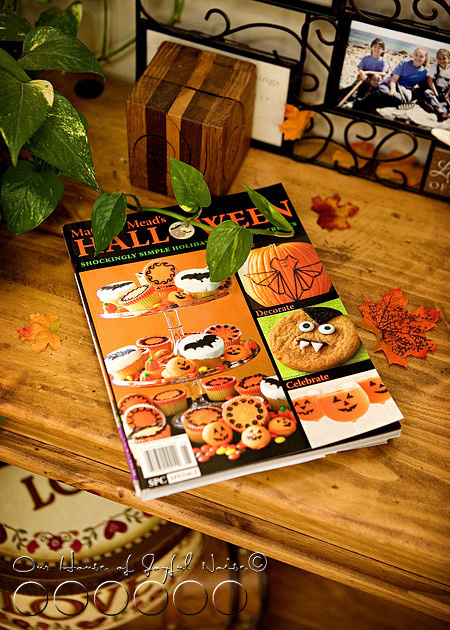
Great craft and treat ideas in this special Halloween edition magazine of Matthew Mead’s, from last year.
–

autumn-home-decor-5
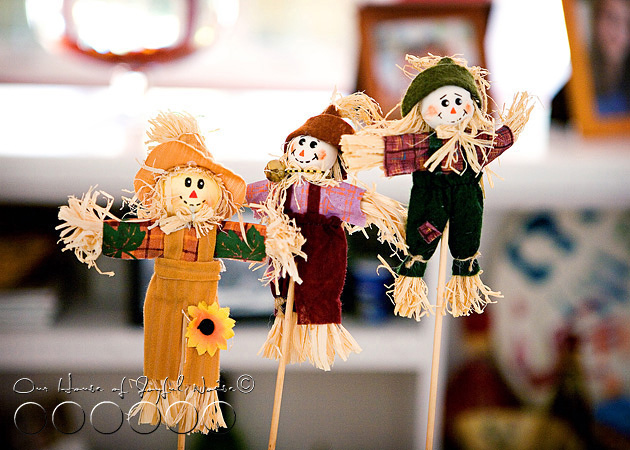
These are the kid’s.  And….these are the kids. LOL  (They know which one is them.) But here they are sticking in the weave of a basket in the kitchen.  Until they grab them again. Come to think of it, I don’t even know if they are still there.  But I’m not going to look now.  I got my photo.
–

autumn-home-decor-6
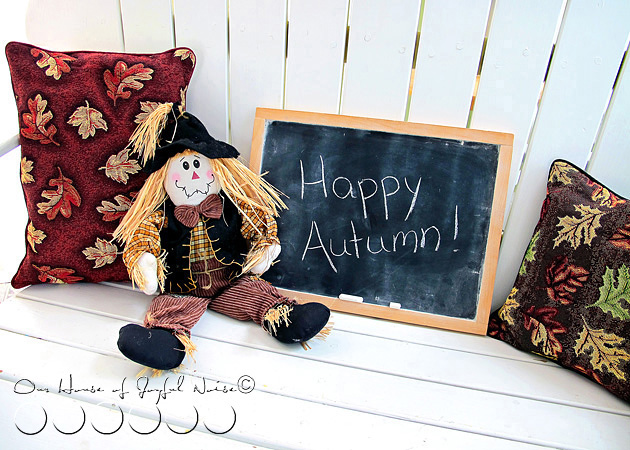
An Autumn ribbon that hangs our Prayer List Chalkboard.  I’ve mentioned that I love the idea of changing out the ribbon on our chalkboards, to go with current season and holiday home decor.
–

autumn-home-decor-7
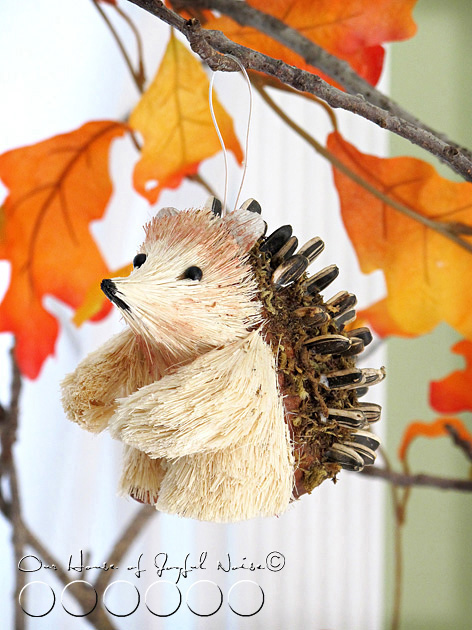
A hedgehog ornament.  Cute, huh? She’s hanging on our season tree (branch).
–

autumn-home-decor-8
Apple cinnamon tea, in a beautiful ceramic mug, that seems perfect for Autumn.
–

autumn-home-decor-9
It’s been a happy Autumn indeed. May the coming winter be as good to us.

Have you happened to do any autumn decorating at all this year? We’d love to hear a little bit about what you’ve done, no matter how simple.  And, if you’ve taken photos and blogged it, leave us a link! We’ll swing by your place!

Save

Save

Save

Save

Filed Under: FALL Home Decor, Home Decor, Seasonal Home decor, The Homestead Tagged With: autumn decor, fall, fall-decor-ideas, fall-home-decor, fall-home-decorating, home decor

Pumpkin Patch Progress | Gardening

August 10, 2010 By Laura 10 Comments

It’s 2010, and we are really new gardeners, learning as we go. Much of our gardening is guided by Googling, trial, error, chatting with others, and more Googling. This gardening post about our pumpkin patch progress well-reflects that.

making-growing-pumpkin-patch-progress-results-15

There’s a price one pays, for procrastinating.  This I know well.  When it comes to planned posts, when I wait for better light to get one more photo, take one more peek for a really updated report, or wait for a better opportunity to blog without having another pressing agenda….things happen.  The story grows, and often, ends up a more overwhelming task, than the simple one it could have been, a little sooner. Over whelming tasks, are often a new excuse for me, to procrastinate even more. Because I know I tend to struggle with the simplicity of a post, as it is.

So now, what once was a story with a hopeful ending, now ends in a questionable future. It almost pains me to do this post, in a gardener’s drama sort of way, as I cannot revel in the joy of blogging about this, as I could have a couple of weeks ago.

But I must be strong.  So here I go.

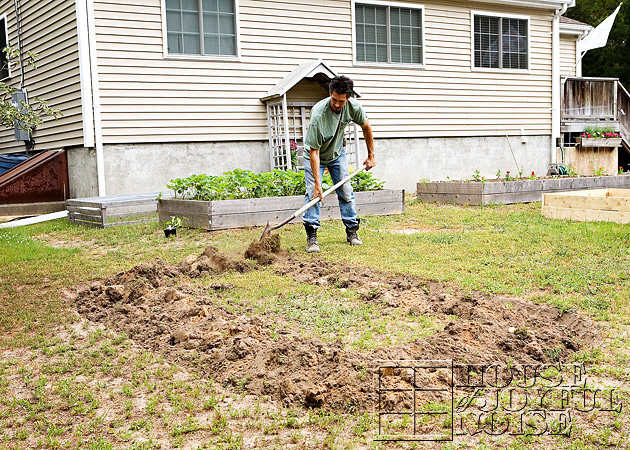
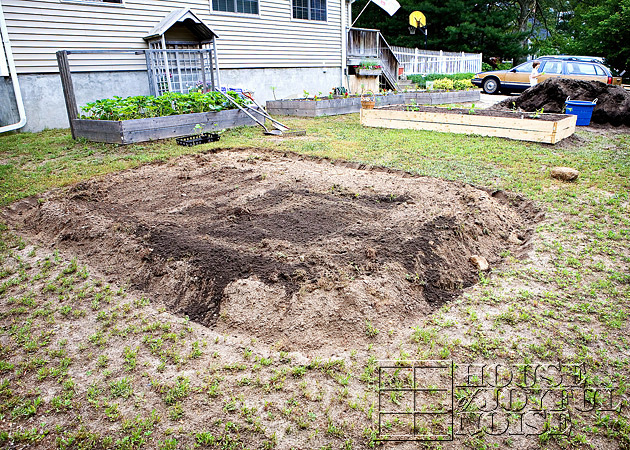
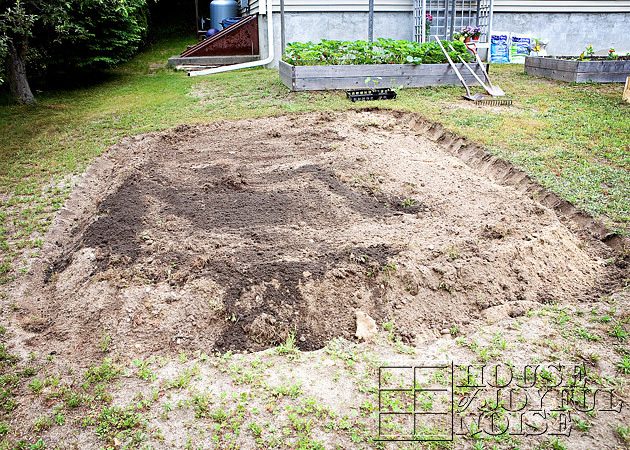
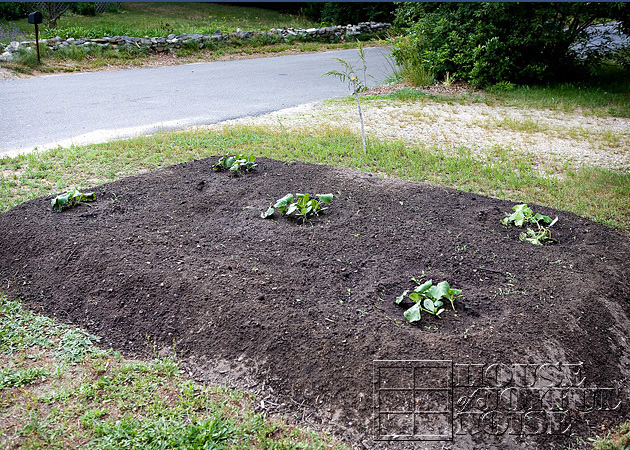
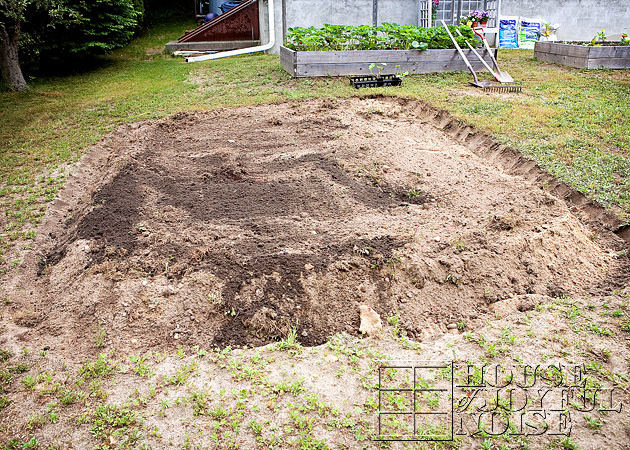
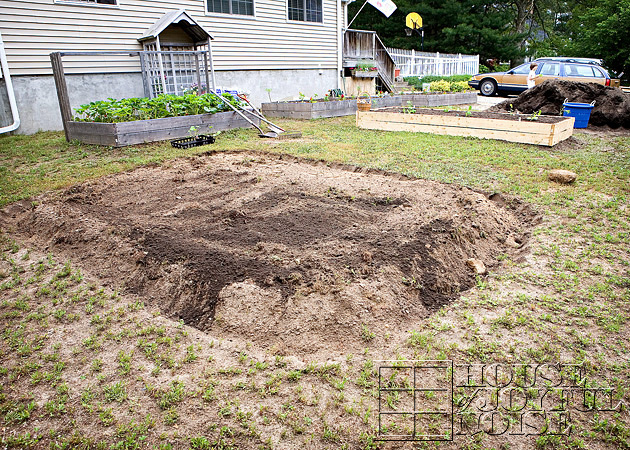
You may remember I mentioned that we decided to have a go at our own home pumpkin patch this year. Michael dug out an area for it in our front yard gardening areas, back at the end of May.

making-growing-pumpkin-patch-progress-results

making-growing-pumpkin-patch-progress-results-1

I have been beyond excited about this new gardening project. I simply love fall decor, pumpkins in particular, and I simply detest paying for them by the pound.

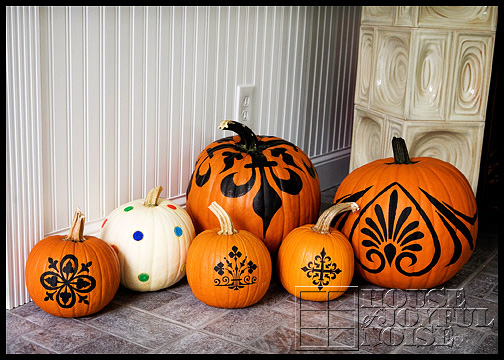
We love having simple natural pumpkins around the homestead, but we also enjoy getting creative with them, as we have in past years.

decorated-pumpkins

So growing our own pumpkins was my answer, and the thrill of the progress was an additional a perk.

making-growing-pumpkin-patch-progress-results-2

We created a ‘patch’ as big as we could get away with, in the front yard space we had available.  Ideally, it should be bigger.  Realistically, it wasn’t going to be.

So last year, having the thoughts in our heads of growing our own pumpkins for the next season, (in part because of the staggering price total at the pumpkin-purchase-checkout), we harvested a handful of pumpkin seeds, from our expensive pumpkins.

We washed them, let them dry, and put them away.

And by golly, come spring this year, we actually still remembered where we put them.

So we soaked them over night, and kept them wrapped in damp paper towels for 2 days, in a warm place, like filtered sun. Which, if you aren’t aware, isn’t easy to keep paper towel damp.It dries so quickly, especially in window sunlight.  But thankfully, the kids were always on it, with the bottle of water, misting and re-misting.

What would we do without them?

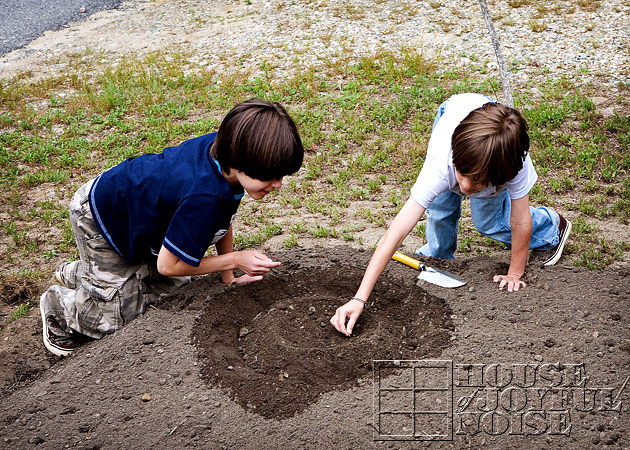
They all peeled the edges of the seeds, and kept their own to plant.

Then we got to planting, in the awaiting patch.

making-growing-pumpkin-patch-progress-results-3

making-growing-pumpkin-patch-progress-results-4

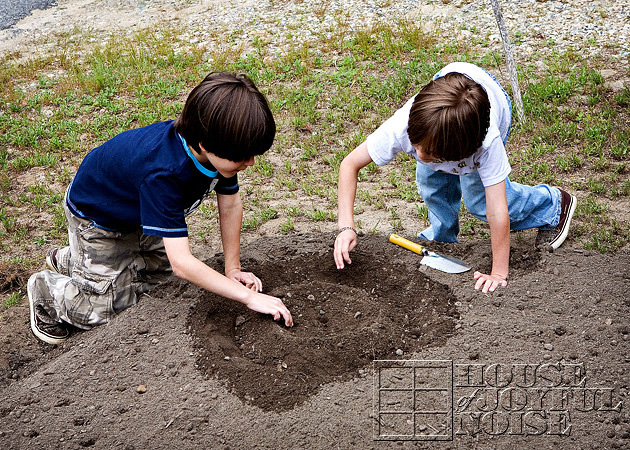
 We thought we’d have a little pumpkin growing competition.  So the boys had their seeds that they planted together in one corner.

making-growing-pumpkin-patch-progress-results-5

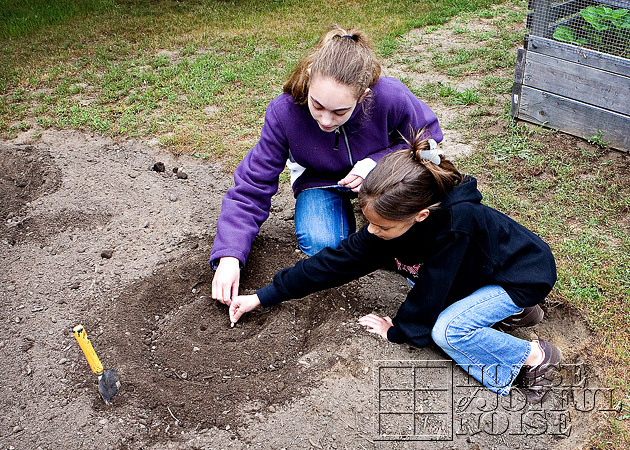
making-growing-pumpkin-patch-progress-results-6
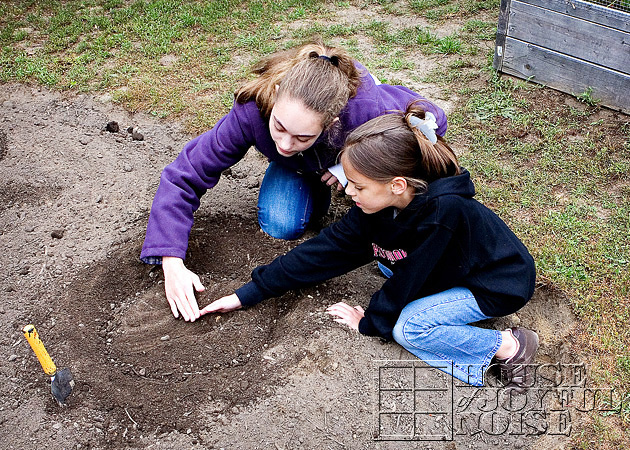
And the girls had theirs, in the opposite corner of the ring.

(Sounds like a real fight heating up here, huh?)

We also planted the extra seeds, in the middle. making-growing-pumpkin-patch-progress-results-7


Now, we also had bought 2 piddly pumpkin plants from the nursery.  Not to say that I didn’t have faith in our ability to grow great pumpkins with our own seeds, but, I wasn’t really sure if I did.  So…just in case.

Because I was not paying for pumpkins by the pound again.

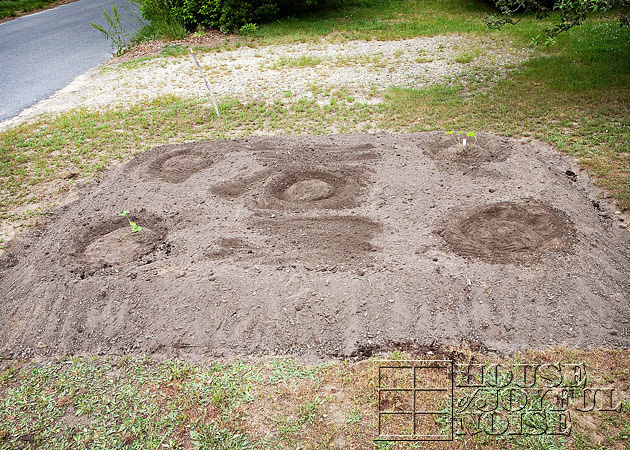
So, we had 5 mounds where seeds or plants were planted.

making-growing-pumpkin-patch-progress-results-8

Before we knew it, the starter plants, and the boys and girls planted pumpkin seeds, were neck in neck.

Or is it neck and neck?

Gosh, I’m stuck on that, and thinking too hard on this now. I don’t get it. Does this phrase about necks come from giraffes and their neck-wrangling behavior?

Whoa…way off topic. Re-focusing.

But I’m going to google that saying about where it derived from, if I remember to!

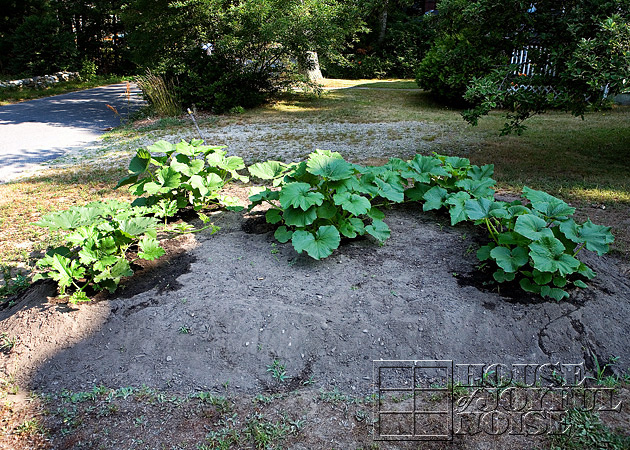
making-growing-pumpkin-patch-progress-results-9 Anyway, every mound of plants, were looking pretty good, pretty quickly. Anyone random visitor would be hard-pressed, to figure out which were starter plants, and which we planted seeds.

making-growing-pumpkin-patch-progress-results-10 Soon, we all realized that the competition was going to be nearly impossible, to monitor.  All of the vines were growing into each other’s space, and they were hard to follow or keep straight. I mean…I sure wasn’t going to be the referee on this one.  I have enough confusion to straighten out in my head in a day.

But one thing was for sure.  We were very excited.  Most-especially-ME.

Of course, there was that little fear they would forever remain plants, just like this, never to birth a single pumpkin.

Or so much as a gourd.

making-growing-pumpkin-patch-progress-results-11

making-growing-pumpkin-patch-progress-results-12

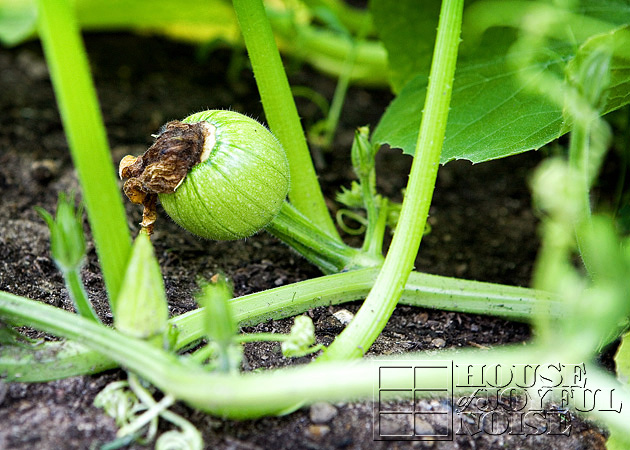
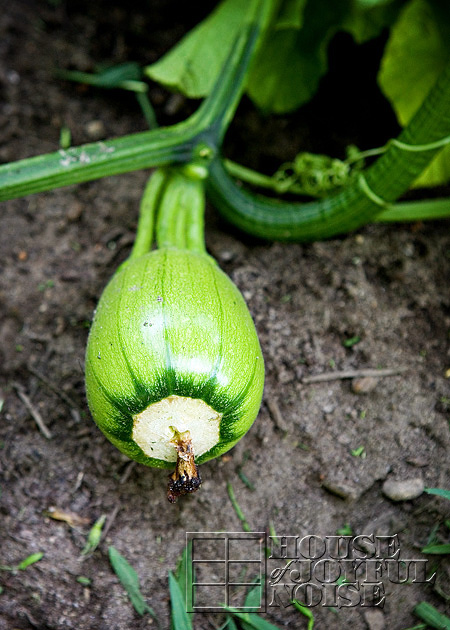
 But by golly, it started to.

All over the place.

I told you we were completely capable of this pumpkin growing business!

I mean….please.

What do we look like….amateur gardeners?

<throat clear>

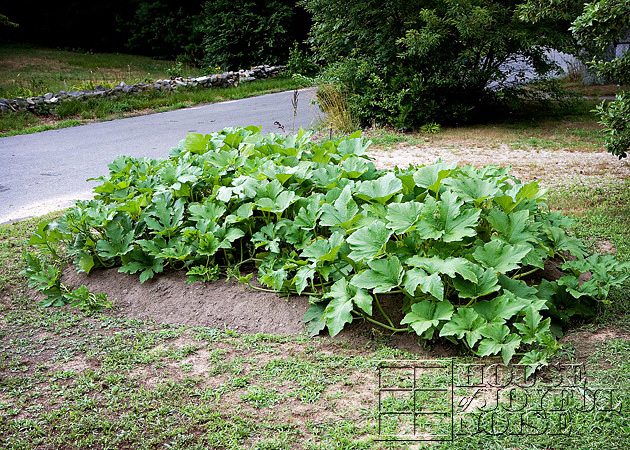
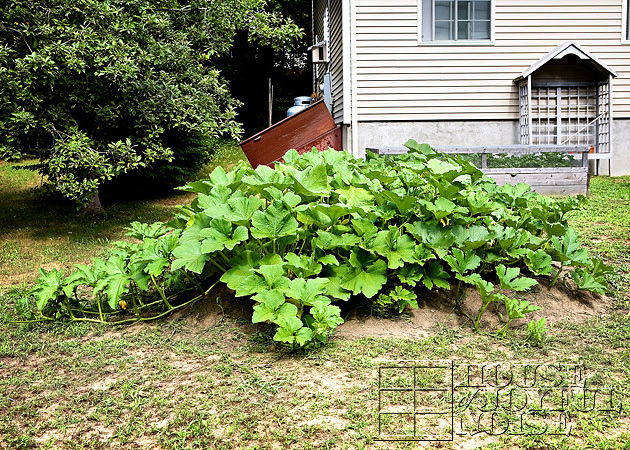
making-growing-pumpkin-patch-progress-results-14 The patch was getting downright out of control, and took some redirecting the vines, or even cutting some back.

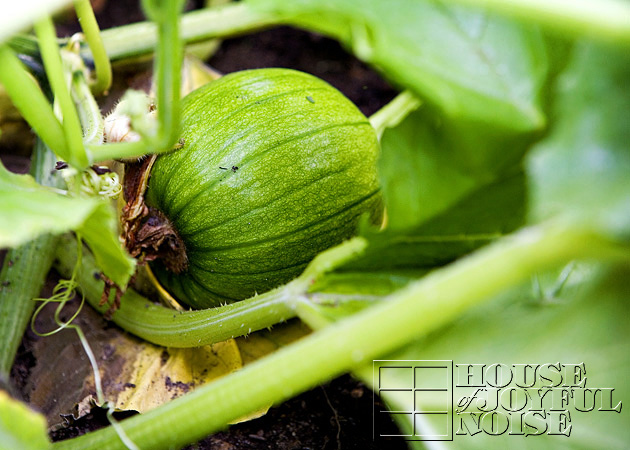
making-growing-pumpkin-patch-progress-results-13 But the pumpkins were in there……everywhere!

So I hope you enjoyed all of that, because the story is about to get ugly.

We had noticed 2-3 weeks ago, that our squash garden was starting to look a little….desperate.  Needy.  It was struggling in some way….and I did not know why.

I googled (because Google is my other BFF), about the longevity of a squash garden in a season.  I thought…with the ridiculous abundance of summer squash and zucchini it had blessed us with, maybe it just sort of depleted itself.

I get that. ; )

I kept watering it and tending to it….more out of stubbornness than anything, because really…the kids were all squashed out.

But I wanted to know what the heck was happening, because things were looking from bad to worse.  I wanted to learn from it.

(Gosh I am getting mature, huh?)

Next thing I know…the Pumpkin Patch isn’t looking much better.

So, a few night’s ago, my neighbor came over. The really nice one…she and her husband are gardening extraordinaires. They have the Better Home and Gardens yardage.  But they live just short of us, on a dead end street, so they don’t see our gardens without purposely coming to visit and see.

Otherwise, if they just tried to peek, they’d get caught.

Trust me. My kids don’t miss a thing.

Well, my neighbor (Peg), she was telling me that their squash gardens do the same exact thing, EVERY year!  She and her husband said it was squash bugs, that were the culprit. She explained that every year, they get a really good harvest, and then BOOM…..everything starts going to pot, in a fast way. She believes it is an areal problem, from what they know. She said they had tried everything, to ward off these squash bugs, that destroy the plants at the trunk. But they have never won the battle.

Now, I was ready to let the squash garden go anyway.  We ate plenty, there was plenty in the freezer all shredded, slightly blanched and ready for cold season breads and soups.

BUT MY PUMPKINS!!!!  OH NOOOOOO!

I’m telling you…the patch is looking pretty bad at the moment.

I tried to take a photo, but I couldn’t see through my tears, to take the shot.

Plus, it’s just humbling.

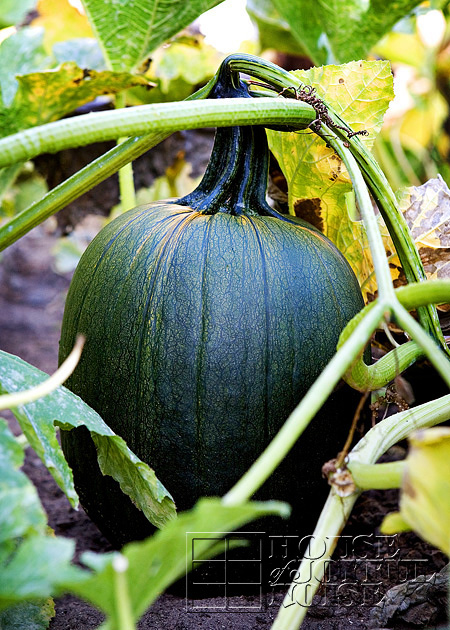
At this point…we still have pumpkins growing.  ELEVEN in fact.

But….we are desperately googling and working to get this bug infestation under control, in hopes of saving our patch.

Now that I have googled and researched so much about these squash bugs, I know what to look for next year.  But I want these pumpkins we’ve got growing! I can’t lose them! So…we’re trying all kinds of things.

I do fear too, that we might have planted a tad too early. If they survive, they may be ripe before Halloween, and I know this was a long shot anyway but….Thanksgiving.  So next year, we’ll know to plant later too.

But, for now, I’ll be busy saving the pumpkins, God-willing.

Because the gloves are not off. (Who knew this would happen? It wasn’t my fight to begin with!)

Ask anyone. I just don’t take a fight, laying down.

making-growing-pumpkin-patch-progress-results-16
We’ll keep you posted on this sad pumpkin patch story.

Filed Under: Gardening, Seasonal Home decor, SUMMER Home Decor, The Homestead Tagged With: first-pumpkin-patch, Gardening, home grown pumpkins, learning-how-to-grow-pumpkins, planting pumpkin seeds, squash bugs

What’s Growing in the Gardens!

July 13, 2010 By Laura 12 Comments

18_summer-squash-photos-300x200

Finally, I have gotten it together enough, to show you what we’re growing in all of these garden beds we’ve got going.   I’m telling you, I find it extremely challenging to blog about garden updates, because everything changes so fast!   So, this post shares some of the rapid garden progress that can happen in what seems like the blink of an eye.

But I also wanted to share this little story with you.  A couple of weekends ago, we had a spontaneous tag sale.  We had quite the traffic for it too (thanks to Michael’s  Tag Sale professional signage that no one could miss).  But what was so funny, was people were more interested in our gardens when they got here, than our tag sale items!!  It was comical.  They were walking around, peeking under leaves, asking questions and generally flattering us to death.  For 2nd year gardens, we were puffing up a bit and struttin’ around like peacocks. I know…then we felt guilty.  lol.  But seriously….people were all over our gardens.  We sold a lot at the tag sale though too, once they got on task for their stop in the first place.

So anyway, back to the point of the post….

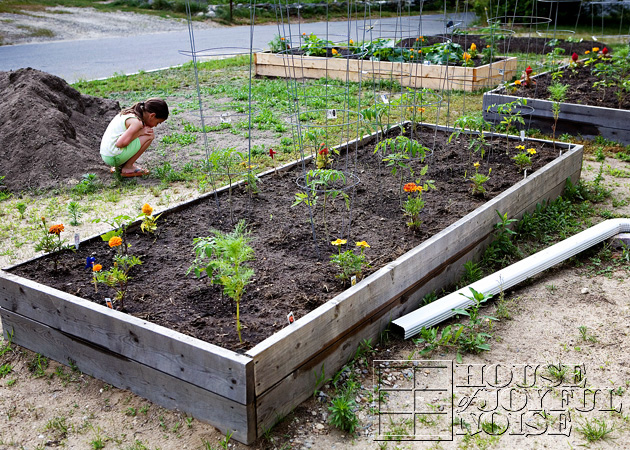
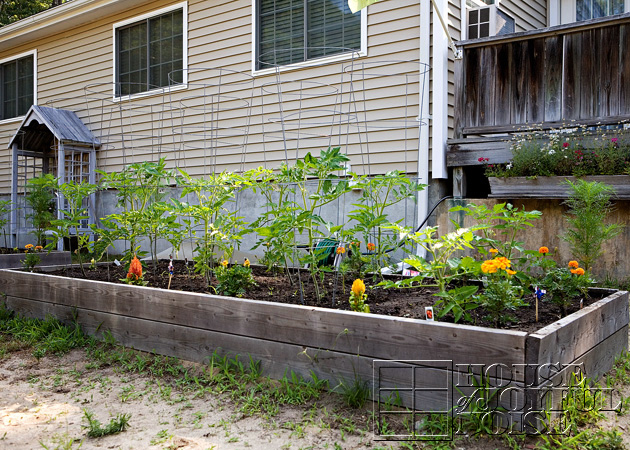
01_first_garden_bed Shown here first, is garden bed #1.   This photo was taken June 23, 2010, as are several of the following photos.

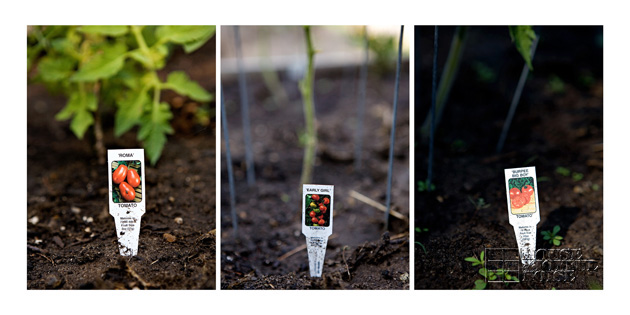
02_1st_garden_tags In it, we have growing 3 varieties of tomato plants:  2 Romas, 4 Early Girls, and 2 Burpee Big Boys.
–

03_garden-bed Here is another view, taken the same day, to show the height of the plants.   As you see in this garden, we also have some Marigolds, Celosia, and Cosmos.
–

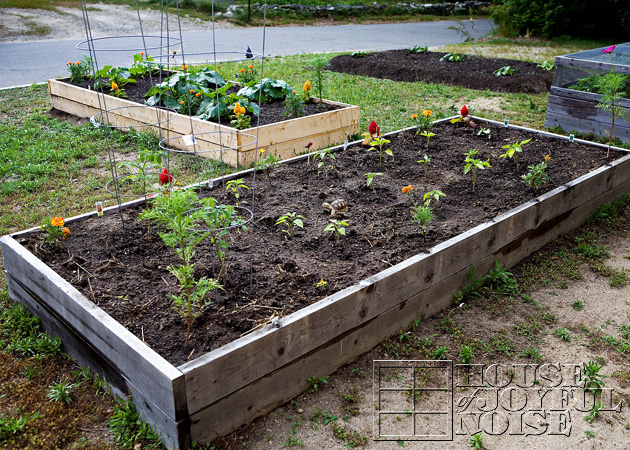
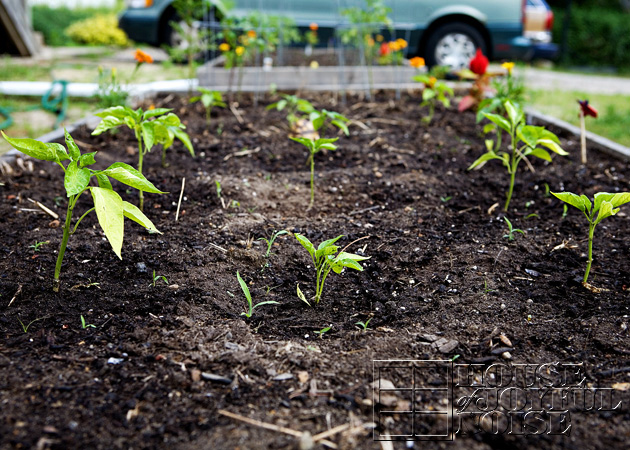
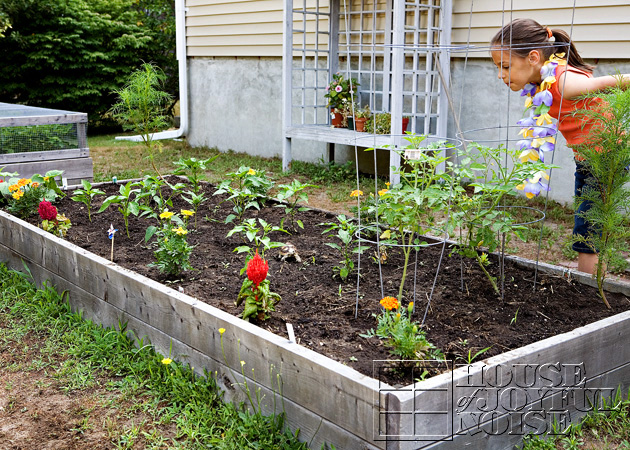
04_2nd-garden_bed Garden bed #2.
–

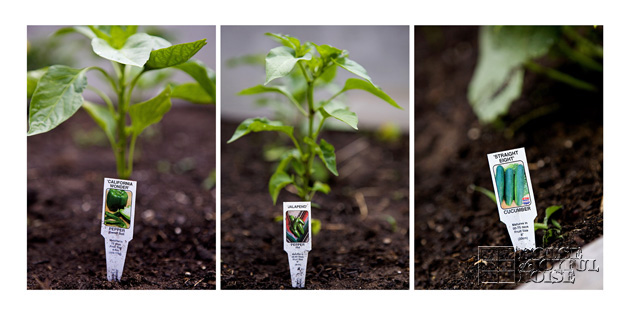
05_2nd-garden-tags In this one we have growing several plants of  California Wonder Green peppers, Jalapeno Peppers, and Straight Eight Cucumbers.  We also have in this bed, 2 more tomato plants, of the Sweet 100 Cherry variety.
–

06_2nd-garden-newangle Here’s another angle, from the same day.
–

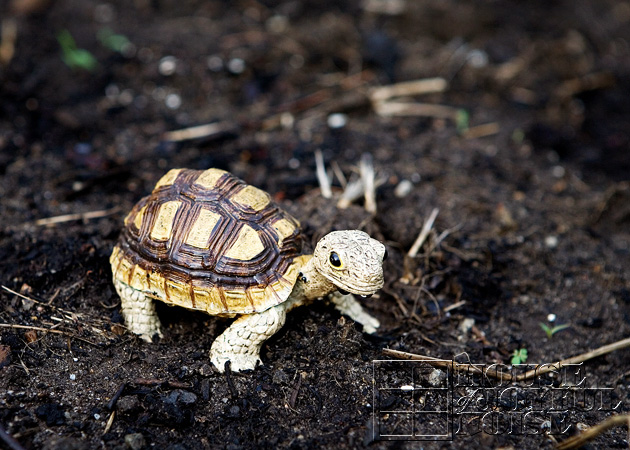
07_garden-turtle-ii-decor Also in this garden, is my turtle.  I had a turtle just like this one some years ago, in my hosta bed, and the kids lost it!  We never did find it either.  So I bring it up now and then to the kids, when it comes to mind, because I really missed my turtle!  Well, we were in Michael’s Arts & Crafts one day, and one of them spotted the same exact turtle I’ve been missin’.  So they all pitched in a dollar and some change, and bought me a new one.  So this one has even more sentimental value, because the kids were thoughtful enough to buy it for me, and compassionate enough to feel bad about the one they lost, when I….was trying to make them feel bad about the one they lost. lol.  I love my turtle.  You don’t have to.  But I think he is cute.
–

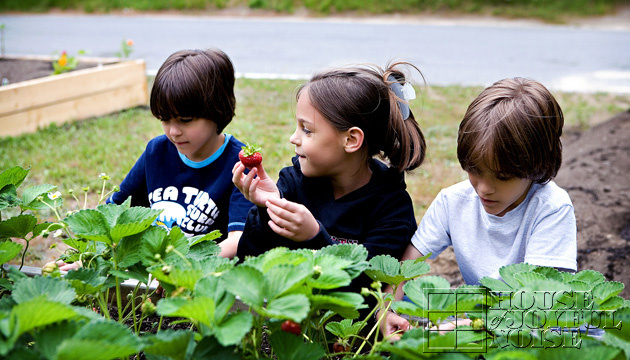
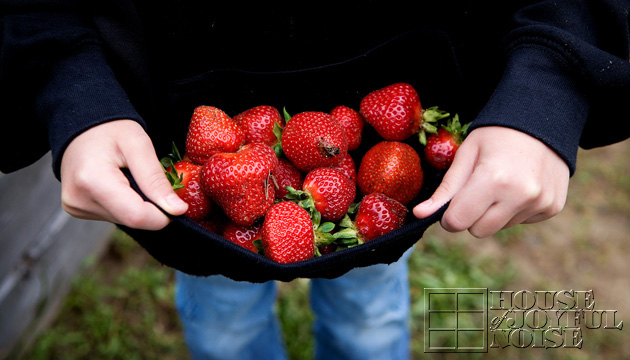
08_triplets-strawberry-bed You’ve seen a 100 photos of our whole strawberry bed, so I skipped that.  But we got quite the crop from our June Bearing plants!  The kids were out there picking them every day.    This photo was taken on June 8, when we were really cranking them out.
–

09_a-strawberry-picking

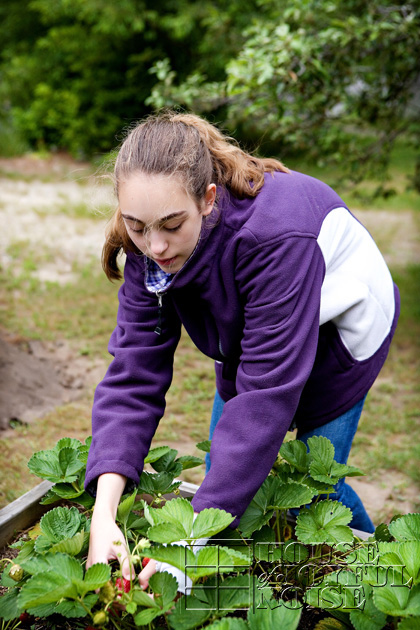
The days were still occasionally cool, especially when the sun wasn’t out. Thus, Old Lady Winter here, in her fleece jacket. lol.  My mother used to call me Old Lady Winter, because I was always cold when I was younger.  “If you can hear me up there, Mom, I’m not cold all of the time anymore!  I’m more like Old Lady Hot Flashin’!“

Our Everbearing strawberry plants have put out some smaller strawberries (as is expected with this variety) but not the  impressive quantity yet.  We should have a crop in spring, summer and fall.  But spring gave us nothing, and summer has only given is a small handful so far.  Maybe the roots are still not established enough?  Maybe we should have plucked the flowers in the early season of this year too?  Anyone know?  We’re holding out hope.

10_strawberries But if they don’t start giving us some fruit this year, we may just rip the Everbearing plants out, and let the runners of the June Bearing take over.  Because they have been very good to us!!  I’m thinking we might need 2 strawberry beds.  Maybe 3. lol
–

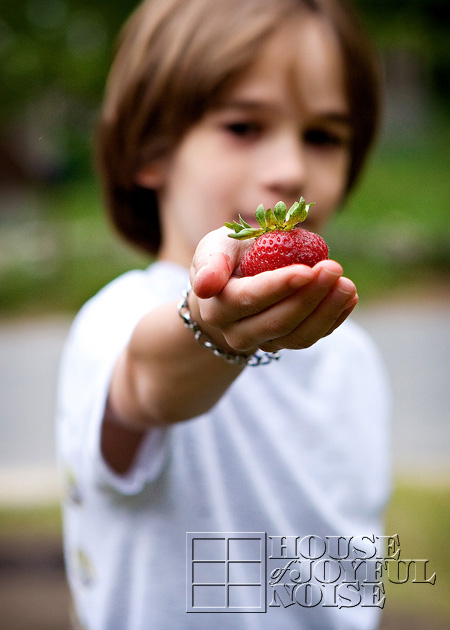
11_big-strawberry
Care to taste the fresh berry sweetness?
–

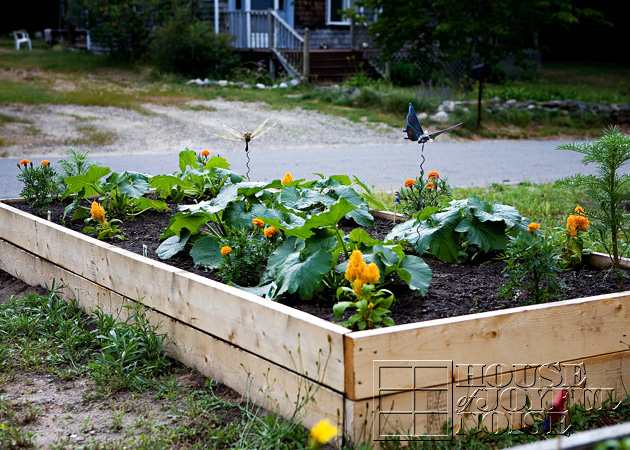
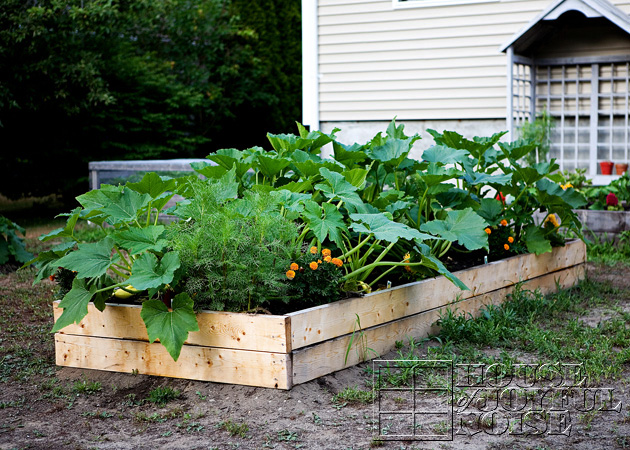
12_4th-garden-bed This, is bed #4.  It’s the new bed we built this year.   The tag salers really couldn’t get over our squash plants. One tag sale’n guy was so very amazed, he just stood there staring and asked, “What the hell did you put in there?!”  (Pardon his French. lol)
–

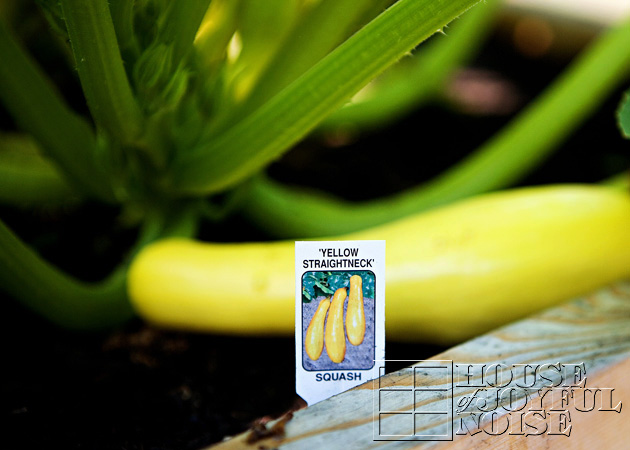
14_yellow-summer-squash-tag In it, we have Yellow Straightneck Summer Squash, and also Zucchini of some kind, which I forgot to take a tag photo of, just like the Sweet 100 Cherries.

So, just to show you some growth and progress, and proof that we haven’t killed anything yet:

15_1st-garden-bed-grown

….This is Bed #1, with photo taken this time on July 6, 2010.  The tomato plants had grown much taller and stronger for sure.  They are also beginning to produce fruit.  I am very excited about my tomato sandwiches to come.  : P’   Even the Marigolds and Celosia are bigger than we have ever grown.
–

16_2nd-garden-bed-grown The Cherry tomatoes and pepper plants are growing well too.   Both gardens have grown even more, now a week later.  I cut the lower leaves on the pepper plants since this photo too, so we are expecting a big growth spurt.

But here’s what has really just grown out of control……

17_4th-garden-bed-grown ….the squash garden bed!  Man….that guy from the tag sale would probably fall right over, if he saw it today.   It’s truly insane, and I swear it has grown another half of a foot since this shot.  See that cosmo plant in the front corner there?  That thing too is MUCH bigger than our cosmo plants last year.  This thing has a trunk!

We water all of the gardens every night with the hose.  But I’ll tell you, the rain works magic.  If it rains during the night, we can’t wait to peek out there in the morning, because there is always very obvious overnight growth.  It feels like Christmas morning!
–

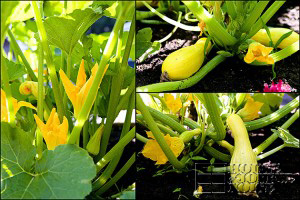
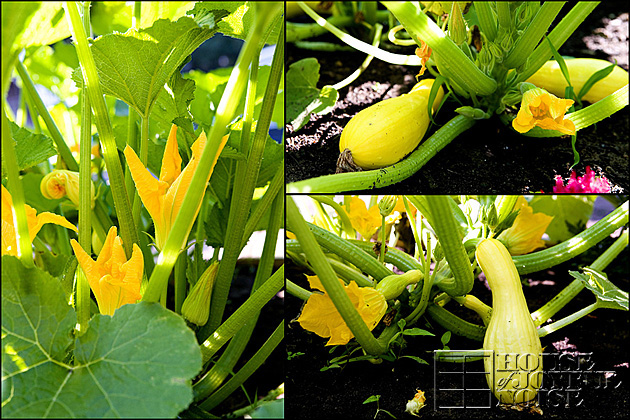
18_summer-squash-photos Here’s just some fun summer squash shots.   I didn’t take any of the zucchini that day, because they were just so dark on the dirt.
–

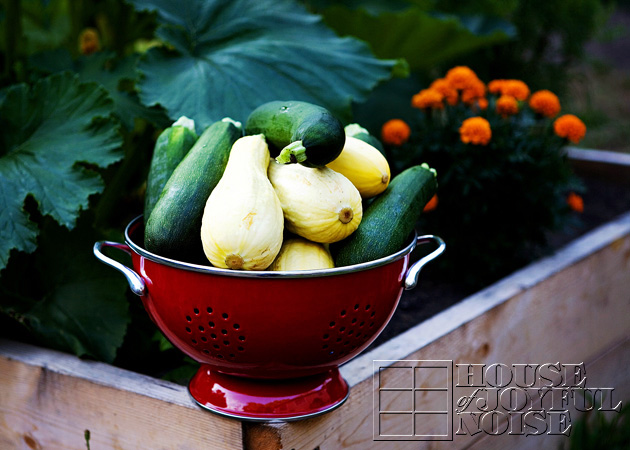
19_fresh-picked-squash We can’t even keep up with the squash picking.  I sent a heap home with my father, and the next day we had a heap more.  It’s madness.  Gave more to 2 neighbors, and there is a bunch more today.    I’m going to try making some zucchini bread.  We love steamed vegetables anyway, but we might not much longer,  if we keep eating it the way we’ve had to!  I think maybe we don’t need this many squash plants.  Does anyone have any recipes for us to use these?  Do send.

No Giveaway in this post.  But you’re certainly welcome to grab some squash, if you want some!

Save

Save

Save

Filed Under: Gardening, Seasonal Home decor, SUMMER Home Decor, The Homestead Tagged With: cucumbers, front-yard-garden-beds, gardens, green peppers, raised garden beds, strawberries, summer squash, tomatoes, triplets, zucchini

Mid-May to End of June 2010 | Front Yard Gardens

June 29, 2010 By Laura 12 Comments

03_-300x214

There is so much to catch you up on, where our front yard gardens and transformation goes, that I’m lost in my own thoughts, in trying to figure out where I tell you what we’ve gotten done, and where I tell you about where all of this work in progress is heading.  So, if it all seems a little mixed up at time, that’s pretty much where my head is at.

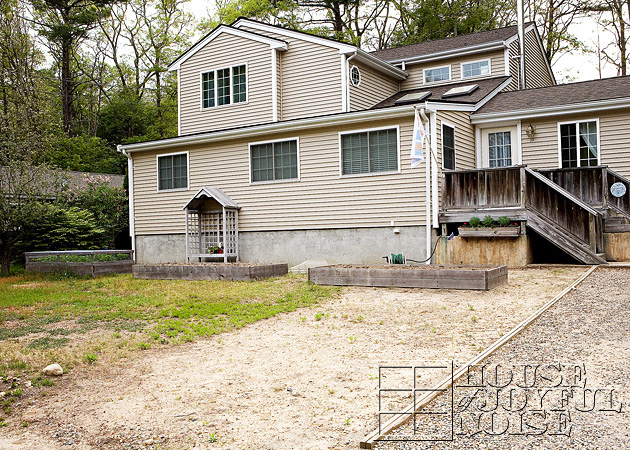
But to brief you, in case you are new around here;  Our front yard was basically just a big square sandy lot, with no purpose or beauty of it’s own, for all of the years we have owned our home.  We have had a side yard that we have utilized well, but the front yard, parallel to the (dead end) street we live on, was never safe enough for our very-young kids at the time, nor private enough to relax in.

But then early last spring, we decided to start a couple of gardens.  Once we got our feet wet, we fell in love with gardening, and the dream gardens and front yard transformation plans began to unfold, and take on a life of it’s own.  The big progressive goal, is to change our front yard, into a beautiful, charming semi-private garden wonderland of our own. We’ll be sharing the details of those plans as we go along in the posts like these.  We’ve got a long way to go, but we’ve come a long way too!  But for this post, I’m going to show you the kick-off of our gardening work this second spring, and very soon I will be posting how things are looking right now.  The growing in the gardens change so much by the day, it’s hard to blog about!  By the time I take photos, and edit them, and get a post started, the gardens look completely different once again.  But I’m doing my best.

01_winter_rye

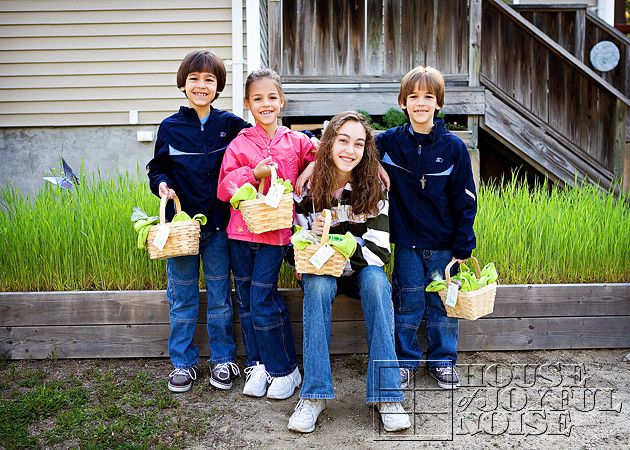
First, I just wanted to share this photo from the first day of May with you, because I never took a photo in the winter as I should have!  What I am showing you, is not the beautiful children I am happy to call my own, but the beautiful green winter rye, in the garden bed behind them.  When we had first built these garden beds, I was concerned about how ugly they would look in front of our house, in the dead of winter with no snow.   Then, it was recommended to us to plant winter rye, which would grow through the winter, and was good for the soil too.  In the spring, we were to till it into the soil to nourish it.  I can’t tell you how beautiful it looked all winter long, with this fresh green rye coming up through the white glistening snow. (We had lots more snow this year, than usual.)

About mid-May, we cut it all down and tilled it into the garden beds.   It was sad and a tad painful!  I couldn’t get planting fast enough, to add oomph to the drab looking place, after that.

02_ Here is a glimpse of the state of it all, before we got planting for the year.  If you recall , we expanded the front (grass-less) yard last year, by sacrificing some of the extra-wide rock driveway we didn’t really need.   That made more room for a 3rd bed across.

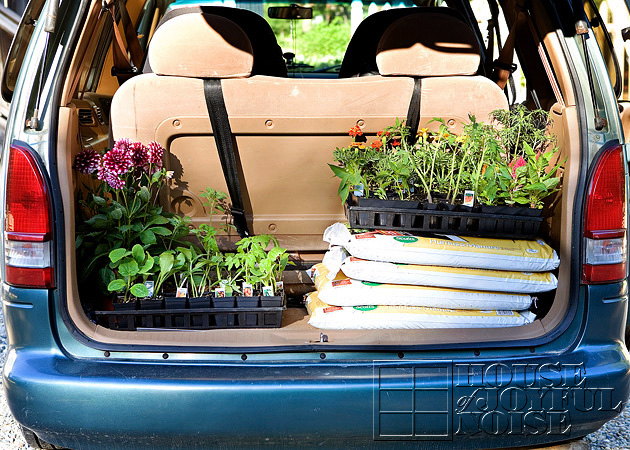
03_ Our trip to the local nursery gave us most all of the starter plants we needed, to get things going.  We got various vegetable plants, some we are growing again, and some new ones too, as well as helpful flowers that make our gardens prettier, keep some pesky things way, and also draw the right insects for much needed pollination.   We’ll have a closer look at all of these plantings very soon.   You also see some bags of compost, which I’ll be getting to in a moment.

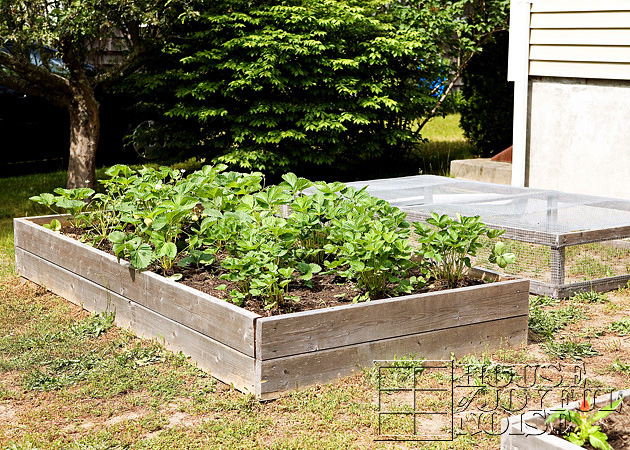
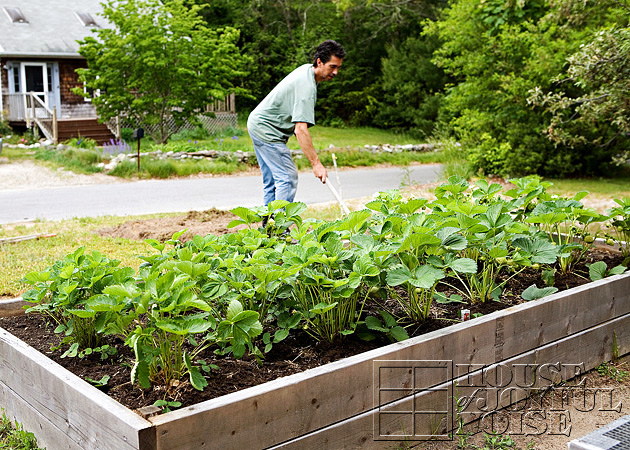
04_ Our strawberry bed, here in mid May, was doing fabulously in it’s second season.  You have seen some strawberry posts since, of the berries it has given us.  It’s grown SO much since this photo, but we have tended it well, having learned much last year.

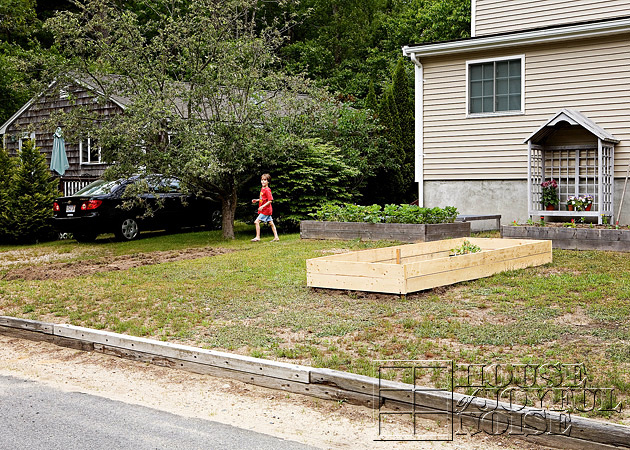
05_ Michael built a 4th garden bed, once we mulled over the layout that the whole transformation will ultimately be.  He was going to build a 5th too right away, but we never got to it, before early spring had gotten away.  That’s o.k. There is always next year!

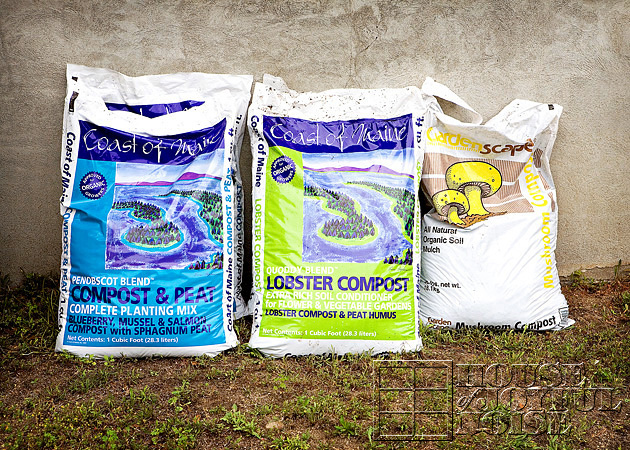
06_ This is new compost we are trying, all recommended by the nursery we frequent.  We have mixed this stuff into all of our beds, and I can tell you, it’s doing some amazing stuff!

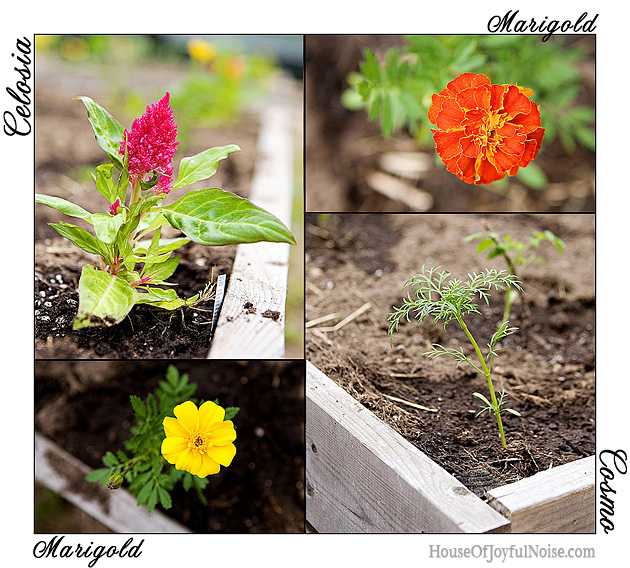
07_flowerscollage These are the flowers that we have planted along the inside edges of the beds.  They are all just baby plants here!  They have grown to ridiculous sizes since.  No doubt due to the new compost we added!

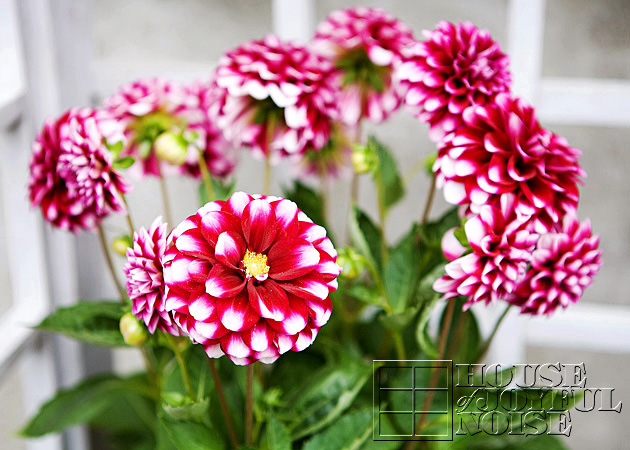
08_dahlias Dahlias.  Oh how I love dahlias.  Big, big, big plans for dahlias of all kinds, in time.  But for now, this pot of them sits on bench.   Michael really did not want to spend the money on them, so I am doing all I can to make sure it keeps growing and thriving and spewing beauty.  Because he loves to remind me, it was $12.99, and if it dies, I can tell you I will never hear the end of it, for as long as I live.

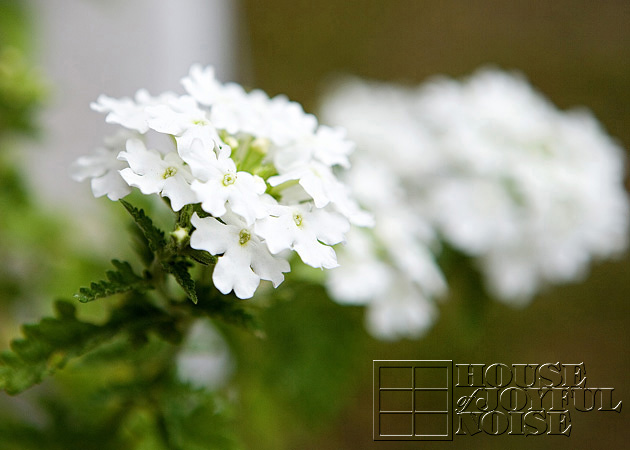
09_verbenas The verbenas have been thriving and growing, in 2 colors.   I love them.

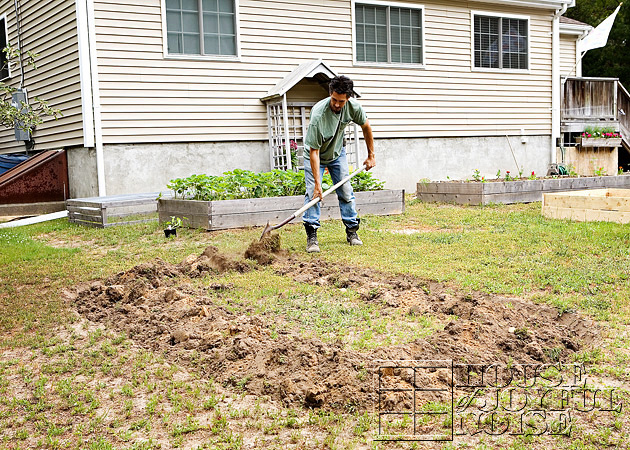
10__digging On the other side of the strawberry bed here, Michael is working very hard, at a new and exciting addition to our gardens….

10_ ….our very own little pumpkin patch! <squeal!!>   If you all have been around in the autumn months here at OHOJN, you might know how much we love pumpkins around our home in autumn!  We go pumpkin crazy, and get pretty creative with them too.  It’s an expensive fetish, when you are paying by the pound.  So we decided to try growing our own!!

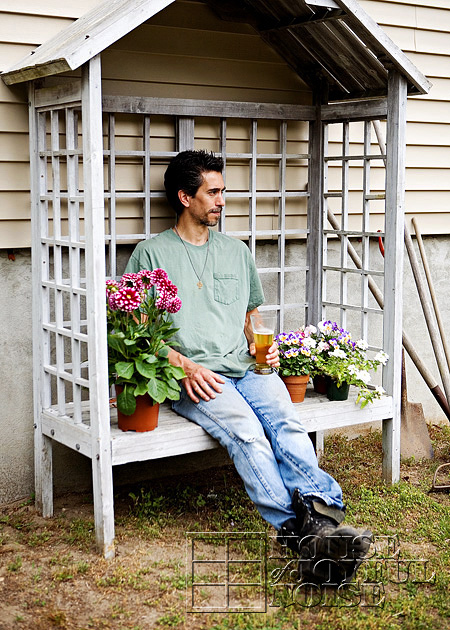
12_rest After all of the cutting out, digging and turning-over-of-earth for our pumpkin patch, Michael decided to take a little break.

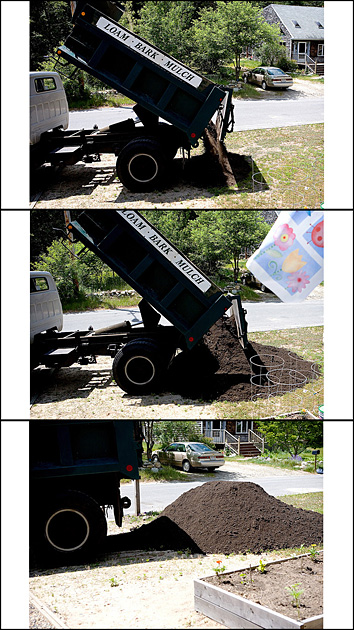
13_dirtcollage About a week later, we had 5 yards of loam delivered.   A bit of it was for the 5th bed we never got to.  The rest was for the 4th bed Michael did build, and to add some healthy loam to our sandy pumpkin patch.

14_ Michael really built it up the patch, and NOW it’s looking real good.  Wait until you see, in our Pumpkin Patch post coming right up soon, too.

17_yardview So here is a view from the corner of our front lot.   I know…..it’s not looking all that pretty yet.  But you know what I see, when I look at this photo?  All it is GOING to be!   Honest to Pete, (….I’ve always wanted to know who Pete was….anyone know?….), you are not even going to recognize the place at all, when we are done.  Major, major make-over, by the time we are through with the renovations.   You know…years from now.  But won’t it be fun  for you, watching it all happen, little by little?  You don’t even have to work hard with us!  Well…..you could come over and help, if you really wanted.  But really….we’re not minding the hard work involved here.  It’s ever so rewarding!

So, as I said, we’ve got at least 2 posts right on the heels of this one, to show you all that is growing so beautifully, now that we are at the end of June!   We’ll also be sharing more and more of the details of of our garden/front yard transformation plans.  We can tell you, so far we’re pretty excited with where it is all going, and pretty happy with where we are at so far this year….

….which happens to be suddenly SUMMER!  And feeling like it, here in New England, I’ll tell you!  If you haven’t been to the Home Page, you may want to pay it a visit!  ; )
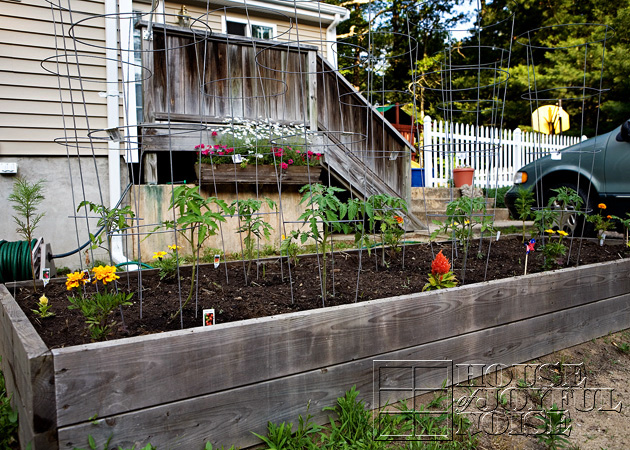
We’re kicking things off with this cheery little Give -Away…..

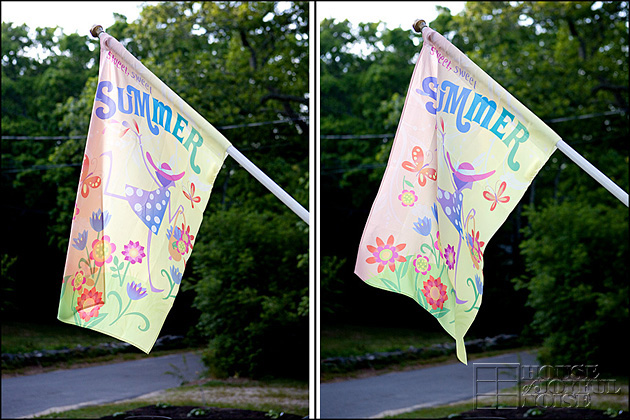
18_flag_giveaway ….Flying and flapping in the breeze, over our growing  gardens, is this happy summertime flag!  It really brings a smile to my face, to see it there, over all that is colorful and thriving.  It’s a bit of color in the air!  It’s a quality-made flag, and to me, it has the happiness of summer, all over it!

If you love it too, we’ve got one for you!

All you need to do, is leave a comment tot his post, and you are in the drawing for a summer flag of your own! If you follow me on Twitter or Facebook, I’ll make an announcement when the comments are closing for the drawing.  Don’t have a pole?  Why not hang it as a banner on the side of your house? Or, you could even give it as a gift, to someone you care about.  Surely, it’ll make someone smile, as much as it does us.

Good luck, and HaPpY SumMeR!!

Save

Filed Under: Gardening, Giveaways, SPRING Home Decor, The Homestead Tagged With: flowers, front-yard-gardening, front-yard-transformation

  • « Previous Page
  • 1
  • …
  • 10
  • 11
  • 12
  • 13
  • 14
  • …
  • 16
  • Next Page »

We are wicked happy to have you here! We hope you find much inspiration, help, humor and enjoyment here.


Archives


POPULAR POSTS

* * * * * *

SUBSCRIBE to House of Joyful Noise blog! Every new post, delivered right to your email box!


Privacy Policy

Amazon Affiliates

Never at any additional cost to you, we may earn a small commission for our endorsement, recommendation, testimonial, and/or link to any products from our website. Your purchase through our links helps support our family, while sharing with you the products we authentically use and recommend, for various ideas, and letting you know where you can purchase them. Thank you for your support!

[footer_backtotop]

Copyright © 2025 HouseOfJoyfulNoise.com · Genesis Framework by StudioPress