The kids and I are well into a new school year here, and things are going really well so far. Our oldest is a high school sophmore now, and the 3 youngest (triplets) are fifth graders. So naturally, each year has gotten more academically involved, deeper and serious for all of us; myself as the teacher, and they as students. But I can freely admit that I am learning almost as much as they are, and enjoying my re-education as we progress with each year. I love finding new ways to keep their homeschooling experiences fun.
One new idea I came up with this year, actually came about as I was brainstorming a gift idea for a special-little someone-else in my life. While that gift is more elaborate and expensive, and personalized from me, it occurred to me that it might be fun to incorporate the general idea into our schooling, on a more budget level, for my own kids. So I mentioned the idea to them, of keeping their own sketch books throughout the year, and was not prepared for their level of excitement about it! I also wanted them to customize their very own a little bit, so they treasured them more.
The intentions for these sketch books are for the kids to just use freely whenever they want to, to practice drawing, write a little poetry, journal some thoughts, or even just doodle as they feel like it. But I did let them know I may ask them to use their sketch pads to express their thoughts or feelings in any way they’d like, following field trips or other home schooling or life events worth noting, in an artistic way. These pads are for dry medium only, but naturally you can adapt the general idea to any kind of pad, as well as customize the cover using any material you’d like. But today, I’m just sharing with you what we did.
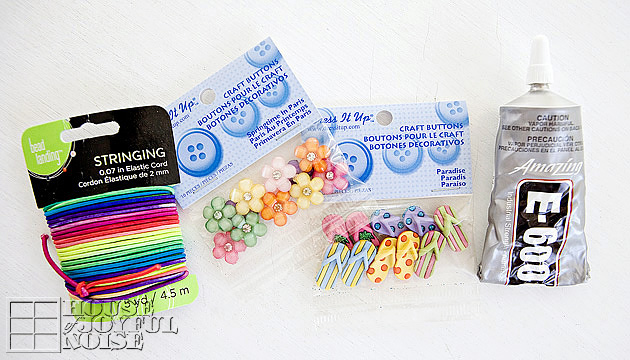
Here’s the basic supplies we worked with:
-
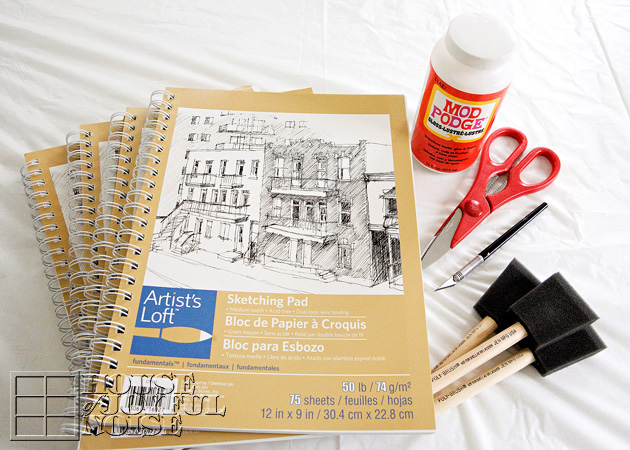 Inexpensive spiral bound sketching pads
 - Modge Podge
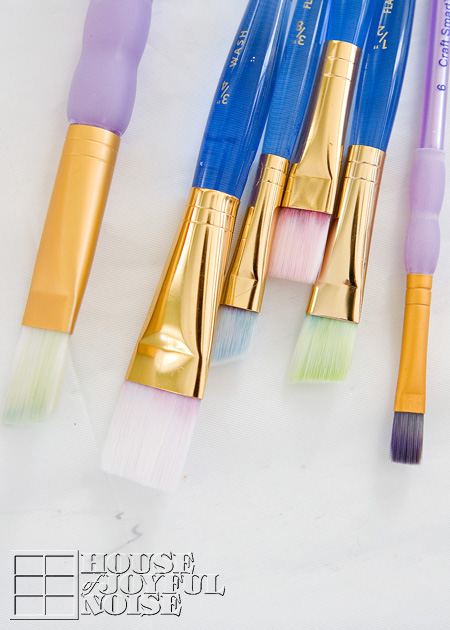
- Foam brushes
- Scissors or an X-Acto type blade
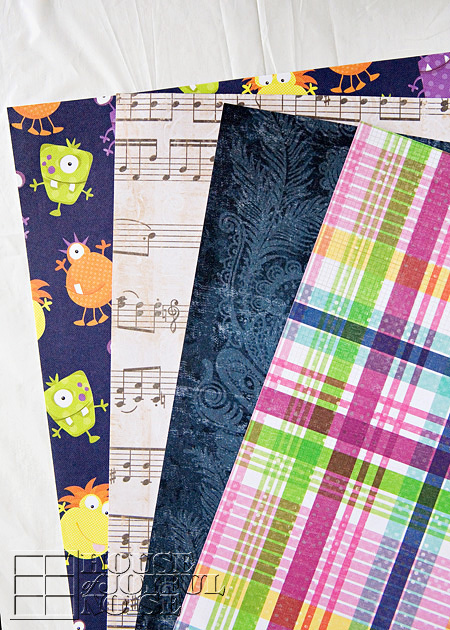
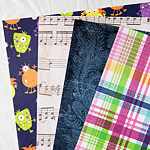
And, 12″ x 12″ patterned scrap booking paper. These are the sheets my kiddos picked out for themselves.
Now things are about to get ever-so-slightly-messy. Especially with kids. So I thought I would tell you my cheap little trick I use for protecting the table for all of our craft happenings . . . . . .
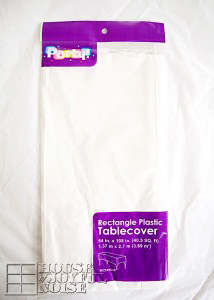
TIP: Plastic party table covers, from the Dollar Store! One usually lasts us for many, many projects. When we are done working, we make sure any paint or glue on it is dry, and then we just roll it up in a ball and put it away for next time. (You could fold it, if you really need to. I know some people are like that. Hey, I have my own weird issues, but they are different. I’m not judging! lol)
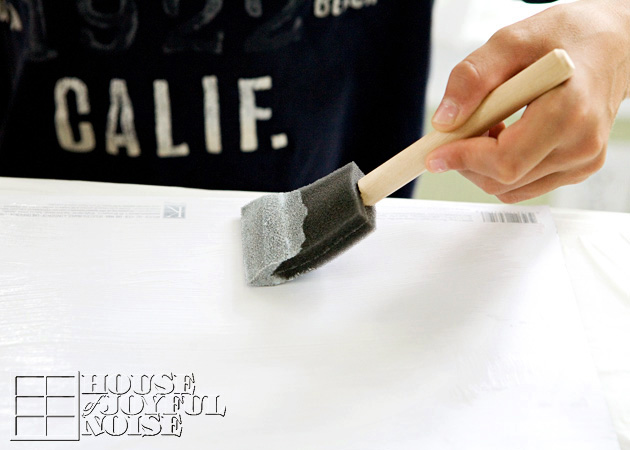 So the first step is putting a quick layer of Modge Podge on the back of the patterned paper.
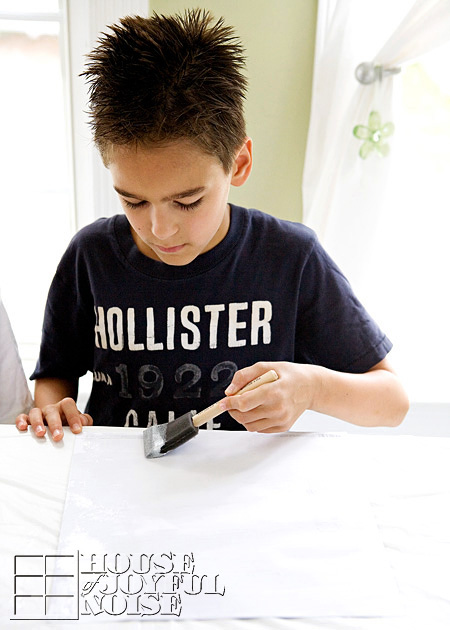
You don’t want to put any excessive amount on, or go over and over it, or the paper will get kind of soggy, and buckle.
But you do want to go right to the edge of the paper.
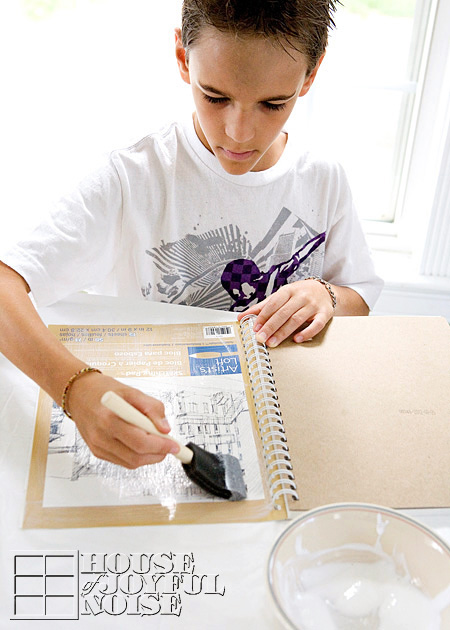
Then also put a layer all over the cover of the sketchbook.
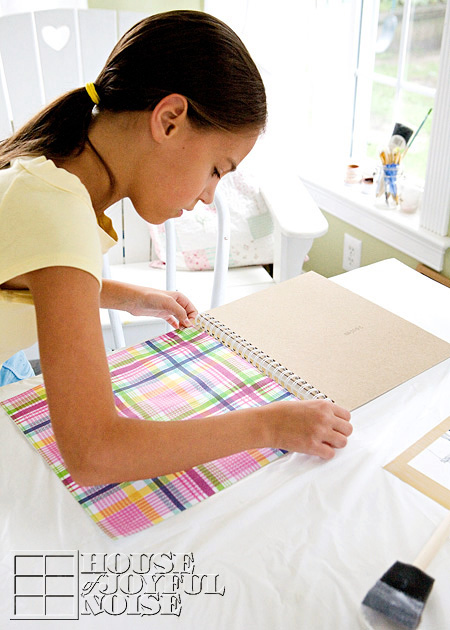
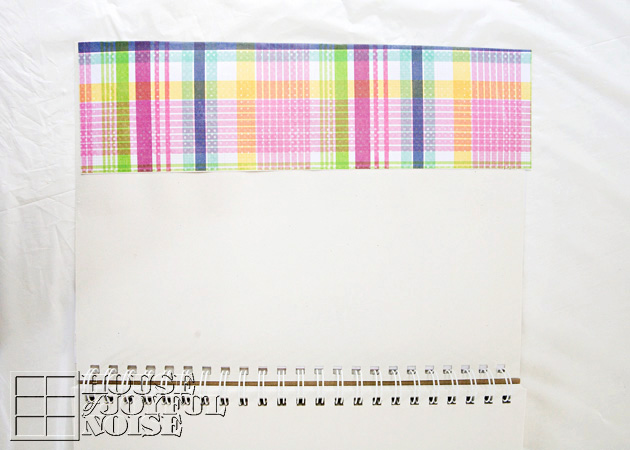
Then carefully place your Modge Podge’d paper, onto your Modge Podge’d sketch pad cover.
You can line up your paper evenly, by using the spiral bind as a guide.
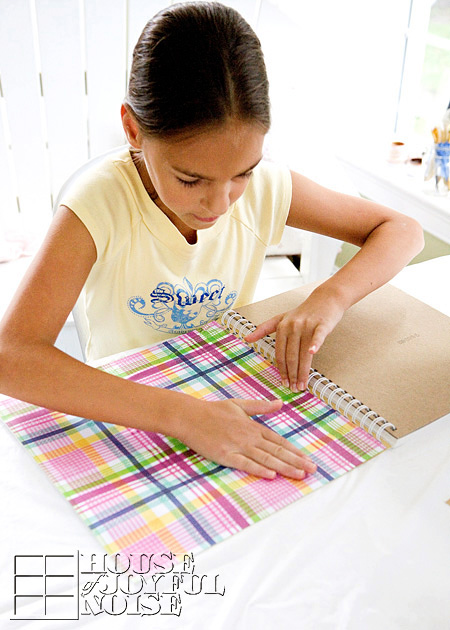
Be sure to smooth out any air bubbles in the paper.
Now, the paper was not cut to size on purpose. You could figure out and prepare the exact size paper you needed ahead of time. But it just seemed easier to me to just put it on their, and then either trim off the excess, or just fold it over into the inside of the cover.
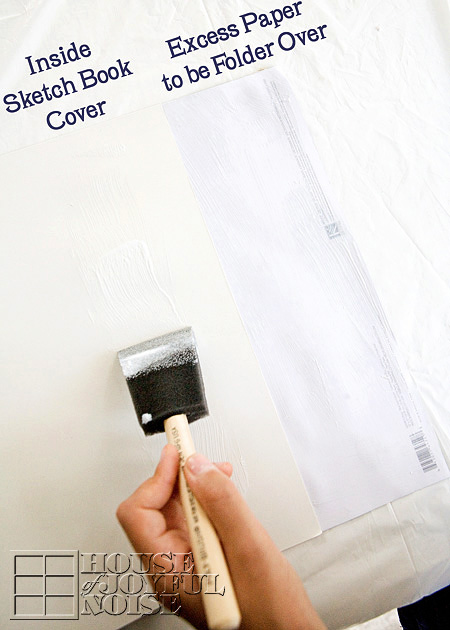
These particular sketch pads were conveniently 12 ” tall, but only 9″ wide, so we had 3 extra inches to fold in. The putting Modge Podge on both surfaces is just a preference, and may not be necessarry. I just know with my kids, these sketch books were going places, and going to take a traveling beating. So, I figured the more secure the paper was adhered, the better.
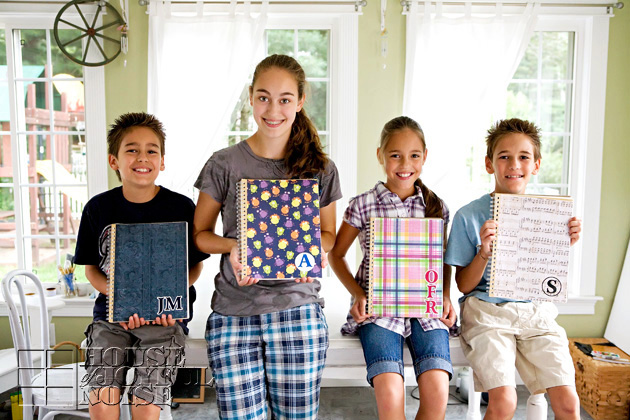
 Granted, not all of them came out with the paper put on perfectly straight anyway, because they are kids, and doing the best they can. And perhaps not as particular and picky as I am! (Which really, has got to be a nice feeling, sometimes!) They just had fun making them, and were really excited about the whole project. Which is really the best part: Kids being proud of what they made, and caring for those things that much more, because it is their own creation, from start to finish.
 I’ll tell you, it’s been weeks now, and these sketch books have proven to be a really great idea for my kids. They have really used them, on their very own whims. Regularly! Every day. It’s a beautiful thing to catch your kids sketching this or that. Sometimes really working on a particular one over time, trying to make it come out just right. This is how all of my illustration skills were born!
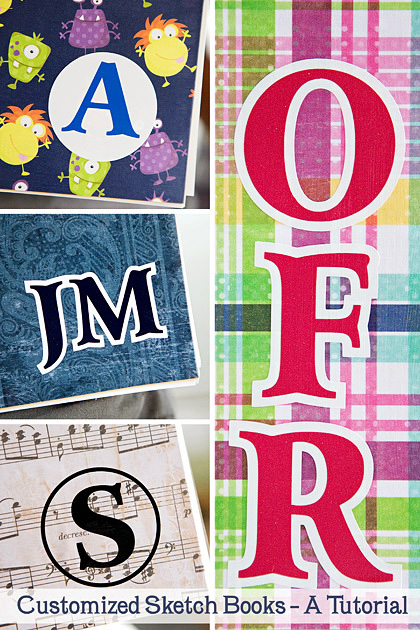
As you can see, we further personalized their sketch pads, with their initials. Those were all cut in vinyl for them, but they each specified the exact initials they wanted, colors, design and arrangement. I think they all came out so great! And each cover really does well express their individual styles and personalities.
I hope this idea inspires you in some way. I know that for me personally, any notebook or sketch book full of blank or lined paper, gives me the butterflies. IS there anyone else out there, who understands what I mean? The opportunity for expression just laying before those two covers, is exciting! So consider making yourself a special one of your own, and just let whatever wants to come out of your head to your hand, come out. See what happens inside! You may be surprised, and you may just enjoy every minute of it. Everybody should just take time to chill and doodle, sometimes.
Thanks for coming over. Please share this idea if you are so inclined.