• HOME
  • {A}’s Chipmunk Training Archives

 Homepage

  • The Homestead
    • Home Projects
    • Home Improvement
    • Home Decor
      • Seasonal Home decor
        • FALL Home Decor
        • WINTER Home Decor
        • SPRING Crafts and Creations
        • SUMMER Crafts and Creations
    • Our Chickens
    • Gardening
    • Organization
    • Re-Purposing
    • Furniture Refinishing
    • Budget
  • Crafts & Creations
    • Seasonal Home decor
      • FALL Crafts and Creations
      • WINTER Crafts and Creations
      • SPRING Crafts and Creations
      • SUMMER Crafts and Creations
    • DIY (Do-It-Yourself) Project
    • Kids Arts and Crafts
    • Homemade/Handmade Gift Ideas
    • Holiday Crafts
    • Fan Pulls
    • Free Printable/Downloadable
    • Sewing Projects
    • Giveaways
    • Business Features
  • Recipes/FoodFun
    • Breakfast
    • Lunch
    • Main Dish
    • Sandwiches
    • Appetizers
    • Slow Cooker
    • On The Grill
    • Side Dishes
      • Soups
      • Salads
    • Baking
      • Breads, Rolls and Muffins
    • Snacks
    • Treats
    • Desserts
    • Drinks
  • Homeschooling
    • Elementary Homeschooling
      • Elementary Homeschooling READING
      • Elementary Homeschooling MATH
      • Elementary Homeschooling LANGUAGE ARTS
      • Elementary Homeschooling SCIENCE
      • Elementary Homeschooling HOME ECONOMICS
      • Kids Arts and Crafts
    • Middle School Homeschooling
      • Middle School Homeschooling SCIENCE
      • Middle School Homeschooling HOME ECONOMICS
    • Language Arts
    • Math
    • History / Social Studies
    • Geography
    • Foreign Language
    • Field Trips
    • Games
    • Nature Study
  • The Big Picture
    • Life In General
    • Celebrations
    • Faith
      • Into the Light; The Series
    • Giveaways
    • Reviews & Sponsors
  • Photography & Lettering
    • Photography
    • truck lettering
    • vehicle graphics
    • Newborns
    • Kids
    • Engagement
    • High School Senior Pictures
    • High School Senior Pictures Sneak Peeks

Shabby-Chic Fan Pull & Pillow | Craft and Home Decor

July 19, 2011 By Laura 4 Comments

shabby-chic-fan-pull-craft-3

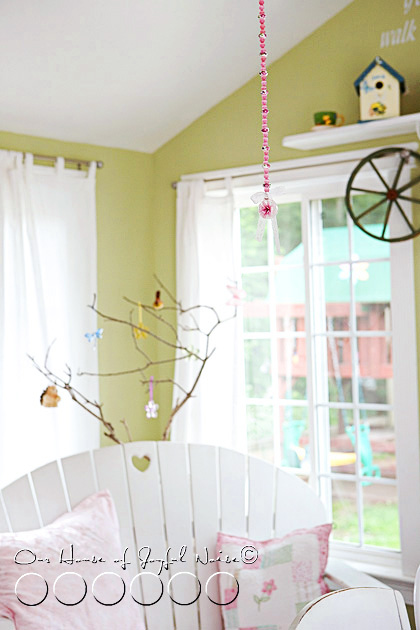
I know!  It’s been awhile since I’ve made a ceiling fan pull, huh?  Hey, a girl only has so much time to craft! But once I got this new one in my head, I couldn’t go out & get the supplies to make it, fast enough.  I made it, and then I was so excited to see it up, that I took down my summer fan pull, to put it up.
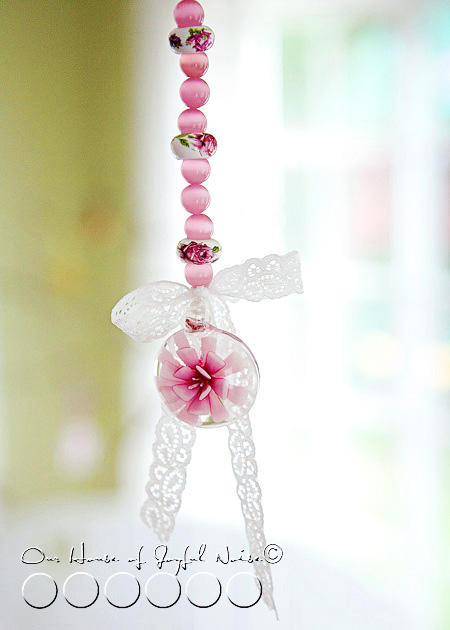
shabby-chic-fan-pull-craft

I’m all about farmhouse style, to the core. But I definitely dig a little Shabby Chic. It’s just a wonder to me, because when I was a little girl, I hardly had a feminine bone, and I was sure I never would.  I even recall a mylar motorcycle poster on my bedroom wall at one point. But here I am!

I really dig pink, lace, and Shabby-Chic-ness.

This fan pull has that kind of feel to me.  You?  That’s what I was going for, anyway.
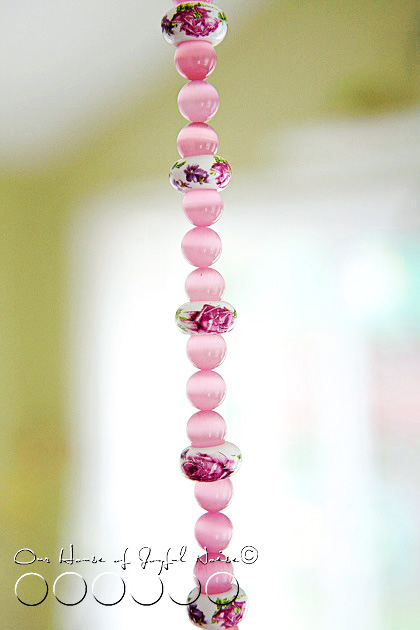
shabby-chic-fan-pull-craft-1

I found THE perfect beads at Michael’s Arts & Crafts.  I used the style of the round soft pink ones (in various colors) so many times.  But how about those rose ones, huh? I swear my heart skipped a beat, when I saw those.
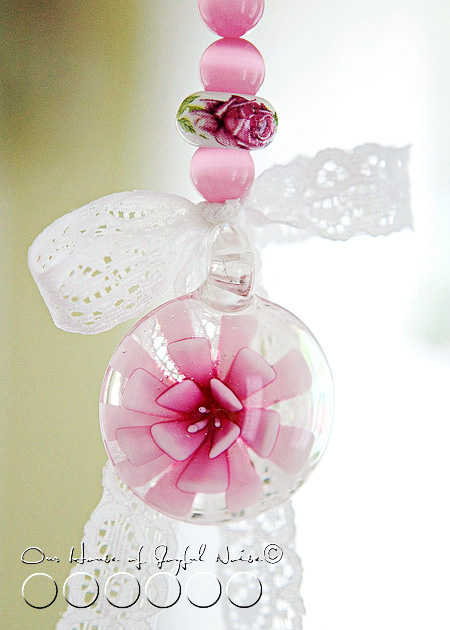
shabby-chic-fan-pull-craft-2

And despite the fact that I used a large glass pendant just like this one in green, for a spring fan pull, this pink one went way too perfectly, for this pull too.

Besides, I couldn’t find a big pretty rose to use. Not at that store anyway. And this worked nicely.
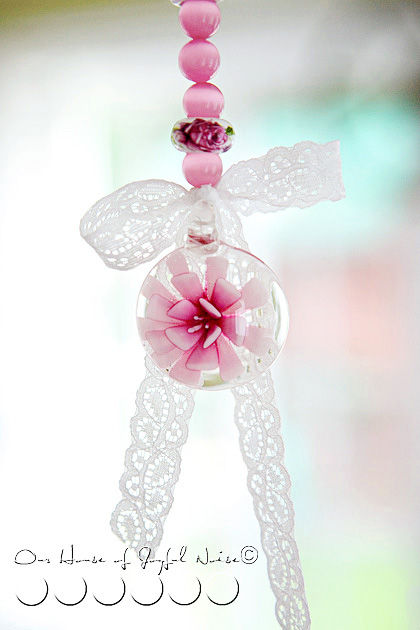
shabby-chic-fan-pull-craft-4
I was so excited to add my last little touch: a lace ribbon bow.
 

shabby-chic-fan-pull-craft-5

It looks so pretty, hanging in the middle of the room, that the summer fan pull may not make it back up, this year.

(If you’d like to check out all of my other fan pulls I’ve made so far, you can search ‘fan pulls’ in the category box later, in the sidebar.)
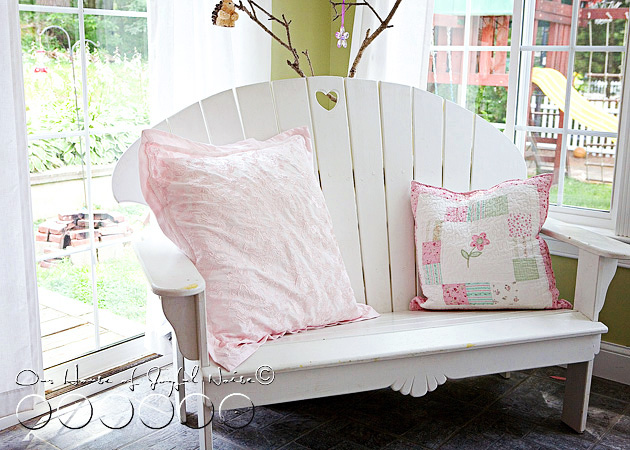
 

shabby-chic-fan-pull-craft-6
I’ve been meaning to share something else with you all, since um….February?!  The big Shabby Chic Pillow, that Michael got me for Valentine’s Day.
<3
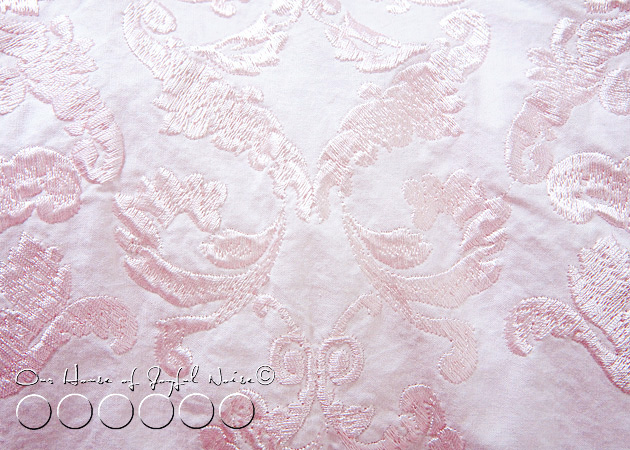
 

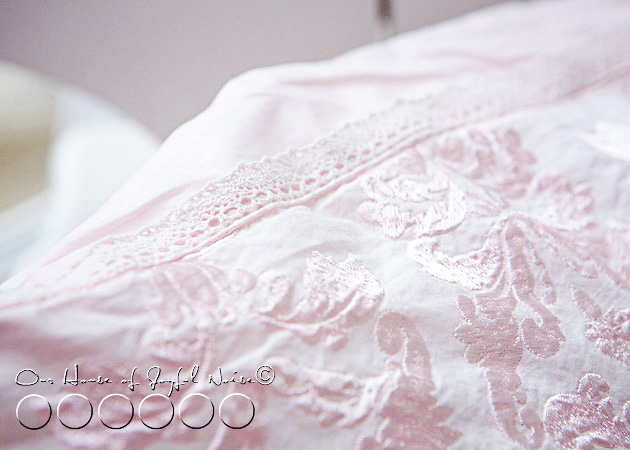
shabby-chic-pillow-home-decor How pretty is this embroidered pattern?

It’s a satin like thread, on a light polyester, I guess.
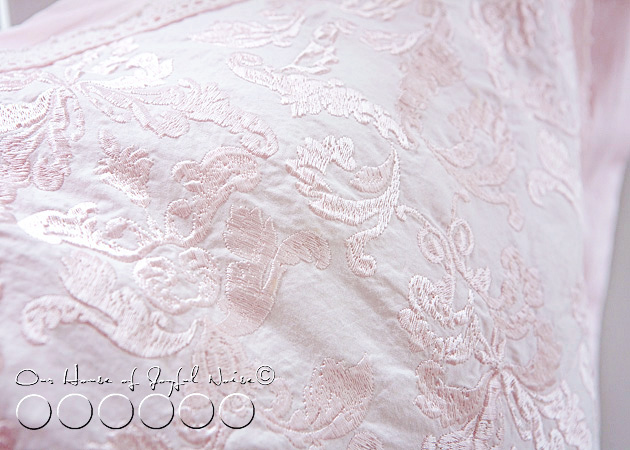
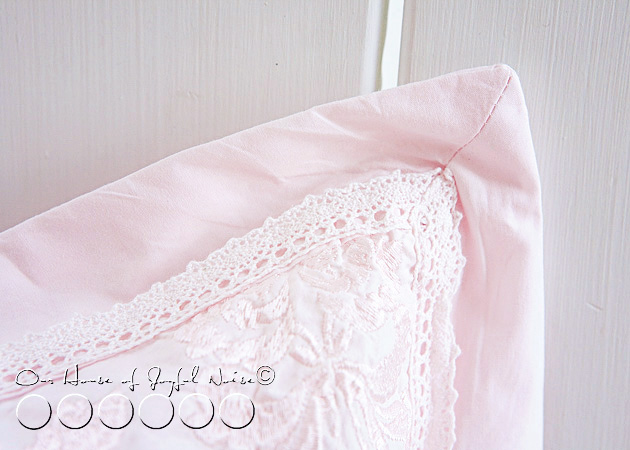
shabby-chic-pillow-home-decor-1 The texture of the thread-work plays so awesome in the light.
shabby-chic-pillow-home-decor-4

So does the crocheted lace trim.


shabby-chic-pillow-home-decor-3 Lovely, isn’t it?


shabby-chic-fan-pull-craft-6 Yes, when the kids come in from playing, all covered in dirt, I preach! “Oh boy!  You better be SURE not to touch-my-PILLOW!”.  (And between you and me, I may have a few heart palpitations with that preachin’.)

Yes, I COULD just wash it.  But then I’d have to iron it again too! And I really despise ironing.

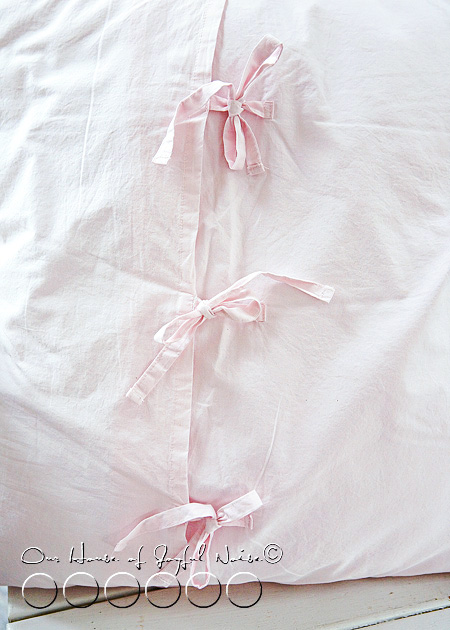
Oh, which reminds me, that yes, this pillow cover IS removable.  Check out the back….
 

shabby-chic-pillow-home-decor-5
It’s the details.  You know?

I don’t know why I get so crazy over this stuff.  But I do.  Like….butterflies. Over so many little things in life.  Not kidding.

Well, I hope you enjoyed seeing my Shabby Chic fan pull & pillow.
Thanks for stopping by.

*


Save

Filed Under: Crafts & Creations, DIY (Do-It-Yourself) Project, Fan Pulls Tagged With: ceiling-fan-pull, crafts, fan-pulls, shabby-chic, shabby-chic-crafts

7 Layer Salad, with Sides – Summer Light & Just Right | Recipe

July 18, 2011 By Laura 3 Comments

7-seven-layer-salad-recipe-5

If you live in a climate where summers can be hot & humid, than you probably have days like me when you can’t even think of cooking dinner, in a hot kitchen.  You’re looking for a meal that is cool, light, and delicious.  We probably all have our regular stand-bys, but I just discovered a new favorite, and I’m here to share it with you!

One of the best parts of having link-up party on Tuesdays, has not only been the simple home decor or craft ideas, but the recipes shared!  This ‘7 Layer Salad’ was a link-up, and I thought it was so enticing, we made it right away, and then featured it! >  Because our whole family loved it!  As I said in the feature, even the kids were ‘scoffin’ & commentin’ through the whole meal, and were thrilled to have leftovers the next night.  (Honestly, they cheered.)

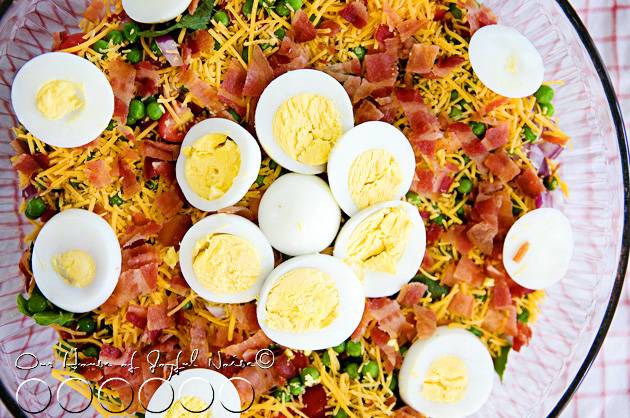
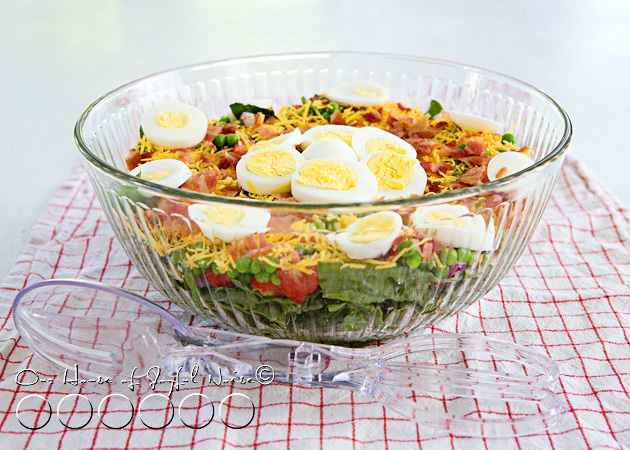
7-seven-layer-salad-recipe I think the name alone, 7 Layer Salad, is FUN, and sound enticing.  And the great thing is, if you don’t care for one of the ingredients/layers, you can substitute it with something you prefer, and still call it 7 Layer Salad! But we made it just like the recipe called for, and it was a hit in our mouths, and our bellies.

Here’s the recipe, layer-by-cool & easy-layer:

7-seven-layer-salad-recipe-1 7 Layer Salad

*In order that ingredients are put into the bowl, building bottom to top:

  • 6 cups fresh, washed Spinach
  • 2 cups Grape Tomatoes, halved (Cherry Tomatoes would work too.)
  • 1 cup Red Onion, chopped
  • 1-1/4 cup frozen Peas, thawed & drained
  • 1 cup Cheddar Cheese, shredded
  • 6 slices Bacon, cooked & chopped*
  • 3 Hard-Boiled Eggs, quartered or sliced

* Use microwavable bacon!  Remember, we not cooking tonight! ; )

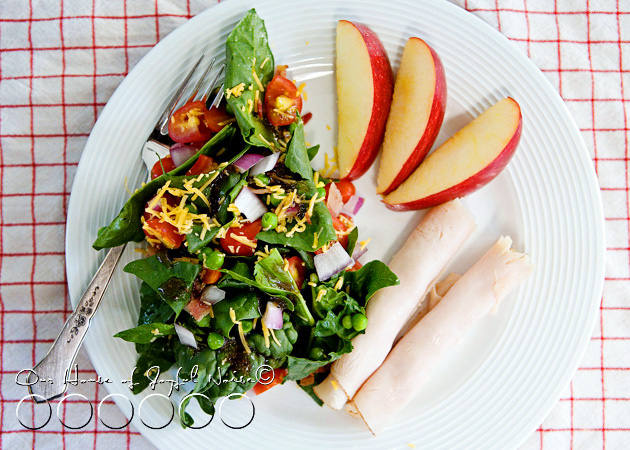
Then, I added a few perfect sides, still keeping the meal cool & light:

7-seven-layer-salad-recipe-4 Some fresh and cold rolled-up Turkey meat & Apple slices.


7-seven-layer-salad-recipe-2

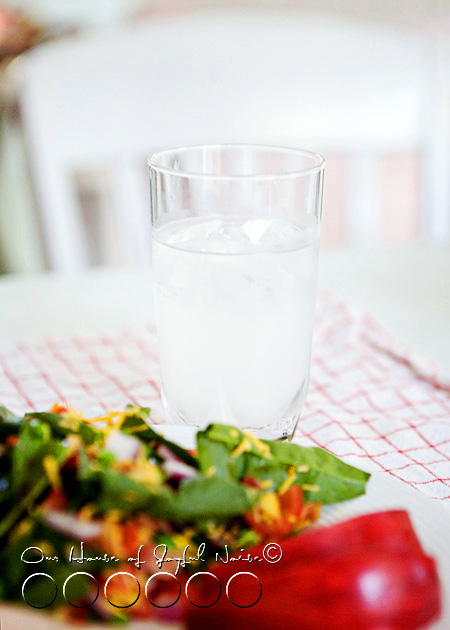
Serve with a tall glass of cold lemonade, and you have yourself a perfect and light summer meal!  Lunch or dinner!

(OK, that particular glass in the photo, happened to be my Mike’s Hard Lemonade. But, you know, can do Country Time if you’d like!)

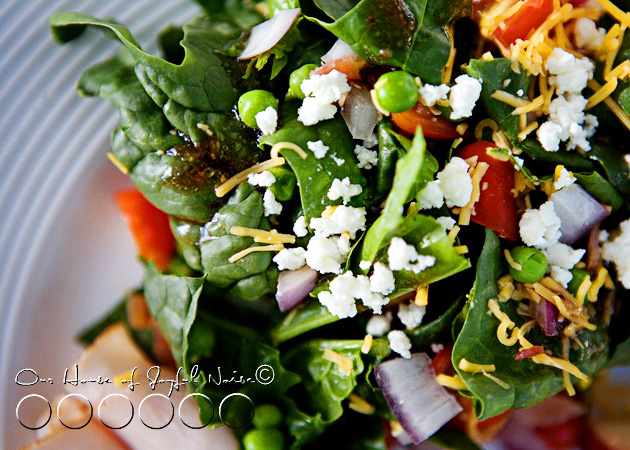
As a salad dressing, consider Balsamic Vinegar, or a Raspberry Vinaigrette.  My kids love both, but yours may prefer their regular favorite.

7-seven-layer-salad-recipe-3 As if this meal wasn’t perfect enough to me, I added my favorite topping.  Most every salad is ‘betta, with Feta’.

Scrum-de-licious!

Of course, you have the option of swapping out any ingredient layer you don’t care for, and swapping in one you do!
What changes might you make to your layer salad?


Save

Save

Save

Save

Filed Under: Lunch, Main Dish, Recipes, Salads, Side Dishes Tagged With: 7-layer-salad, light-summer-meal, salad, salad-recipes, seven-layer-salad, summer-dinner, summer-salad

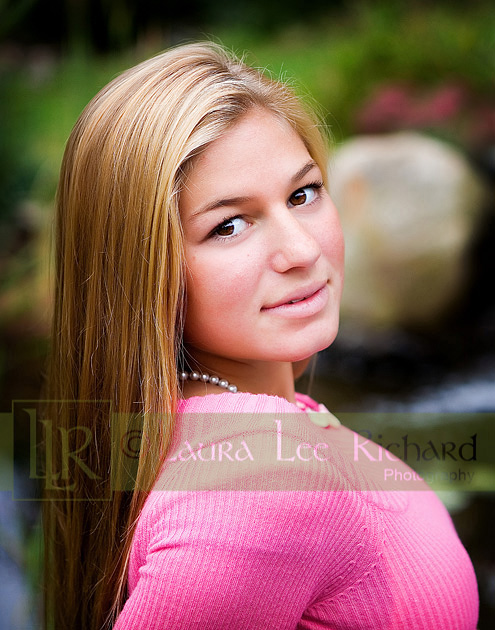
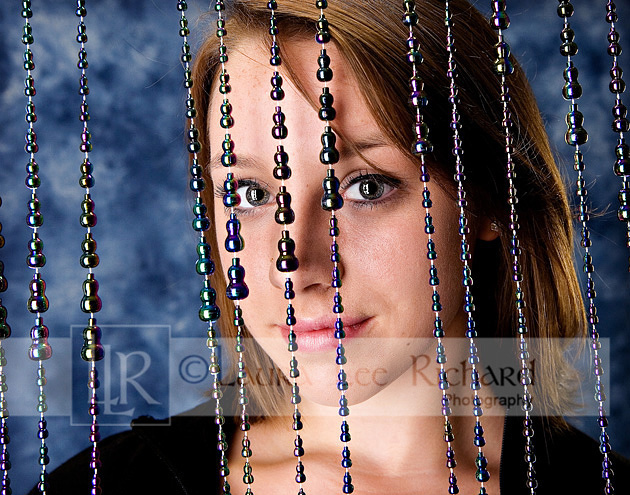
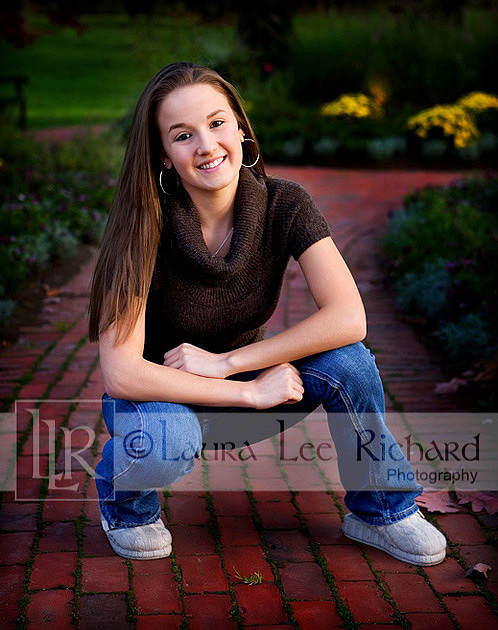
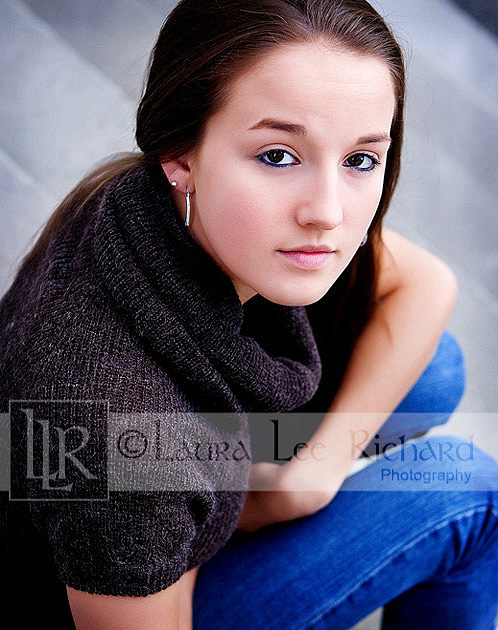
HIGH SCHOOL SENIOR SENIOR PHOTOS MIX

July 12, 2011 By Laura 1 Comment

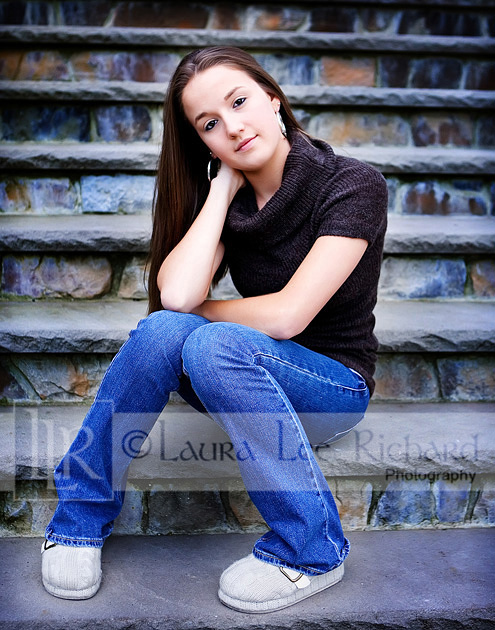
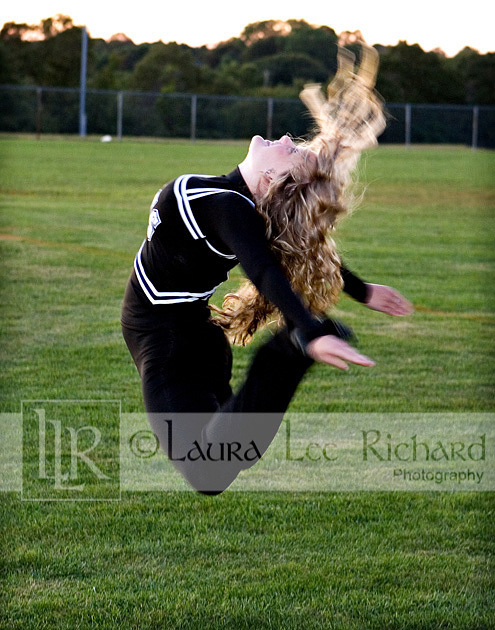
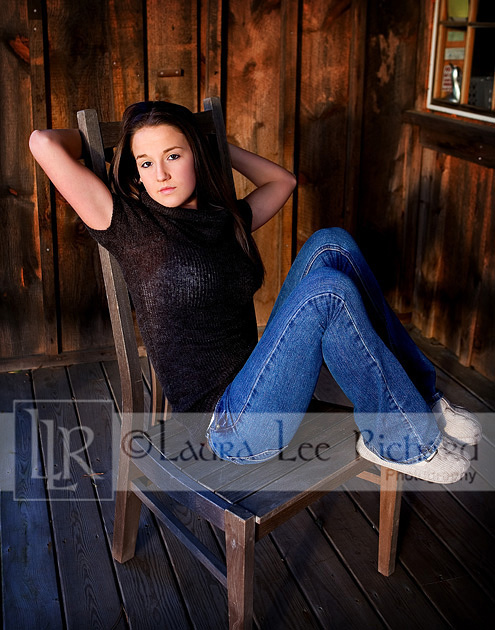
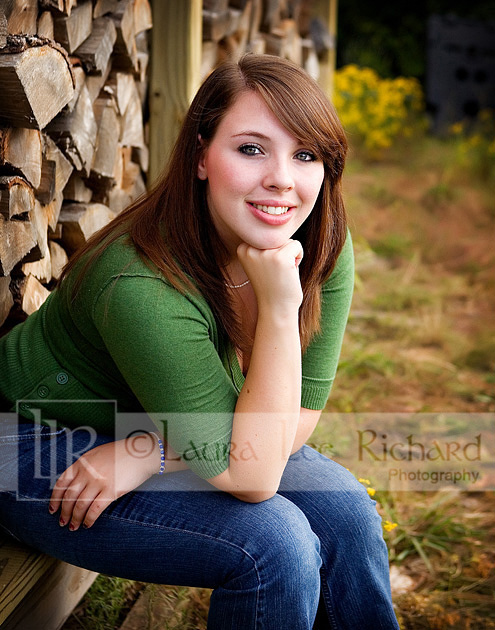
Shooting high school senior photos, is one of my very favorite parts of being a professional photographer.

Laura Lee Richard Photography Plymouth MA

(2 paragraphs, and then it’s 40-something photos. Please give them a minute to load, after opening, before scrolling. )

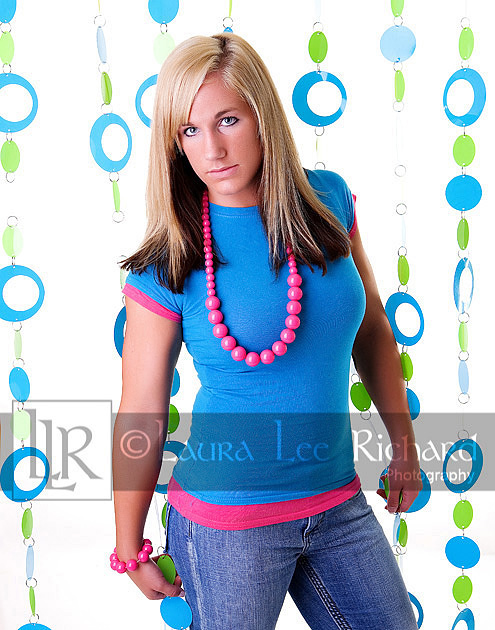
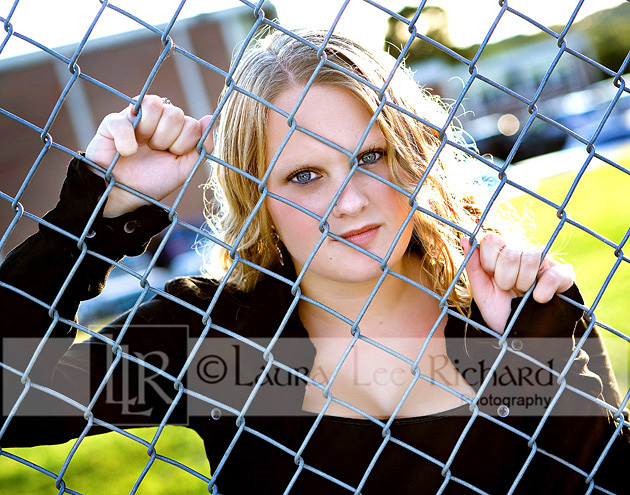
I’ve been shooting high school seniors for about 13 years now.  Naturally, my work has really evolved since my early years. (Thank goodness.)  I’ve always taken a limited number seniors each season, to be able to give each individual my creative best, because it’s the creative process I love, and those customized portraits that reflect my seniors true personality, that they deserve.  Shooting every senior in the same spot, in the same style, and positioned the same way, is far from my style!  I’m not a volume photographer, and I won’t ever care to be.  I want to get a good feeling for who they are on the inside, so it shines on the outside. They have dreams, and passions, and souls.  Their portraits should reflect who they are as a person. Not look like a replica of every other senior’s photos. It’s my own individual style of working with my seniors, and creating portraits that stand out and highlight their uniqueness, and what is important to them, that has helped me succeed as a photographer, and given my business a name in this field, in my area.  I’m blessed that there have been so many clients over the years who have wanted to work with me, because they could see, and truly understand, my mission, beyond the yearbook photo.

Because I invest so much creative thought process into my seniors, I needed to take a season hiatus last year.  It was the first senior season I took off, but it was necessary for me to focus on important things in my life. This year, I am lining a few seniors up again for this summer, and there is some unique & exciting stuff involved!  Although some of these seniors have posts in this blog that are a partial collection of their photos only, I wanted to share with you a mix from the past few years.  In viewing them remember….they are not not lumped together as youth at this age.  While they all (except 1, was a year later or so) have the common thread of it being their high school graduation year, they are as unique as their photos, with their own personal dreams and gifts.  It’s my belief that God has a life plan for each one of them, individually, and it’s up to each of them to find it.  Led by their passions, using their gifts, as the powerful tools they were designed and born with, to do so.  It’s my hope that I am some part of sending them off on their way, into the world to find their way, believing in gift of who they are, like no other, and believing that their life has a divine purpose, meant for only them to live .

Laura Lee Richard Photography Plymouth MA

Laura Lee Richard Photography Plymouth MA

Laura Lee Richard Photography Plymouth MA

high-school-senior-photos-laura-lee-richard-photography-plymouth-ma-3

Laura Lee Richard Photography Plymouth MA

Laura Lee Richard Photography Plymouth MA

Laura Lee Richard Photography Plymouth MA

Laura Lee Richard Photography Plymouth MA

Laura Lee Richard Photography Plymouth MA

Laura Lee Richard Photography Plymouth MA

Laura Lee Richard Photography Plymouth MA

Laura Lee Richard Photography Plymouth MA

Laura Lee Richard Photography Plymouth MA

Laura Lee Richard Photography Plymouth MA

Laura Lee Richard Photography Plymouth MA

Laura Lee Richard Photography Plymouth MA

Laura Lee Richard Photography Plymouth MA

Laura Lee Richard Photography Plymouth MA

Laura Lee Richard Photography Plymouth MA

Laura Lee Richard Photography Plymouth MA

Laura Lee Richard Photography Plymouth MA

Laura Lee Richard Photography Plymouth MA

Laura Lee Richard Photography Plymouth MA

Laura Lee Richard Photography Plymouth MA

Laura Lee Richard Photography Plymouth MA

Laura Lee Richard Photography Plymouth MA

Laura Lee Richard Photography Plymouth MA

Laura Lee Richard Photography Plymouth MA

Laura Lee Richard Photography Plymouth MA

Laura Lee Richard Photography Plymouth MA

Laura Lee Richard Photography Plymouth MA

Laura Lee Richard Photography Plymouth MA

Laura Lee Richard Photography Plymouth MA

Laura Lee Richard Photography Plymouth MA

Laura Lee Richard Photography Plymouth MA

Laura Lee Richard Photography Plymouth MA

Laura Lee Richard Photography Plymouth MA

Laura Lee Richard Photography Plymouth MA

Laura Lee Richard Photography Plymouth MA

Thanks for looking!

Save

Filed Under: High School Senior Pictures, Photography, Photography & Lettering Tagged With: high school seniors, high-school-senior-photos-plymouth-ma, Laura-Lee-Richard-Photograpy-Plymouth-MA

Now (Book) Reporting |Elementary Homeschooling

July 7, 2011 By Laura 7 Comments

book-reporting-homeschooling-elementary-1

It’s always nice to have friends, who care about your kids in a sincere way, almost as much as you do.  Don’t you think? I have had a friend in particular like that, for 13 years now or so.   About half-way into our friendship, I began homeschooling our oldest, and at the time, only child. Eventually, we added 3 more students to our school, 😉 and are now transitioning into our 7th year of homeschooling . As of this post, the triplets are 9 years old and ~ 4th grade level.

My friend had 3 kids of her own, all close to my daughter’s age, adding a 4th along the way. She has also happened to be a teacher.  But somehow, all along, those two facts or common interests, have never really come together between us.  Until this year.  Oh, I may have, at times, happened to say something to her about our schooling, as a friend would in sharing what is happening in their life in girlfriend chit-chat. She in turn, has talked about her teaching, as a friend would in catching up as well.

Mind you, we are good friends, and see each other frequently enough. Our families get together here and there.  So it’s always apparent we care about each other & each others’ kids.  But I was especially impressed when on one day she came over this past winter, she brought something for my kids.

book-reporting-homeschooling-elementary

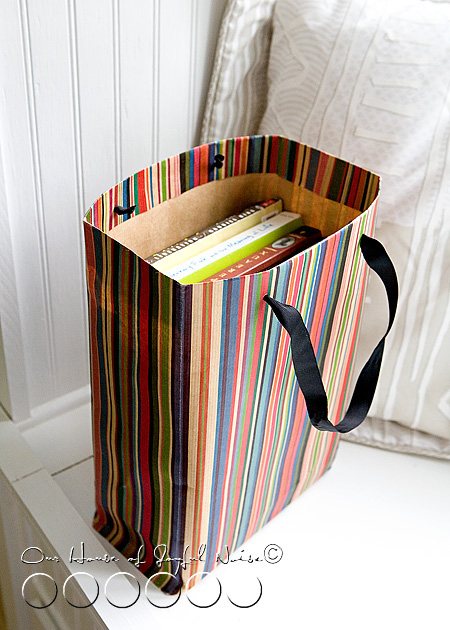
A big bag full of books, for them to borrow!  She knew how much they loved to read, and perhaps I had mentioned to her how difficult it always is, to keep up with keeping new material around for them to read as well.  They devour them, tending to read every book 2-3 times, because they’ve read them all. And we can only hit the library so much, you know? With 4 kids who aren’t easy to remove from the library once we’re in, I think twice some days!  Oh the guilt. So, I was thrilled with this surprise delivery!  So were the kids, gathering around.

But wait….she had more….

book-reporting-homeschooling-elementary-2

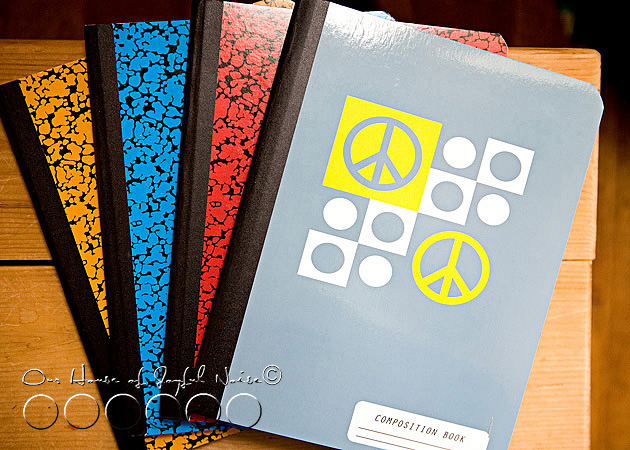
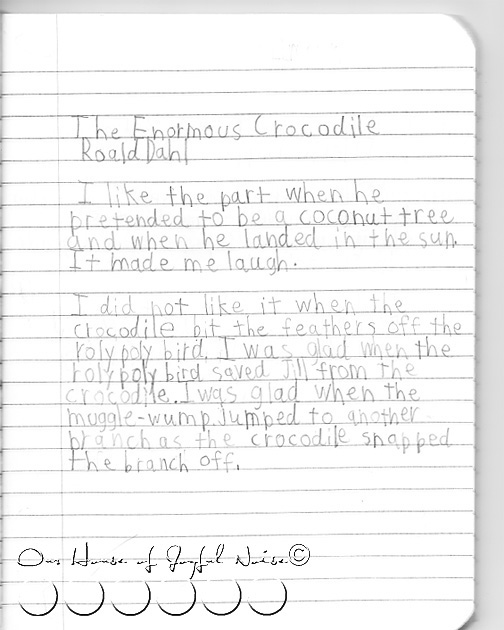
She then told them that she brought each of them their own journal, and she wanted them to write book reviews in it.  She kept the suggested format simple, and their excitement grew.  Because she’s not only a very qualified & passionate teacher who loves kids, but a mother too, she knew just the manner in which to communicate with them. Her presentation was exciting, and so they were inspired. I was smiling inside, a great big grin!

The very simple and casual format she suggested they use to write, following each book they read, was as follows:

  • Book Title
  • Author
  • Whether they liked the book or not, and why.
  • What their favorite part was, or what part they really did not like, and why.

She told them she really loved so many of these books herself, and she couldn’t wait to read all about what they thought of them.

And they were off! They couldn’t wait to get to work.

Now honestly, my kids need no encouragement to read, as you may have gathered by now. Writing, they actually don’t mind doing too much either. But I like them to write as much as possible.  Not for the sake of penmanship, but for the sake of formulating thoughts, organizing them, and putting them down on paper in a meaningful way. As a homeschooling educator, I strongly feel that developing strong writing skills is critical.  So needless to say….but I’ll say it anyway….This ‘surprise activity’ was one I thought was FABULOUS!

book-reporting-homeschooling-elementary-3

On the other hand, some of the kids’ penmanship can always use more practice too! In the course of our school days, they have days where they print super-neat, and days when they don’t.  That depends on one thing: effort!  Sometimes, they are excited to express what they want to say, or are just in a hurry for whatever reason, so they just whip it out at lightening speed! So it comes out messy.  Some of them need to practice s l o w i n g  d o w n, and being a little more mindful of each letter (or number) they are forming. Other times, they are not focused enough on the use of space between the lines: being sure capitals go to the top, and lower case are around half the size of the upper case.  They need to practice adjusting their letter sizes, to the kind of paper they are writing on.

book-reporting-homeschooling-elementary-4

But for their book reviewing, in these journals, the qualities of their penmanship, was not a factor that mattered to me to press at all. I mostly wanted them to focus on their thoughts about the story they read, and what they had to say about it. Keeping it a fun and leisure activity, was the approach our friend gave them, and I wanted to maintain that.  I had them for all of their schooling, to address the rest. And I sure do. 😉  Also, correct use of punctuation, spelling, indenting, paragraphs, proper grammar.  < I’m a freak about these things, Yo. >  😉 

I was amused to find a book in the pile,that brought back some fond memories for me …..

Bridge to Terabithia, by Katherine Paterson.

My memories involving this book, make me smile.  When I was a kid, I started a new school, in 6th grade.  I had only gone to one other school, in my whole entire life. 😆  It was scary to start at a whole new school, with all new kids.  But I got a teacher that I not only loved, but my whole class loved.  Mrs. Curry made everything o.k.  She was petite, and pretty, with dark eyes and long black hair, and she had such a soft-spoken voice, with an accent….that was really fun(ny) to listen to.

And we got to listen to her a lot!  Because every afternoon, for a little while, she took off her shoes, climbed up on an empty student desktop and sat on it, facing us, with her bare feet on the chair, and she read to us.  I loved watching her read, and listening to her voice. Soon, however, we learned Mrs. Curry was going to have a baby.  We watched her belly grow, her walk turn into a cute waddle over the weeks, and how she started sliding up on to the desk with her big belly and arched back, rather than the way she so used to so casually just hop up there before.  She read us many books throughout that year.  But the only one I really remembered, was Bridge to Terabithia. I think the story line drew me in enough at one point, to make me forget about focusing so much on how nice Mrs. Curry was, that I was actually, truly listening.  Studying the book cover that faces us, as we listened, was another part of story time, for me.  I was an illustrator in the making, so the cover was almost everything.  If the cover was lousy, I’d probably never find out if the rest was good, because I wouldn’t bother reading it.  I don’t remember now, exactly what this book cover (of Bridge to Terabithia, that year in school) looked like, but I recall quite enough to know that it was different than this illustrated cover above, from the kid’s bag. The one from 6th grade had a brilliant yellow/orange/red color fade, and I believe a silhouette of kids on a bridge.

Or something similar.

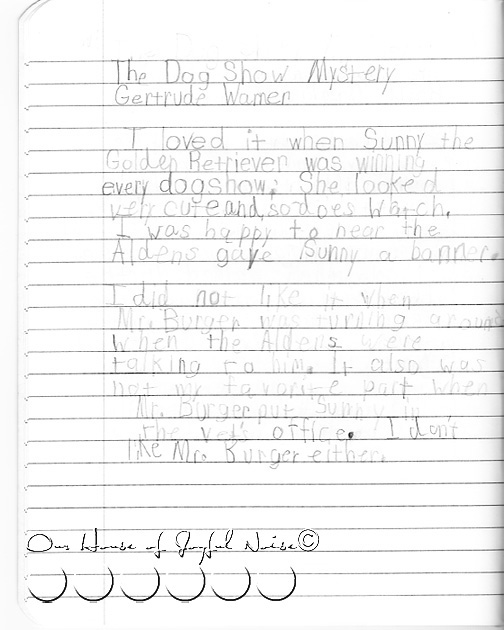
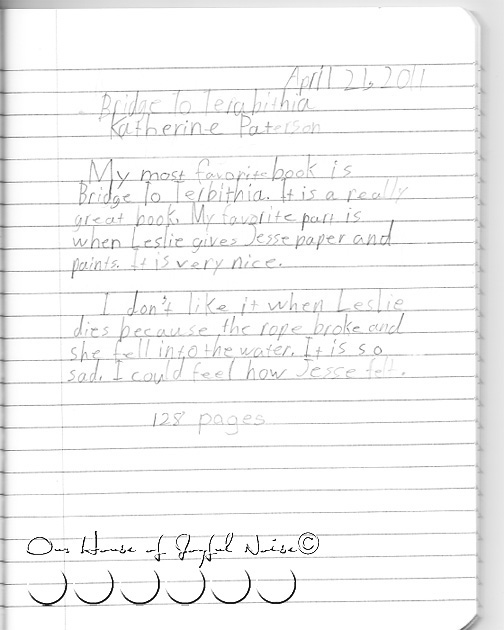
Turns out, my own daughter (the girl triplet) loved this book best too….

book-reporting-homeschooling-elementary-6

So strange to to think of it, too long.  As I do.

A full circle of sorts,  from my own grade school life, to my own childrens’, and this book.

My daughter’s book review reminded me of more of the story, than I originally remembered.  I think it effected her in a deep and sad way, as it probably did for me.  Maybe that’s why it is the book I remembered most?  Possibly. Disturbing things do tend to stick with me.  But tragedies are a part of life, and it’s likely best to start grasping that reality through books first, in our young lives, before we are faced with such difficult circumstances in real life.

Come to think of it, I think that was the last book Mrs. Curry read to us.  And perhaps it did prepare me for an imminent tragedy in my own life.  Well…through the perspective of a 6th grader, anyway. But not enough for me.

Mrs. Curry announced she was leaving.  To be at home with her baby on the way that summer.

I was devastated.  Sr. Cathy, who replaced her, was just o.k., on a really good day.  She was a far cry, from Mrs. Curry.

book-reporting-homeschooling-elementary-7

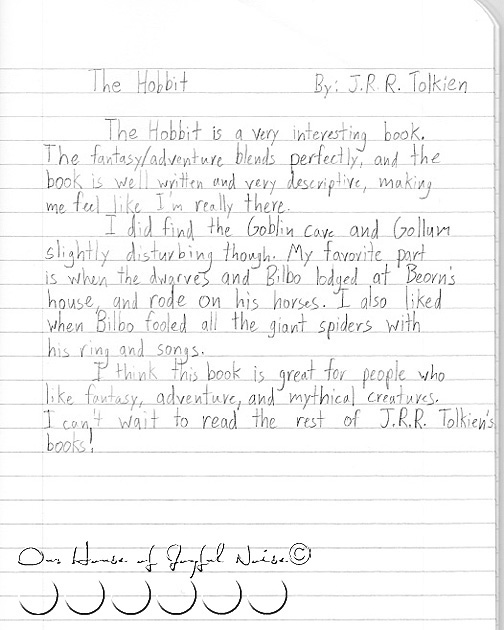
Our oldest (14) got her own bag of books, being of an age that was suitable for more mature content.  She is a true, true book lover.  A collector already, I would say. In fact, maybe I should be sure she returns these books she took on loan from our friend, come to think of it. ; )

Along with her books, came this from our friend too……

This is a scan of just the front page. In reality, it is 9 pages, stapled together, full of writing prompts.

Wow.  No excuse for ‘Writer’s Block’ this time, huh?

(Gosh….maybe I should grab it, for my blogging! ; )  )

book-reporting-homeschooling-elementary-9

As I said, with schooling, all 4 kids write a lot, anyway. It’s required in my school here.  Their reports for me are actually much longer than these brief book reviews they do.

But the point of these was to encourage both reading & writing, and keep it in the light of a leisure and enjoyable activity, that is always available to us throughout our lives.

To update you as to how they did with all of this : 

When the kids quickly made their way through the first bag of books, my friend picked it up, and brought another to replace the first. : )  As a multi-grade-level teacher over the years, she has en enormous collection of books, off the shelves of her various classrooms.  The younger kids read probably 95%, if not every book, she has brought, and they have written reviews for….far fewer than that.   They started off gung-ho with the writing part!  But it lost some fizzle along the way, as they jumped straight from one book to the next, to the 8th, to the 14th, in a matter of a week or 2, before I thought to casually ask if they were continuing journaling for each.  “No, not for all of them.  But some!!” And that’s ok, because again, there is plenty of writing not only in school, but willingly on their own for other things as well, such as personal journaling, poems, notes, copying (they do this for fun? lol…), recipes, and more. They have all read 100’s of books, besides this bag, as well, since February. They just blow through them.

So the book-reviewing in their journals is stop & go, giving random reviews in their journals along the way. But the book reading is non-stop, in their day-to-day life.  They play hard outdoors, and everywhere we go.  But they have always used reading as their way of resting.  I love that!

Oh the places they have been, and the places they will go, through the pages of a book.

I’m really so happy to have such a good friend, who deeply understands the joy of teaching and encouraging children in their learning process, and watching the rewards of their development in them, along the way.  It’s one more mutual appreciation, we can share now.

So I’ve shared all of this with you, for your consideration in getting your own little scholars a journal for some book reviewing, suggest the simple format above, or your own ideas, and see what they do with it.  You may just find you have new & entertaining reading for your own enjoyment!:  their reviews!

Happy Schooling!


Save

Filed Under: Elementary Homeschooling, Elementary Homeschooling READING, Homeschooling, Reading / Writing, The Big Picture Tagged With: Bridge to Terabithia, elementary-book-reporting, elementary-homeschooling, encouraging reading and writing with kids, homeschooling, kids-book-reports

Setting Eyelet Embellishments – A Tutorial

July 5, 2011 By Laura 4 Comments

setting-eyelet-embellishments-crafts-tutorial-4

Several blog posts back, I shared a simple craft I did making decorative paper pennants. Part of that project was putting eyelets in the top corners of the pennants, to string ribbon through, and hang like paper bunting. I asked in that post if there was anyone interested in a tutorial on the procedure of using eyelets, and one of our readers, Lindy over at Veni Vidi Scrappy, said she would.  She is a passionate scrapbooker, as evidenced by her great site, so this would make for a very useful technique for her. But there are many creative ways you can use eyeletting for.

I’m happy to share how I set eyelets! But what I didn’t know at the time I offered is, there are new tools that supposedly make this process even easier, and quieter, that have become available in the scrapbooking industry in recent years.  I have had my eyelet/brad set, from Making Memories, for a good many years. Apparently, longer than I knew!  So for the sake of reference, the newest tools now available, and the methods in which they are used, can be seen here at this site.

However, I have rather enjoyed using my cute little hammer, and the method I have used all of these years, as noisy as it is. So regardless of the fact that this is now the ‘old fashion’ way’, I’m going to share it as promised anyway.  And most likely continue to do things the old fashioned way, for a good many years to come.  And show you now just how I do this.


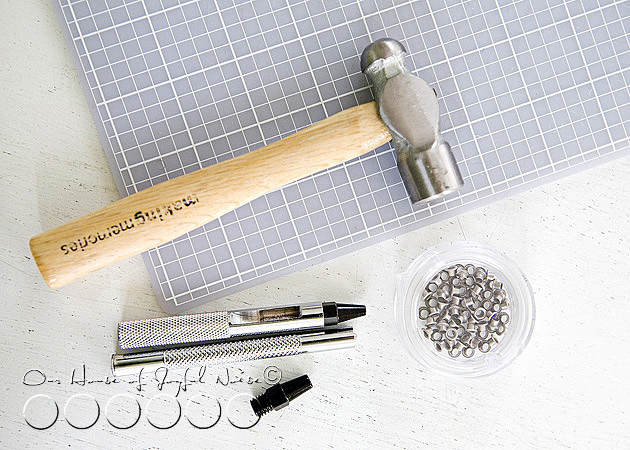
setting-eyelet-embellishments-crafts-tutorial As I mentioned, the old tool set I have is from the company Making Memories (MM). The small container you see are some MM eyelets, used in this tutorial, and are brushed aluminum.  But they come in bronze as well, and a large selection of colors.  Eyelets come in 2 sizes, and the tool tips for both sizes come with this set. Also seen is my cute little hammer, and a self-healing mat I use to set eyelets on. I also use it for cutting things with an x-acto knife. You should be able to find these tools at Michael’s Arts and Crafts, and other craft supply stores.

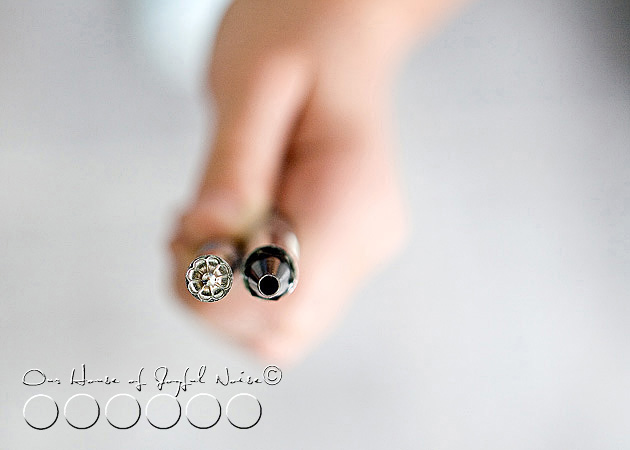
setting-eyelet-embellishments-crafts-tutorial-1 On the right you see the tip of the small hole puncher, and on the left is the eyelet setter. Yes, kind of
backwards, and not in order of use. Sorry, but I did not think of that at the time I took the photo.


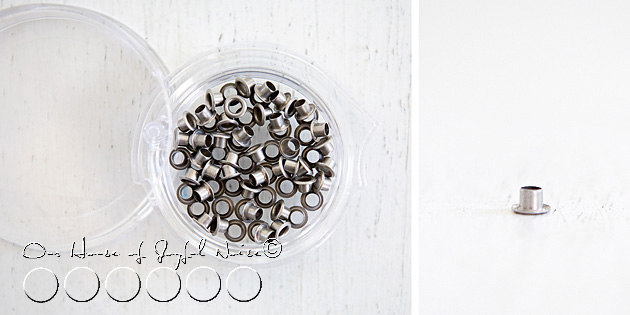
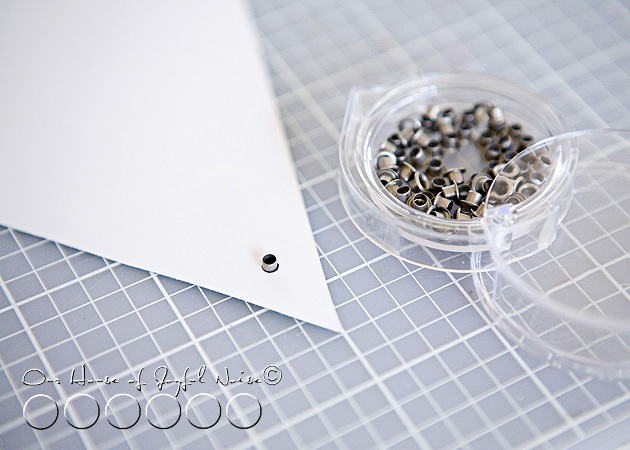
setting-eyelet-embellishments-crafts-tutorial-5 Here is a better look at the eyelets, before they are hammered. Cute little things.


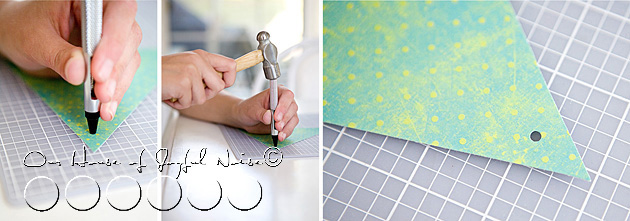
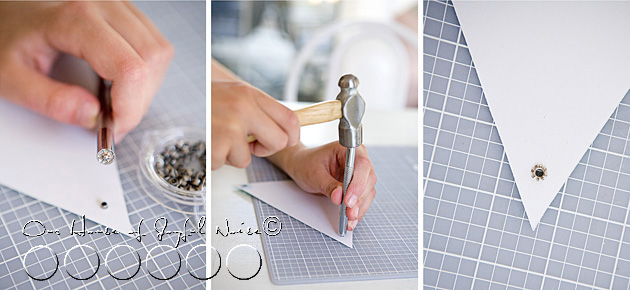
setting-eyelet-embellishments-crafts-tutorial-6 The first tool you’ll need is the hole puncher. Screw the hole punching tip into your handle, and position it straight up and down, on the material you want to put an eyelet through. In this case, I am just putting one in the point of a spare paper pennant I had, for the sake of demonstration.  Also, you’ll want to work on a mat like this, a piece of cardboard, or something to protect the surface you are working on. So, holding the hole punching tip firmly where you want the eyelet, gently hit the top of the instrument with your hammer once.  It taps a clean hole through the paper very easily.


setting-eyelet-embellishments-crafts-tutorial-2 Next, place an eyelet in the hole you made, going in through the front of the material, and place it down on your protected surface.

Now it’s time to use the setter tool, to set the eyelet in the paper, by hammering & ultimately splaying out the aluminum tube.


setting-eyelet-embellishments-crafts-tutorial-3 This is the fun part, I think.  Take your setter tool, and put the point of it into the hole of the eyelet tube. Holding the setter firmly straight up & down, and being sure to keep it in in place, you are going to hammer the top of the tool several times.  This time you’ll be hitting harder than you did before, while just tapping a hole through paper. Hammering the eyelet to set it, is something you’ll get a feel for quickly, as to how hard you need to hit the hammer, and how many times you’ll need to, to get the job done. Basically, your goal is to the splay the tube open flat, making it look flower-like.

I can tell you, the process of my eyeletting has a real rhythm to it. I hit the top of the tool four times, and then I remove the tool off of the eyelet, and hit the back of the eyelet on my paper a 5th time, to make sure it is good and flat.  So the sound pattern is 4 loud hammer to tool noises, and 1 thud when I hit the eyelet on the mat. : )

((1))-((2))-((3))-((4))–(5)

setting-eyelet-embellishments-crafts-tutorial-7 That’s it! Here is what the eyelet looks like on the front of your material! It may seem like a lengthy procedure to you, explained so thoroughly here. But I assure you, it’s very quick. You’ll find yourself doing many in rapid succession.  I would just tap all of your holes first, and then set your eyelets.


Eyeletting is popular embellishment technique in scrap booking and card making, but can also be used through fabrics as well.
I believe snaps are put on clothing much the same way.

I hope you found this tutorial helpful & inspiring!

Imagine the unique ways in which you can incorporate some eyeletting into
your creative projects!


Save

Save

Save

Filed Under: Crafts & Creations, DIY (Do-It-Yourself) Project, Tutorial Tagged With: embellishments, eyelet-setting-tool-kit, eyelet-tutorial, how-to-set-eyelets, setting eyelets

  • « Previous Page
  • 1
  • …
  • 34
  • 35
  • 36
  • 37
  • 38
  • …
  • 101
  • Next Page »

We are wicked happy to have you here! We hope you find much inspiration, help, humor and enjoyment here.


Archives


POPULAR POSTS

* * * * * *

SUBSCRIBE to House of Joyful Noise blog! Every new post, delivered right to your email box!


Privacy Policy

Amazon Affiliates

Never at any additional cost to you, we may earn a small commission for our endorsement, recommendation, testimonial, and/or link to any products from our website. Your purchase through our links helps support our family, while sharing with you the products we authentically use and recommend, for various ideas, and letting you know where you can purchase them. Thank you for your support!

[footer_backtotop]

Copyright © 2025 HouseOfJoyfulNoise.com · Genesis Framework by StudioPress