
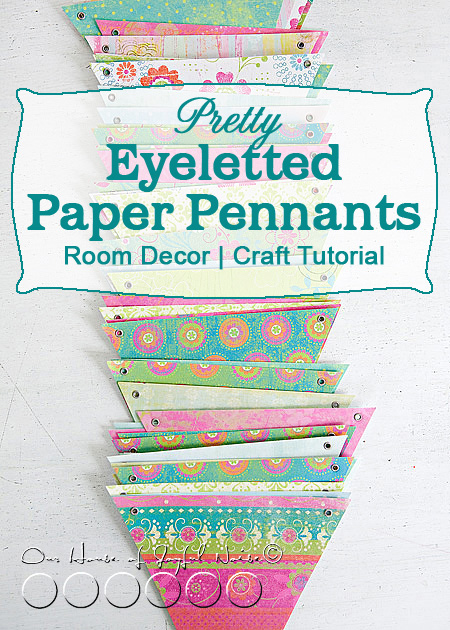
Sometimes, my crafts come about in all-backwards-sorts-of-ways. This craft, these pretty eyeletted paper pennants, is one of those.
I love how they came out. And lucky for you, I took photos of the whole process.
See, I happened to be in one of my favorite crafts stores, Michael’s Arts & Crafts, and saw this pad of 12×12 scrapbooking paper, that was nothing short of stunning to me.
I had to have it.
The hesitation was, that I don’t much scrapbook these days. I will again, one day, begin scrapping like mad very regularly, and catch up on the many years I am behind on. But in the moment, it seemed foolish to buy the pad of paper to save, for years. So I bought it with the promise to me, that I would find something to do with the beautiful papers, right away.
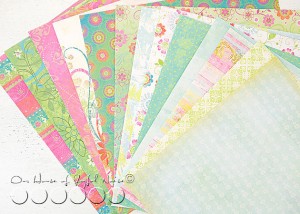
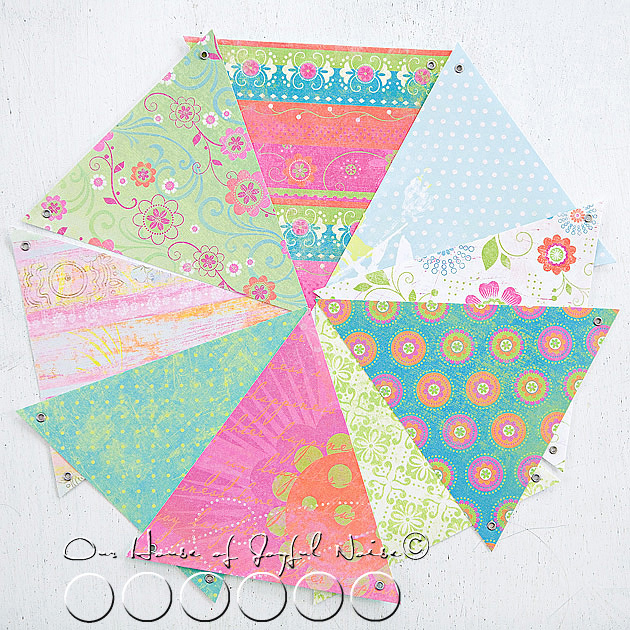
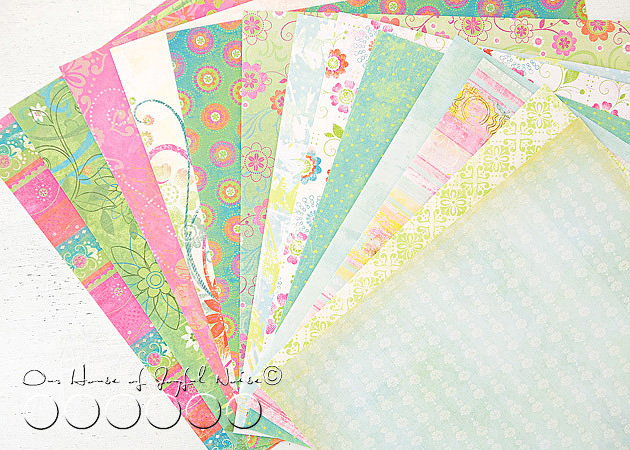 Are they not ever so lovely? Please take a real moment, to look at that photo. Because on this particular day, it took a little more patience than I had, to arrange them in that perfect fan, you see.
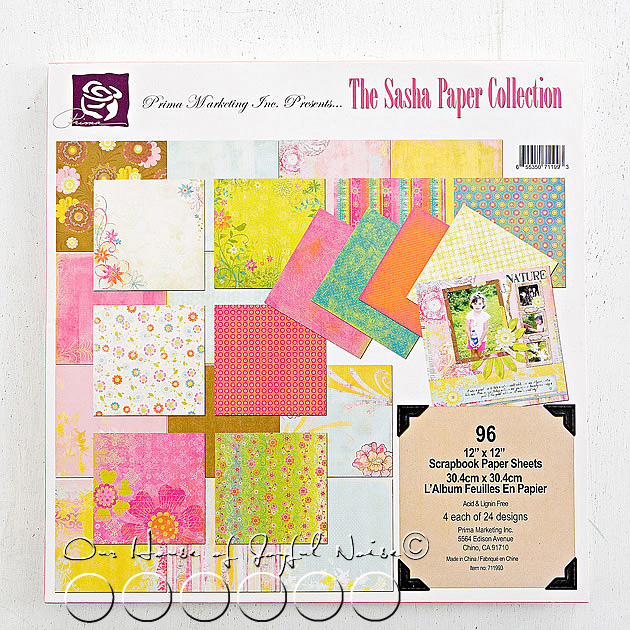 It’s The Sasha Paper Collection.
What I decided to do with some of the paper, was make paper pennants, with metal eyelets. My original and only intention, was just to string them in my daughter(‘)s (plural & possessive, lol) rooms, like bunting. No big project, by any means, in the end. But the project will be expanded, as you’ll soon learn.
Now, I did get the pad of designer paper on sale. But still, I as always, I wanted to get the most ‘bang for my buck’. So this is how I utilized the space of my paper:
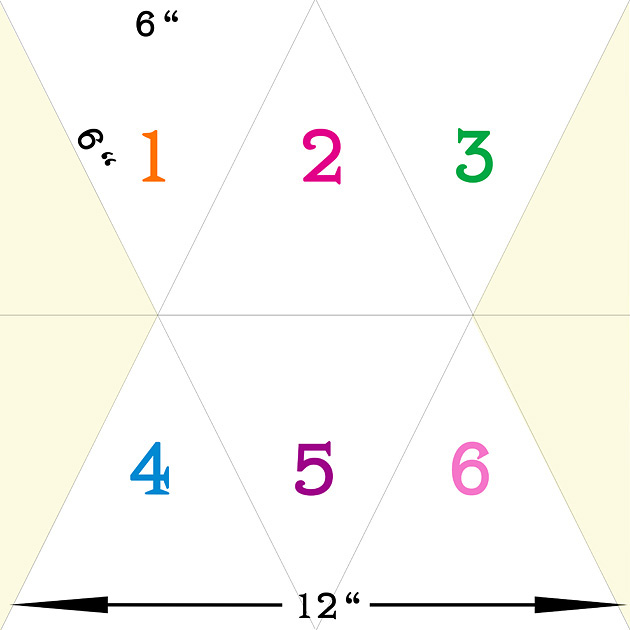
Remember asking yourself back in school, when in your life, you would ever need to use that math? There it is, People. I figured it out rather quickly, and rather felt genius-like. Of course, I’m practicing a lot with my 8 years olds triplets, these days. ; )
I have good craft plans for the pale yellow scrap pieces, by the way. So all you tree-huggers can be at ease.
(Nothing wrong with a tree-hugger. I’m just sayin’.)
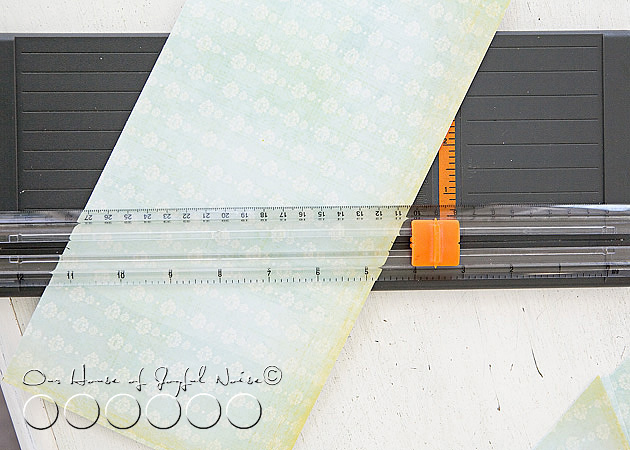 Oh how I *love* my Fiskar Trimmer, in times like these!! Zip, zip!!
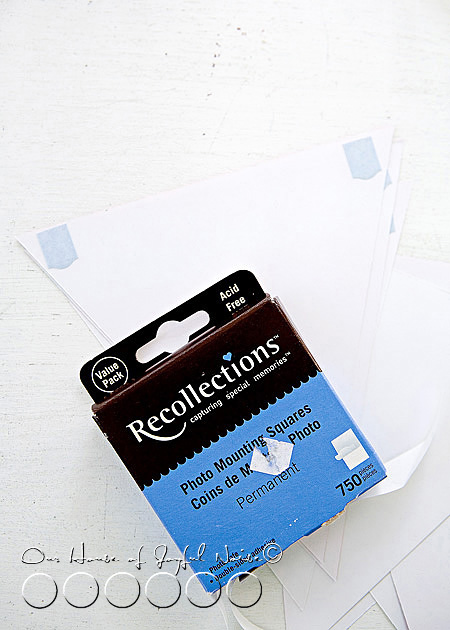
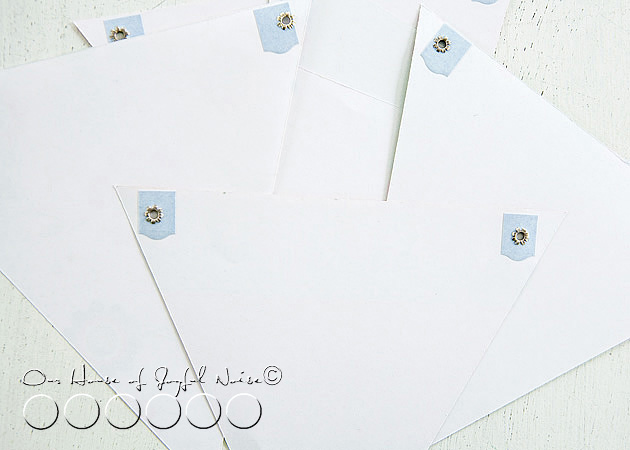
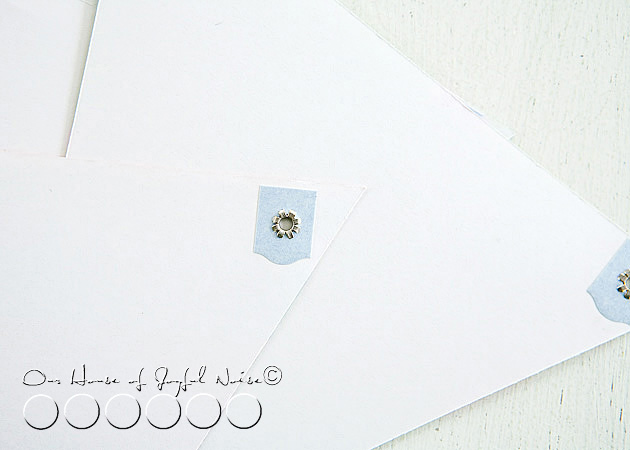
Now because I was going to be putting eyelets through these paper pennants, I thought it wise to perhaps, re-enforce them, to prevent them ripping when pulled for any reason. So I just used some photo mounting stickers, and didn’t remove the the backing.
THEN, I added all of the metal eyelets. Which, you may or may not know, can be all kinds of fun!
Do you all know what metal eyelets are? This is what they look like….see the corners of the pennants:
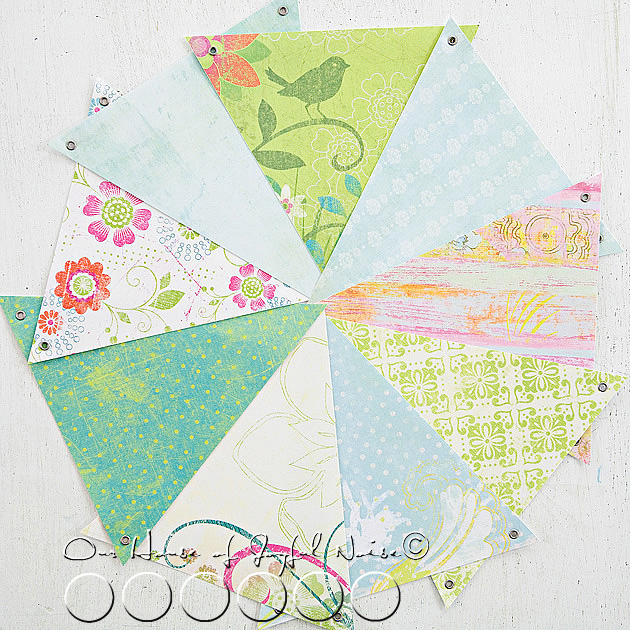
Perfect to attach or strong ribbon. This ferris wheel of patterns, are the ones my oldest daughter chose, for her room, which is a color I like to call ‘Spring Rain’. (Because I forget the real name of the paint. lol).
This wheel of designs my youngest daughter (the middle & only girl triplet) chose for her room, which is a soft pretty pink.
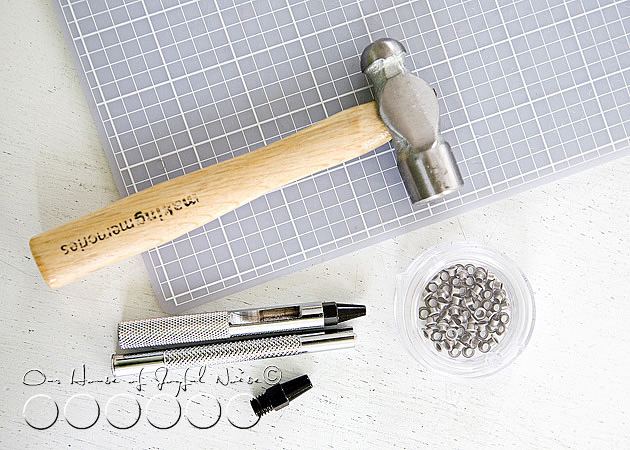
Here are the tools needed for doing metal eyelets, in case you do not know anything about this technique. (I don’t know why I feel like there will be people who have never heard of this? So perhaps I am over-explaining to a very crafty-wise crowd….)
 But just in case, I’m going to give you a little more info here. Above, are the 2 main tools needed: the hole tapper, and the eyelet smasher. A hammer is involved. <Eyebrows bouncing up and down.> Sounds like fun, huh?
I think it is. : )
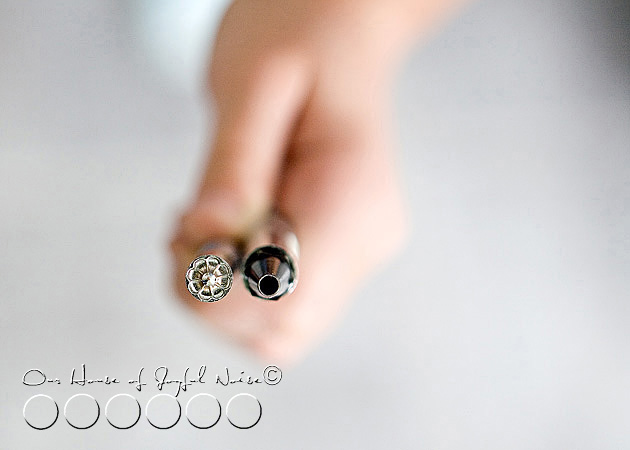
 This is what the eyelets look like, post-smashing.
 I was thinking I might do a little eyelet technique tutorial, step by step with photos, if there is anyone who would like to learn? Eyelets can be used for a wide variety of crafts, including fabric! It offers an awesome element to scrap booking and card making as well. Your imagination is the only limit. Let me know in the comments, if a tutorial would tickle your fancy.
I’ll do it for even 1 person. I’m full of love like that.
I’ll even dedicate the tutorial to you, like a song. ; )
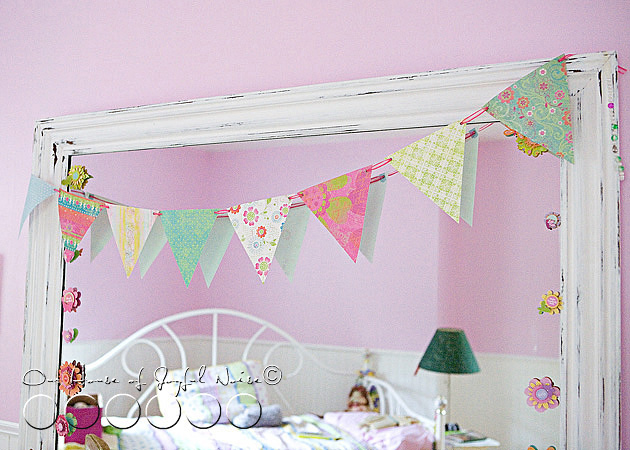 I used the same sheer ribbon I always have on hand, to string this paper bunting, and I just hung it across {O}’s Mirror for now.
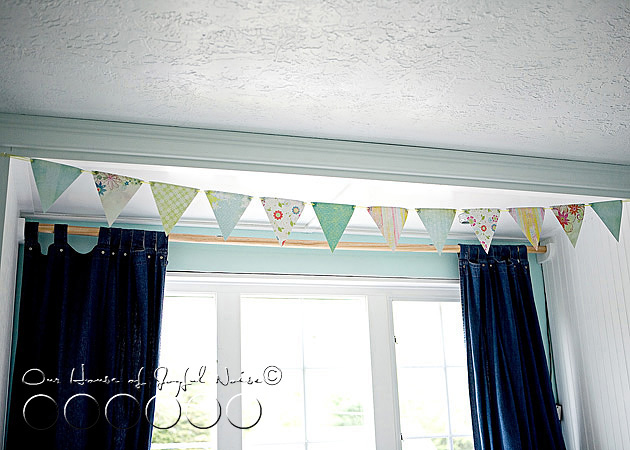 {A} chose the pale yellow ribbon. Pay NO mind to the horrid curtain and window with no trim (in these photos). She has an amazing room, hand-crafted by hubby, and I can’t wait to show you all sometime soon.
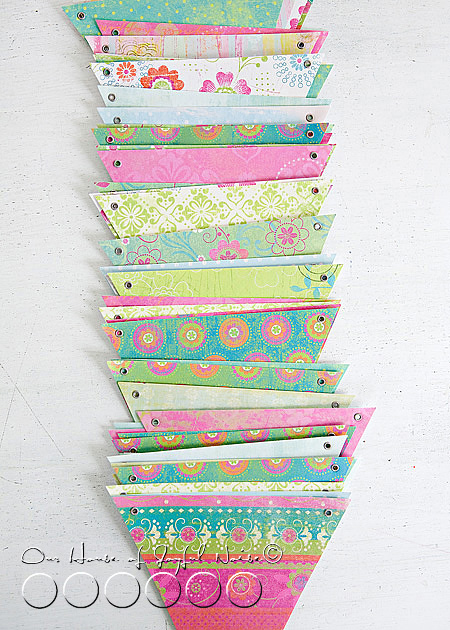
So, in closing, I have to tell you….with getting 6 pennants, out of multiple designs chosen out of this pad of paper, and the way I got carried away with my happy-hammer, I ended up with WAY more eye-letted pennants than I ever needed, for my original plan! I have a horrible guesstimation gauge! Ask my hubby – I can never figure out the appropriate sized container to store dinner left-overs in! Either way too big, or way too small….never just right.Ever.
Anyway….the question is:
“WHAT TO DO WITH ALL OF THESE EXTRA EYE-LETTED PENNANTS?”
I have a few brainstorms brewing, but I would LOVE *YOUR* ideas! It’s quite possible there are many of you who will have amazing ideas, I would never have thought of. So give them to me! What would YOU do with them?
Gorgeous papers! The pennants are fab. Thanks for the great tutorial.
LINDY >> You’ve got it!! I’ll have an eye-letting tutorial coming right up then!! Be sure to be following us somehow, so you know when it’s posted! : )
You could add letters…SPRING….SUMMER and put on your mantle.
A Happy Birthday banner that is personalized that you could year after year. Happy Mother’s Day for your mom….ok next year.
Just a few thoughts.
And I would LOVE a tutorial on eyelets. Love the look of them but they scare me to death. LOL Everytime I try to use them I ruin my picture or layout; even after praciting on scrap paper. 🙂
Great idea, Everyone!! I WAS thinking of doing some kind of banner with letters. But I think if I did, I would Modge Podge the pennants on both sides. Perhaps I should do that w/ the ones I made too.
What a fantastic idea! I too have scrapbooking paper sitting ’round that should be used for something creative. Love your colors!
I’m thinking fan pulls.
Love this pennant!! Sooo cute!! And that paper is just beautiful!!
Fantastic idea! I’m a big fan of pretty papers, Michael’s & eyelets 🙂 Way to put them all to good use! I would love to try a “Happy Birthday” banner, customizable to anyone. Wouldn’t that be fun?! Hmmm…maybe I can utilize all those extra papers lying around. Thanks!!
PS It’s great to link up with you here. I’m a “newbie” to the blogging world (ok, I started in February but who’s counting!) trying to get my feet wet with twitter & link parties. Such a different world! Looking forward to more! Where do I find your cute tag so I can add it to my blog? Is that what I could do?! See, I’m clueless 🙂 Thanks!!
Thanks, Leandra! My tag is right within the linky-party posts, as well as the sidebar. You just grab “all” of that coding you see, and add it to your sidebar, by putting it in a text widget. If you have any trouble or questions, just email me! Happy to help. : )