• HOME
  • {A}’s Chipmunk Training Archives

 Homepage

  • The Homestead
    • Home Projects
    • Home Improvement
    • Home Decor
      • Seasonal Home decor
        • FALL Home Decor
        • WINTER Home Decor
        • SPRING Crafts and Creations
        • SUMMER Crafts and Creations
    • Our Chickens
    • Gardening
    • Organization
    • Re-Purposing
    • Furniture Refinishing
    • Budget
  • Crafts & Creations
    • Seasonal Home decor
      • FALL Crafts and Creations
      • WINTER Crafts and Creations
      • SPRING Crafts and Creations
      • SUMMER Crafts and Creations
    • DIY (Do-It-Yourself) Project
    • Kids Arts and Crafts
    • Homemade/Handmade Gift Ideas
    • Holiday Crafts
    • Fan Pulls
    • Free Printable/Downloadable
    • Sewing Projects
    • Giveaways
    • Business Features
  • Recipes/FoodFun
    • Breakfast
    • Lunch
    • Main Dish
    • Sandwiches
    • Appetizers
    • Slow Cooker
    • On The Grill
    • Side Dishes
      • Soups
      • Salads
    • Baking
      • Breads, Rolls and Muffins
    • Snacks
    • Treats
    • Desserts
    • Drinks
  • Homeschooling
    • Elementary Homeschooling
      • Elementary Homeschooling READING
      • Elementary Homeschooling MATH
      • Elementary Homeschooling LANGUAGE ARTS
      • Elementary Homeschooling SCIENCE
      • Elementary Homeschooling HOME ECONOMICS
      • Kids Arts and Crafts
    • Middle School Homeschooling
      • Middle School Homeschooling SCIENCE
      • Middle School Homeschooling HOME ECONOMICS
    • Language Arts
    • Math
    • History / Social Studies
    • Geography
    • Foreign Language
    • Field Trips
    • Games
    • Nature Study
  • The Big Picture
    • Life In General
    • Celebrations
    • Faith
      • Into the Light; The Series
    • Giveaways
    • Reviews & Sponsors
  • Photography & Lettering
    • Photography
    • truck lettering
    • vehicle graphics
    • Newborns
    • Kids
    • Engagement
    • High School Senior Pictures
    • High School Senior Pictures Sneak Peeks

A T-Shirt Craft / Wicked Cool, Fun, Easy, & Not Messy!

August 17, 2011 By Laura 35 Comments

cool-fun-kids-t-shirt-craft-21

This just may be the coolest and most fun craft, I have ever done with our kiddos.  If that wasn’t awesome enough, it is super easy, and it doesn’t make a mess either!!  I know, right? It’s perfect for kid’s birthday parties, scouts, camps, etc.  Our kids didn’t want to stop.  They even made a couple of shirts for their friends.  But all of you mothers, as we show you how simple this project is,….think outside the box, for yourselves, or other projects, too. I am!
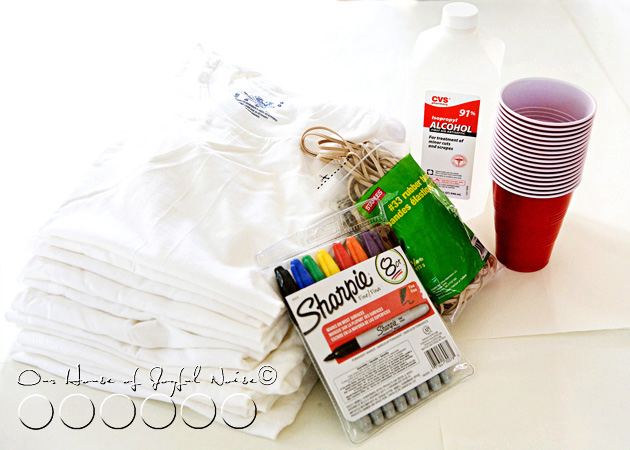
awesome fun t-shirt craft All you need is:

  • some white t-shirts (in your sizes)
  • sturdy plastic cups
  • rubber bands
  • bottled rubbing alcohol
  • a (liquid) dropper
  • and Sharpie Permanent Markers in colors!

Easy supplies to gather, right? Here’s how you get creative with them.
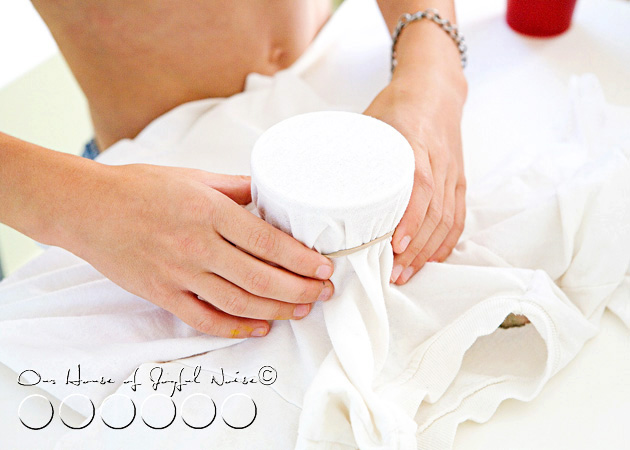
awesome fun t-shirt craft Lay your t-shirt on the flat surface you are working on, front side up. Take the cups, and arrange them upright in different places inside the t-shirt, one at a time.  As you do this, consider that where ever you have a cup, that’s where a design will be put on your shirt. Secure each cup as you go, with a rubber band. (You can do more later, on the sleeves or backside of the shirt.)
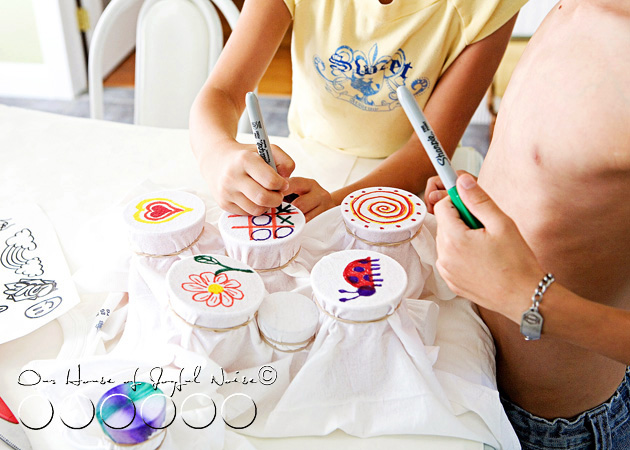
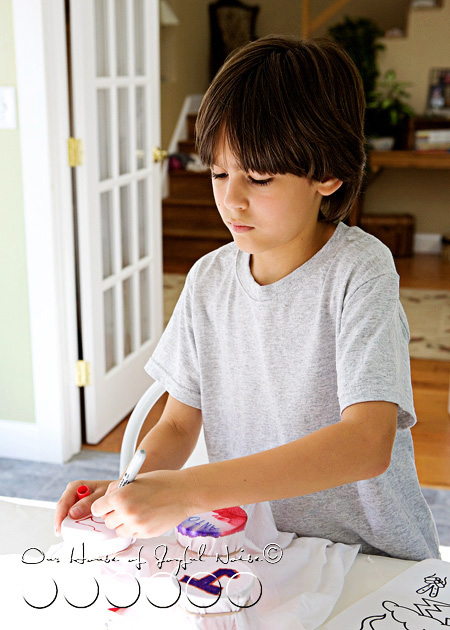
awesome fun t-shirt craft Using your colored Sharpie Permanent Markers, get creative and make some designs or simple line drawings on t-shirt fabric that is over the opening of the cups. My kids even played a game of Tic-Tac-Toe on one.  In a moment or 2, I’ll get to what colors or techniques you may want to avoid, and which ones worked best. We learned from little mistakes so you don’t have to, and figured out some tips and tricks that I’ll share with you too.

You’ll be able to see them for yourself, too. ; )
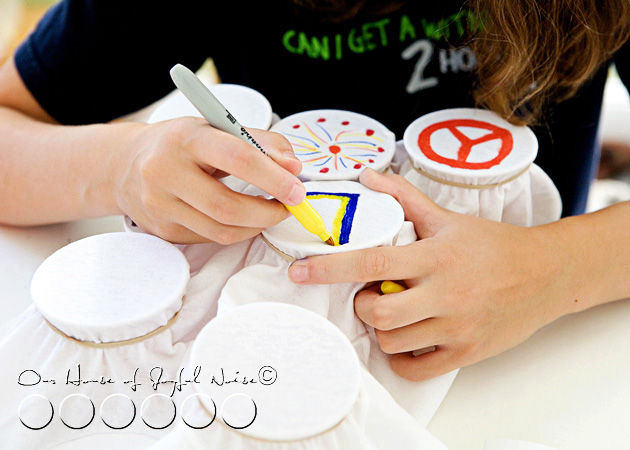
 

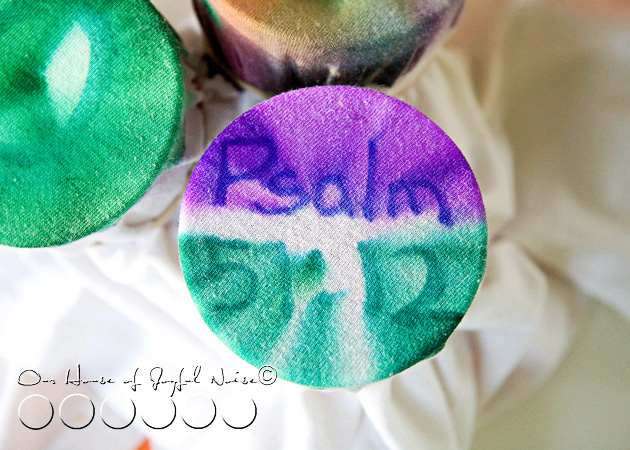
awesome fun t-shirt craft Each designer can personalize them in their own style, symbols, colors, or simple line drawings that they like, or mean something to them.  Or if it’s a gift, think of the recipient. Simple words may be able to be used as well.

Here’s where it gets even more fun.
awesome fun t-shirt craft

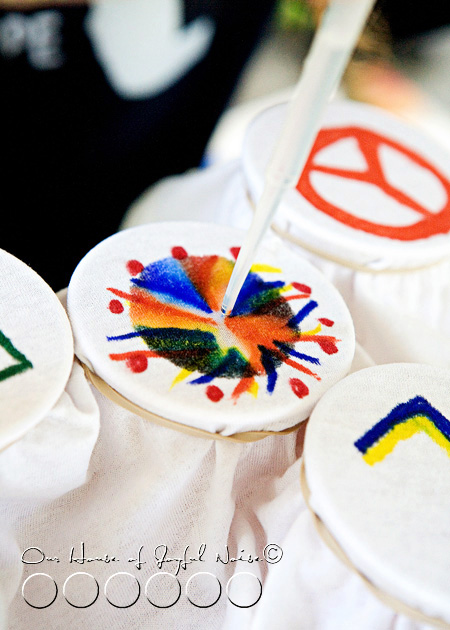
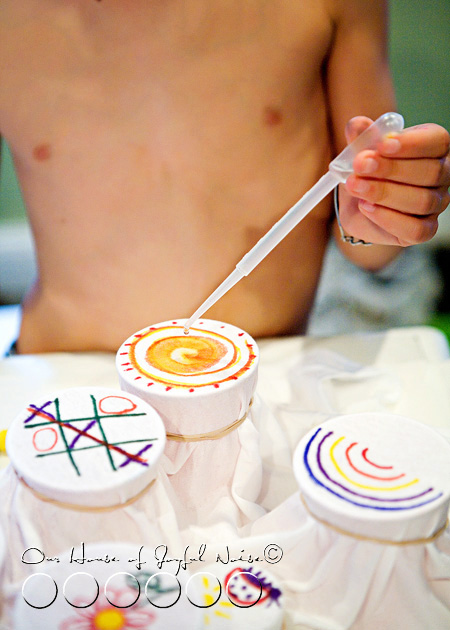
Working on one design at a time, slowly drop drops of alcohol in the *center of the circle/design.  As you do, you will see the marker ink start to spread.  You don’t want to drop too much alcohol though…..you need to do this slowly, and watch what is happening. The spreading will slow down, but if you watch carefully, it is often still spreading. If it does seem that it stopped, add more drops, one at a time, and keep watching.

*TIP:  It’s important, to only drop the alcohol drops in the center. Reason being, it pushes the ink from the center, outward, spreading it evenly and nicely, for the right effect. Also, if the fabric becomes too saturated with alcohol, the drops drip into the cup beneath, which pretty much evaporate. But that is why it’s important to keep the cups pretty upright, as to not spill any colored alcohol that may be sitting in the bottom of the cup.
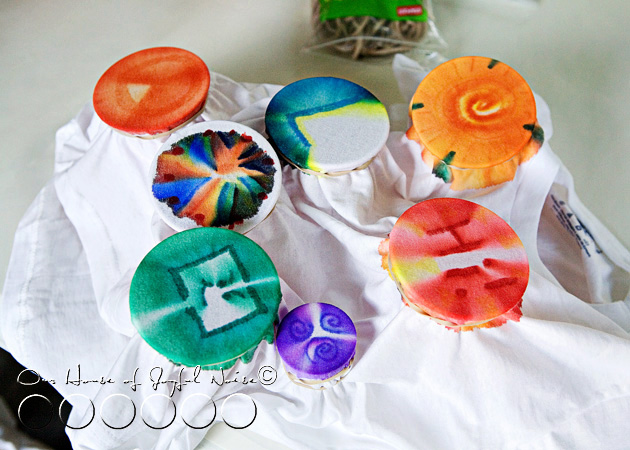
awesome fun t-shirt craft Once you get the feel for it, you can do more at once. As one design is spreading, you can start another (and another) beside it.

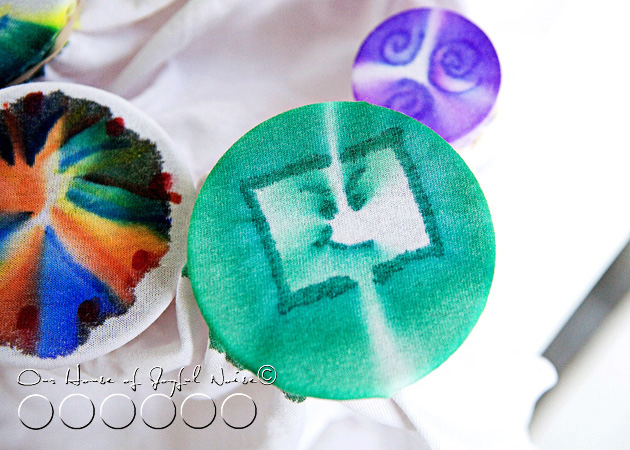
Do you see the multi-color burst? That one is still spreading very slowly.  Do you see the little purple swirly one? That’s a little shot glass, instead of a bigger plastic cup.  Perfect for the side of a sleeve too.
 

awesome fun t-shirt craft

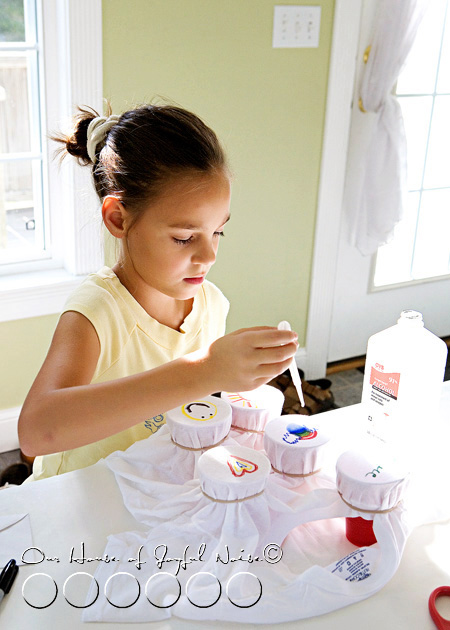
Here, {O} had finished drawing out her designs, and she’s now dropping alcohol on them.  It’s really so exciting, to watch them and see how they are going to turn out.
 

awesome fun t-shirt craft

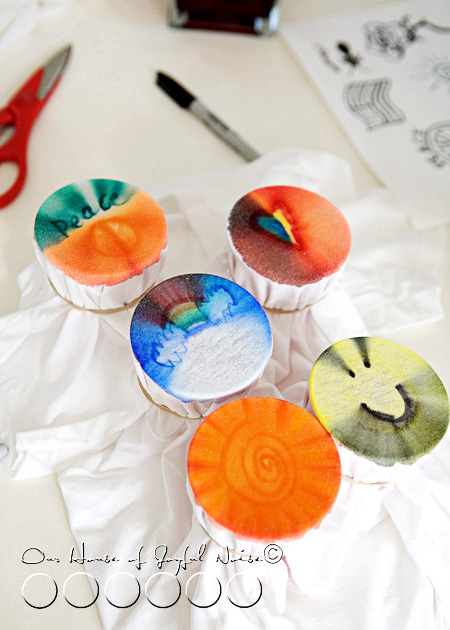
As you can see, black can get pretty messy.  In the case of the smiley face, I like how it turned out. It reminds me of a record. Remember those? ; )  But if the black were in the center of the design, it really would have blotted out the rest of the colors.

Now look at the rainbow and clouds. Because she was dropping alcohol under the last color of the rainbow, where the center is, all of the color above that pushed up. Because again, it spreads from the center. So that’s a good thing to keep in mind with your designs.   Blue reeeeaaallly spreads, so be mindful with that color, too.  It may seem like it’s a lot to remember, but really, once you are working with the colors you, you get it quickly.

*TIP:  We actually did a test t-shirt before we began our own t-shirts, and played a bit, just to see how it was going to work. But the colors’ chemistry is something we learned on the real ones.  So you may want to consider 1 practice t-shirt for everyone to do a practice design on collectively.  Or, you all can just live on the edge, and go for it!

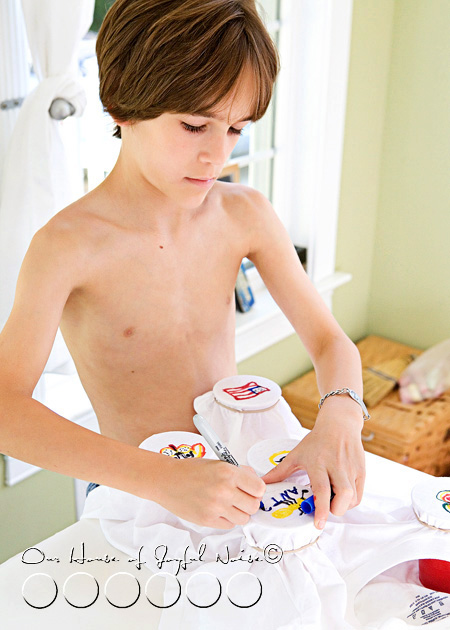
Here, the boys draw out their designs…..
 

awesome fun t-shirt craft

awesome fun t-shirt craft

awesome fun t-shirt craft

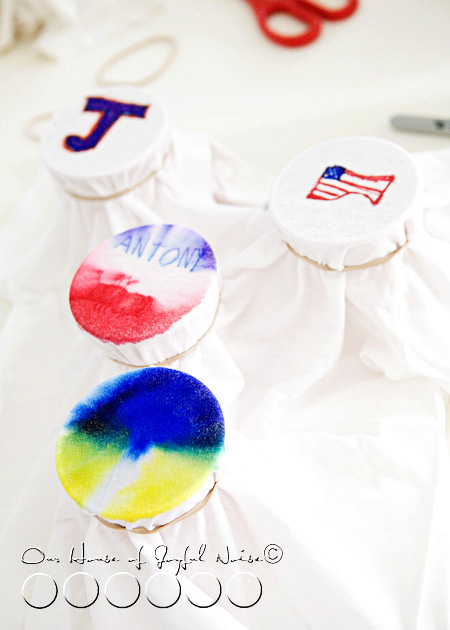
Sometimes, the ink will spread so much, that you can’t hardly tell what it was anymore, such as with the blue and yellow one above. It was a thunder cloud, with lightening coming out. But that’s ok! The designer knows what it was, which makes it fun!  Other times, you can vaguely still see the deign, like a subliminal message. ; )  In the photo above, the very top two designs in the photo are not alcoholed yet. So let’s take a look at how those came out….


awesome fun t-shirt craft See, I was concerned that that “J”, so colored in and outlined so darkly like that, might turn into a hot mess. Using dark colors and solidly coloring in something, is going to turn out much like that J. But the flag turned out pretty cool! Again….see how it spread from the center? It creates it’s own design.
 

awesome fun t-shirt craft

Drop…..drop…………….drop…..we don’t really want to stop!

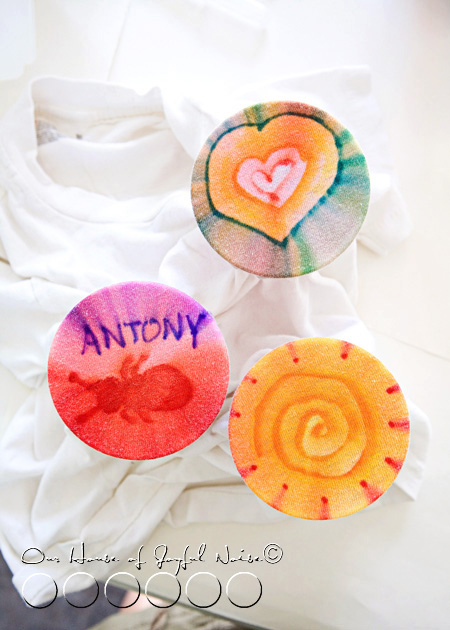
Here are some of my favorite designs…..
awesome fun t-shirt craft
Antony…..get it? ; )


awesome fun t-shirt craft

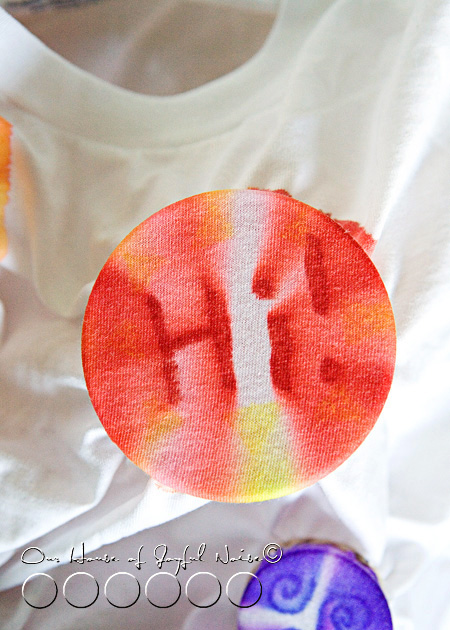
awesome fun t-shirt craft Have a nice day.


awesome fun t-shirt craft Love this one. It’s {S}’s design.


awesome fun t-shirt craft Dragonfly.

awesome fun t-shirt craft

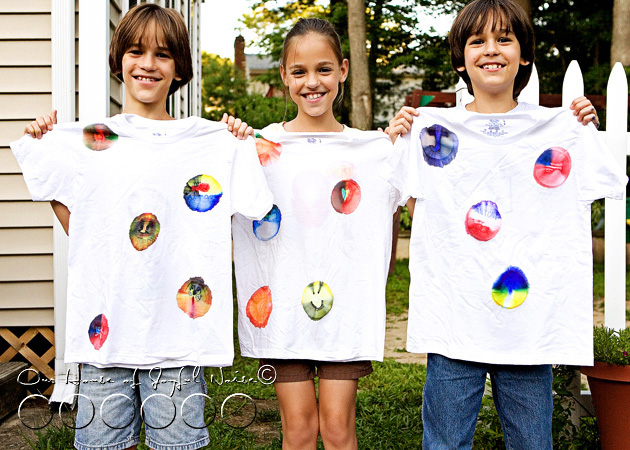
Here’s how the kid’s own t-shirts turned out.  WHICH, they are loving wearing. We have not washed them yet. I think I will just hit them with an iron before throwing them in the wash, to kind of ‘heat-set’ them first. Even though, it IS permanent marker, and shouldn’t come out.

Also…the shirts dry very fast, because it’s just alcohol, which evaporates.

Next time……because there will be a next time, very soon……we’re going to try not securing the rubber bands so tightly, and try to make a less defined circle.  Because it’s the fabric pulled tight over the edge of the cup, that really keeps the ink from spreading much more.  I bet it would look cool to let it go, too.
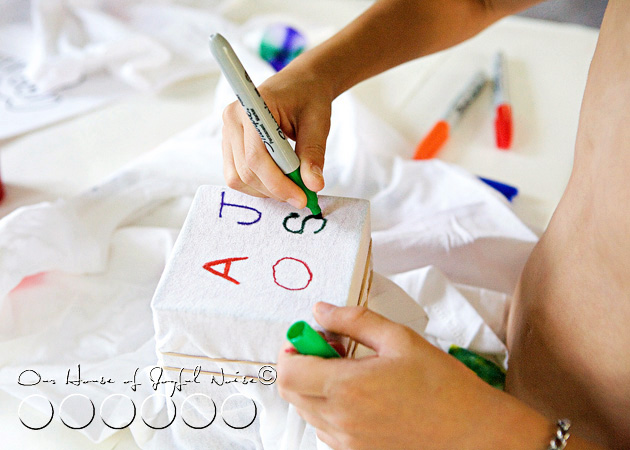
awesome fun t-shirt craft Our kids ‘signed’ the shirts to their friends, on the back side, bottom left, of the shirt.  Here, the shirt is secured over a square vase container.

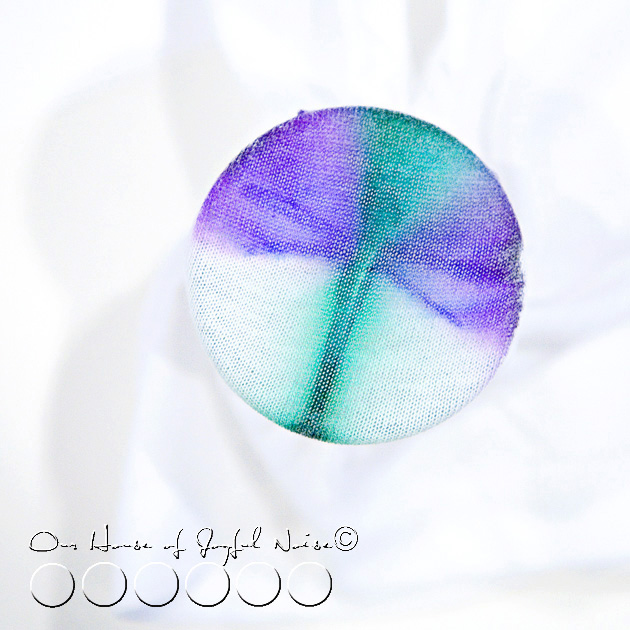
Check out how cool it spread…..
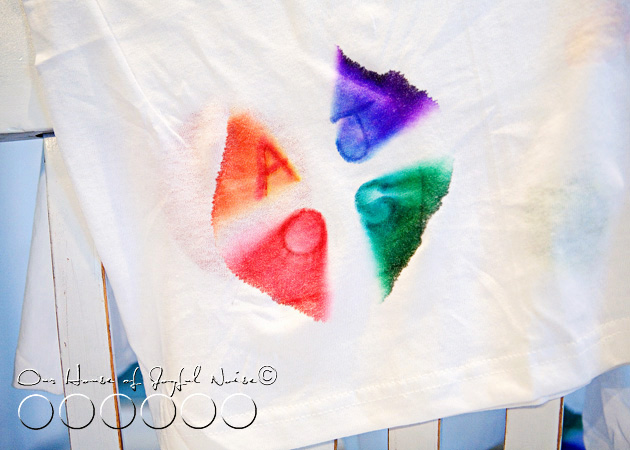
 

awesome fun t-shirt craft I have more designs in mind, that will be fun trying.

Other Ideas: This technique can be used in the more traditional way that tie-dyed shirts are done, by twisting and rubber banding the shirt, coloring it with markers, and applying the alcohol.

I’m going to try making my own shirt, with a design just in the center, on a women’s t-shirt. Maybe a little something cool on the sleeve cuff too.

Another idea: white bandanas!!

Hope you loved this easy, fun crafts, that’s (not just) for kids!!

You may also be interested in another t-shirt craft we did years ago: T-Shirts with Sole!

* SPREAD the craft idea with others!  Facebook it, Twitter it, or Pinterest it for yourself.*

Have fun with it!

If you and your kids do this craft, take photos, and blog it….come back and leave the link in the comments of this post, so we can see how yours came out!

******


Save

Filed Under: Crafts & Creations, DIY (Do-It-Yourself) Project, Kids Arts and Crafts, Kids Arts and Crafts Tagged With: best-t-shirt-crafts, Catholic-blogs, Catholic-families, crafts, fun-not-messy-kids-crafts, kids-arts-and-crafts, sharpie-markers-craft, t-shirt-art, t-shirt-craft, t-shirt-project

Spring Fancy Strands|Door or Window Craft Decor|Giveaway (Closed)

April 11, 2011 By Laura 11 Comments

window-door-craft-decor-12

I find spring-time to be such a craft-inspiring season.  Although winter & spring has been taking turns around here in the past few weeks, I still like to think of it as just spring, as it should be.  Time for garden planning, enjoying the new warmer, sunnier days, and looking for those very exciting signs of spring.  They are popping up all around us, despite the occasional surprise snowfall!  With spring comes all kinds of cheery colors and symbols always associated with this season of new life.  It just makes me feel like crafting!

window-door-craft-decor

This is a craft you can do with ANY kind of doors or windows in your house!

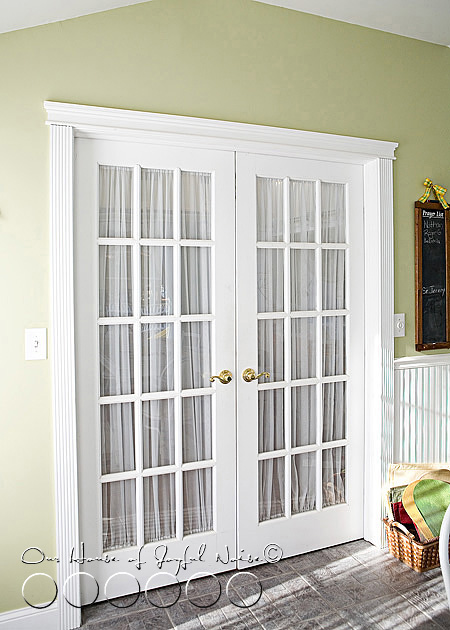
The French doors between our sun room, which is always bursting with sunshine or a soft natural light, and our living room, has been the focus of my craft quite a few times!  All of the rectangular panes of glass  strike me as mini picture frames, calling for some little artwork.  This past Winter, I made beautiful sparkly snowflakes on blue ribbon, which is a craft I am saving to share later this year. There was a functional twist of an idea I used with them, and I think some of you will rather enjoy using the idea for yourselves next year, when I’ll have the opportunity to share it with you in time to use the idea.

My craft idea for Spring is very similar, although strictly and adorably decorative, using very simple Spring shapes, ribbon and colorful card stock.

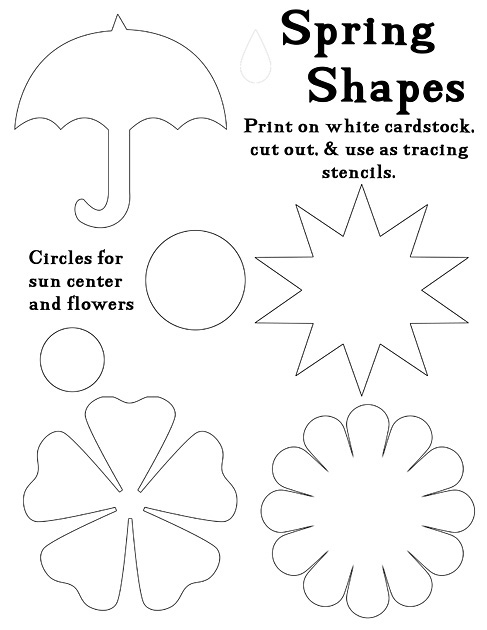
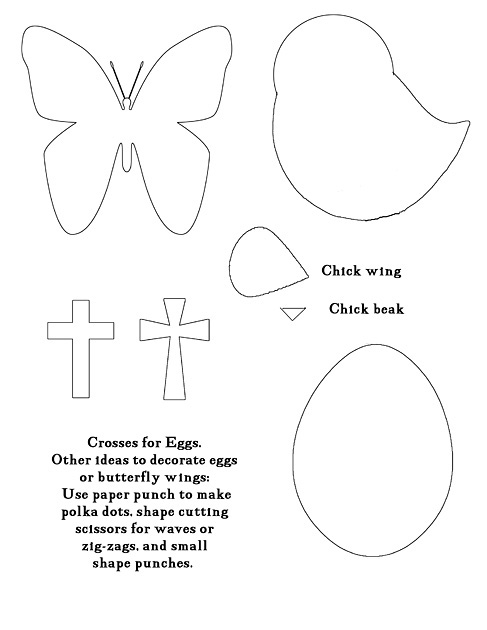
I designed a small collection of Spring Shapes in Photoshop, to use as stencils again and again.  I will share these with you by the end of this post. But here is a peek at what I came up with.

window-door-craft-decor-1

window-door-craft-decor-2


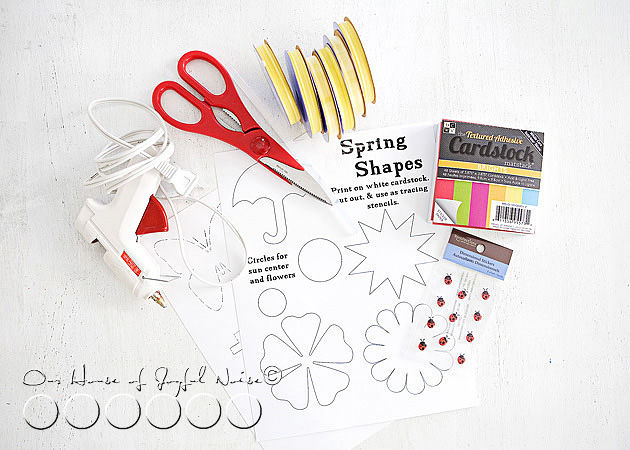
The supplies needed were few and simple:

  • window-door-craft-decor-3
    Spring Shapes, printed on card-stock to cut out
  • 6 full rolls of thin ribbon
  • Card-stock in cheery bright Spring colors
  • Scissors
  • Hot Glue Gun
  • *Any little embellishments you like.

window-door-craft-decor-4

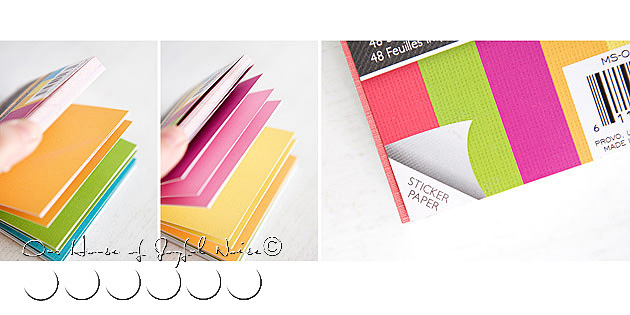
I found this block-pad of linen card-stock in beautiful colors, at the craft store.  I knew it would be perfect, to use for my Spring shapes, that I wanted all relatively the same size.  It was a pleasant surprise to realize they were sticker paper too! That was going to work out nicely, for adding the centers on flowers, etc. And if there was no need for sticky paper, I just left the backside on.But you can use any colored card-stock, that comes in sheets, as well.

Alright, so I didn’t take photos of every step.  That’s needless really.  But the simple directions are, that I cut my Spring Shapes out of the white card-stock I printed them on, and used them as stencils on the little square card-stock pieces.  There was a whole lot of tracing stencils, and cutting out, going on.  Then it was sticking or gluing pieces together, to make little happy die-cuts of art.


I have to tell you, as crafty as I am, I HATE CUTTING STUFF OUT!! With scissors.  Thankfully, my kids love it! It’s great practice for scissors-skills for them.  I did do a lot of the cutting for this project, but they enjoyed helping when ever and wherever they could.  I was thankful for every bit.

window-door-craft-decor-5 Using almost an entire roll of ribbon for each row of windows top to bottom, attach one end on top of the door, and center of the row.  Run it all the way down, to attach to the bottom of the door, again keeping it center.  Cut off any excess before attaching. We use a tack at the top, and glue on the bottom.

Then just dab a little hot glue onto the center of each die-cut one at a time, and apply it to the ribbon in the center of each window.

window-door-craft-decor-6
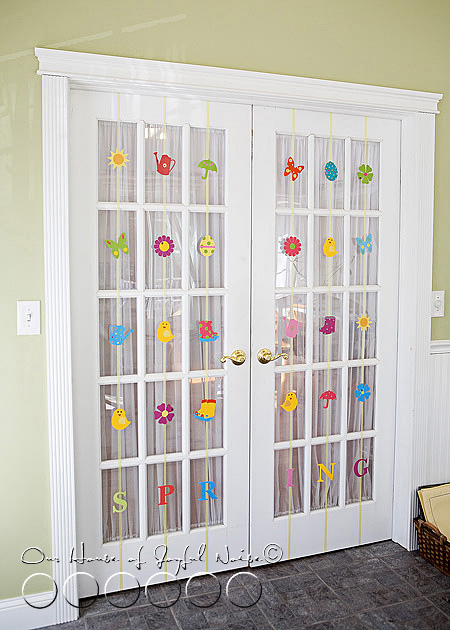
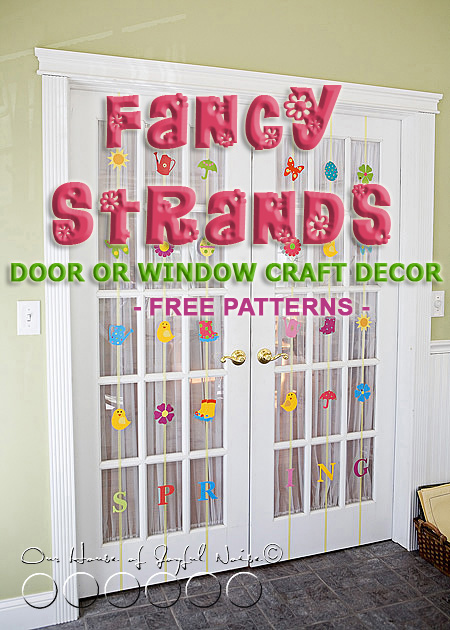
Here are my doors, all done!!  CUTE, or WHAT??

Such a simple project, but just a lot of cutting.  This was a craft for the kids and I to do together, from the get-go, so  I knew which part I’d be letting them do some of!  Hopefully you have a few of those happy-cutters, too.

You know, you don’t have to have French doors, to do this project!!  You can do the same thing, in grid picture windows, or make horizontal strands as a Spring-themed decorative garland!


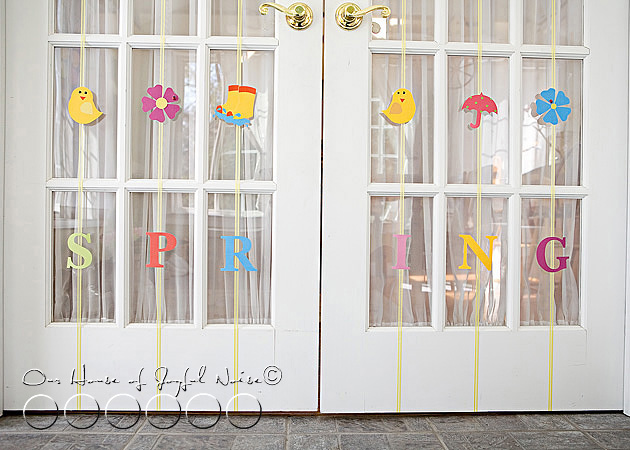
window-door-craft-decor-7  I can tell you, by the time we had made 24 die-cut pieces, trying to make them each a little different, we got to the last 6 and wondered if the doors would look cute enough still, with nothing across the bottom row of window panes.  And then I had the quick and easy idea, to wrap up this craft, in 6 simple letters:

S P R I N G

Seeing my Spring-ish doors makes me smile anyway.  But what really warms my heart, is the words spoken by my little boy the other day: “Mama, every time I see my butterflies that I made, that you put up on the door, I get a really happy feeling inside.”

Dang if that doesn’t make me really happy inside, too.   I love doing projects with my kids.  It’s so rewarding, for all of us, in so many ways.


window-door-craft-decor-8
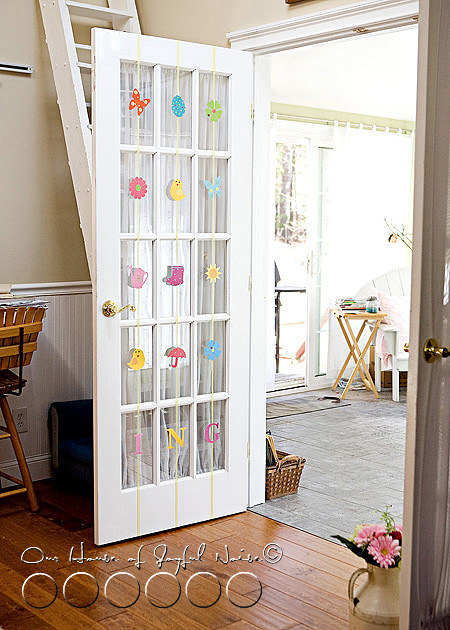
Just so you know….our French doors are rarely closed like that.  Our 4 season sunroom, is open to the rest of the house most all of the time.  It’s surely a cheery passage-way now.


window-door-craft-decor-9  When spring turns to summer, I’ll be taking these strands down, but keeping them to use again next year, just as I did the winter ones! They are easily re-usable, for at least a few years if not more, if they are stored nicely.


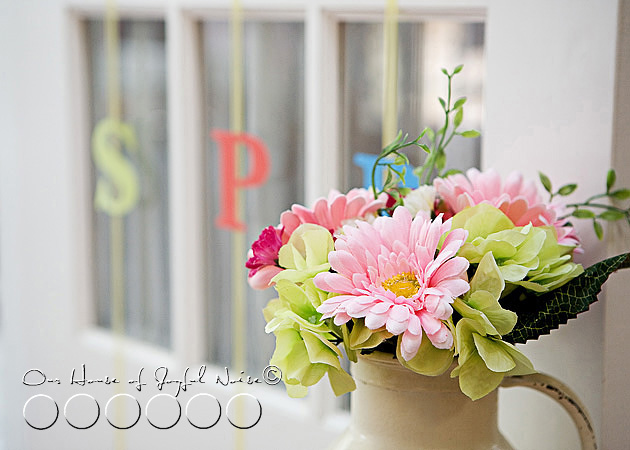
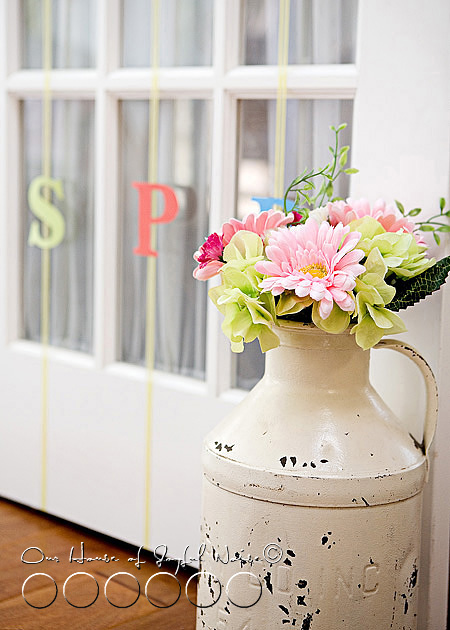
window-door-craft-decor-10 On a side note….I do struggle with displaying fake flowers in my house.  I prefer fresh of course.  But it’s just not budget smart, year round.  Unless I can cut fresh flowers from outdoors now and then, and I do when I can. But in between….fake it is.  I just like to have some especially, in my old milk jug.

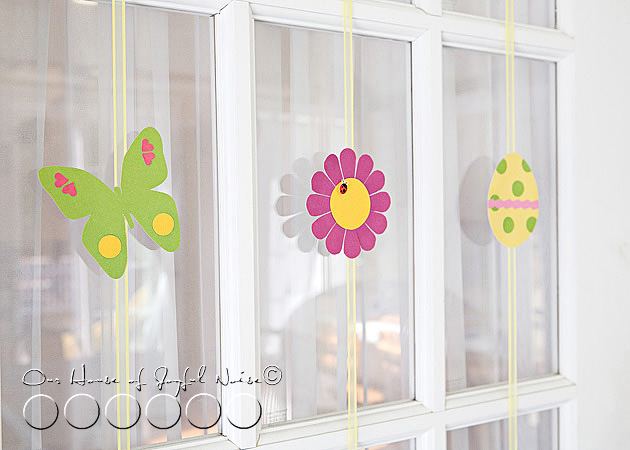
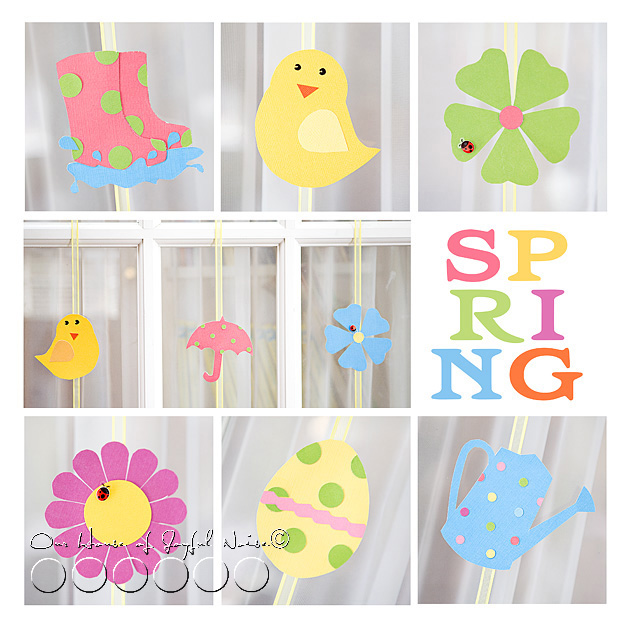
So just for fun, I decided to design a little collage, to show you some of the pieces a little closer up.  Naturally, when posting photos on a blog, some detail is lost.  But it’s still a closer look.

And then I thought the collage came out so cute, that maybe it would be a fun idea, to have a Give-Away!  It will printed as a 12 x 12 photo (such as it is), and mounted on a sturdy backing.  It will be sprayed with a protective coating, so it can be popped right into a 12×12 glassless frame. (I never use glass in my frames.  No need when they are mounted and sprayed, and they look so much nicer without the glare.)

The collage of these mini-photos, is of course, of little paper art.  But how cute would it look on display, near your Easter tree, in your kitchen, or in a little girl’s room!  It would look cute anywhere!

window-door-craft-decor-11

If you’d like to try and win this Give-Away, all you need to do is the following:

1.)  Follow our blog, via Subscribing or our Facebook Page, in the sidebar. (If you are not already.)

2.)  Leave a comment below, saying anything you wish, or letting us know you are now following our blog!

3.) Link up a crafty idea of your own, right now, if you can!!  (Not required, but we hope you share something if yours if you’ve gotten creative, and blogged it, lately!)

I’ll do a drawing from the comments by the close of the week!

Want to do this craft yourself?  Here are the pdf links to my Spring Shape Sheets:

Spring Shape Page 1

Spring Shape Page 2

I hope those links work for you anyway If not just email me, and I will send them to you. I did free-hand draw a few on my own, that are not on the sheets, but most are here. You can add idea of your own too.  Just keep the shapes simple.

window-door-craft-decor-text6

ENJOY!

******


Save

Save

Save

Save

Filed Under: Crafts & Creations, Giveaways, Kids Arts and Crafts, Seasonal Crafts and Creations, SPRING Crafts and Creations, The Big Picture Tagged With: crafting, decorations, developing-kids-scissors-cutting-skills, door-and-window-decor, easy-crafts, french-door-decor, home decor, kids-arts-and-crafts, spring-crafts

The Benefits of Kids Using Their Own Creative Imagination: Making Something Out Of Anything

March 8, 2010 By Laura 9 Comments

Sometimes, I like to plan my kids crafts and art. But whether I plan arts and crafts or not,  it still happens in this house, and all over this house, every day! The kids sure don’t need me, to come up with creative ideas. The kids use their own imagination, and it’s awesome!  In fact, I’d go so far as to say, that their wild imagination tends to venture further than mine does.  And frankly, their are great benefits of kids using their own creative imagination.

While a child following directions (such as to make someone else’s craft idea) is crucial skill to their development, the benefits of a child completely using their very own imagination, far outweighs it. In thinking of and creating their own ideas/crafts/creations, they are:
– developing brainstorming skills
– learning how to think outside of the box
– developing planning skills
– learning how to problem-solve
– developing the abilities of an inventor!
– developing great personal character
– increasing their own self-confidence
– . . . . and so-much-more.

So, I try to keep the school room stocked with art supplies at all times, so that the kids can get creating any time it strikes their fancy to.  But to tell you the truth, they often end up using lots of materials I didn’t supply, or would have never even thought of! Every time I turn around in this house, there is some new creation sitting there, or they are playing with one, or someone is suddenly at my side saying, “Mama, look what I made!“.   I’m always surprised, over and over, by their creativity.  But really, I shouldn’t be anymore.

Here are just a very few things our young triplets have made lately, that I have found around the house, and happened to get photographed.

kids-creative-imagination-crafts-3

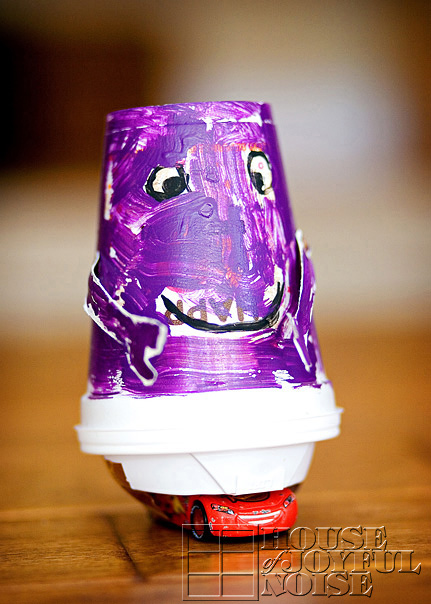
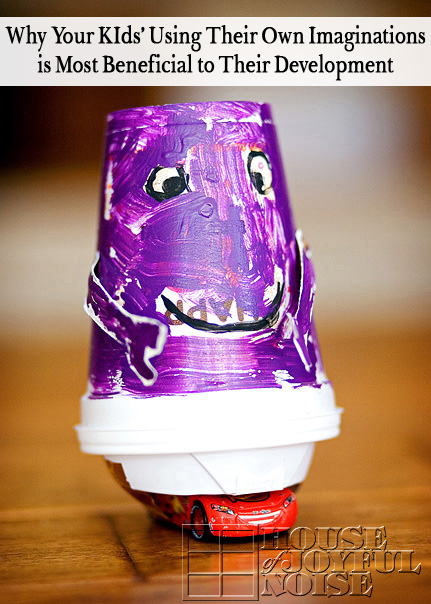
A robot, made by {JM}.  Materials used:  a Dunkin’ Donuts coffee cup, paint, marker, and a toy car.  You should see it travel across the floor.

–

kids-creative-imagination-crafts-4

Pistachio Shell Art, made by {A}.
Materials used:  Pistachio shells, and markers.
–

kids-creative-imagination-crafts-7
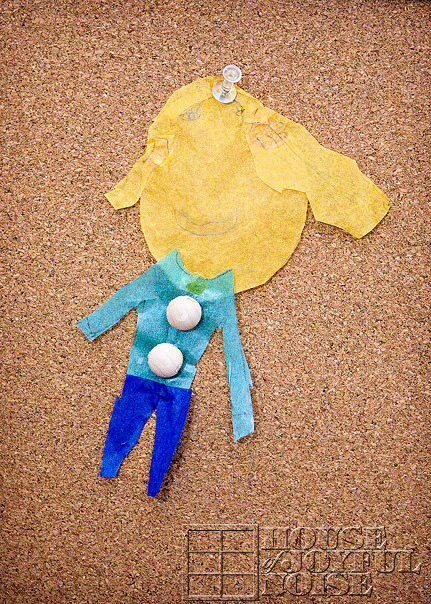
A Tissue Paper Doll, made by {O}.
Materials used:  Tissue paper, glue, wooden screw cover buttons, and pencil.

–

kids-creative-imagination-crafts-6

kids-creative-imagination-crafts-5

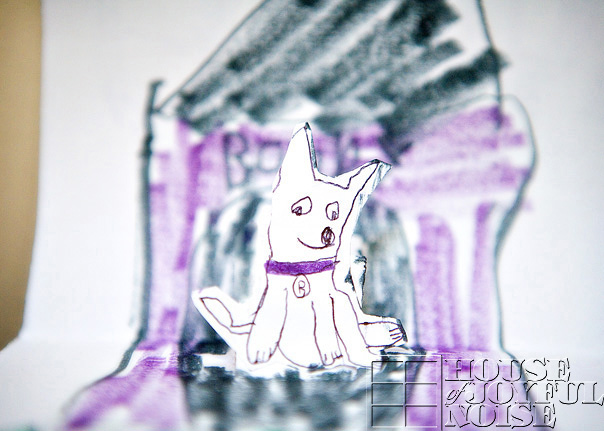
A Pop-Up Card made by {JM}.
Materials used:  Paper, marker, black pen, scissors, and glue.

–

kids-creative-imagination-crafts-1

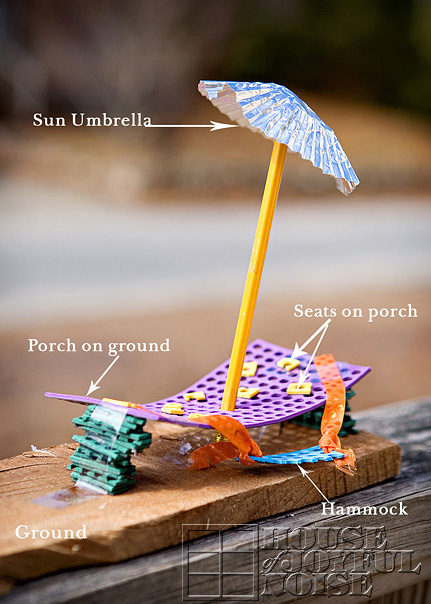
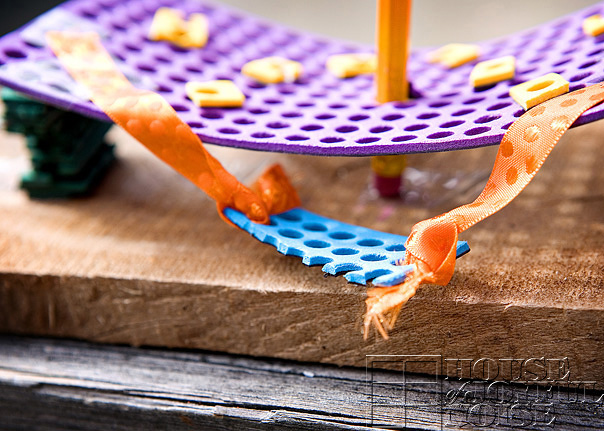
A Deck Hang-Out 2-Dimensional Art Piece, made by {JM}.  Materials used:  Rubber material (the scraps from a kit), ribbon, tape, glue,  a pencil, a cupcake tin, and firewood.

*Note:  {JM} made this creation for someone we really care about, who suffers from frequent migraines.

kids-creative-imagination-crafts

The hammock, which is my favorite part, is so she can lie there and relax until she feels better.  Since the project is so big and heavy, we decided to just send her photos, which she really appreciated.  She used one of the photos, in a blog post of her own, about migraines.
–

kids-creative-imagination-crafts-2

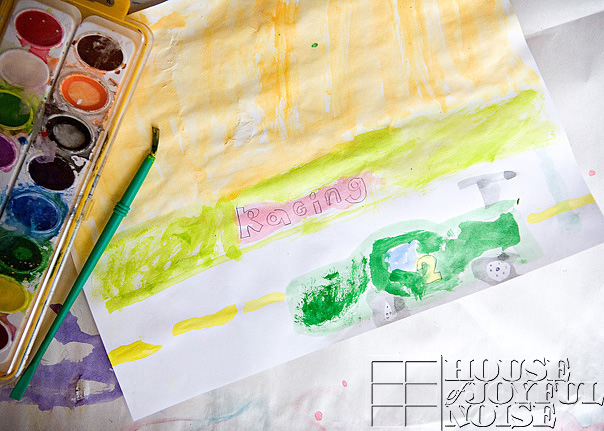
A Watercolor Painting, made by {S}.  Materials used:  Paper, Crayola watercolors, pencil, brush and water.

I think I can let go of the guilt I feel sometimes, when I haven’t planned a craft project in awhile.  I don’t think they even need me.
And leaving the kids to figure out all of their own creative activities, is a gift of some time to us parents!  More time to do what we need or want to do, while they are busy making awesome things!

I encourage you, to encourage your children’s very own imagination! On the next rainy day, or a day they say they are ‘bored’, challenge them to find different kind of materials around the house, or even from outdoors, and make something creative and really unique! And when they do, and show you, make them feel really good about what they created! Because it is their very own imagination and efforts on display, and it has grown them in more positive ways than can meet the eye. And that is something to celebrate!
They may just inspire you too, as my own kids creations inspire me.
Please consider sharing, and spreading the creative inspiration.

kids-creative-imagination-crafts-3_b

Save

Save

Save

Save

Filed Under: Crafts & Creations, Elementary Homeschooling, Homeschooling, Kids Arts and Crafts, Kids Arts and Crafts Tagged With: art, creativity, developing-your-childs-imagination, encouraging-your-kids-imagination, homeschooling, kids crafts, kids-arts-and-crafts, kids-creativity, kids-imagination, Parenting, positive-parenting, rainy-day-ideas-for-your-kids, robot-craft, tissue-paper-doll-craft

Chalkin’ It Up To FUN! – Kids Sidewalk Chalk Art

May 28, 2009 By Laura 5 Comments

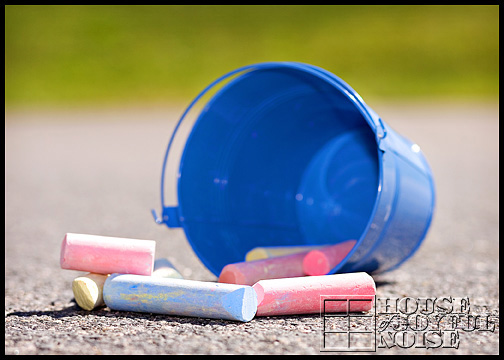
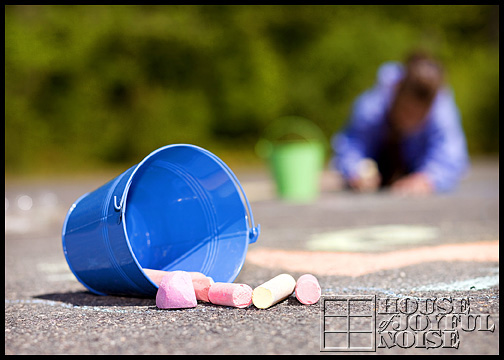
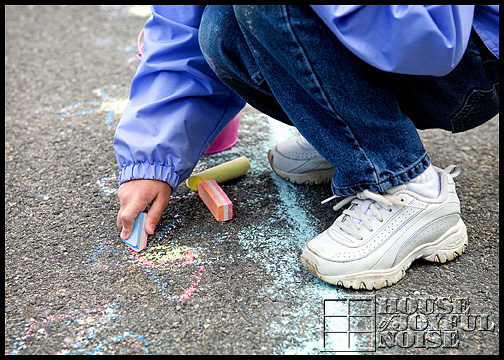
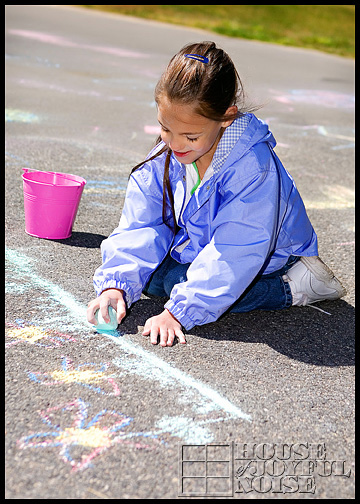
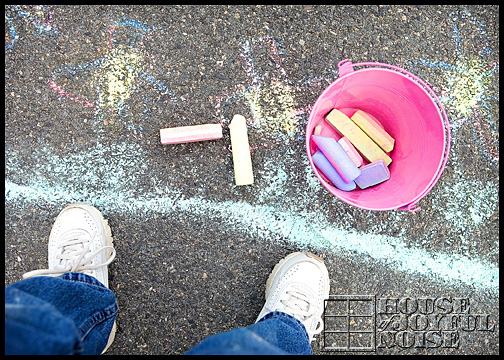
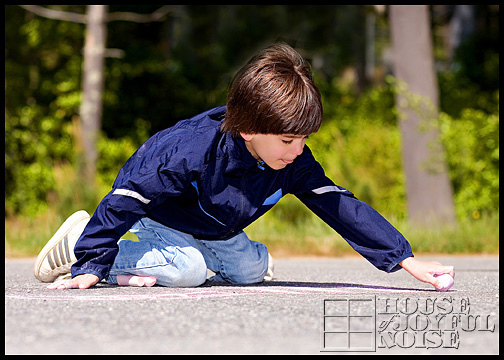
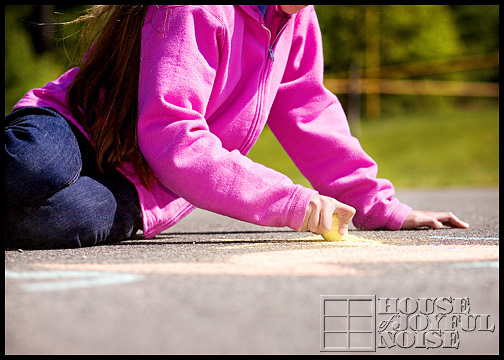
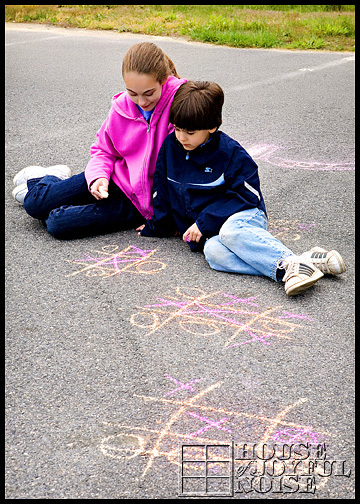
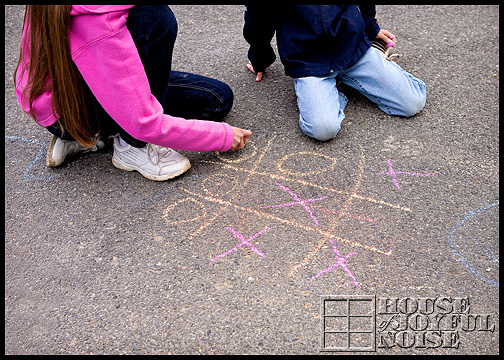
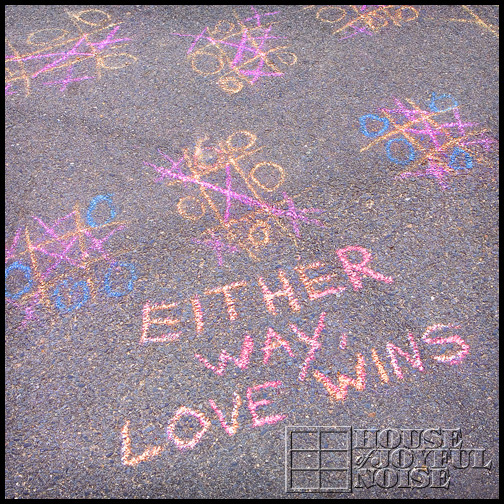
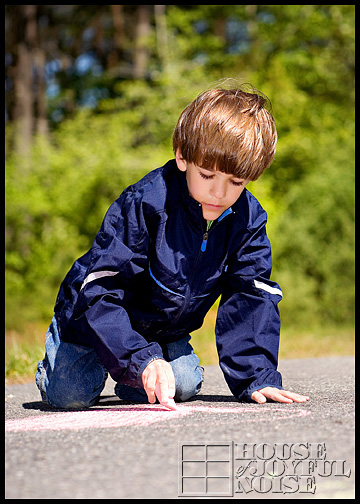
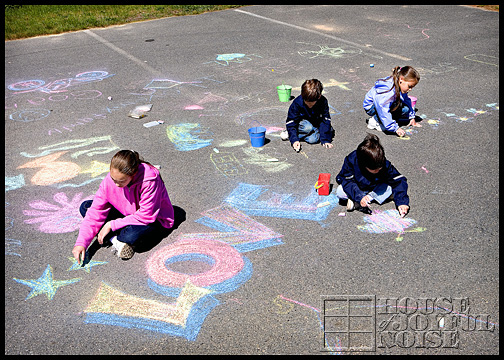
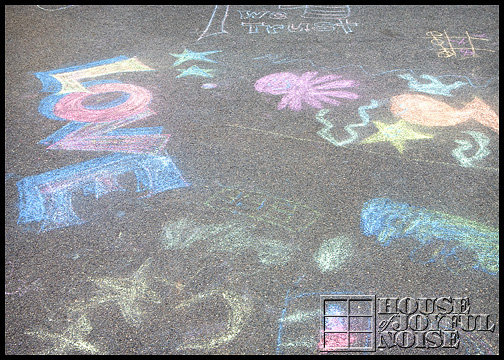
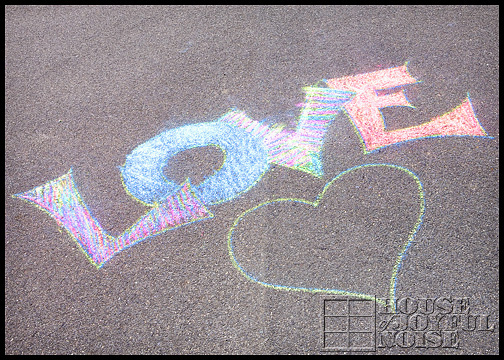
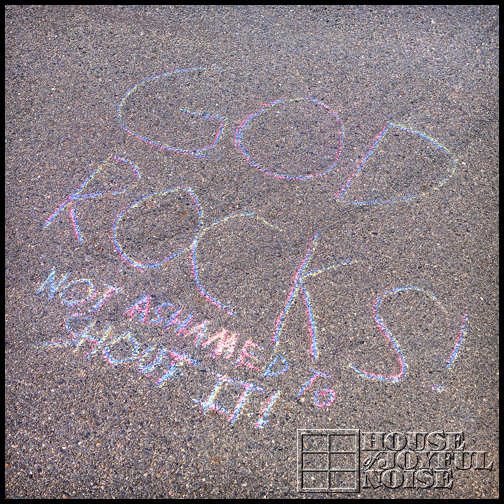
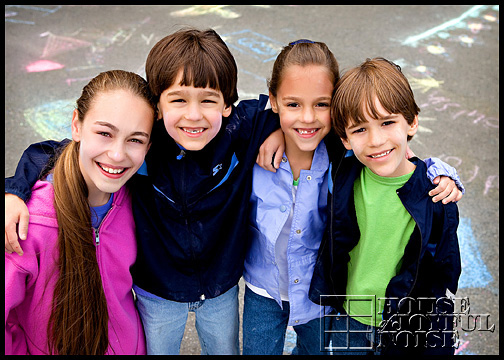
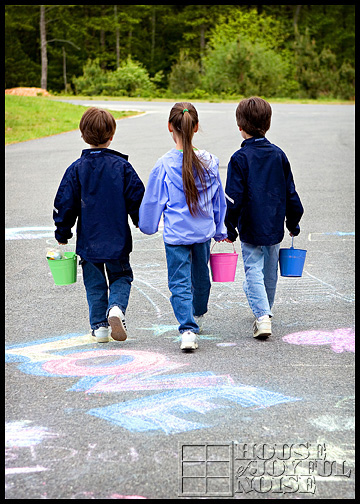
Took the kids sidewalk chalkin’ the other morning.  Except in a big empty lot at the playground. They were having so much fun, but we had to get back home by a certain time that morning, so we went back later that day so they could keep going.  Had my camera of course, both times, so you know what that means….. = lots of photos, and boy did I have fun too!  Here’s 1/2 of them.

sidewalk chalk art

sidewalk chalk art

sidewalk chalk art

4_kids-sidewalk-chalk-art

sidewalk chalk art

6_j

7_aarmwork

8_aandjxo1

9_aandjxo2

sidewalk chalk art

sidewalk chalk art

12_s

14_kids-sidewalk-chalk-art

15_kids-sidewalk-chalk-art

16_kids-sidewalk-chalk-art-love

sidewalk chalk art

sidewalk chalk art

sidewalk chalk art

sidewalk chalk art

sidewalk chalk art

sidewalk chalk art

I’m curious….which is your favorite photo?

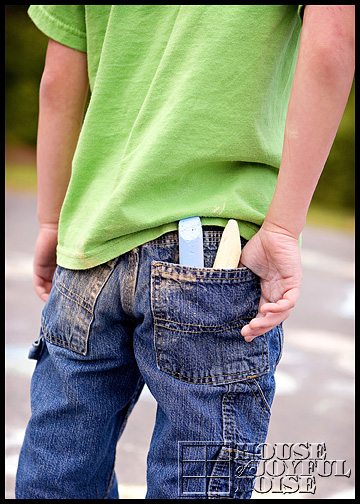
Mine is my boy’s back-pocket of chalk – but don’t let that influence your choice.

Save

Save

Save

Filed Under: Crafts & Creations, Kids Arts and Crafts, Kids Arts and Crafts, Life In General, The Big Picture Tagged With: kids-arts-and-crafts, kids-outdoor-activities, kids-sidewalk-chalk-art, sidewalk-chalk-ideas, triplets

A Kid’s Imagination, Running Wild – Cardboard Creations

May 14, 2009 By Laura 5 Comments

{JM – 6 yrs.} has been a very busy boy in the past few weeks.  If you were following our blog here back in March, you may have caught the post titled Fly Him To The Moon, which was about a solar system {JM} made, and about how he is ALWAYS. MAKING. SOMETHING.  He is literally his own toy maker, with an imagination running wild.  We’re sharing some of his latest cardboard creations, and if you show your kids, maybe they’ll be inspired to recreate some of these, or come up with some ideas of their own!

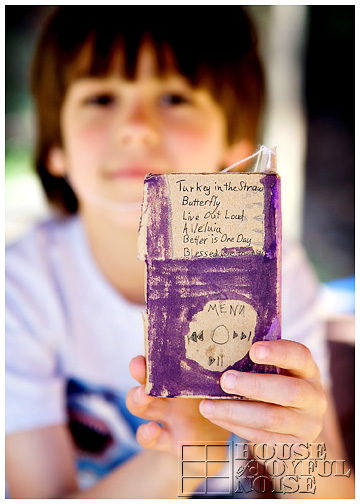
An I-Pod

kid's cardboard creations ideas

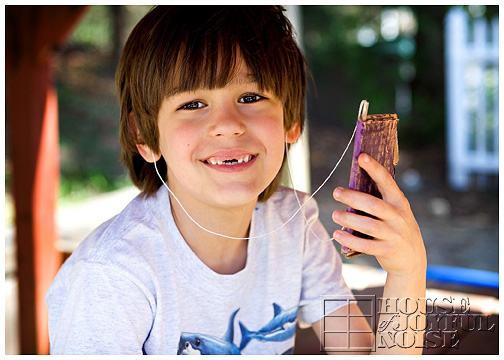
This has got to be one of my all time favorites of his creations. I’m a music freak. He has SUCH a great imagination, that he has spent quite a bit of time, listening to his imaginary i-pod!  He has GREAT taste in music too.  He loaded his favorite songs. Check out his play list:

kid's cardboard creations ideas
In case you can’t read the songs, here they are:

  • Turkey in the Straw
  • Butterfly
  • Live Out Loud
  • Alleluia
  • Better Is One Day
  • Blessed Be Your Name

Materials around the house he used:

  • cardboard
  • paper
  • string
  • tape
  • marker and pen

(The ear pieces were made of balls of paper and tape.  Sounds comfy, huh?  But he didn’t mind it!)

~~~~~~

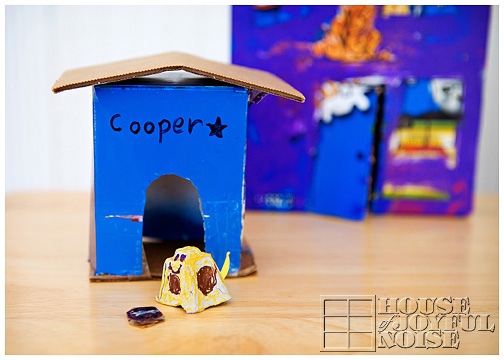
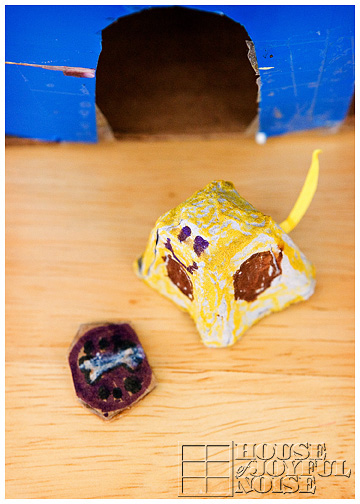
A Dog named Cooper, His Dog-House, and His Owner’s House

kid's cardboard creations ideas
Materials Used:

  • Owner’s House:  a cereal box, paints
  • Dog-House:  cardboard, spray paint, marker and tape
  • Cooper: egg carton (one of the separating peeks inside), marker and a paper tail
  • Cooper’s Bowl: cardboard,  marker and a white crayon for his bone

I thought his bowl was the cutest thing!

kid's cardboard creations ideas

~~~~~~

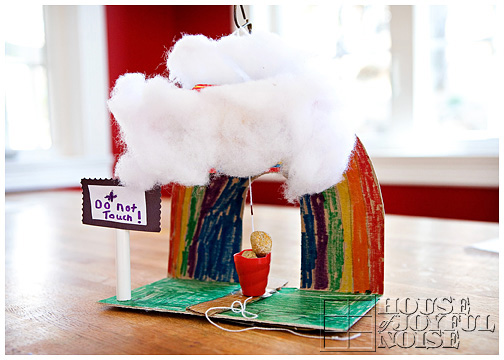
A Leprechaun Trap

(He saw this one in a Family Fun Magazine)

kid's cardboard creations ideas

Materials Used:

  • cardboard
  • tape
  • markers
  • cotton balls
  • animal cracker box (under the cotton balls)
  • wire clothes hangar
  • string
  • a wood dowel, painted white
  • A Readi-Whip cap (for the bucket)
  • rocks

~~~~~~

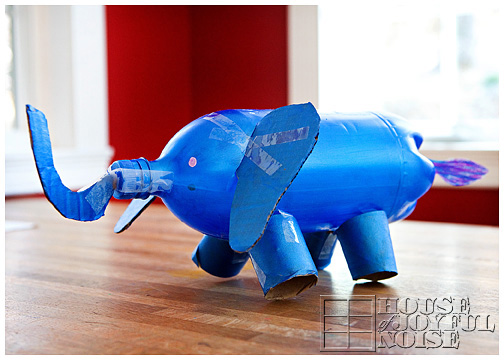
An Elephant Bank

kid's cardboard creations ideas

Materials Used:

  • Iced Tea Bottle
  • cardboard
  • paper towel tube
  • paint and markers
  • tape
  • White-Out (for eyes)

~~~~~~

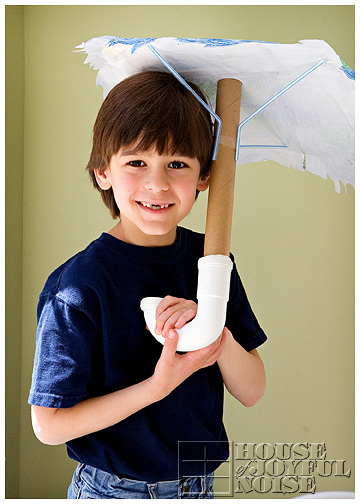
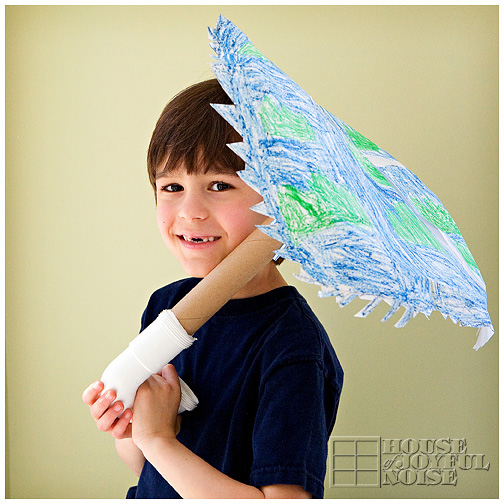
An Umbrella

umbrella

kid's cardboard creations ideas

Materials Used:

  • several pieces of paper
  • tape
  • crayons
  • straws
  • paper towel tube
  • PVC drain trap

~~~~~~

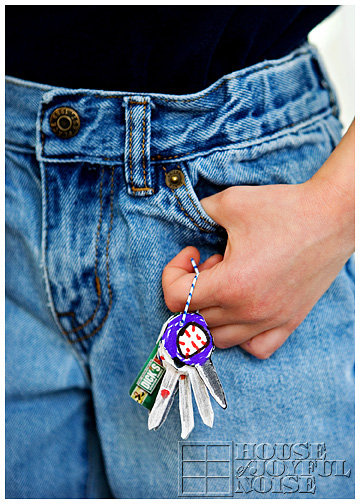
*Keys

kid's cardboard creations ideas
Materials Used:

  • cardboard
  • markers
  • paper clip
  • Dicks Sporting Goods rewards card

*I have to say, as a Mama who would love for her babies to stay little forever, this is one creation that had me taking a few deep breathes.  Thank goodness these keys are only pretend for now. I’d miss him terribly!

Have any of your kids made a crazy craft with things around the house?  We’d love to hear about it!  It may just come in handy on the next rainy day!

Save

Save

Save

Save

Save

Filed Under: Crafts & Creations, Kids Arts and Crafts Tagged With: kids-arts-and-crafts, kids-cardboard-creation-ideas, kids-imagination, kids-make-with-cardboard

  • 1
  • 2
  • 3
  • Next Page »

We are wicked happy to have you here! We hope you find much inspiration, help, humor and enjoyment here.


Archives


POPULAR POSTS

* * * * * *
SUBSCRIBE to House of Joyful Noise blog! Every new post, delivered right to your email box!


Privacy Policy

Amazon Affiliates

Never at any additional cost to you, we may earn a small commission for our endorsement, recommendation, testimonial, and/or link to any products from our website. Your purchase through our links helps support our family, while sharing with you the products we authentically use and recommend, for various ideas, and letting you know where you can purchase them. Thank you for your support!

[footer_backtotop]

Copyright © 2025 HouseOfJoyfulNoise.com · Genesis Framework by StudioPress