I believe we’ve been both gardening and blogging, for about 3 years. Our life is filled with so many various passions, there is more than we are actually able to get to blogging. I sure try to get it all in though! But one area that is especially hard to keep you all updated with, is the gardening! Good gosh. Things grow and change SO fast, by the time I photograph what I want, edit the photos, and start putting a post together (while you know, living my life and doing 1,000 other things in the midst of it all), the post report, explaining the photos I took, don’t seem very current by the time I get to typing it out! But my intent today, is really just to share with you all what we’ve got growing this year.
In that light, after the first photo, the photos in this post were taken in early July. As I type, it is the 20th of July. Still, while reporting with photos is unavoidably a little delayed, we like to try and give you the picture of the process as a whole, even if the photos are a little behind the 8-ball of the gardens in the moment. I imagine it is all still relate-able for the interested gardeners (or wannabes) reading, and perhaps it opens a door for conversation, as you reflect back on the few weeks prior to your own gardening-status, and the subsequent changes. So we’re going to roll with this delay-thing we have going on in the gardening blog-shares, and hope you all can too.
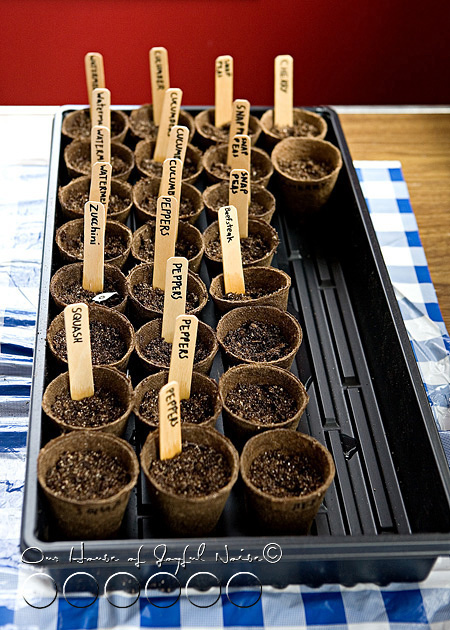
One thing we did differently this year, that we have not done in the past 2 years, is start our vegetable plants from seed! Our experience with gardening has been that we learn a little more every year. While we were somewhat successful in growing the plants from seed indoors, to transplant to the garden beds come Memorial Day weekend, I’m not sure our timing was right with everything. (?) For example, our pepper plants started out so tiny in the beds, that I couldn’t imagine them ever producing fruit this season! But in sharing this with my Mother-in-law when she visited in early June, she mentioned those seeds probably should be planted in February or so. She and my Father-in-law kept a beautiful yard full of gardens when they lived in this area. In the course of our conversation, I could not even remember the month we actually did start the seeds. But I was sure it was not that early! The packaging of the seeds did not say, that I could tell, how long prior to replanting, that the seeds should be started. It only seemed to say how many weeks before they should bare their first fruits. So….I was winging it all. All of the seeds did sprout, grow plants, and were transplantable. In fact, some grew too tall to keep the clear cover on, for the greenhouse effect. What to do about that? And as I said, maybe different seeds should have started at different times. But when, for each variety, is my question. So, more researching to be done, and more lessons to be learned. But as I have said all along, the learning as we go is half the fun! Next year , also, I’ll keep a record of when the seeds were put in the soil. At least write the date on the containers!
Here is just a couple of other small points to note: 1) As a reference, these photos were taken in early July. Things have grown and changed a lot since then. So we plan to update you soon, but a little after the facts of course. : ) 2) Please pay no mind to the very patchy crabgrass, in our sand-dirt, that needed mowing badly. It was done that evening. But I am working on not procrastinating photos or a post, due to a likely irrelevant detail, so don’t call me out on that, or I may have a relapse with my self-therapy. ; ) Alrighty?
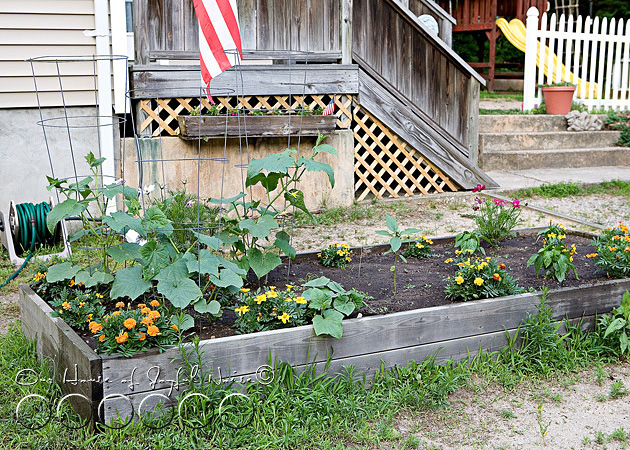
Here in Bed #1 we have little pepper plants on the far right, behind the Marigolds.There is Green Peppers, and Jalapenos. Aside from the Marigolds, we also have Cosmos, and a sweet single Sunflower that {O} grew. I plant the Marigolds and Cosmos in ever bed, to attract bees and butterflies, for assistance in pollination. But also, because I love bees and butterflies. : ) On the far left, we have Cucumbers growing.
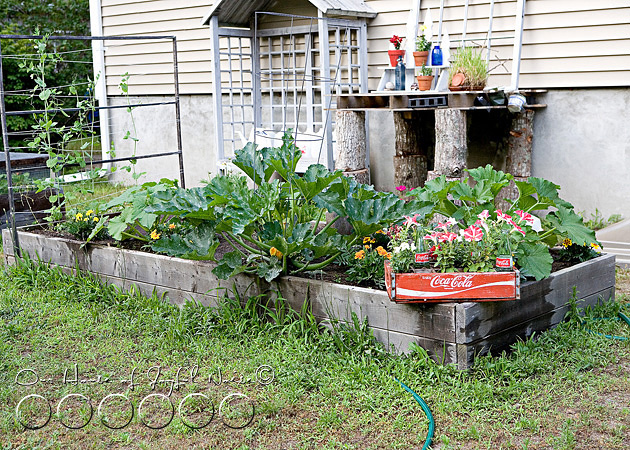
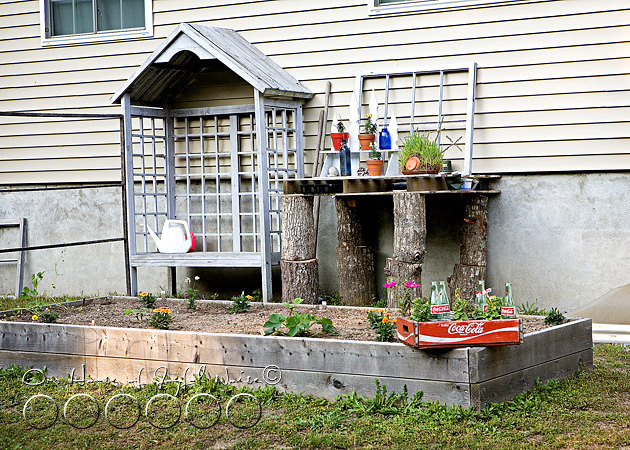
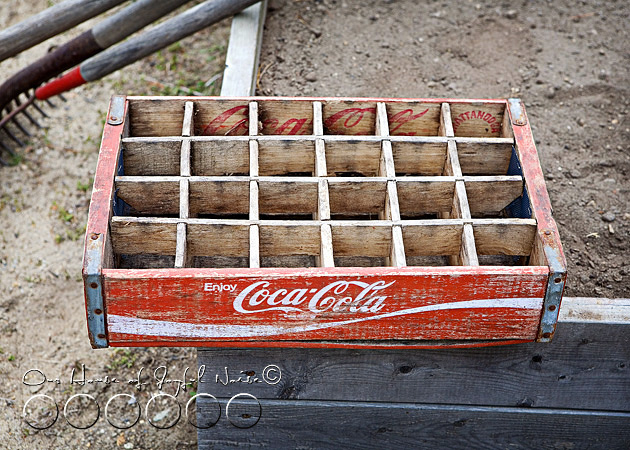
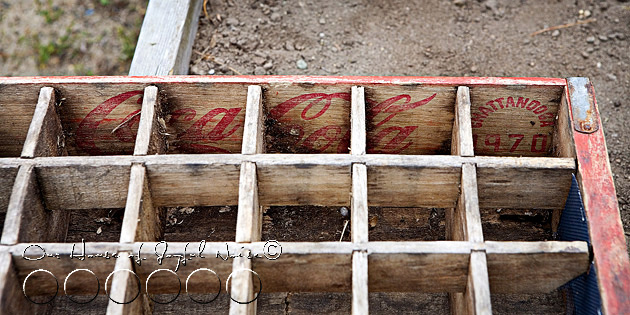
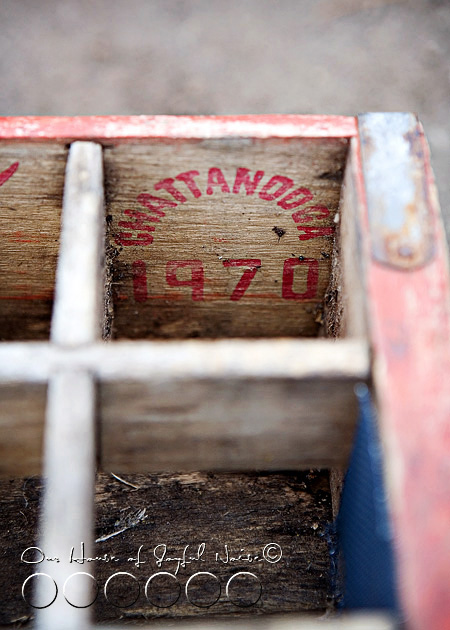
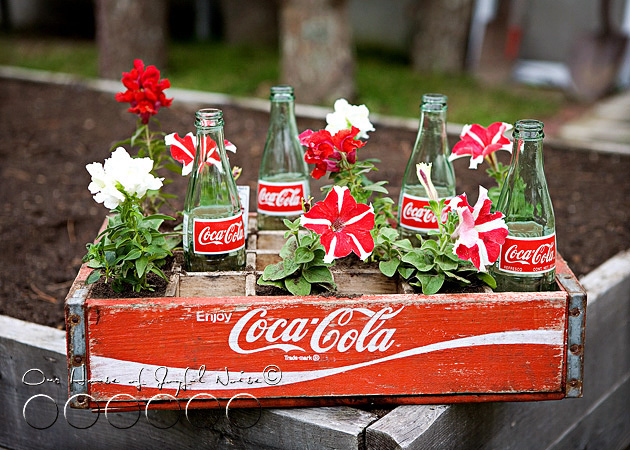
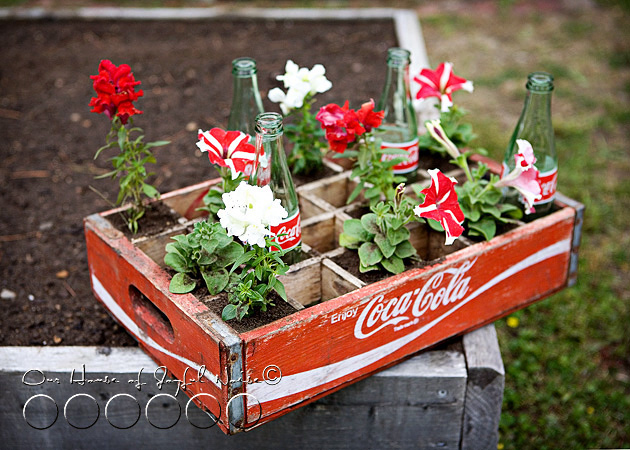
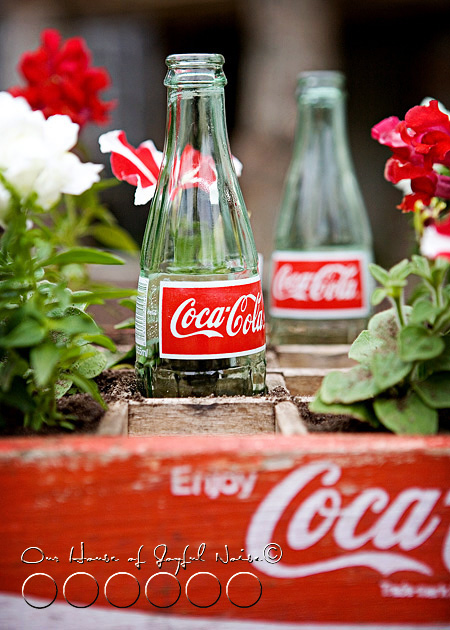
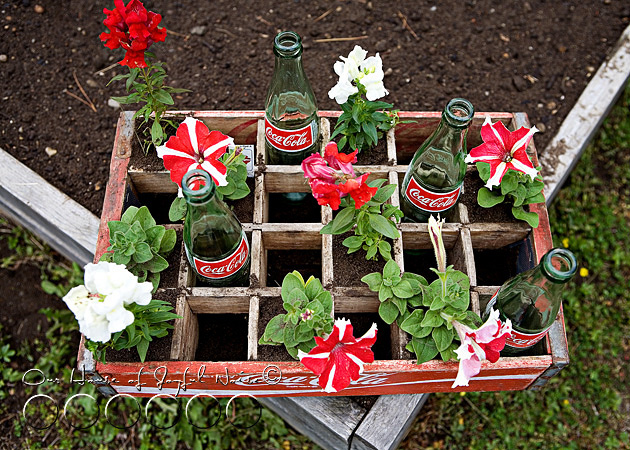
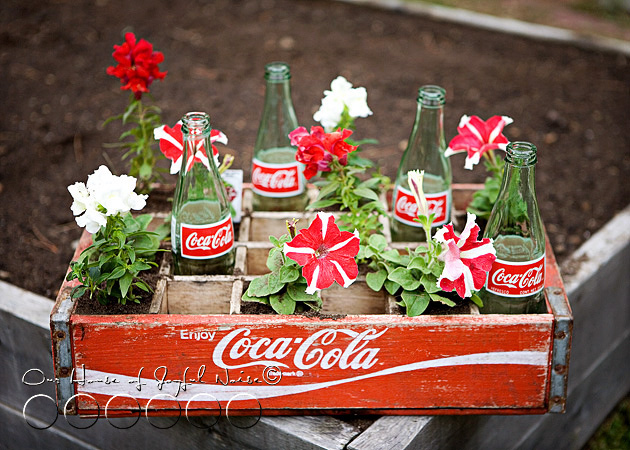
In Bed #2, we are growing Yellow Summer Squash and Zucchini. We were adamant about the squash varieties growing in another bed this summer, after last year’s devastation! Some of you may recall the sudden and devastating death of our squash bed last year, and eventual discovery of the culprit! More on our remedy for this in just a bit. But also in this garden bed is something new we are trying to grow Sugar Snap Peas! We had no idea what we were doing there at first, but I researched it and learned quickly. They started out ‘thin’, in my Mother-in-law’s word. That was her nice way of saying ‘puny’ I think. Made me giggle. But they are looking GOOD now. A closer look on that in just a minute as well. All else we have here, is the Marigolds, Cosmos, and still sitting there is our now-virtually-famous Coke Bottle Box and Candy-Cane Striped Petunias. There’s also a few Snap Dragon in that box.
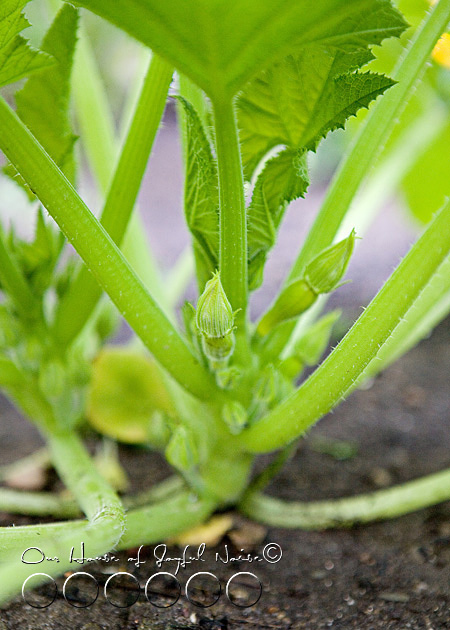
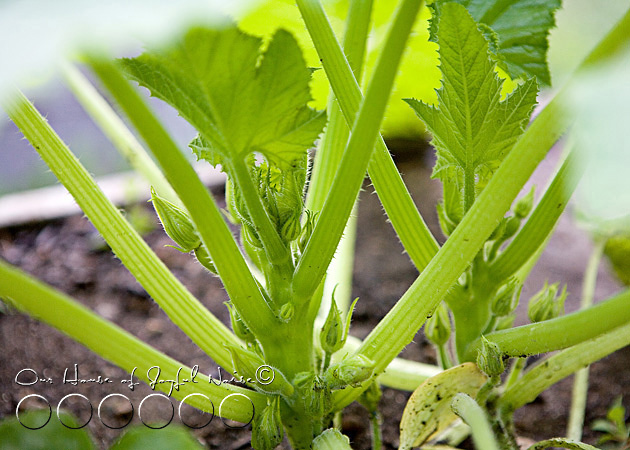 Promising buds of squash.
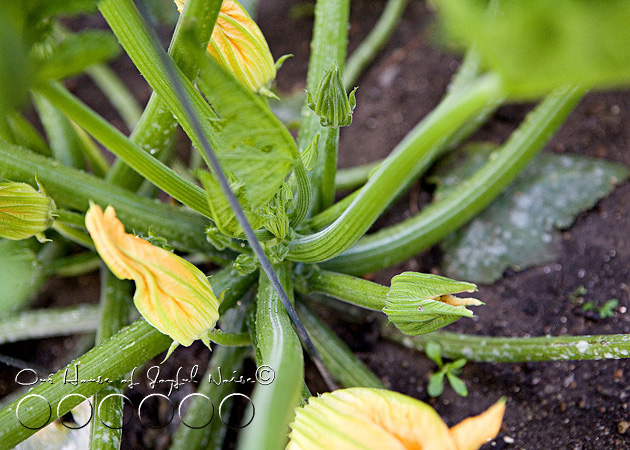 Squash Flowers. No, we have not prepared them as a recipe in any way yet. Fried? Stuffed? It just sounds strange to me. We’ll see who can convince me.
 We were pretty excited to see these 2 pods! I have fond memories of picking & gobbling peas in my aunt’s garden, when I was little. I want our kids to be able to do the same.
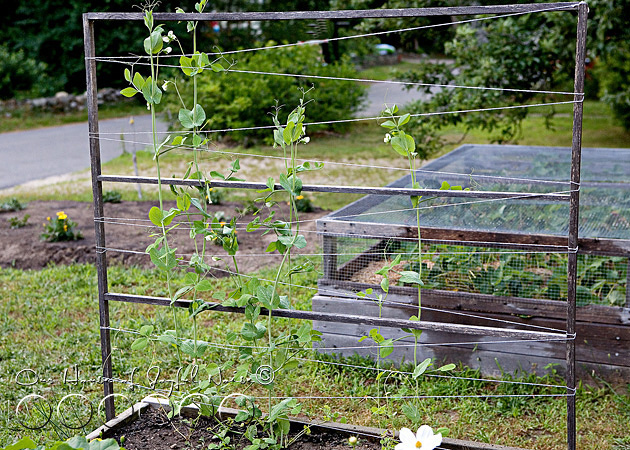
So as I implied earlier, I wasn’t sure starting out, how we would do producing Sugar Snap Peas this first year. But regardless, I have loved watching them climb our wooden frame, and zig-zagging twine. The hornets are ‘having at’ that wood frame, by the way. I’ve found myself watching & studying their activity intently, both fascinated & irked at the same time. I hope the frame holds up through the season anyway. It’s easy enough for Michael to whip another one up next year. As an update, the peas are doing wonderfully, and I’ll show you more on that next garden post.
 Garden #3 is the Strawberry Bed.
You are welcome to check out the post prior to this one, for lots of photos and chat on our Strawberries this year.
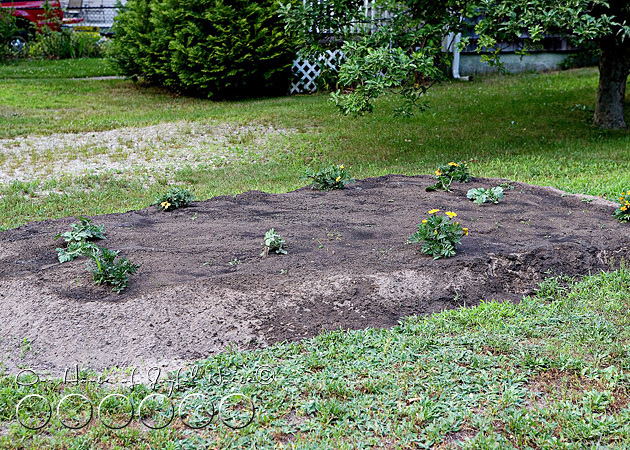 Another new learning experiment this year. Since last year we learned that we planted our Pumpkin Patch too soon, this year we thought we’d try using the bed as a Watermelon Patch first! The kids planted the seeds into this bed themselves. You can hardly see them well in this early photo, but let me point them out among the Marigold plants. The Watermelon plants are in the upper far left, the one in the middle-ish, and far center-right. There were just a couple others that the squirrels pulled out, before we got to spraying a Deer-Off border. So I planted a row of 6 new Watermelon seeds in the soil vertically on the far right side. Updated photos of the plants will be coming up too. We’re not sure if we’ll actually get Watermelons this year either, as my Mother-In-Law said those should have been planted earlier too. But the plants are spreading like mad now, and I did catch a glimpse of a flower. So there’s a small chance we’ll get at least 1 melon. Heyyyy, we can split it!
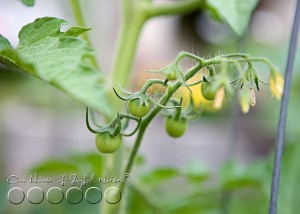
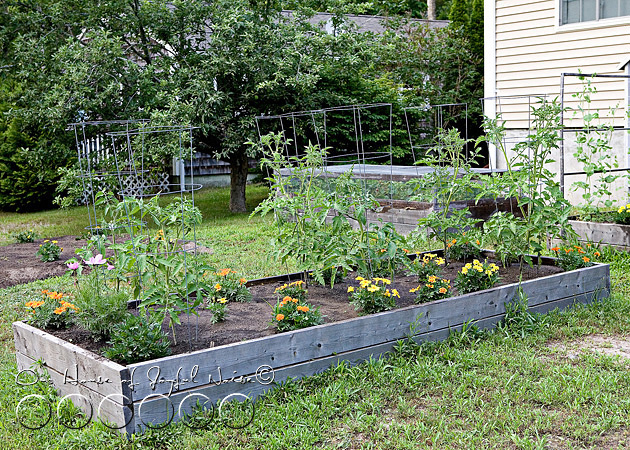 Lastly, in Bed #4 we have 4 Varieties of Tomatoes: Cherry, Early Girl, Big Boy & Beefsteak.
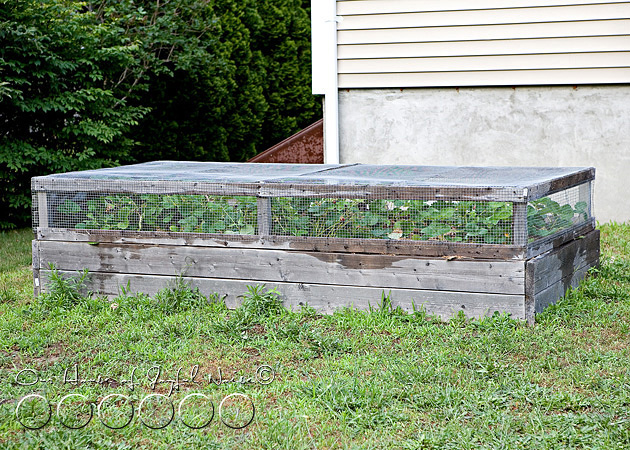
This is the bed that was our Squash Bed last year! First, we screened all of the soil, looking for any Vine Borers that were hibernated down into the soil, pupating, after the devastation they do in the year prior, waiting to reak new havoc again this year! We learned that’s what they tend to do! We didn’t really seem to find any, but we used a new bed for the squash this year just in case. Besides, we try to rotate the beds every year or 2, so the soil is not depleted of any nutrients from one particular plant variety.
 Some Cherry Tomatoes on the vine.
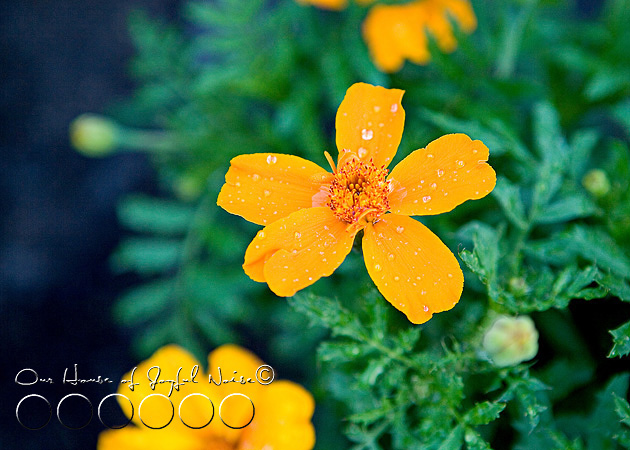 Marigolds.
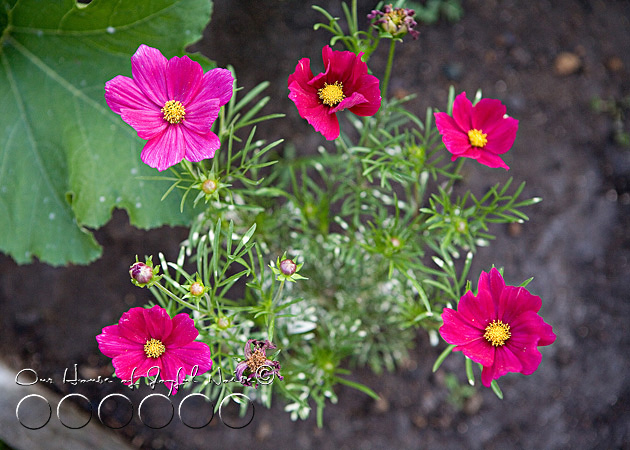 Cosmos.
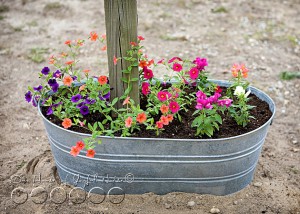
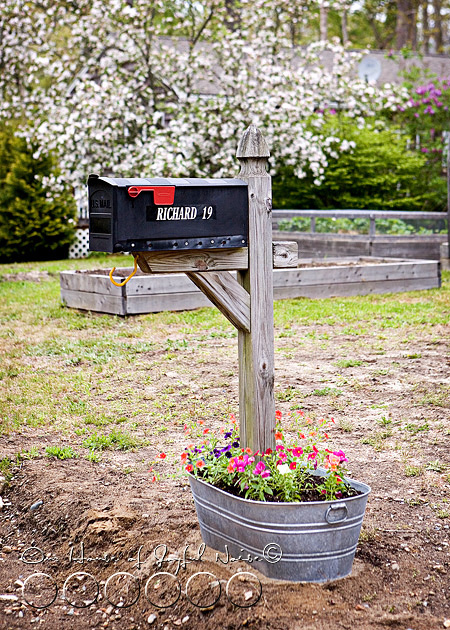
And lastly, a quick look at how our Mailbox Garden Tub has filled in….
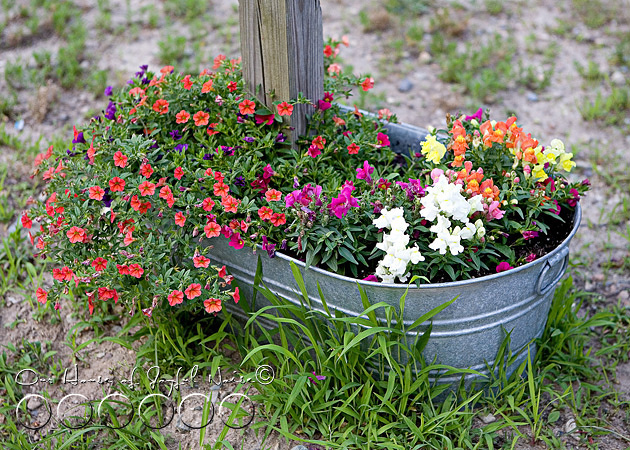 I love how the Calibrachoa spill over.
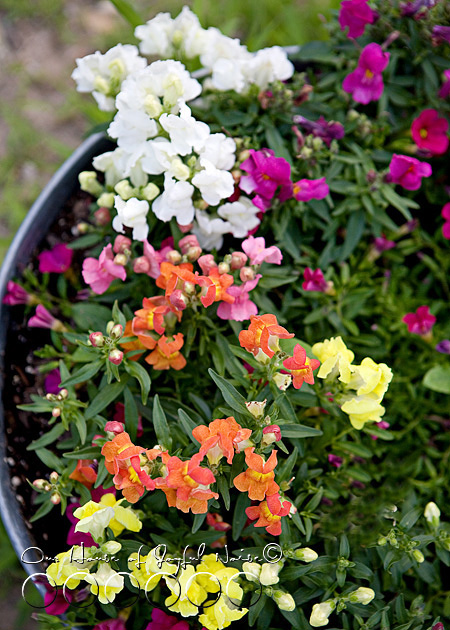 And I have always loved Snap Dragons.
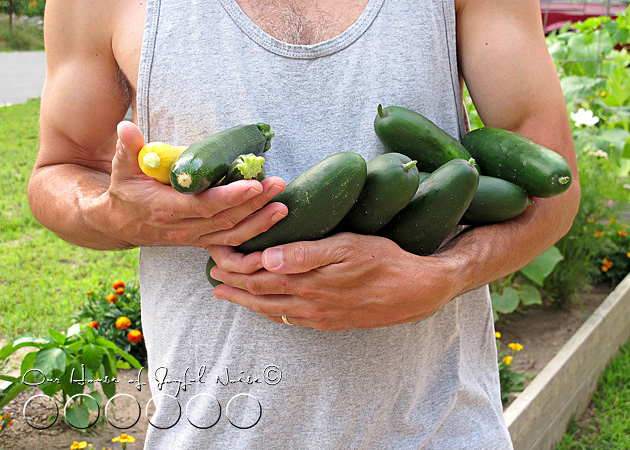 THIS, is not a photo from early July, but a more recent photo after some picking, last weekend. We have been enjoying Yellow Summer Squash, Zucchini, and Cucumbers, so far.
And that my friends, is your Late Garden Report! Stay tuned for more Late Reporting, right here in the The Homestead ~Home & Gardens section, of Our House Of Joyful Noise. Meanwhile, I’m open to some sharing and garden chat in the comments!