By Laura 3 Comments


Save
Save
By Laura 8 Comments
Everything we planted in our front yard gardens, is really growing! We wanted to give you a progress update.
In our last post, we shared with you the very beginnings of our front yard transformation. We planned out 3 gardens, built 3 garden beds, had loam delivered, filled the beds with the loam, and got our strawberry plants planted all in mid-May.
At the end of May, after the threat of frost had past, we planted all of the vegetable and flower plants in the beds. I did not take photos of the extensive work we did that day along the way, because frankly, I was covered in earth and sweat, and wasn’t about to touch my camera. : )
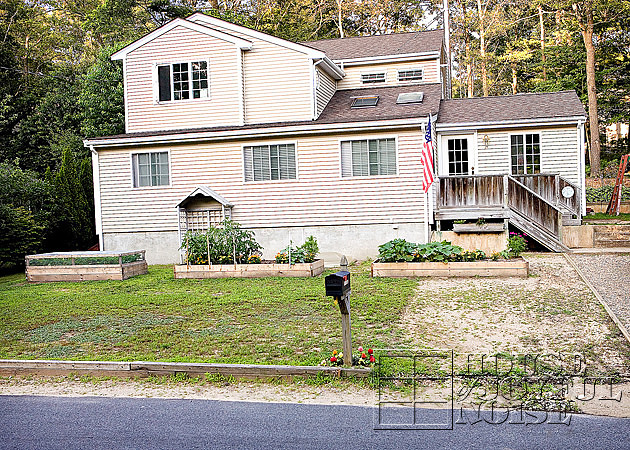
Here’s a photo of our front yard now, with the 3 garden beds. I think it’s a dramatic improvement to the ‘blahness’ it was, already! Don’t you? We even have some green weed/crabgrass growing in our dirt where the driveway was extended! Since we don’t have plans to plant grass anytime soon, we’ll take anything green! In the long run here, we’ll likely be putting in more gardens, little walkways, maybe a small tree or 2 ….who knows what. So planting grass at this point is not wise, when it mostly will be getting dug right up, soon enough.
 Here’s a view from this angle, taken in mid-July. I’m going to take you from garden to garden here and show you what we’ve got. All of these photos coming up were taken in mid-July.
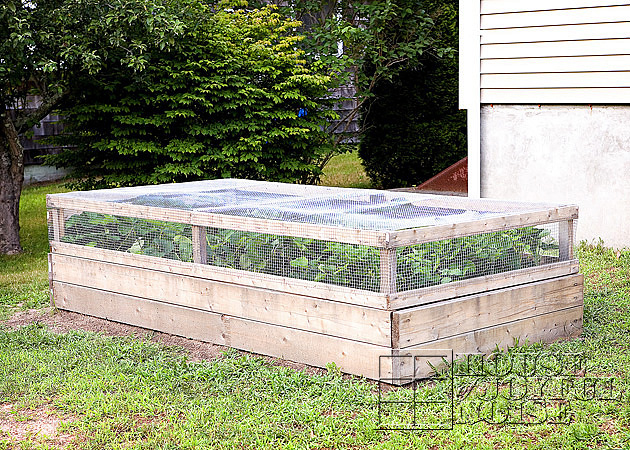
First on the far left, while acing our house with your back to the street, is our strawberry bed. This is the garden that was done first, a couple of weeks before the others, because we could do that with the strawberries. So I had done a couple of posts on how the plants and strawberries were coming along. Rather then re-hash all of that, and re-post all of those photos, I’m just going to link you to those 2 posts. They will open in their own window, so don’t worry about losing your spot here if you want to take a quick peek.
We Picked Our First Strawberry
Being the first year, the plants needed to get established, so we weren’t expecting an abundance of berries this year. But we have high hopes, jam recipes, and many desserts on our agenda for next year!
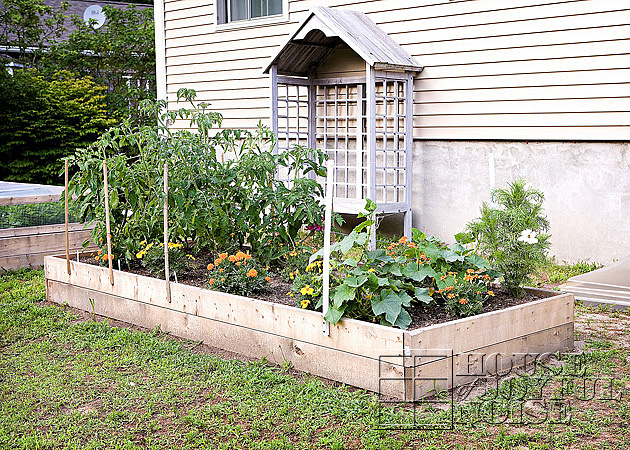
This is the second garden from the left, next to the strawberry garden. Or, the middle garden. : )
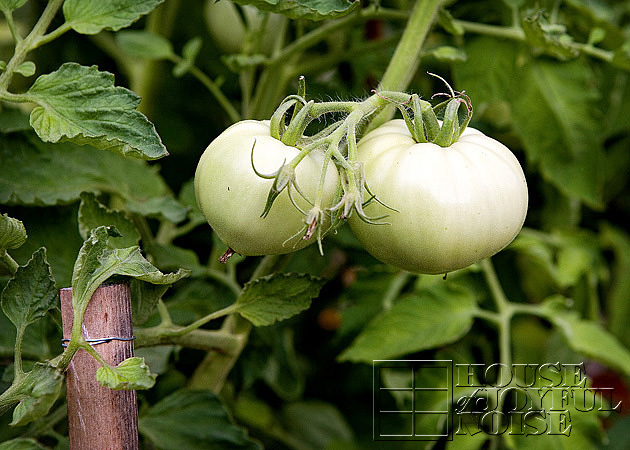
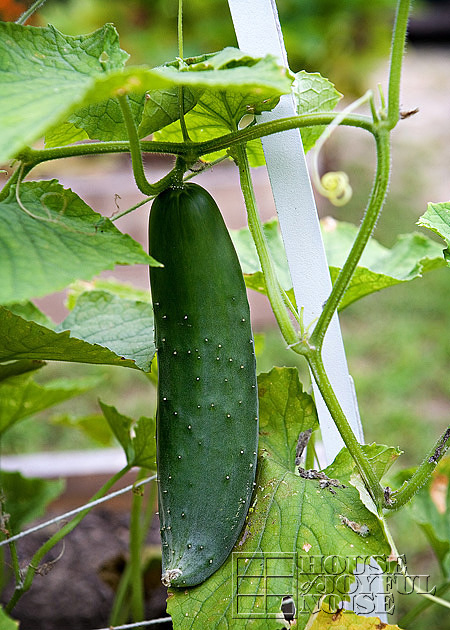
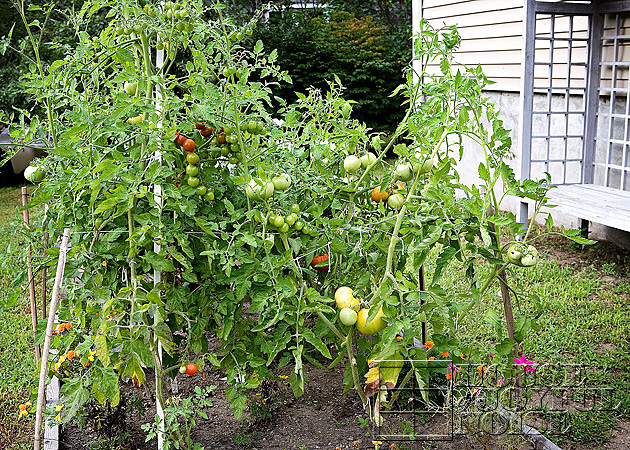
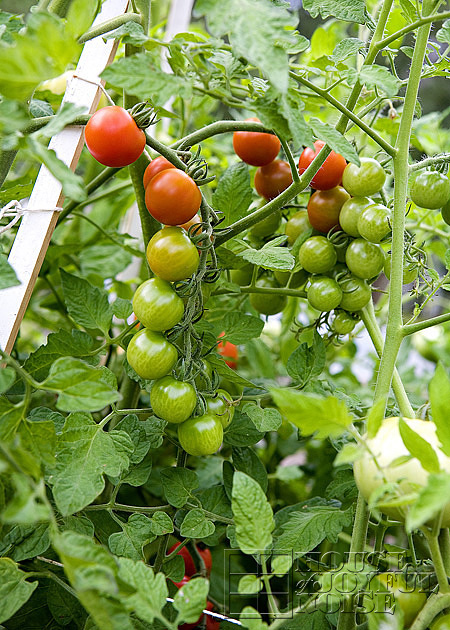
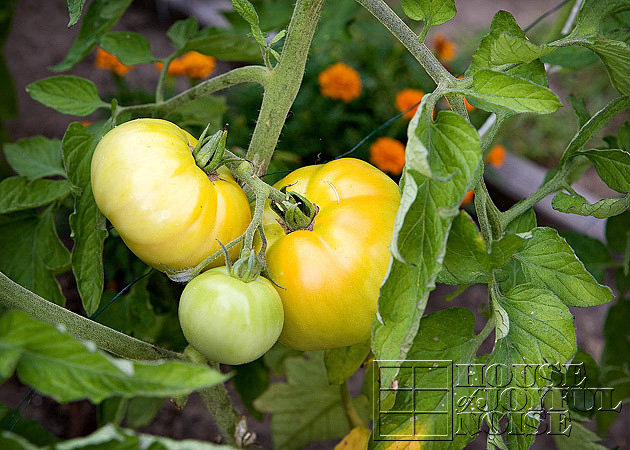
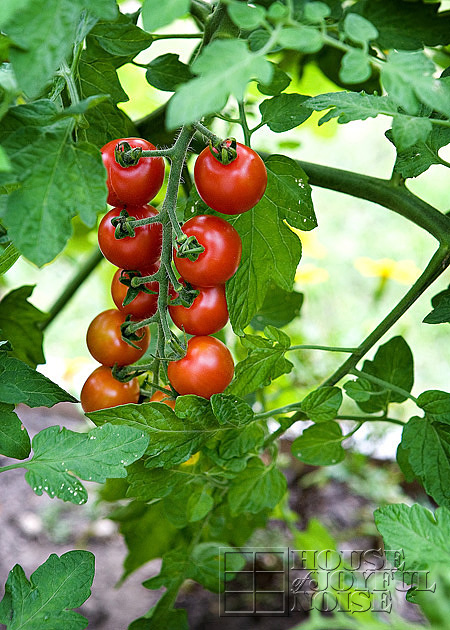
Aside from the flower, which I will get to a little later on, we have growing 4 varieties of tomatoes: Beefsteaks, Better Boys, Early Girls, and Cherries. We also have cucumbers in this bed.
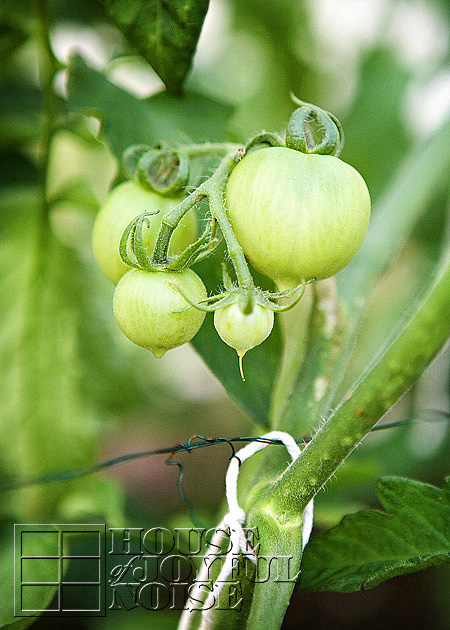
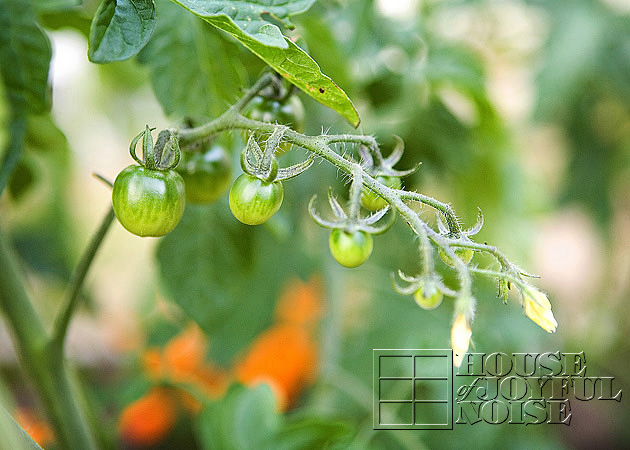 Just a couple now-outdated tomato photos. More to come.

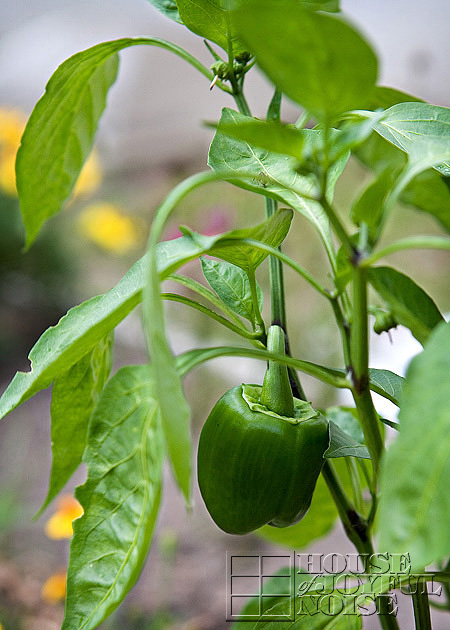
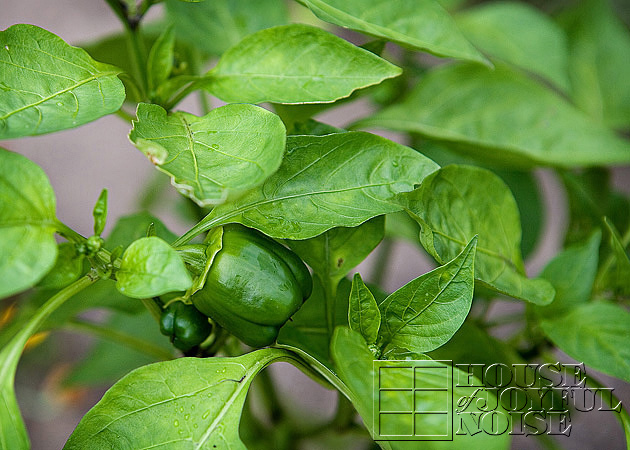
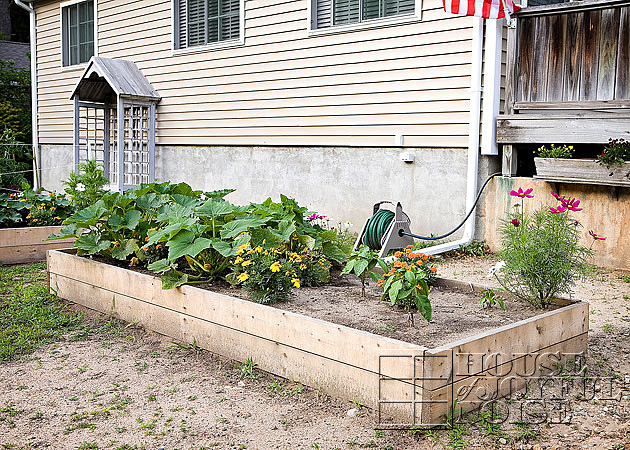
In our last bed here, 3rd from the left, closest to the drive-way, we have growing summer squash, zucchini, and green peppers. Plus the flowers. I had read how helpful having certain flowers in your vegetable gardens were, to their growth and production. They attract certain bees that help pollinate, as well as other certain insects that are good for the garden and good for keeping other harmfuls away.
I know that sounded a little vague, but I just didn’t want to get into the full explanation right now. Besides, I’m not sure I can remember it ALL at the moment. But I can tell you, that everything I knew at the time, and therefore did, seemed to have done exactly what it should , and it all worked! So that’s got to count for something. lol
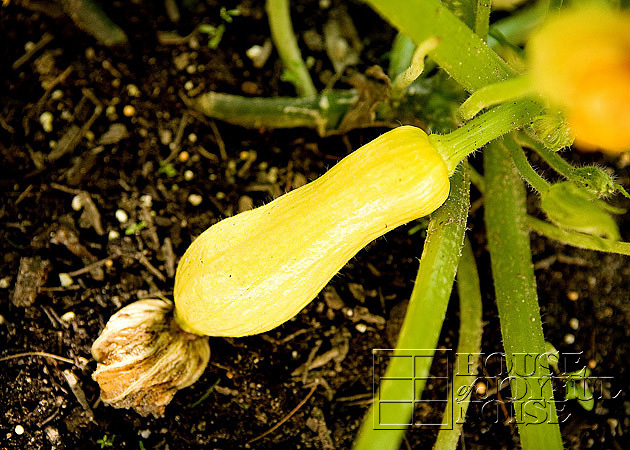 Here’s one of our first baby squashes. I learned real quick that I can’t be all in the squash leaves, working around, with bare arms! I got a rashes all over my arms almost instantly, and I was going nuts. Not sure if that happens to everyone, or if I’m just sensitive? But….I was more careful from there on out. Kind of like my jalapeno chopping incident, but I’ll spare you the story on that. For now. (But eventually, these dramatic complaints need to come out. So…be forewarned. : )
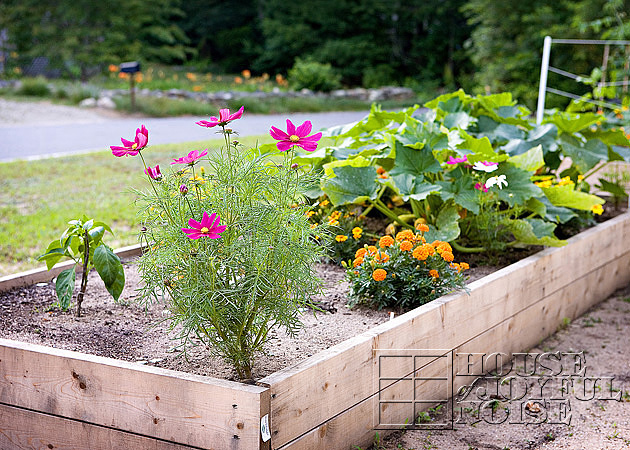
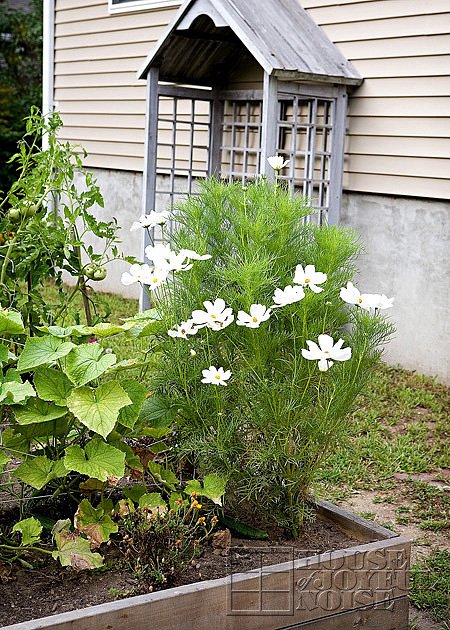
On the corners of some of the beds, I had planted cosmos, that have really grown beautifully. We let them grow tall, and they are not only lovely, but really beneficial to the garden.
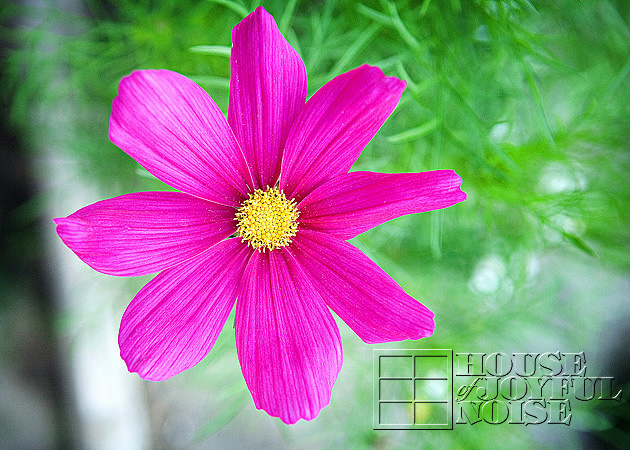 Pretty, huh? We have this color, and white ones as well.
Mid-August….
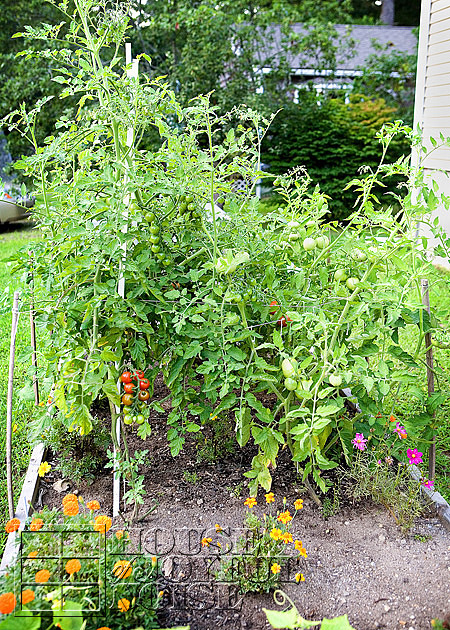
These photos are now from mid-August, and things were looking great!
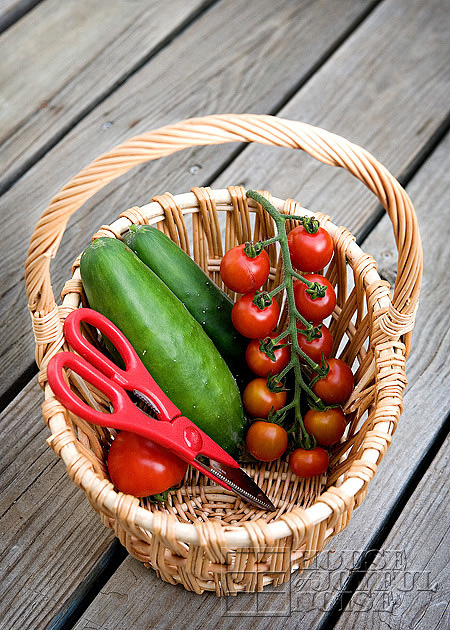
Look at all of the tomatoes growing!…
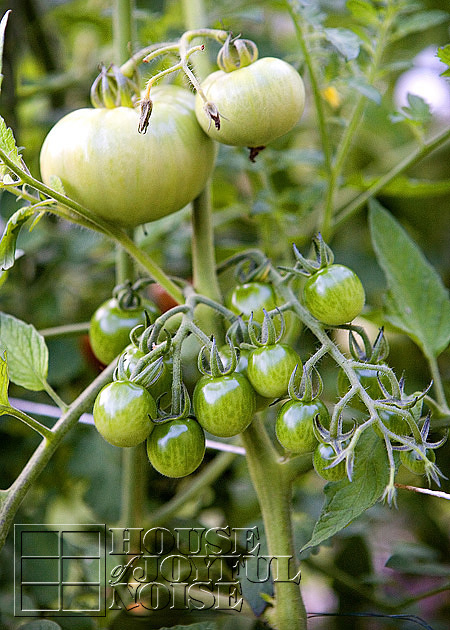
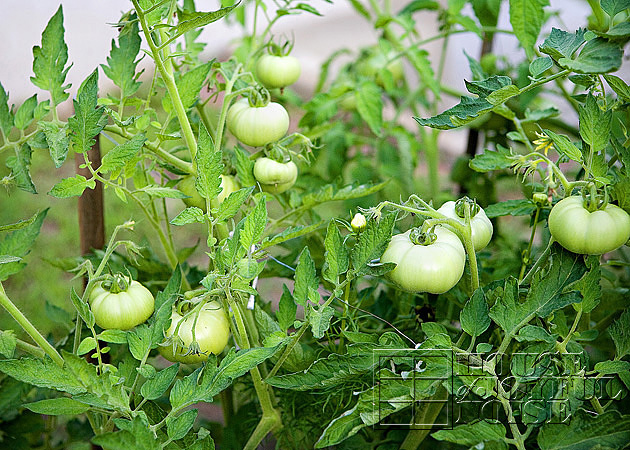
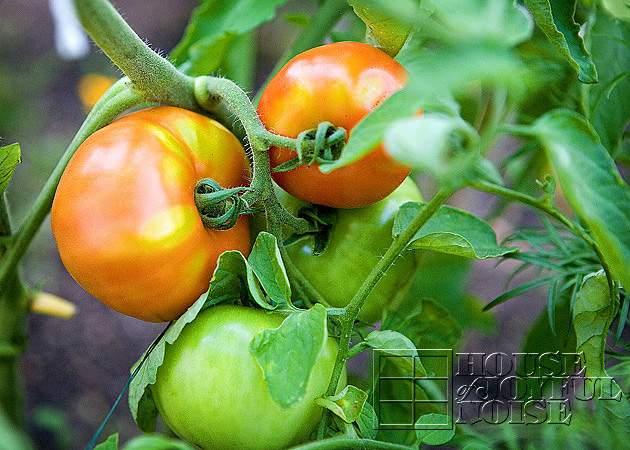
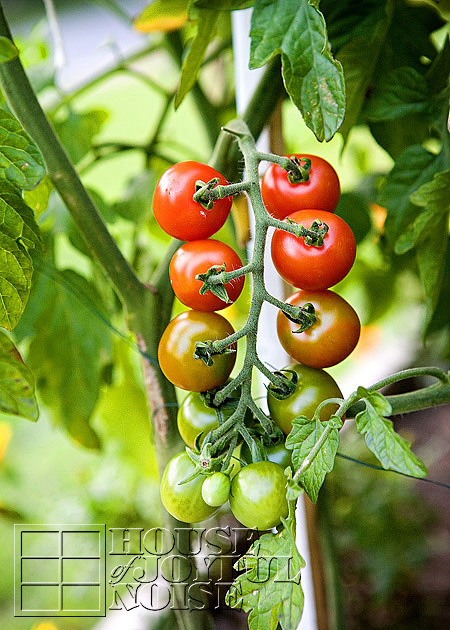
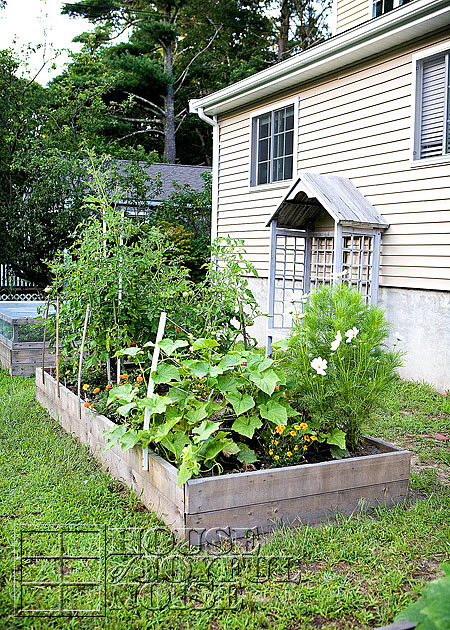
Here is one more shot of the middle garden, with the white Cosmos.
So as I said, the second half of this this post was mid-August. A week later, so much had changed, and there were so many new surprises! So up next, will be yet another garden post, to share with you how things developed from here. I have discovered a new love of garden photography. Shocking?? Probably not.
But soon, we’ll be heading inside the house for a bit, to show you a couple of new things that we’ve been doing in there. I can’t wait to show you!!
Save
Save
By Laura 9 Comments
This is a fairly easy craft project tutorial where you can create some really fun or beautiful wrap jewelry for kids or adults. Depending on the materials you use, you can really get all kinds of styles using the same concept. Also, keep in mind; they can be homemade Christmas gifts, and made ahead of time! We’ve made these as Christmas gifts before, and they were very well received! So this may be a great idea for all or some of the little girls and ladies on your list. Or, maybe you’d like to add to your own accessories! The pieces we created so far have been more for girls, from little girls to women, but with a little creativity and thought, we think we’ll be able to come up with some boyish pieces as well.
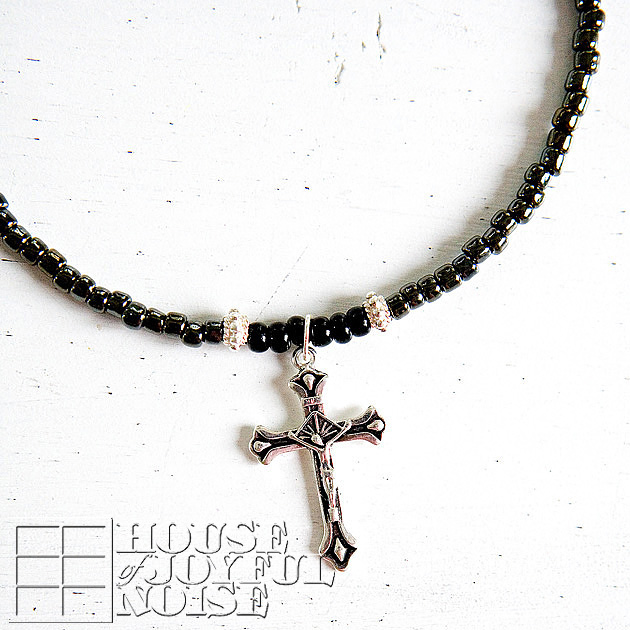
You don’t need much in the way of supplies!! Here’s a quick run down, depending on the design of the piece you are making: Memory wire, bottle-nose pliers/cutters, a bead assortment, charms, waxed cotton cord, and possibly acrylic nail polish.
This is memory wire. It is called such, because it keeps it’s nice shape, no matter how you try to bend it. We threw out the packaging, but this wire can be found in any jewelry supply aisle of any craft store. There are a 2 or 3 sizes, and this is the largest for necklaces, but it works perfect for grown ups or little ones. The above is one piece, and you just cut off what you need.
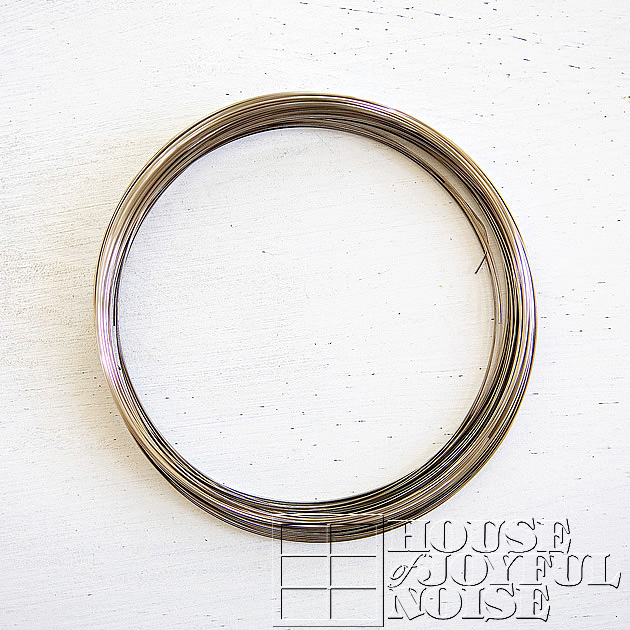
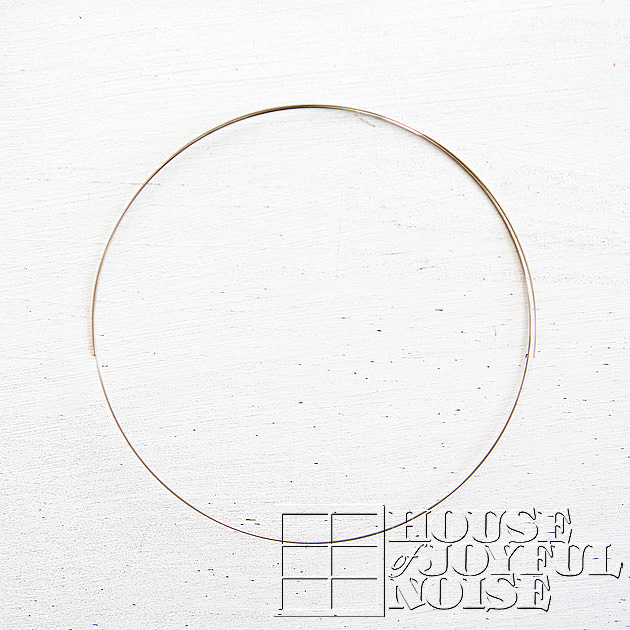
Above is a piece cut off to be just the right size. Using bottle nose wire cutters, we cut it to be 1-1/2 circles, and that seems to be just about right for grown ups and little ones alike.
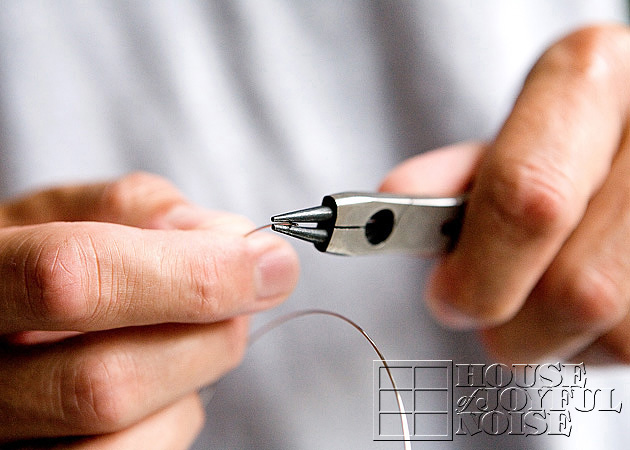
Next, using bottle nose pliers (the same tool that has a cutter on it as well), you want to twist a little loop at the end of the wire. This little loop is to keep any beads you put on from falling off on the other end. You’ll only do this on one end to start, because you need to slide on your beads first on the other end. When all the beads are on, you loop the other end to finish.
So…..you grab the tip end of the wire, and …..
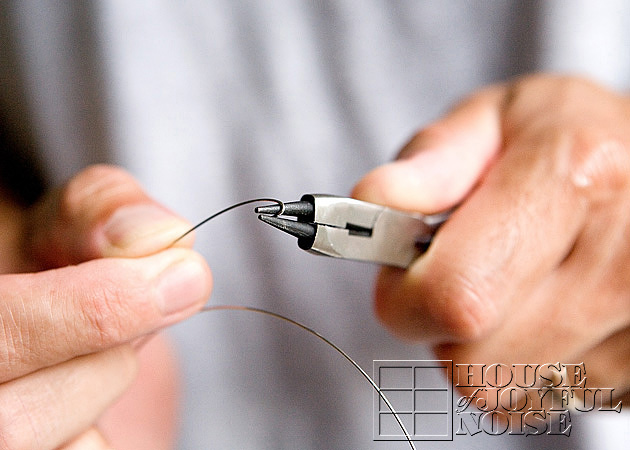
….just twist the wire into a little tight loop.
Michael does this for me, because honestly, my hands are not strong enough to do it myself. But don’t let that discourage you, because {A} can do it on her own just fine. So I guess what I’m saying is, I’m just weak.
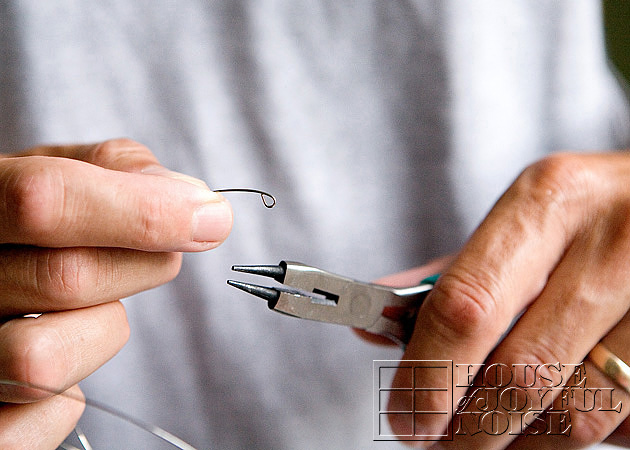
This is what the little loops should look like. It’ll stop any beads from being pushed off.
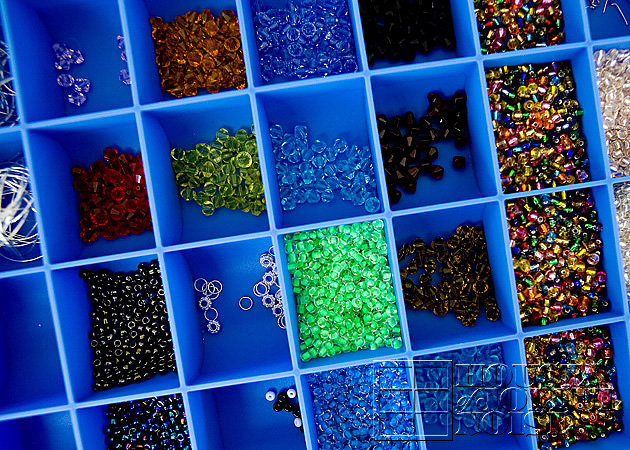
Here’s some of our assortment collection of beads. These container organizers are really nice! We’ve done lots of projects using beads, so collecting them and keeping them sorted like this is fun and efficient.
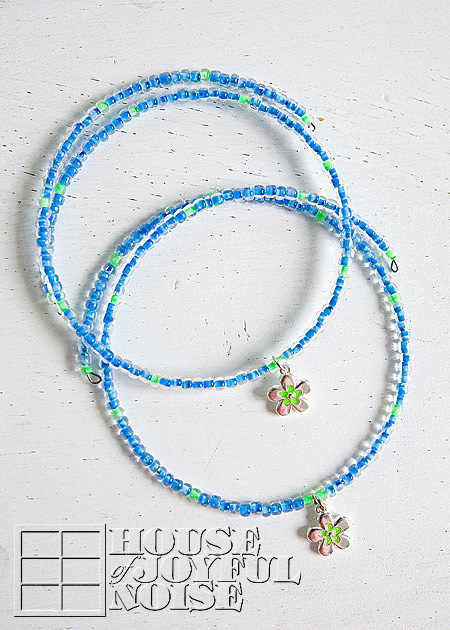
Here are two little girl’s necklaces, all done. All kinds of charms and gems can be found in craft supply stores, or online. These charms matched some beads we had perfectly! {A} made these.
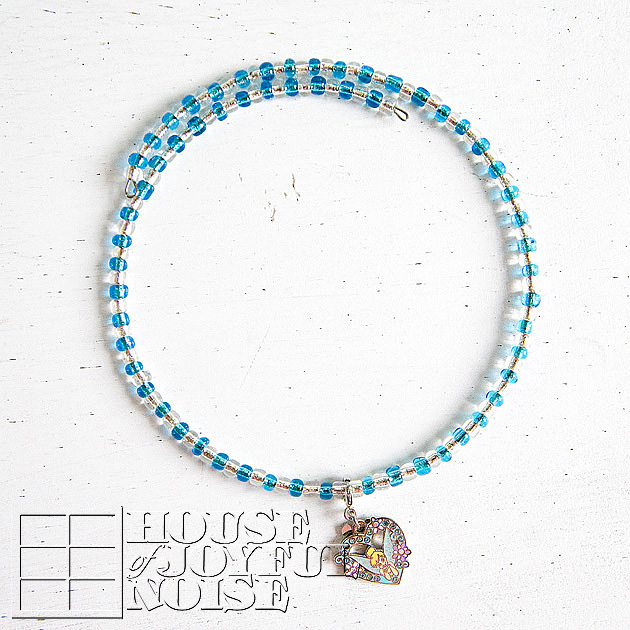
Here’s another little girl’s necklace.
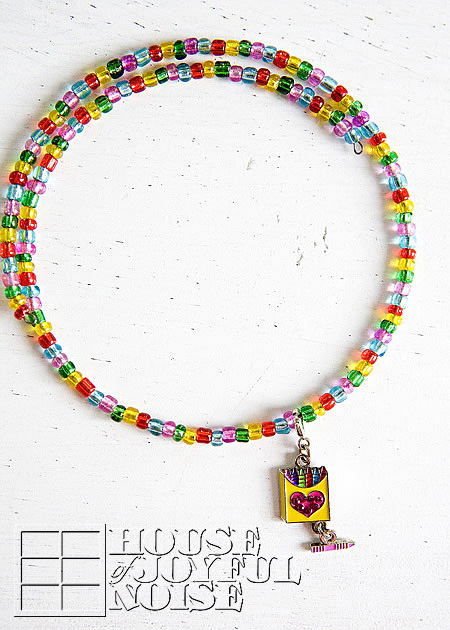
This one is adorable…
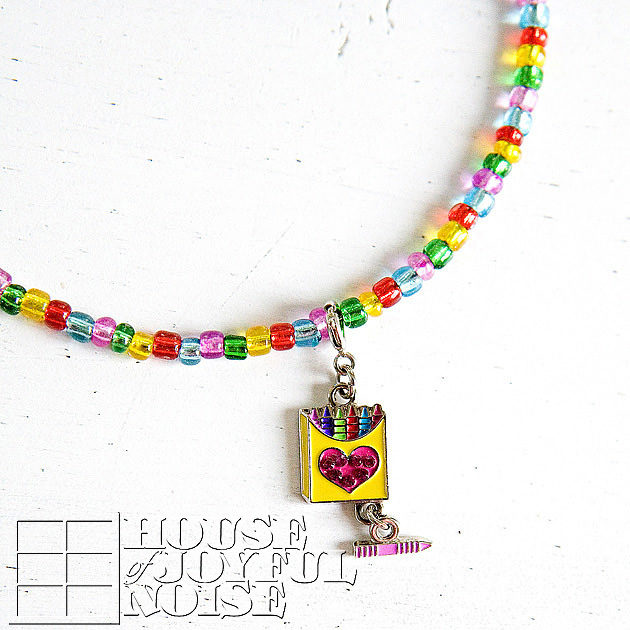
…..it’s a crayon box, as you can see. {A} made those as well.
As we’ve said, there are all kinds of charms in craft stores, but there are also
lots of great charm places online, and here is one we’ve ordered from: charms
And for some older looking pieces, we just found this place and this place as well.
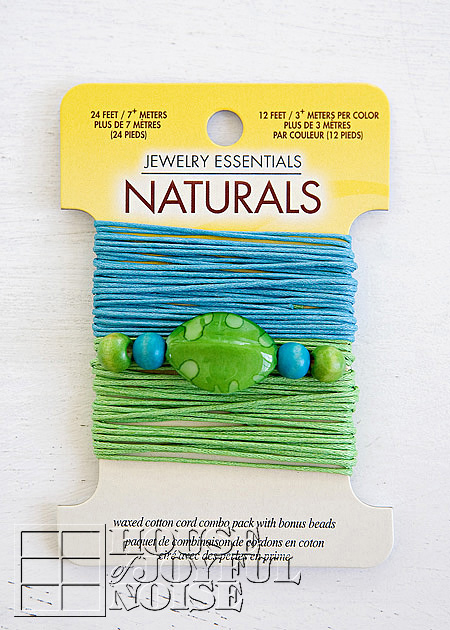
Here’s another option, above. In the jewelry section of craft stores, you can also find little sets like this, all ready to go. This set has 4 wooden colored beads, a beautiful polished stone, and dyed waxed cotton cord.
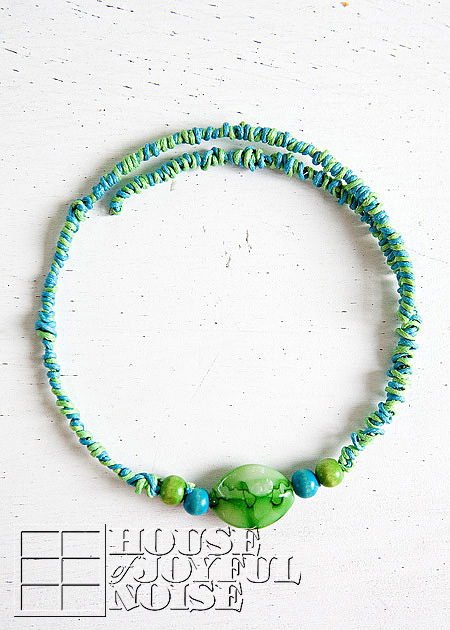
So I used that set to make this necklace above. This one wasn’t quite AS quick to make as the all bead ones. I looped one end of the wire, (well, Michael did), and put the stone and beads on first, centered as I could, and then looped the other end right away. Then I wrapped the colored cord around the wire. It did take a but more time, and patience. I wanted the cord sort of twisted and irregular, but you can also wrap the two to make it striped, all the way down the wire. There are a couple of small challenges with this design, but I’ll share some solutions: 1) The cord tends to just slip around as you wrap it, making you quickly realize you are getting nowhere, fast. So you need to start by tying the cord at the loop end of the wire, and then wrapping around the loose ends. I used acrylic nail polish right in the beginning there, to help secure it.
2) The other challenge is just checking as you go, to be sure the beads and stones are going to end up centered on the piece, as they should be. It’s a little tricky, and I think mine is a little off. But use the two ends of the wire to gauge wear the center of the piece as a whole is. Is anyone following what I’m trying to say here? lol
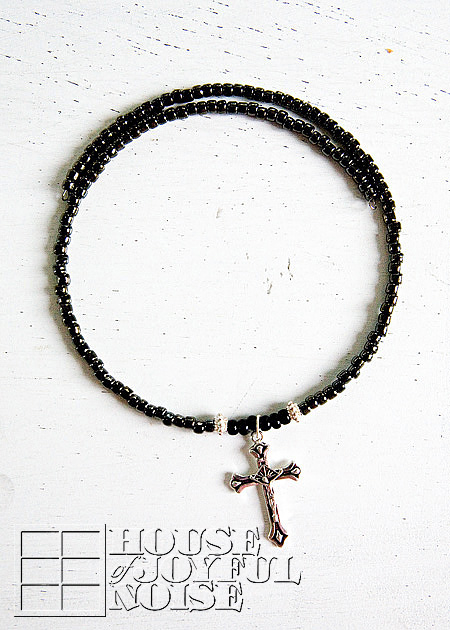
I made this one for ME. : )

I LOVE it!!
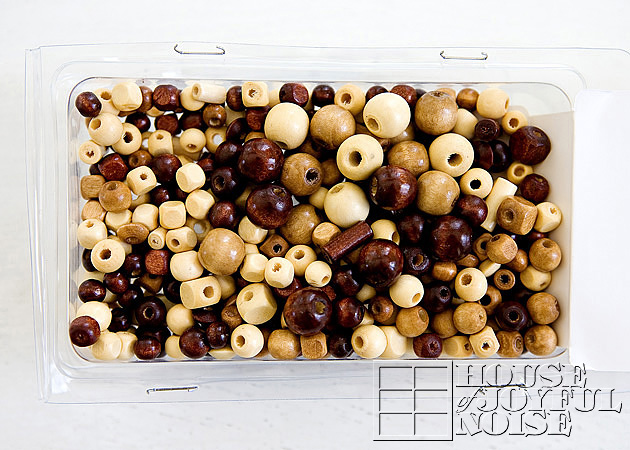
Here’s some other kind of assorted wooden beads that would work.
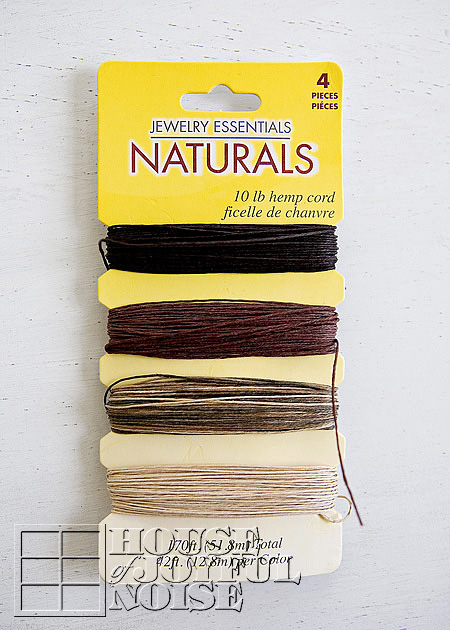
They would look really nice with these natural shades of hemp cord. Together they would make a lovely necklace for a neutral or warm toned outfit.
Here’s another idea: They sell much smaller memory wire, so you could make matching bracelets to go with any or all of these necklaces! For instance, you could do the necklace with the beads and charm, and then a bracelet with just the matching beads!
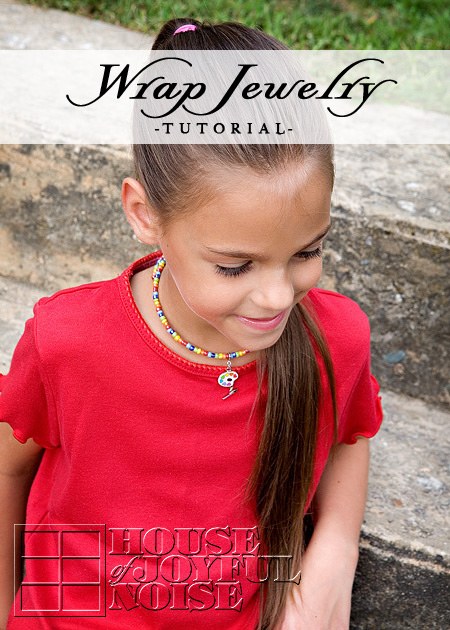
Here’s our little model, {O}, who by the way, made her own necklace!
So kids can do this craft project with very little assistance, using the beads and charms. They just need a little help to cut the wire, do the loops, and maybe put the charm on. These particular charms we ordered just have a regular round necklace clasp with the little lever. So they can put it on the center after all of the beads have been put on, and someone loops the ends of the wire.
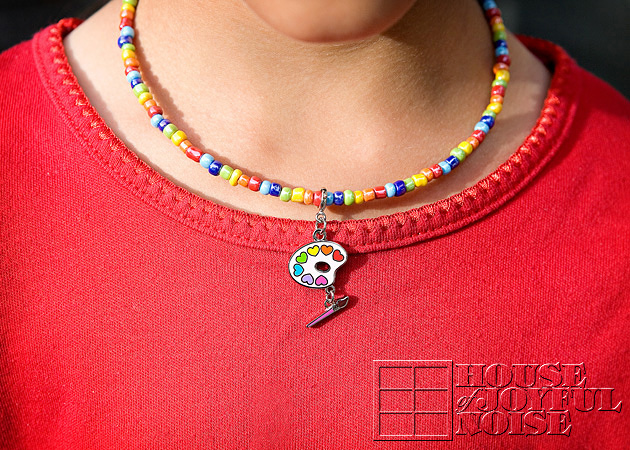
It appears about the same fit on kids or adults. It’s just with kids, it overlap wraps around at the back more so than on adults. But I find them pretty comfortable, and definitely stylish.

Cute, huh?
We hope you enjoyed this craft project! Let us know what you think, and if you have any questions at all, just ask and we’ll be happy to clarify! We hope it makes for a great gift idea for someone, even if that someone is yourself. : )
Save
Save
Save
By Laura 7 Comments
I’ve said it a zillion times before, and at least 1/2 zillion on this blog: I believe, without question, that God gives every one of us gifts. And I believe, without question, that in discovering those gifts, one is receiving a direct message from God > ‘Use them in my Name. Use them, to serve Me, by serving others.‘

I think we all know, or most of us anyway, when God is calling us to serve Him, by serving others. It’s a feeling inside. For me, it’s not something I ponder, or decide, if it is indeed a situation I am called to serve. I just know, it is. I know I have to do it. Like a whisper of the heart, that is God’s unspoken words. There is sometimes joy, sometimes not much, but always peace, in serving Him through others. And it’s enough for me, to work by His side. For I know the love and healing He will bring those who need Him, and those who turn to Him. It’s more than enough, for me.
I don’t always talk much, about when He calls me to serve Him, or how. There’s not always a need to. These kinds of things tend to put me in quiet mode. That it itself, only verifies again, that it is not my work. It is His. I am just a tool, and even one that He created.
A couple of weeks ago, I heard the UPS truck pull up. He comes every day with supplies or orders for me, just about, so it was not unusual. But the kids love to wait until the UPS man drives away (it’s a safety rule we have), open the front door, and retrieve the package(s) off the deck.
“It’s for Mama“, I heard my oldest daughter tell the little ones. She put it on the floor beside me, at my desk, and when I looked down, I was puzzled. I was trying to remember, what on earth I had ordered, that was so big. Then I tried to remember ANYTHING I was expecting around those few days. But I couldn’t recall a thing.
I looked in the corner of the box, and saw a last name. It hit me then. The realization of who it was from, made me catch my breath, and it felt like my heart hit the floor. Such unexpectation. I froze, trying to take it all in. And then I broke down and sobbed. The tears just flowed out like a river. Right in front of my children. (Somehow, they just knew I was ok. That I was just….having a moment.)

It didn’t matter what was in the box, really. I was so filled with emotion over the surprise of it all, that it was all I could handle at the time. I did open the box at the excited urging of my children, eventually, and found this gorgeous gift basket. But It took me days to find the words to explain all I felt inside. To figure out why I was struck, with such a flood of emotions, which I hadn’t quite been able to label just yet.

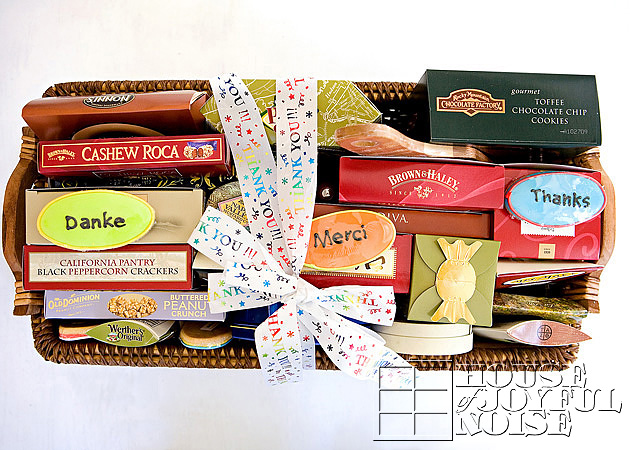
But in the days to follow, I was able to sort it all out, and decipher all I was feeling.
See, it was clear that the sender’s of this beautiful gift, felt the need to thank me. But I surely did not feel they owed me one, in the least. I didn’t expect that they could even be thinking of me, at this incredibly difficult time in their lives. So it was shocking, in that way, too.
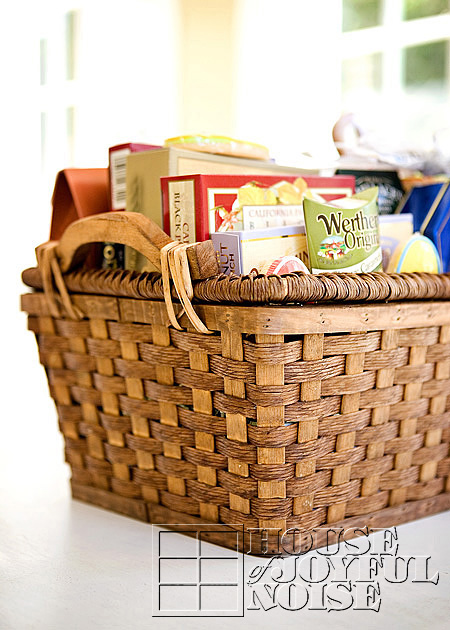

But what was difficult for me, was that I didn’t feel I deserved it. I, didn’t do anything worthy, of this. Of anything. I had only done, what I knew God was calling me to do. Using the gifts He gave me, and that He expects me to use as tools, and a means to do His work.
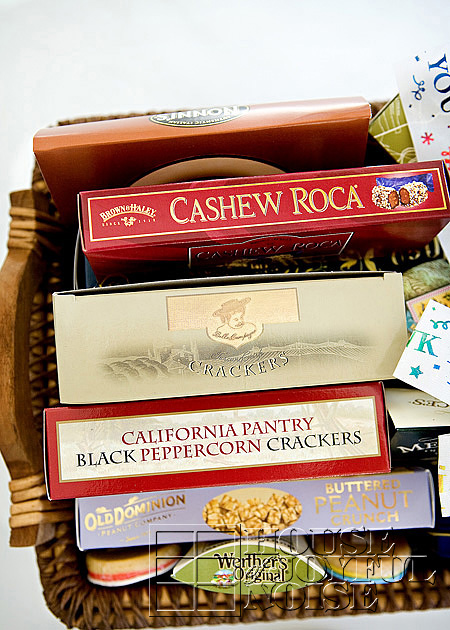
To be able to do so…..that IS the gift, of the gift.
To be called by God.
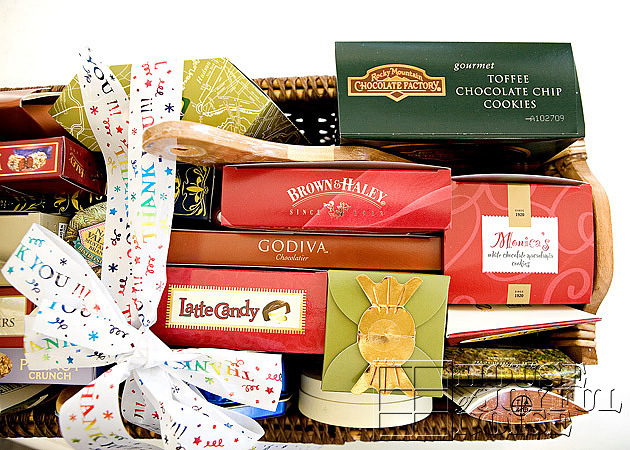
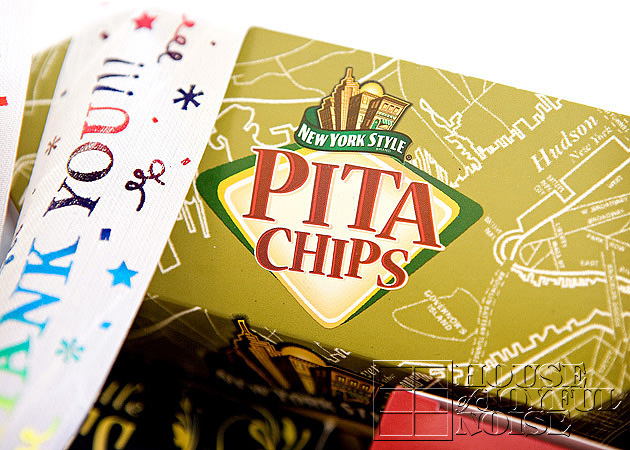
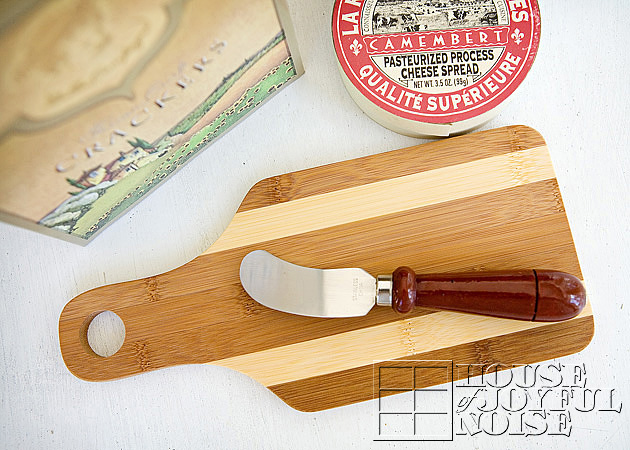
After I had done all I knew to do to serve these people, I felt so empty inside. For I wanted SO badly to be able to do more. To give them what they truly, truly wanted. To give them what their hearts ached for, so badly. It didn’t feel like enough, and I felt lost.
I thought of the Little Drummer Boy. I feel like it seems he felt, in giving all he had to give, to the new born King. I was giving all I had, as little as it was. I hoped it was ‘something’. I prayed, in time, it would help, in any small way, to heal their broken hearts, with the grace of God.
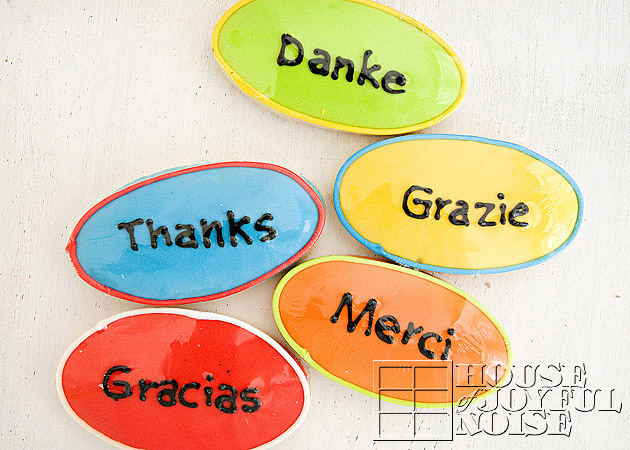
That’s the thing. I felt helpless in not being able to do more. I was depending on Him. Our Almighty and powerful Father, who can do ALL things. It was my only consolation, because I personally couldn’t do enough.
But it was ‘something’ to these people, it seemed. I still felt unworthy of any thanks, because I wanted to give them more, and with every passing day, I thought of them, and prayed for them. Still feeling helpless. Still counting on God, to give them all they needed.
I was counting on answered prayers, with high expectations. For THEM.
I ask you to pray for them too, for whatever their needs and desires are, if it is God’s will.
I just wasn’t expecting anything, for ME. Not a thing.
But I am so very touched, by their expression of gratitude.
Thank You, Lord. Thank You, for the gifts. For working, through me. Amidst all of the swirling, worldly thoughts and deeds of my life and self, thank You for allowing my heart to hear You call. Thank You, for every opportunity to serve You, by serving others. Thank You, for using these gifts as an instrument in Your works. Thank You for considering our prayers, and for healing our hearts.
Thank You.
I have to admit….the basket itself, even EMPTY, puts a big smile on my face.
It’s a NICE basket. Isn’t it?
Save
Save
Save
Save
By Laura 5 Comments
We have some little garden plans for our yard, and it’s likely you’ll be able to watch the transformation of our ugly front yard take place, right here on our blog! But we can tell you right away….it’ll always be slow-going. A little a year. Whatever we can do. Whatever we have the time, or the money for. And when we’ve thought about it, we’ve realized we need both at the same time, to see any real progress. ; ) But you know, we’ve learned to enjoy ‘the process’. The RIDE, as they say. After all, we may be too old to ever really DO the end. But having hopes and dreams are half the fun!
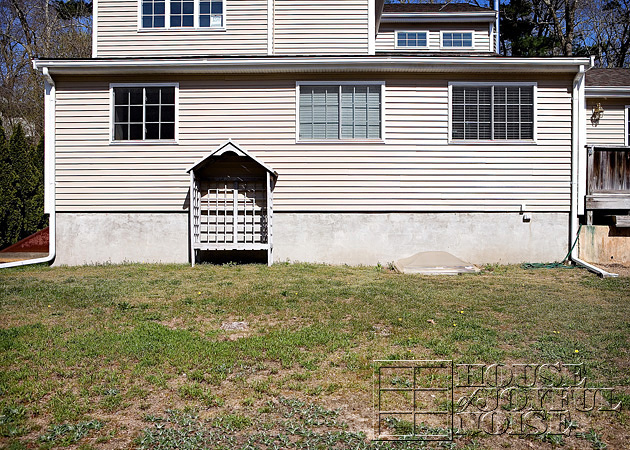
So this has been or sad and mundane front yard for….well, forever. It did have some nicer grass at one time. But the soil here is pretty sandy, and the sun is blasting it for most of the day.
The thing about the front yard is, we haven’t had much of a use for it. I mean……it’s nice to HAVE one in front of the house, but it hasn’t really served any useful purposes. We haven’t really utilized the space much because, it’s right along the street, and there is no fence. So it’s never been safe when the kids were younger. It’s also less private than the side yard. So it’s just been there.
So quite a few years ago, we started at least ‘talking’ about what we wanted to do with the front yard. We asked ourselves in what way we could make the most if it, and what it would need so we DID start using it. We talked about adding shrubs and mulch along the house (even when it was the old house), because that tall foundation is just…ugly. We also talked about putting a nice blossoming cherry or some other nice tree in the center, and just landscaping the whole area with stone walk-ways, mulched areas and flowers, a couple of benches, etc.
But then this year, we decided to start gardening to grow vegetables, and all of the ideas in our heads for the front yard have started being revised. So it’s kind of good we waited! We have some general layouts in mind, although not the specifics decided yet. One thing we do know for sure……every year we’ll likely do a little more, and in due time (meaning, many years from now), it’s going to be one amazing transformation.
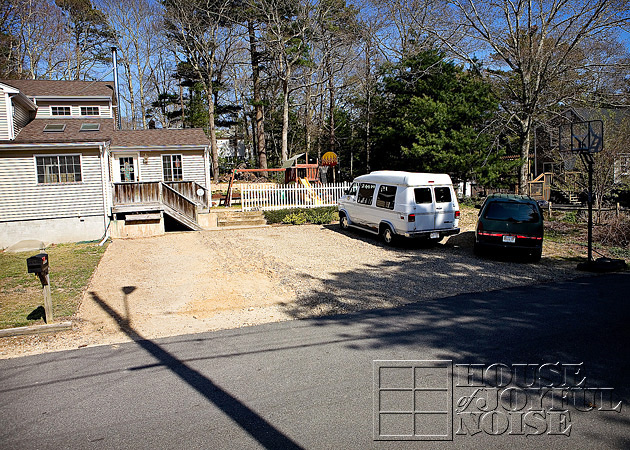
Here’s some of the first steps we’ve taken so far this year. You see our driveway?? It’s just HUGE. Wide. As wide as all of our side yard, and some of the house. Who needs that much drive-way? We don’t often (actually…ever in the past few years) had lots of company 1y one time. Maybe 1 extra vehicle is here. So we really didn’t need so much. We thought it would be nicer, to have a wider front yard! So we took the wood strips along the yard line…..
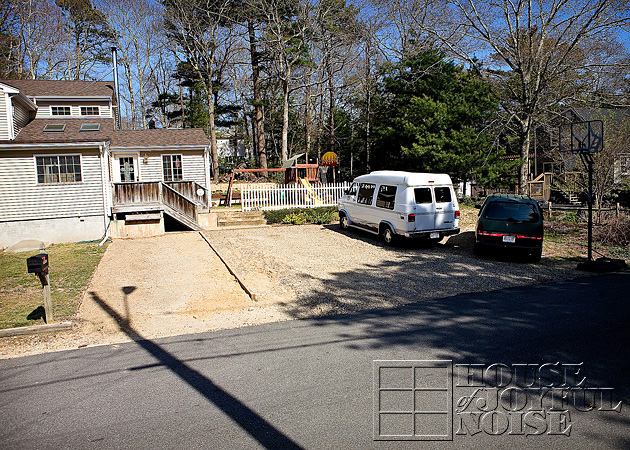
……and moved them over 10 feet! Now we just need to grow some grass. Or at least, whatever that green stuff is on the rest of the yard. lol As I told Michael, we may regret this decision once all of the kids start driving. But then, we’re not buying them all cars, so….we probably have a good while to worry about that, if we were going to. (We’re not. lol)
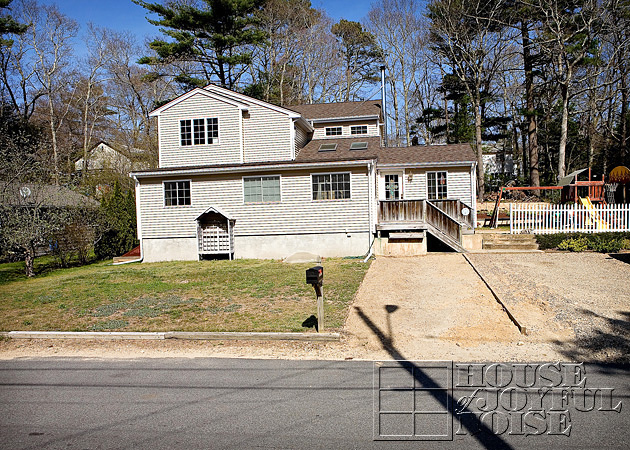
Look how much yard we are gaining! And it’ll just look nicer too. More proportionate.
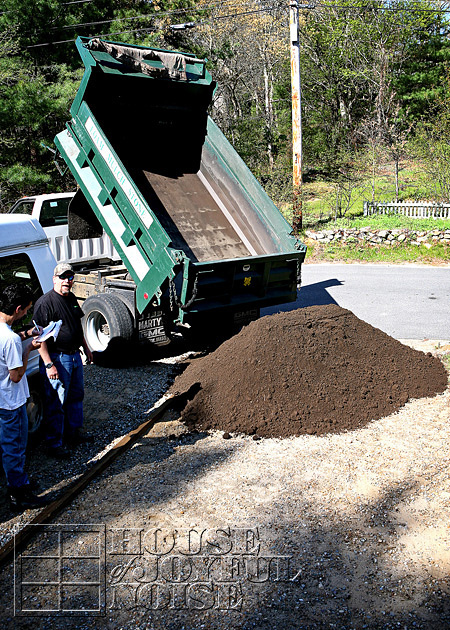
Then we had 5 cubic yards of loam delivered for….
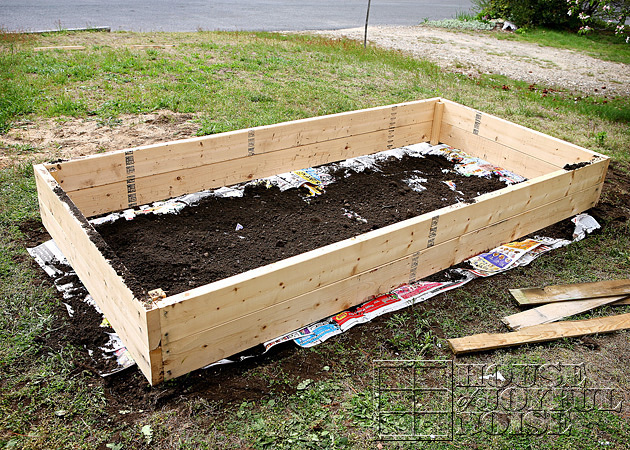
….the garden beds Michael was building. This was all happening in mid-May!! We wanted to grow our own strawberries and vegetables over the summer. Our plan for starting this year, were 1 4×8 garden bed, and 2 4×10’s. The one in the photo above was the first we did, the 4×8, for our strawberry bed. We removed the top layer of (crab)grass, laid a few layers of newspaper underneath (extending out the sides to outside of the bed), and then filled them up with loam.
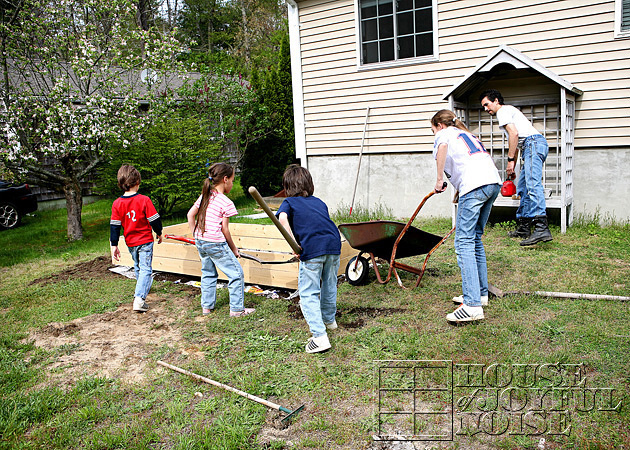
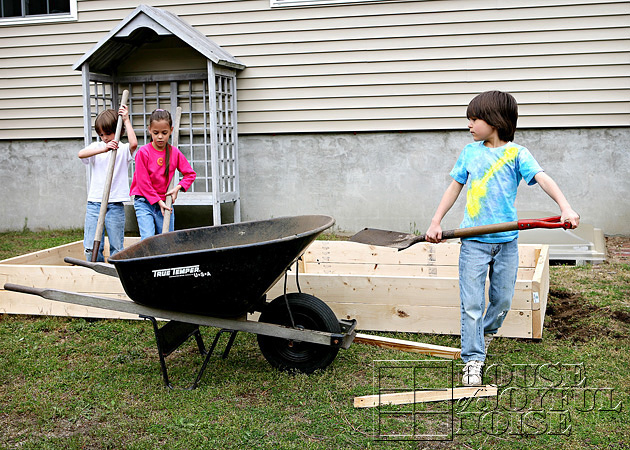
The kids jumped right in to help!! Anything that involves a wheel barrow and shovels is an exciting thing!

Of course, some have more endurance than others. Even the Energizer Bunny ha nothing on this one. She could work until the cows come home. And since we don’t have any cows…….lol. She’s a tough one. Just look at the size of that shovel. But she was digging up shovel fulls out of the loam pile, and throwing it in the barrow. Loading it up one after the other. I was bringing the girl water and asking her to take a break! She’s a happy worker. Always asking to help, no matter where we are, or what we are doing.


Others don’t have t be asked to take a break. lol. This boy loves to run, like no other little boy I have ever known. I see track in his future. But really, they all jumped in and did their part helping create our gardens! They all worked really hard, too. Including ME and Michael….even though we’re not in these photos. All of this was really my idea, so no one was going to let me get away ‘watching’!! But the truth was, I was excited!! Never thought I’d see the day I’d be interested in gardening, but when the urge hit, it was for real! I sweat and got dirty and everything! ; )

I even planted the strawberry starter plants almost all by myself! One half is June Bearing, the other half, Ever Bearing.
As we posted in an earlier post, the squirrels wasted no time messing with our strawberry plants….
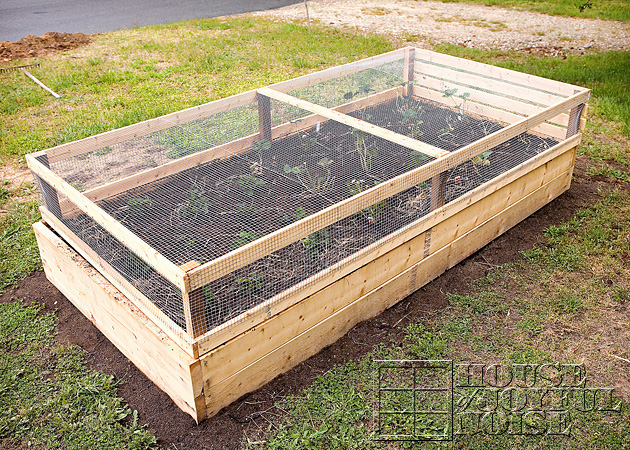
…..so Michael wasted no time showing them who was boss, and who was going to win this battle!
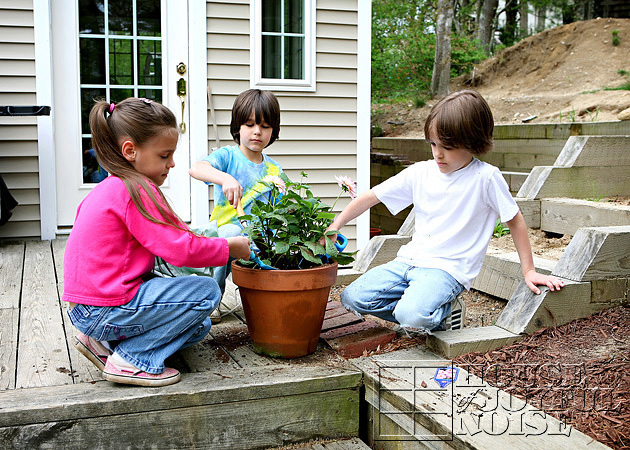
In the morning, before the kids really got to working with our gardens, they wanted to help me transplant these Dahlia Salvadores into my big pot. So I let them all add some extra soil to the top, and water them.
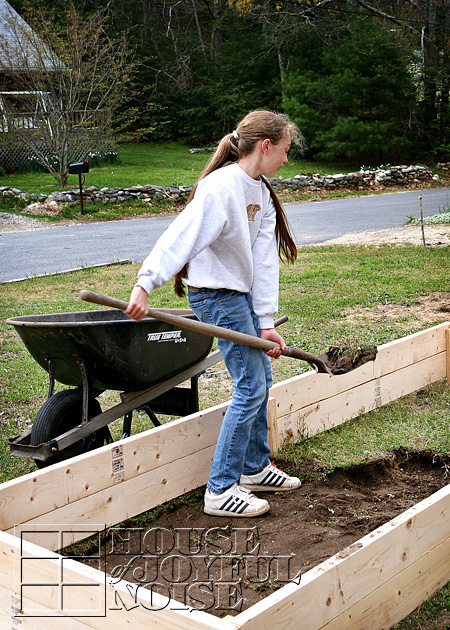
The next day, Michael got to building another bed, and we followed the same process for that one, as well as the 3rd.
The kids were all wanting to help again, until they didn’t anymore. Except {O}, who always did.
These 2 4×10 beds though, were for vegetables and flowers….all of which couldn’t have plantings put in until at least the end of May. So by the time 3 weeks later rolled around on Memorial Day weekend, were very ready to get to work and get them all planted! We had all of the vegetable plants we wanted, and we worked until they were all planted.
Here’s what we put in: zucchini, summer squash, cucumbers, red peppers, and 3 varieties of tomatoes. Plus the strawberry bed.
I didn’t take photos of everything just planted. It didn’t look so pretty at first, and besides, I was tired!! But I have taken lots of photos of what the front yard looks like now, what has become of our 3 garden beds all summer here, and all of that is coming right up soon!! Right here in The Homestead section.
In closing, we’d love to know how many of our visitors enjoy posts like these? Will you enjoy/look forward to yard/gardening/landscaping posts here at House of Joyful Noise? Or do you have enough projects of your own, that you don’t need to see someone else’s too?? lol. We love following people’s projects, picking up ideas or tricks along the way, and seeing how things turn out! So we’d love to know what YOU think. It gives us an inkling as to how many photos I should take along the way, and how much detail to put into posts like these. Even a handful of really interested visitors is worth the effort to us. We love doing this stuff, and we love to share with those who love to watch it all come to life. (Even if you’ll be watching for years. : ) So please let us know!!
Save
Save
