• HOME
  • {A}’s Chipmunk Training Archives

 Homepage

  • The Homestead
    • Home Projects
    • Home Improvement
    • Home Decor
      • Seasonal Home decor
        • FALL Home Decor
        • WINTER Home Decor
        • SPRING Crafts and Creations
        • SUMMER Crafts and Creations
    • Our Chickens
    • Gardening
    • Organization
    • Re-Purposing
    • Furniture Refinishing
    • Budget
  • Crafts & Creations
    • Seasonal Home decor
      • FALL Crafts and Creations
      • WINTER Crafts and Creations
      • SPRING Crafts and Creations
      • SUMMER Crafts and Creations
    • DIY (Do-It-Yourself) Project
    • Kids Arts and Crafts
    • Homemade/Handmade Gift Ideas
    • Holiday Crafts
    • Fan Pulls
    • Free Printable/Downloadable
    • Sewing Projects
    • Giveaways
    • Business Features
  • Recipes/FoodFun
    • Breakfast
    • Lunch
    • Main Dish
    • Sandwiches
    • Appetizers
    • Slow Cooker
    • On The Grill
    • Side Dishes
      • Soups
      • Salads
    • Baking
      • Breads, Rolls and Muffins
    • Snacks
    • Treats
    • Desserts
    • Drinks
  • Homeschooling
    • Elementary Homeschooling
      • Elementary Homeschooling READING
      • Elementary Homeschooling MATH
      • Elementary Homeschooling LANGUAGE ARTS
      • Elementary Homeschooling SCIENCE
      • Elementary Homeschooling HOME ECONOMICS
      • Kids Arts and Crafts
    • Middle School Homeschooling
      • Middle School Homeschooling SCIENCE
      • Middle School Homeschooling HOME ECONOMICS
    • Language Arts
    • Math
    • History / Social Studies
    • Geography
    • Foreign Language
    • Field Trips
    • Games
    • Nature Study
  • The Big Picture
    • Life In General
    • Celebrations
    • Faith
      • Into the Light; The Series
    • Giveaways
    • Reviews & Sponsors
  • Photography & Lettering
    • Photography
    • truck lettering
    • vehicle graphics
    • Newborns
    • Kids
    • Engagement
    • High School Senior Pictures
    • High School Senior Pictures Sneak Peeks

Music to the Triplets’ Ears – Birthday Surprises

September 8, 2009 By Laura 4 Comments

There are things our kids / triplets can always count on for their birthday:  birthday number pancakes, a whole day or few together, just spent having major family quality time, cake of their choice, lots of love and stories about their birth, and the flying of time.

But they don’t often ask for anything, or expect gifts that we can tell.  While we’ve always told them you should never EXPECT gifts from anyone, we’ve always given them something for their birthday!  So if they are expecting anything, they are good at hiding it! lol.

So they seemed excitedly surprised when we told them we had a little something for them before lunch, their cake choices, and heading out for an overnight surprise trip.

triplets

triplets

I love the expressions! triplets

{S} guessed out loud, “A BlackBerry?”, to which I laughed out loud and spontaneously replied with,

…..”YEAH RIGHT!!”

Then {O} said, “They’re I-Pods!”

Well, MP3 players of another brand.  Close enough. ; )

triplets

Then their big sister had a surprise of her own for them….

triplets

Catholic families

$5.00 each to I-Tunes!  Cool!

We did think ahead though, to load some music on to the players, the night before, and put their initials on them as well.  Because we knew they would have been persistent in asking us to do so,  if they couldn’t use them right away.

triplets

I just knew these little doo-dads were going to prove to be a BRILLIANT little idea.

They were THRILLED to have one of their own.  Even with the strict volume rules. ; )

triplets-birthday-6

And I’m telling you,  it was the QUIETEST…..

triplets-birthday-7

….LUNCH…..

triplets-birthday-8

EVER!!!

There is quite a bit more on their birthday celebrations coming up here, there, and who knows when.

We feel so blessed and full of thanks, and that’s always worth celebrating. A LOT!

P.S.  Do you have any song suggestions for 7 year olds? So far we’ve uploaded their VBS CD, and a few other choice songs. I’ve started a list of appropriate and positive/happy songs as I hear them. (Singles by Martina McBride, Bob Marley, and anything Christian/worship music…). Stuff with good messages, etc.  If you have ANY song suggestions for them we can load on these, we’d love to hear them!  When I get a longer list of ideas and suggestions, I’d be happy to share it here if everyone would like that.  After all, appropriate/positive/happy songs are great for ALL ages! : )

Save

Save

Save

Filed Under: Celebrations, The Big Picture Tagged With: 7-year-old-triplets, Catholic, Catholic-blogs, Catholic-families, Catholic-family-blogs, triplet-birthdays, triplets

Happy 7th Birthday to Our Triplets!!

August 31, 2009 By Laura 12 Comments

7 years ago today, our triplets were born.  OH!, what memories!

triplets

Of course, they got birthday pancakes. Yes, 7-7-7.   The lucky number.

But LUCK has NOTHIN’ to do with it!

Stay tuned in the days ahead, for more on the celebrations of each one of these 3!

~ The Richard Family

XOXO

Save

Save

Save

Filed Under: Celebrations, The Big Picture Tagged With: 7-year-old-triplets, birthday breakfast, birthday pancakes, triplets

Garden Vegetable Photos

August 29, 2009 By Laura 3 Comments

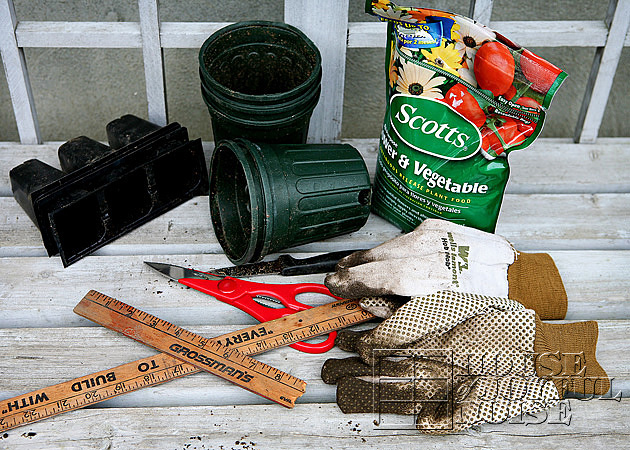
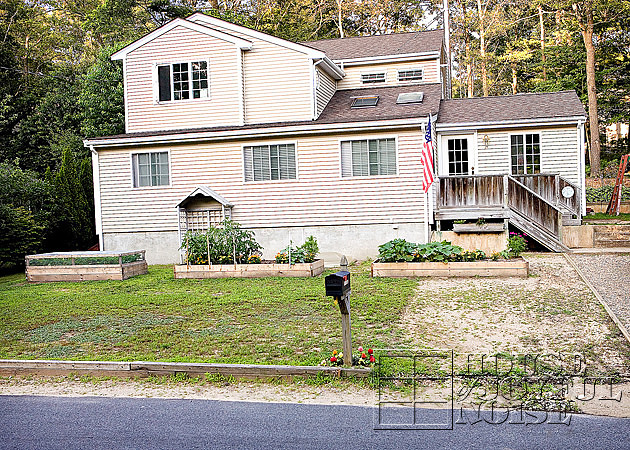
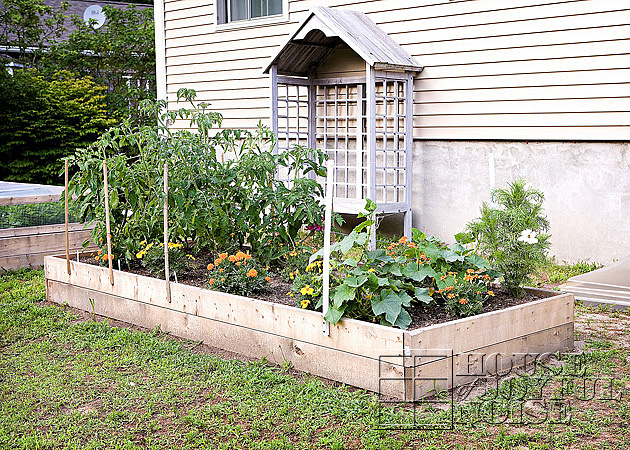
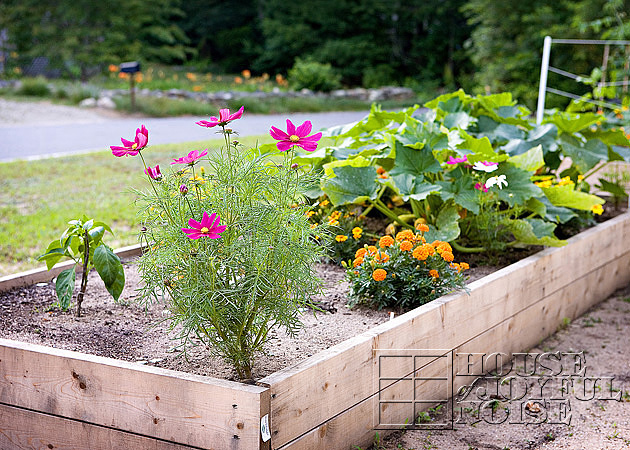
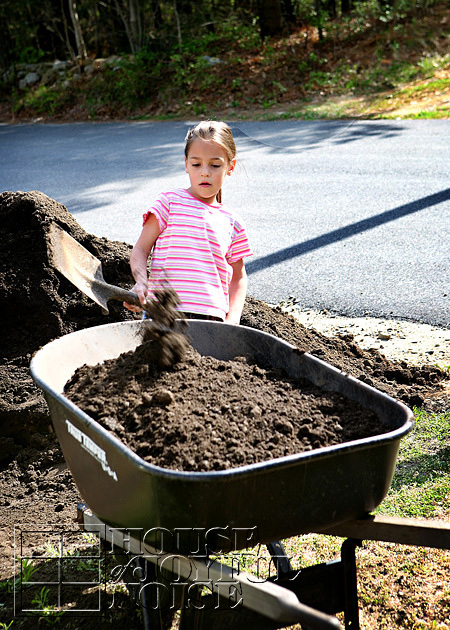
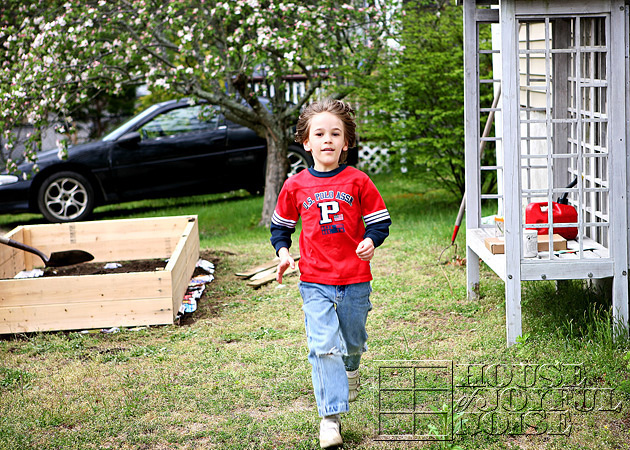
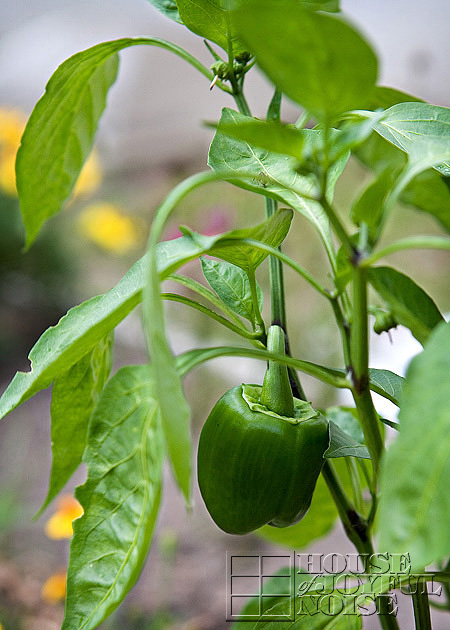
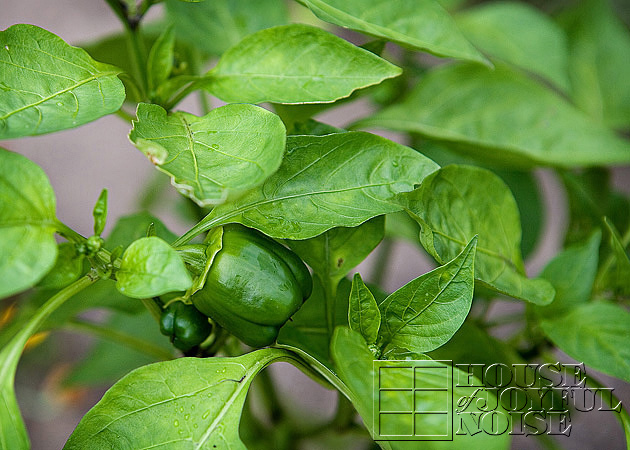
Just a handful of our garden vegetable photos, to share with you, today!
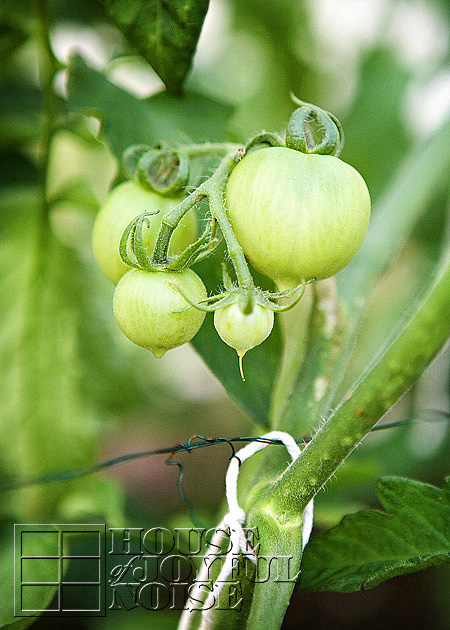
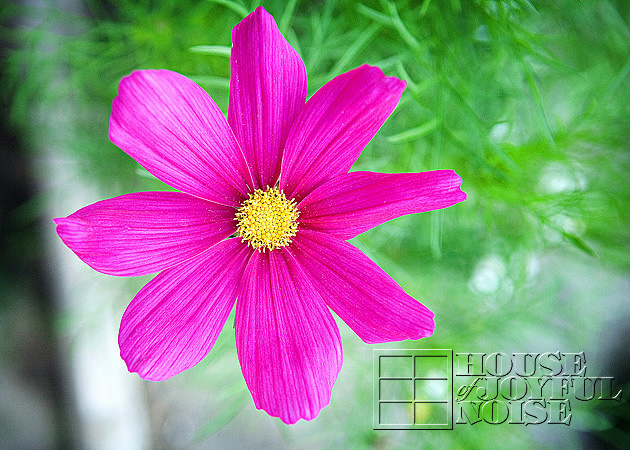
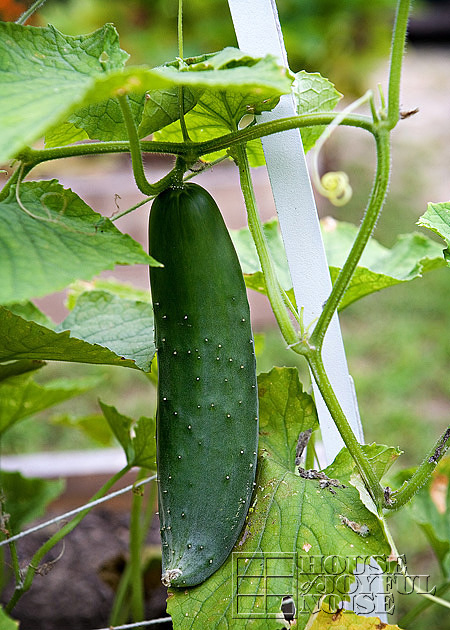
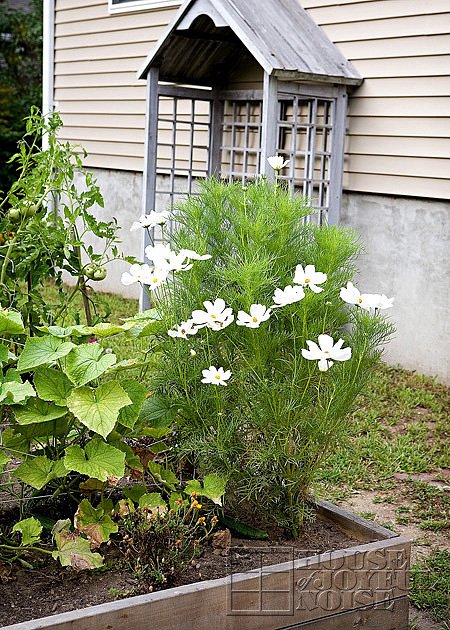
vegetable garden photos

vegetable garden photos
Look how CUTE!!
vegetable garden photos
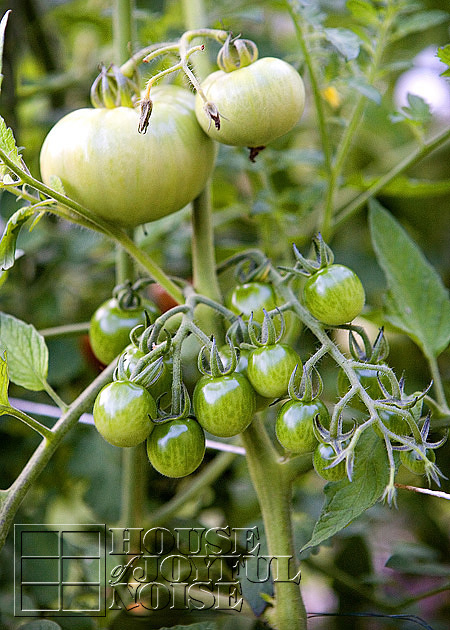
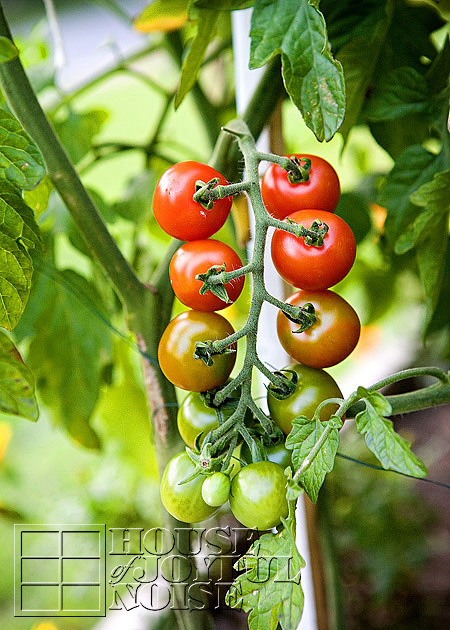
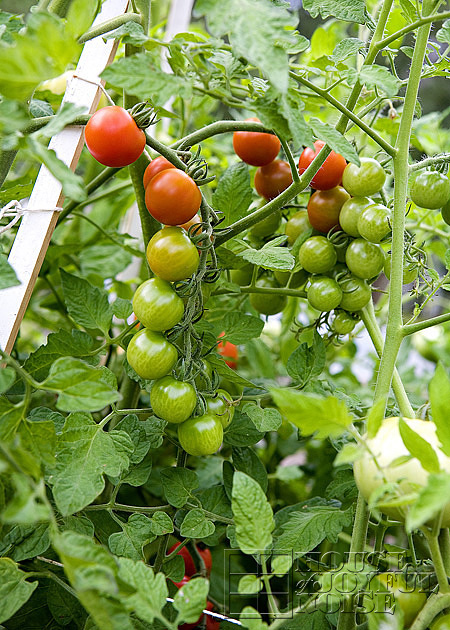
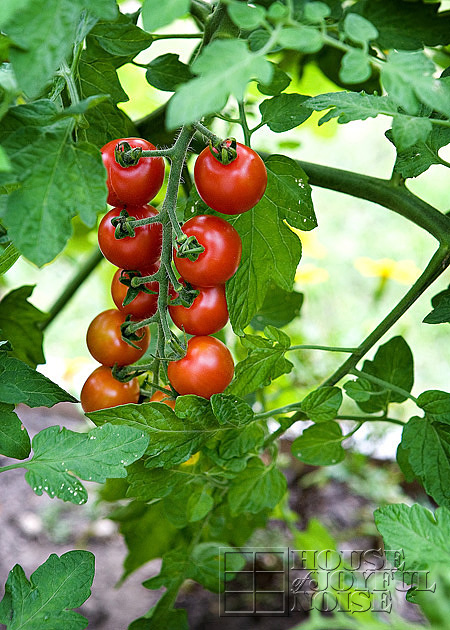
These turned red rapidly after this photo.
vegetable garden photos
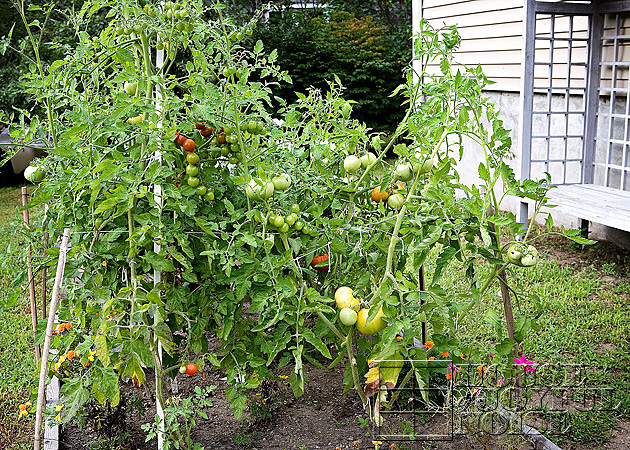
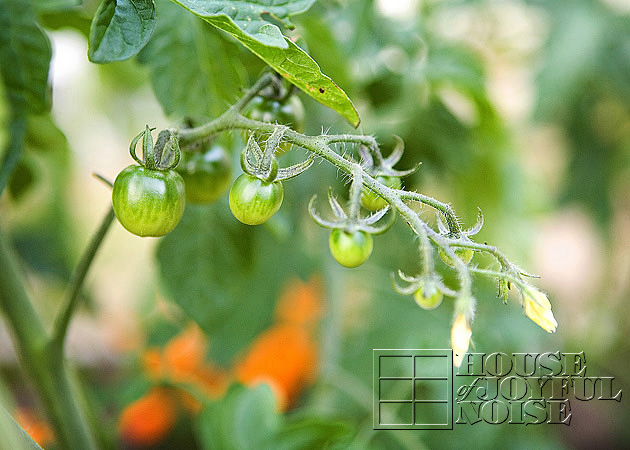
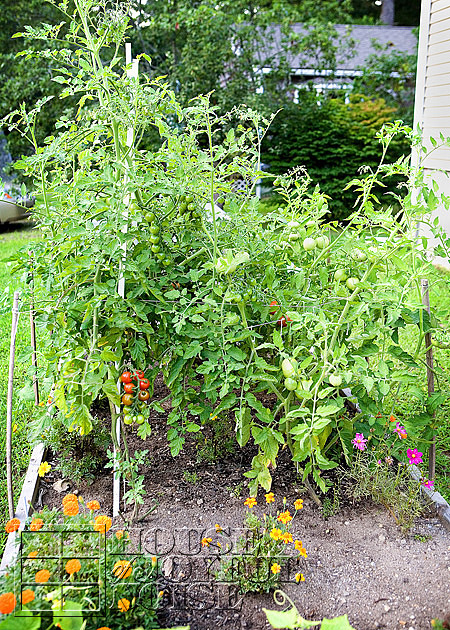
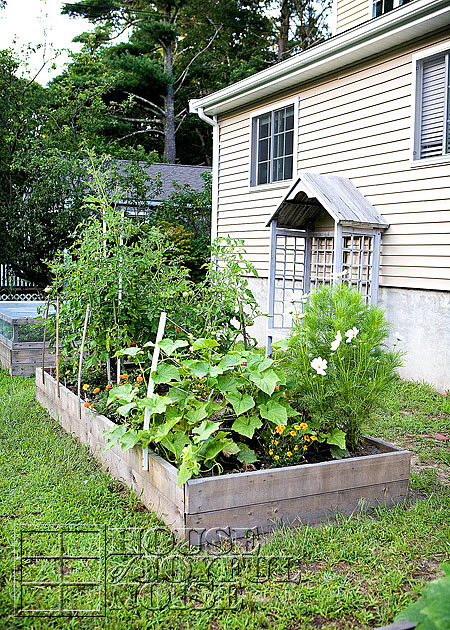
Look at all of the tomatoes in there!!  YAHOOO!
vegetable garden photos
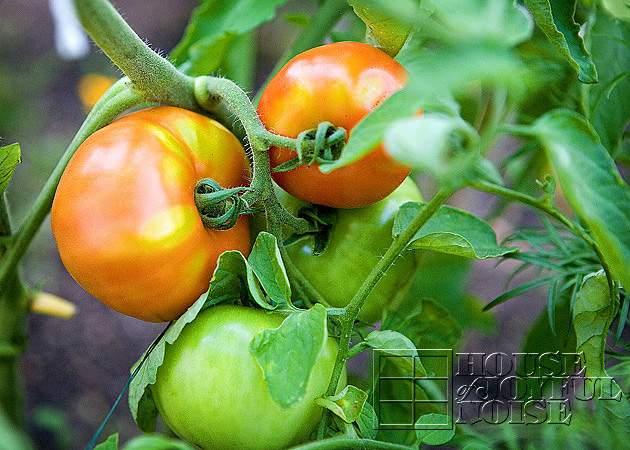
A treat, right off the vine!
vegetable garden photos
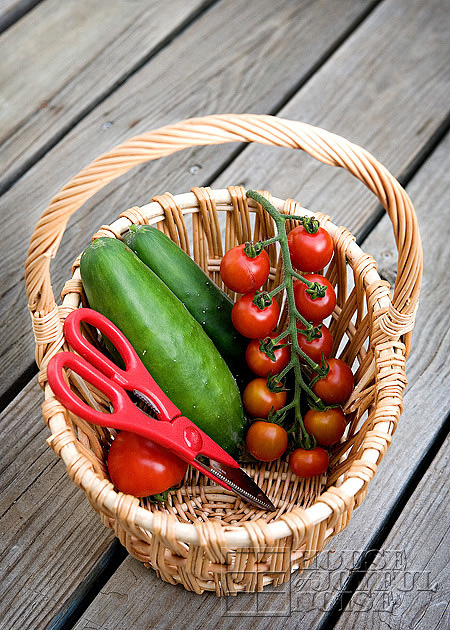
‘Last Saturday’s lil’, lil’ harvest.
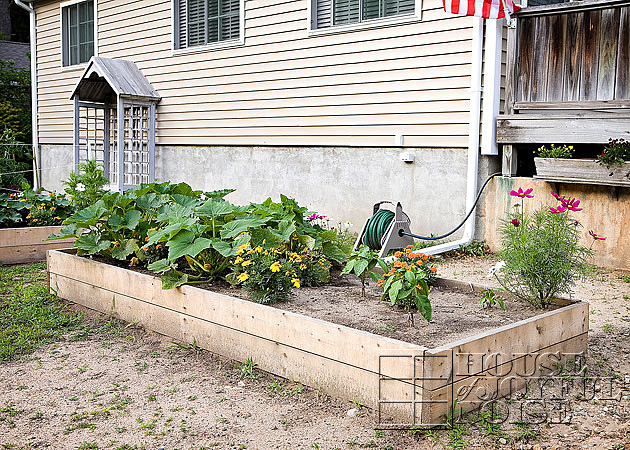
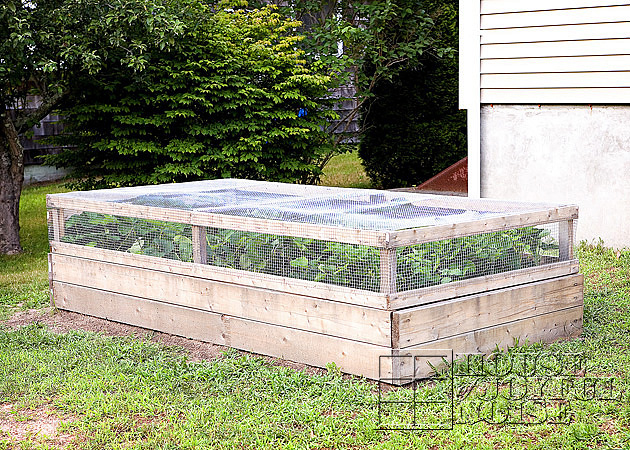
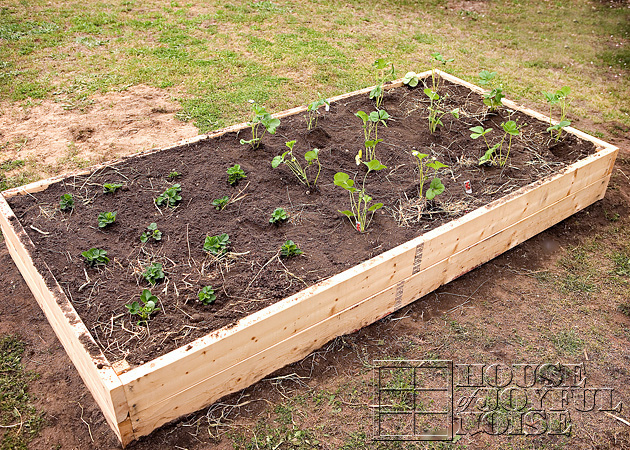
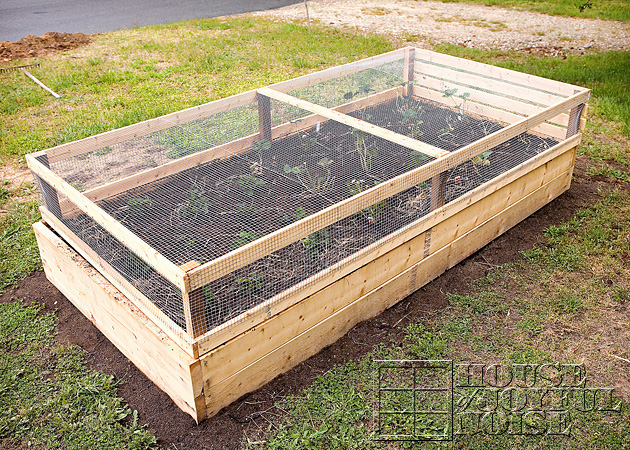
We’ve gathered a small bowlful of Everbearing strawberries, too.  Overall, we were pleasantly surprised with our first year of gardening!  We planted these itty-bitty plants in all of the beds, tended to them with a little bit of love and care, and they grew!  And produced!  It has definitely encouraged us to keep on gardening, and expand our plans.  It’s been a downright exciting experience, and has reaped very fulfilling rewards. ; )
Next up in The Homestead, we’ll be heading inside the house for awhile. Hope you can join us!

Save

Save

Filed Under: Gardening, The Homestead Tagged With: cosmos, cucumber, garden photos, garden-vegetable-photos, Gardening, green-bell-peppers, tomato-photos, vegetable photos

Front Yard Gardens – Progress Update

August 25, 2009 By Laura 8 Comments

Everything we planted in our front yard gardens, is really growing!  We wanted to give you a progress update.

front yard gardens

In our last post, we shared with you the very beginnings of our front yard transformation.  We planned out 3 gardens, built 3 garden beds, had loam delivered, filled the beds with the loam, and got our strawberry plants planted all in mid-May.

At the end of May, after the threat of frost had past, we planted all of the vegetable and flower plants in the beds.   I did not take photos of the extensive work we did that day along the way, because frankly, I was covered in earth and sweat, and wasn’t about to touch my camera. : )

front yard gardens

Here’s a photo of our front yard now, with the 3 garden beds. I think it’s a dramatic improvement to the ‘blahness’ it was, already!  Don’t you?  We even have some green weed/crabgrass growing in our dirt where the driveway was extended!  Since we don’t have plans to plant grass anytime soon, we’ll take anything green!   In the long run here, we’ll likely be putting in more  gardens, little walkways, maybe a small tree or 2 ….who knows what.  So planting grass at this point is not wise, when it mostly will be getting dug right up, soon enough.

front yard gardens Here’s a view from this angle, taken in mid-July.  I’m going to take you from garden to garden here and show you what we’ve got.  All of these photos coming up were taken in mid-July.

front yard gardens

First on the far left, while acing our house with your back to the street, is our strawberry bed.    This is the garden that was done first, a couple of weeks before the others, because we could do that with the strawberries.  So I had done a couple of posts on how the plants and strawberries were coming along.   Rather then re-hash all of that, and re-post all of those photos, I’m just going to link you to those 2 posts.  They will open in their own window, so don’t worry about losing your spot here if you want to take a quick peek.

Strawberry Fields Forever

We Picked Our First Strawberry

Being the first year, the plants needed to get established, so we weren’t expecting an abundance of berries this year.  But we have high hopes, jam recipes, and many desserts on our agenda for next year!

front yard gardens

This is the second garden from the left, next to the strawberry garden.  Or, the middle garden. : )

Aside from the flower, which I will get to a little later on, we have growing 4 varieties of tomatoes:   Beefsteaks, Better Boys, Early Girls, and Cherries.  We also have cucumbers in this bed.

front yard gardens

front yard gardens Just a couple now-outdated tomato photos. More to come.

front yard gardens

In our last bed here, 3rd from the left, closest to the drive-way, we have growing summer squash, zucchini, and green peppers. Plus the flowers.   I had read how helpful having certain flowers in your vegetable gardens were, to their growth and production.  They attract certain bees that help pollinate, as well as other certain insects that are good for the garden and good for keeping other harmfuls away.

I know that sounded a little vague, but I just didn’t want to get into the full explanation right now.  Besides, I’m not sure I can remember it ALL at the moment.   But I can tell you, that everything I knew at the time, and therefore did, seemed to have done exactly what it should , and it all worked!  So that’s got to count for something. lol

front yard gardens Here’s one of our first baby squashes.  I learned real quick that I can’t be all in the squash leaves, working around, with bare arms!  I got a rashes all over my arms almost instantly, and I was going nuts.  Not sure if that happens to everyone, or if I’m just sensitive?  But….I was more careful from there on out.  Kind of like my jalapeno chopping incident, but I’ll spare you the story on that. For now.  (But eventually, these dramatic complaints need to come out. So…be forewarned. : )

front yard gardens

On the corners of some of the beds, I had planted cosmos, that have really grown beautifully.  We let them grow tall, and they are not only lovely, but really beneficial to the garden.

front yard gardens Pretty, huh?  We have this color, and white ones as well.

Mid-August….

front yard gardens

These photos are now from mid-August, and things were looking great!

Look at all of the tomatoes growing!…

front yard gardens

front yard gardens

front yard gardens

front yard gardens

front yard gardens

Here is one more shot of the middle garden, with the white Cosmos.

So as I said, the second half of this this post was mid-August.  A week later, so much had changed, and there were so many new surprises!  So up next, will be yet another garden post, to share with you how things developed from here.   I have discovered a new love of garden photography.  Shocking??  Probably not.

But soon, we’ll be heading inside the house for a bit, to show you a couple of new things that we’ve been doing in there.  I can’t wait to show you!!

Save

Save

Filed Under: Gardening, The Homestead Tagged With: cherry-tomatoes-on-the-vine, cosmos, cucumbers, flowers, front-yard-gardens, garden beds, garden photography, garden photos, green-bell-peppers, peppers, squash, tomatoes, vegetable photos, vegetables, zucchini

Wrap Jewelry – Craft Tutorial

August 23, 2009 By Laura 9 Comments

This is a fairly easy craft project tutorial where you can create some really fun or beautiful wrap jewelry for kids or adults.  Depending on the materials you use, you can really get all kinds of styles using the same concept.  Also, keep in mind;  they can be homemade Christmas gifts, and made ahead of time!  We’ve made these as Christmas gifts before, and they were very well received!  So this may be a great idea for all or some of the little girls and ladies on your list.  Or, maybe you’d like to add to your own accessories!  The pieces we created so far have been more for girls, from little girls to women, but with a little creativity and thought, we think we’ll be able to come up with some boyish pieces as well.

wrap jewelry tutorial

You don’t need much in the way of supplies!!  Here’s a quick run down, depending on the design of the piece you are making:  Memory wire, bottle-nose pliers/cutters, a bead assortment,  charms, waxed cotton cord, and possibly acrylic nail polish.

This is memory wire.  It is called such, because it keeps it’s nice shape, no matter how you try to bend it.  We threw out the packaging, but this wire can be found in any jewelry supply aisle of any craft store.  There are a 2 or 3 sizes, and this is the largest for necklaces, but it works perfect for grown ups or little ones.  The above is one piece, and you just cut off what you need.

memory-wire

memory-wire_2

Above is a piece cut off to be just the right size.  Using bottle nose wire cutters, we cut it to be 1-1/2 circles, and that seems to be just about right for grown ups and little ones alike.

c

Next, using bottle nose pliers (the same tool that has a cutter on it as well), you want to twist a little loop at the end of the wire.  This little loop is to keep any beads you put on from falling off on the other end.   You’ll only do this on one end to start, because you need to slide on your beads first on the other end.  When all the beads are on, you loop the other end to finish.

So…..you grab the tip end of the wire, and …..

d1

….just twist the wire into a little tight loop.

Michael does this for me, because honestly, my hands are not strong enough to do it myself.  But don’t let that discourage you, because {A} can do it on her own just fine. So I guess what I’m saying is, I’m just weak.

e1

This is what the little loops should look like. It’ll stop any beads from being pushed off.

i

Here’s some of our assortment collection of beads.   These container organizers are really nice!  We’ve done lots of projects using beads, so collecting them and keeping them sorted like this is fun and efficient.

wrap jewelry tutorial

Here are two little girl’s necklaces, all done.  All kinds of charms and gems can be found in craft supply stores, or online.  These charms matched some beads we had perfectly!  {A} made these.

wrap jewelry tutorial

Here’s another little girl’s necklace.

wrap jewelry tutorial

This one is adorable…

wrap jewelry tutorial

…..it’s a crayon box, as you can see.  {A} made those as well.

As we’ve said, there are all kinds of charms in craft stores, but there are also

lots of great charm places online, and here is one we’ve ordered from:  charms

And for some older looking pieces, we just found this place and this place as well.

handmade-wrap-jewelry-tutorial-4

Here’s another option, above. In the jewelry section of craft stores, you can also find little sets like this, all ready to go.   This set has 4 wooden colored beads, a beautiful polished stone, and dyed waxed cotton cord.

wrap jewelry tutorial

So I used that set to make this necklace above.  This one wasn’t quite AS quick to make as the all bead ones.  I looped one end of the wire, (well, Michael did), and put the stone and beads on first, centered as I could, and then looped the other end right away. Then I wrapped the colored cord around the wire. It did take a but more time, and patience.  I wanted the cord sort of twisted and irregular, but you can also wrap the two to make it striped, all the way down the wire.  There are a couple of small challenges with this design, but I’ll share some solutions:  1)  The cord tends to just slip around as you wrap it, making you quickly realize you are getting nowhere, fast.  So you need to start by tying the cord at the loop end of the wire, and then wrapping around the loose ends.  I used acrylic nail polish right in the beginning there, to help secure it.

2) The other challenge is just checking as you go, to be sure the beads and stones are going to end up centered on the piece, as they should be.   It’s a little tricky, and I think mine is a little off.   But use the two ends of the wire to gauge wear the center of the piece as a whole is.  Is anyone following what I’m trying to say here? lol

wrap jewelry tutorial

I made this one for ME.  : )

wrap jewelry tutorial

I LOVE it!!

f

Here’s some other kind of assorted wooden beads that would work.

h

They would look really nice with these natural shades of hemp cord. Together they would make a lovely necklace for a neutral or warm toned outfit.

Here’s another idea:  They sell much smaller memory wire, so you could make matching bracelets to go with any or all of these necklaces!  For instance, you could do the necklace with the beads and charm, and then a bracelet with just the matching beads!

handmade-wrap-jewelry-tutorial-8

Here’s our little model, {O}, who by the way, made her own necklace!

So kids can do this craft project with very little assistance, using the beads and charms.  They just need a little help to cut the wire, do the loops, and maybe put the charm on. These particular charms we ordered just have a regular round necklace clasp with the little lever.  So they can put it on the center after all of the beads have been put on, and someone loops the ends of the wire.

wrap jewelry tutorial

It appears about the same fit on kids or adults. It’s just with kids, it overlap wraps around at the back more so than on adults.  But I find them pretty comfortable, and definitely stylish.

wrap jewelry tutorial

Cute, huh?

We hope you enjoyed this craft project!  Let us know what you think, and if you have any questions at all, just ask and we’ll be happy to clarify!  We hope it makes for a great gift idea for someone, even if that someone is yourself.  : )

Save

Save

Save

Filed Under: Crafts & Creations, Homemade/Handmade Gift Ideas, Kids Arts and Crafts Tagged With: crafts, gift-ideas-for-little-girls, gift-ideas-for-women, handmade-jewelry-tutorial, homemade-Christmas-gifts, homemade-gift-ideas, jewelry-crafts, wrap-jewelry, wrap-jewelry-tutorial

  • « Previous Page
  • 1
  • …
  • 65
  • 66
  • 67
  • 68
  • 69
  • …
  • 100
  • Next Page »

We are wicked happy to have you here! We hope you find much inspiration, help, humor and enjoyment here.


Archives


POPULAR POSTS

* * * * * *

SUBSCRIBE to House of Joyful Noise blog! Every new post, delivered right to your email box!


Privacy Policy

Amazon Affiliates

Never at any additional cost to you, we may earn a small commission for our endorsement, recommendation, testimonial, and/or link to any products from our website. Your purchase through our links helps support our family, while sharing with you the products we authentically use and recommend, for various ideas, and letting you know where you can purchase them. Thank you for your support!

[footer_backtotop]

Copyright © 2026 HouseOfJoyfulNoise.com · Genesis Framework by StudioPress