• HOME
  • {A}’s Chipmunk Training Archives

 Homepage

  • The Homestead
    • Home Projects
    • Home Improvement
    • Home Decor
      • Seasonal Home decor
        • FALL Home Decor
        • WINTER Home Decor
        • SPRING Crafts and Creations
        • SUMMER Crafts and Creations
    • Our Chickens
    • Gardening
    • Organization
    • Re-Purposing
    • Furniture Refinishing
    • Budget
  • Crafts & Creations
    • Seasonal Home decor
      • FALL Crafts and Creations
      • WINTER Crafts and Creations
      • SPRING Crafts and Creations
      • SUMMER Crafts and Creations
    • DIY (Do-It-Yourself) Project
    • Kids Arts and Crafts
    • Homemade/Handmade Gift Ideas
    • Holiday Crafts
    • Fan Pulls
    • Free Printable/Downloadable
    • Sewing Projects
    • Giveaways
    • Business Features
  • Recipes/FoodFun
    • Breakfast
    • Lunch
    • Main Dish
    • Sandwiches
    • Appetizers
    • Slow Cooker
    • On The Grill
    • Side Dishes
      • Soups
      • Salads
    • Baking
      • Breads, Rolls and Muffins
    • Snacks
    • Treats
    • Desserts
    • Drinks
  • Homeschooling
    • Elementary Homeschooling
      • Elementary Homeschooling READING
      • Elementary Homeschooling MATH
      • Elementary Homeschooling LANGUAGE ARTS
      • Elementary Homeschooling SCIENCE
      • Elementary Homeschooling HOME ECONOMICS
      • Kids Arts and Crafts
    • Middle School Homeschooling
      • Middle School Homeschooling SCIENCE
      • Middle School Homeschooling HOME ECONOMICS
    • Language Arts
    • Math
    • History / Social Studies
    • Geography
    • Foreign Language
    • Field Trips
    • Games
    • Nature Study
  • The Big Picture
    • Life In General
    • Celebrations
    • Faith
      • Into the Light; The Series
    • Giveaways
    • Reviews & Sponsors
  • Photography & Lettering
    • Photography
    • truck lettering
    • vehicle graphics
    • Newborns
    • Kids
    • Engagement
    • High School Senior Pictures
    • High School Senior Pictures Sneak Peeks

Our Summer Mantels | Home Decorating Ideas

July 10, 2013 By Laura 9 Comments

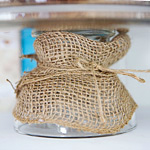
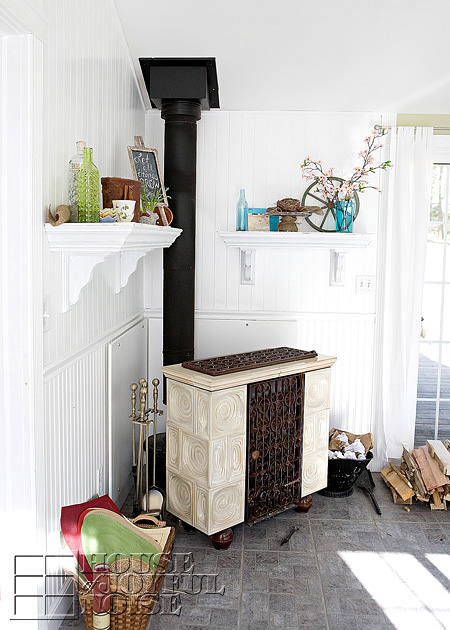
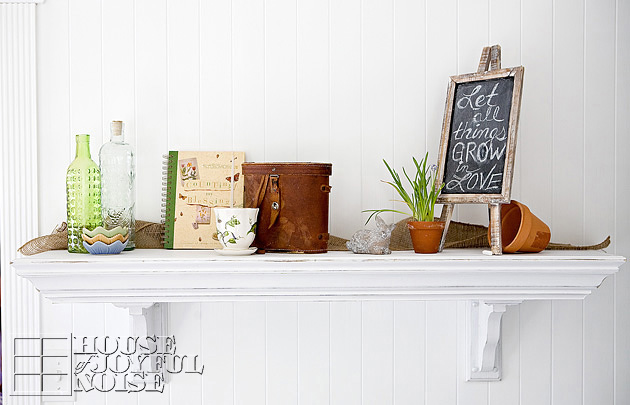
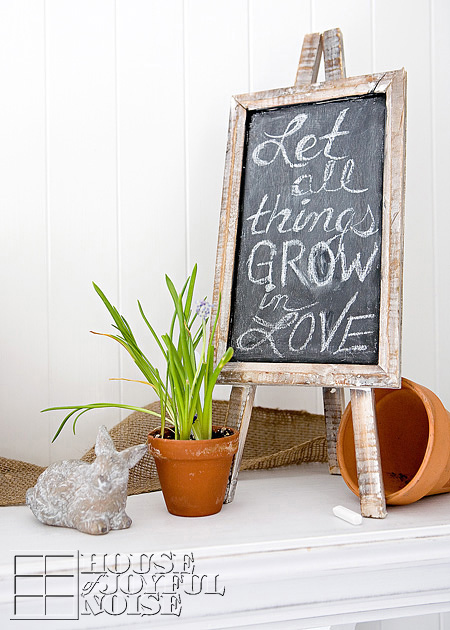
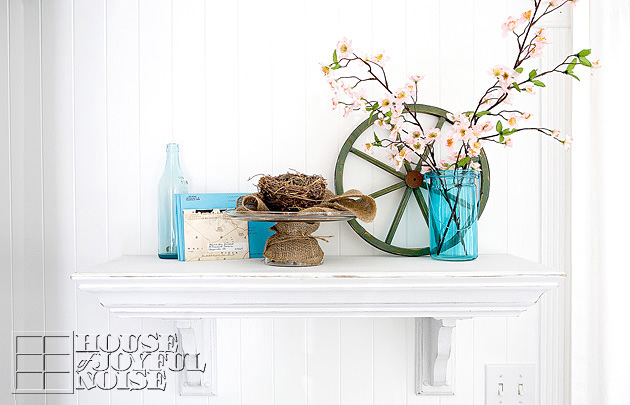
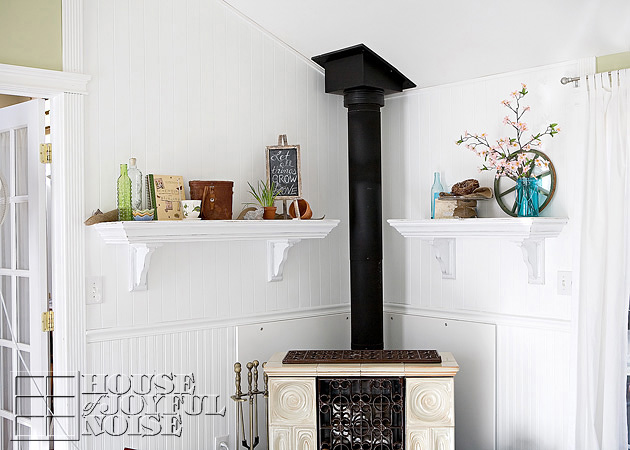
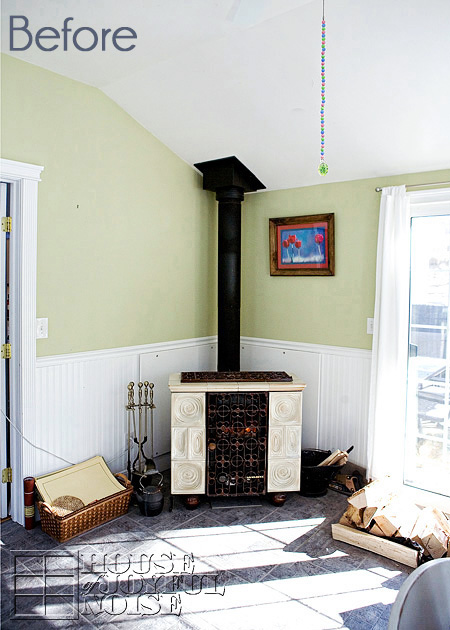
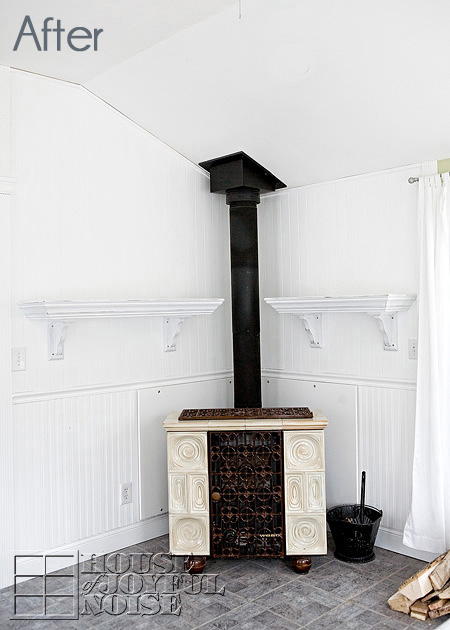
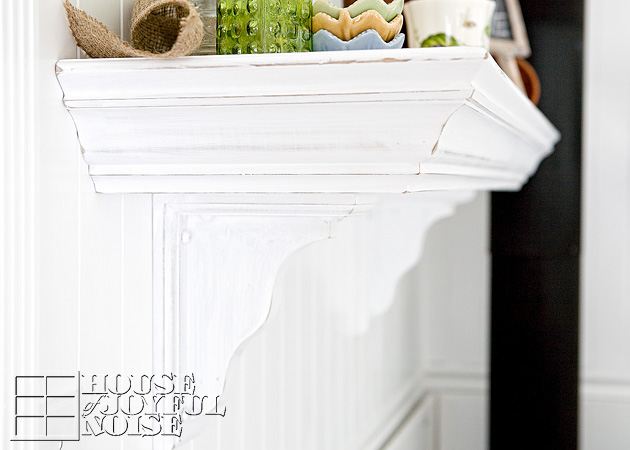
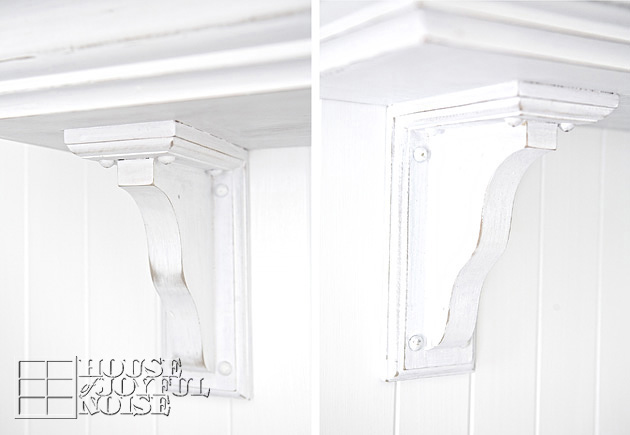
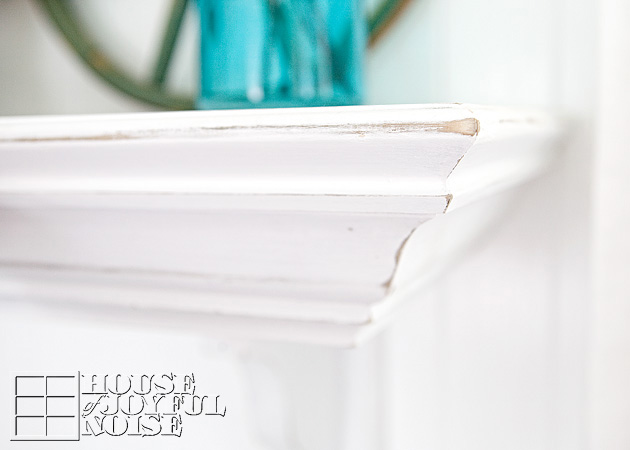
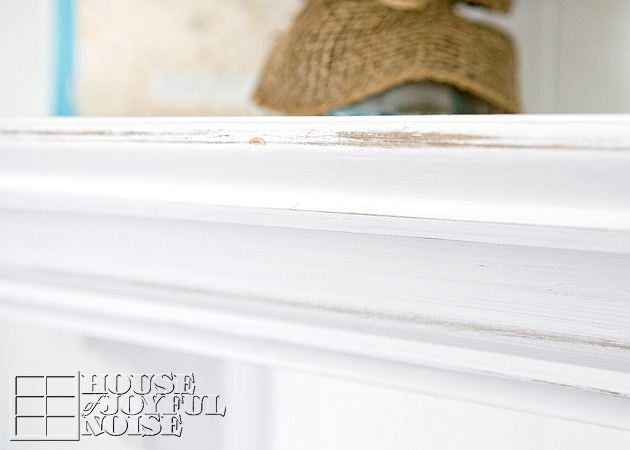
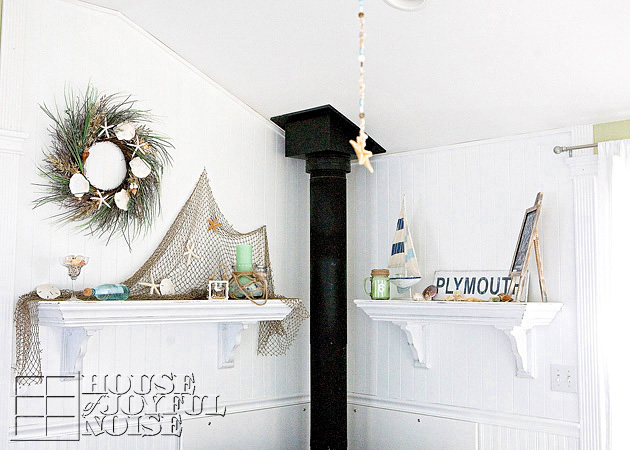
We’re three weeks deep into the summer season, so I thought it was high time I got our summer mantels decor on the blog.  It’s not only fun to show, but hopefully it gives someone some home decorating ideas. And if you aren’t aware of it, mantel decorating is twice the fun around here, because we have double mantels! Courtesy of the hard-working hands of my carpentry-able husband. So the mantels inspiration, ideas, photos, decor, fun….is always x2 here at the House Of Joyful Noise! 

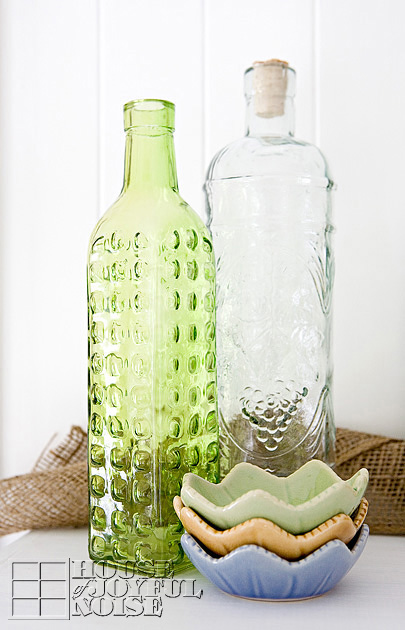
I knew the season of summer was going to be fun to work with. Once I got thinking about it, I started getting all kinds of ‘theme’ ideas that fit the summertime season! But, where we live right by the ocean, it only seemed to right to go with the beach/nautical/seaside authentic decor, this first summer with our new mantels. I am sure as the years go by, I’ll continue to get this thrill from the creative process of putting together pieces to decorate the mantels, and so it will always be somewhat difference from year to year and season to season. And by seasons, I am referring to both the four seasons of New England climate, as well as holidays. In other words, no 2 summer double-mantels will be just the same.

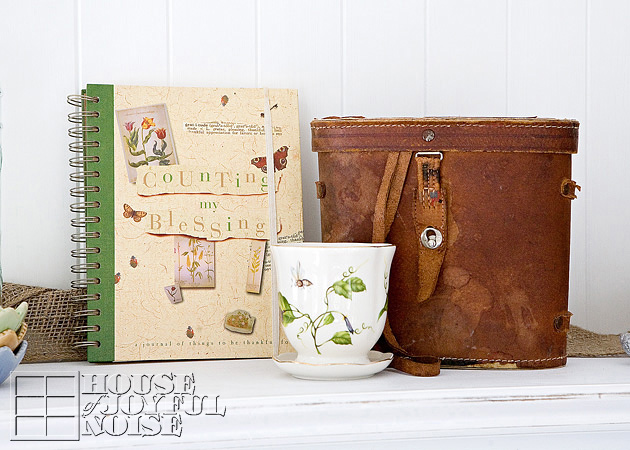
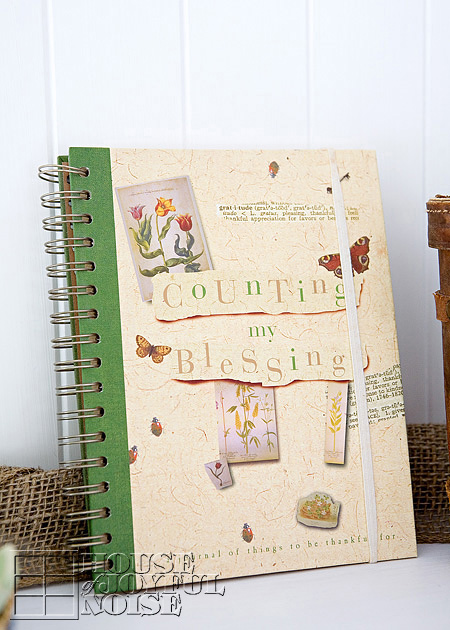
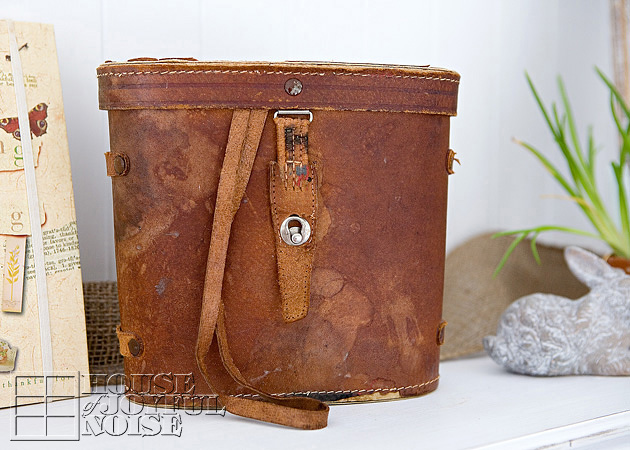
That said, I AM so in love with my finished summer mantels right now, that I can’t imagine ever taking it down, or putting it back together just like this, next year.

Do you love them too?  
I just love seeing them. Whether on accident as I breeze through, or just sitting there, looking them over, and enjoying them.
I realize Autumn will descend on us at some point, and I’ll have new excitement and inspiration for that season (which I love), but for now, I am digging summer. A LOT. In all kinds of ways.

Oh you know I took details photos, so I can tell you [Read more…]

Filed Under: Home Decor, Mantel Decorating (Ideas), Photography, Seasonal Home decor, SUMMER Home Decor, The Homestead Tagged With: decorating-mantels, decorating-with-theme, home-decorating-mantels, mantel-decorating-ideas, mantel-decorating-tips, mantels, nautical-decorating, ocean-decor, seaside-decorating, summer-decorated-mantels, summer-mantel-decorating-ideas

Our Spring Mantels | Home Decorating Ideas

April 4, 2013 By Laura 15 Comments

So if you’ve been following along with us here, you’ll know that earlier this week we revealed my new double mantels in our sun room, which Michael custom built for me, and I finished in my own style, to give them the look that I was going for. 

As promised, today I am sharing lots of overall and detail photos of how I decorated those mantels (for the very first time) for the spring season, as well as some home decorating ideas, and tid-bits of other information you may find interesting. I can tell you that I had way too much fun, both decorating and photographing my new mantels, but I truly don’t mind! Mind you, I’m not a professional decorator, but I do feel comfortable relying on my artistic eye and education, and just what looks good to me. My ‘mantel envy’ that I spoke of, was as real as I thought it was, too, and my appeasing it is already as fulfilling as I knew it would be.  More than ever, I am looking forward to all of the seasons and holidays I can spend being creative in home decor, with these mantels. Even if it does mean more to dust!

So let me show you what I did:

 
This is the view straight ahead, when you walk in through our front door, into the sun room. 
There you see our mantels corner, over our wood stove.  We spend a lot of time in this room year round; and it’s a favorite of guests too.

Viewing left to right, here is the first and longest of the two mantels, I’ve decorated, measuring 4 feet long.

As I was gathering items I had hoped to use for this spring theme, from other places throughout our house, I realized I had two wonderful groupings for both mantels, where I could have a featured color for each mantel, but where also there were common colors that tied the two mantels all together. So I immediately started working off of that kind of color theory in my head. Also, I added some pieces of burlap as texture-accents with both mantels, but were used in different ways for each.  For this mantel, I simply took a long piece, and strewn it along he back of the mantel as a backdrop.


So if you refer to the entire first mantel above), I thought of the greens as much featured color, and then the browns as the common color, because it would be a part of both mantels. 
You’ll see that in a moment.  But first I’d like to share with you a little more about the details of this one.


Here we just have a simple couple of glass decorative bottles I had, and a cute set of little dishes, that I picked up at TJ Maxx. There is a fourth dish, the color of teal, which I actually bought the set for, because that one went well with the decor I was putting together for my bathroom cubby shelf, which can be seen in the first few photos of this post.

Here are the next few things I grouped sort of together.


This was one of my mother’s personal journals.  
The colors and the spring theme went well. And seeing it of course also reminds me of my mother, and makes me smile.

A really good pair of binoculars, in a very weathered leather case.  I thought they were once Michael’s parents, but, Michael just called and while I had him on the phone, I double checked with him. He says they were actually my grandmother’s. (We call her Nana.) Hmmm. I’m not sure how we got them, but I’ll guess my father brought them down. He’s always bringing us all kinds of things when he comes.


These items are all new little things I had just picked up, specifically for my spring decor.  There is an new, awesome, huge 3-floor place in town that is loaded with the most gorgeous inventory! From large furniture of all kinds, much clearly hand-crafted, to a wide array of small home-decor accent pieces, as well as signs, fashion accessories, etc. One could spend hours in this place, and this one has! My kiddos enjoy tagging along with me too.  Honestly, I should do a whole post on it for another day.  But in this photo above, notice the super rustic little chalkboard easel. The surface is merely wood painted with chalkboard paint, so it’s not the easiest to write on, but I love it anyway. I think it’ll be a versatile piece, and I’ll be using it a lot, on these mantels. 

Also there, I picked up this adorable little ceramic clay bunny, and tiny potted Grape Hyacinth bulb plant.


It was a tiny bit limp and dehydrated when I bought it that day, but I knew with some water and sunlight, it would quickly recover, and it has.

And that wraps up the first mantel.

On to the next . . . .

The second mantel is shorter, measuring just short of 3 feet long. I think it’s so cute!

The colors for this one are just a bit different, with a teal being the focus colors, and the green and brown being 2 common colors found in the first mantel as well, where the green was the featured color in that one.

Dressing the cake dish from my kitchen in burlap and jute string, I placed a beautiful bird’s nest, which I also finally found at the same big retail space I spoke of a minute ago.  I’ll give you a closer look at the next in a moment. But notice the mail against the back wall:  As I was looking pieces in my house that fit into my color theory, I spotted this mail that was so thoughtfully sent by our fan-friend Julie!  The envelopes to the kids’ Easter cards from her, happened to be teal. And then I had some mail for me that she had sent, for which she had made the envelope from a mao (LOVE!), that was made up of some of the warm browns I was working with too. So see…..anything can be used as decor. And it’s always nice to use the little things that give us warm fuzzies inside, and I think such things also add an element of really personal touch and warmth to your home setting.

I really had been looking for the supplies to make one of my own for weeks, but was having little success. I was even considering making one of my own, if I found the right materials. While I did find a little next at Michael’s Arts & Crafts, I wasn’t crazy about the way it was made, and the (blue) eggs I found were also not quite real enough for me. I’m really particular about that kind of thing. So when I spotted this bird nest, with much more realistic eggs already in it, I grabbed it.


A closer look at the base of the cake dish, wrapped purposely haphazardly, in burlap, and tied secure with jute.


This teal colored canister-jar was the first piece chosen for this mantel, and sort of kicked off the feature of the teal color.  So I purchased some faux apple blossom branches to go in it. Then I Googled for a little about arranging such things, and learned more than I knew I had to learn! I had no idea so many parts were meant to bend, and things could be moved around from one part to another, etc. Lots of little tips I found helpful, to help make the bloomed branches look more life-like, and compositionally pleasing and balanced to the eye.

The wagon wheel was elsewhere in our sun room, and I noticed it also fit in with the common color for this mantel, so I threw that in as well.

Taking a look at both mantels together, from a different angle, you can see how they are really different enough, and yet compliment each other well, in both theme of spring, as well as textures/materials with wood, glass, burlap, clays, and plants.

As well as in color theory, which is always fun to work with, no matter what the artistic project at hand is.

I really hope you enjoyed this in-depth discussion of decorating mantels, because there will be a lot more of it in the future, all throughout the year!
GOSH IT’S FUN!!
I’m happy you’re here! I’d be happy to continue this chat with you all, in a more two-way manner, in the comments!

Filed Under: Home Decor, Mantel Decorating (Ideas), Photography, The Homestead Tagged With: decorating-mantels, decorating-with-color-theory, decorating-with-textures, decorating-with-theme, home decor, home-decorating-mantels, mantel-color-themes, mantel-decorating-ideas, mantel-decorating-tips, mantels, spring-decor-ideas, spring-decorated-mantels, spring-mantel-decorating-ideas

The Making of Mantels / Appeasing my Mantel Envy!

April 1, 2013 By Laura 8 Comments


A couple of weeks ago, I hinted on our Facebook Page about the weekend project we had in the works. I mentioned that I was all done dealing with the ‘mantel envy’ I have had going on, for years now. You know, mantels, the shelving surface that many homes have over their fireplace?  Many creative homemakers have great fun decorating their mantels for various seasons and holidays, switching it up all of the time. I wanted that, too!
We don’t have a fireplace, anymore. Years ago, before the little-house to big-house renovation, we had a built in coal and wood fireplace insert, with a brick mantel. But that was ripped out when our sun room was added on.
I wanted a mantel of my own to work with. And when I really want something, I usually figure out how to get it.
And you know how good I am at that?

I got me TWO mantels! HA!

I reckon some will have some envy for me, now. ; )  See, the good Lord blessed me, like Mary, with a carpenter of my own.  A very skilled carpenter, I might add, who can build just about anything I want. And because I am not only blessed, but possibly (possibly . . . ) spoiled, he does build me anything I want.

 
I had been telling my-personal-Joseph, how I thought it was a fine idea, for him to build me a great pair of corner mantels, over our beloved, ceramic wood burning, family-heirloom. I explained it to him in great deal, trying to paint the picture for him. I don’t think he was really getting my vision for awhile, because he kept looking puzzled, while assessing the area, and saying, “Really?”, every time I brought it up.  But then on the Thursday before said-prior weekend, I told him I just had to have it. And I’d love for him to get sketchin’, and bring home any materials he;d need for the weekend, home after work on Friday. And he said, “So let me get this straight. This is our new urgent project, that you’d like done right away, before I have even finished the last urgent project, that you’d like done right away? I’m supposed to stop that one, and do this one first, after stopping the one I was doing 2 projects ago, to do the last, new urgent project?”  And I said,
“Right. Honey.”

And so he got sketchin’,
and buildin’, and
yes, I helped quite a bit too.
Because I’m not that spoiled.

And by the next weekend, my mantel dreams had come true, x2.
And I was and am still, thankful.

WANNA SEE?!


Ok so this is the corner as it has been (before), when anyone is looking at, when they walk into our front door. On the left hand side there, is where our Prayer List Chalkboard has been hanging for years. (And we still use it, regularly.) For now, it’s moved to the wall beside the front door. But take not of the wall straight ahead.  It’s shorter . . . . .

. . . . than the corner wall perpendicular to it. This one is a bit longer.  So I’ll have two different lengths of mantels.
I also got thinkin’ about how much I’ll be photographing the mantels as it changes for our home decor. And it hit me that the backdrop will always be the same, and green. And the simple (right?…) mantels project instantly grew. I wanted a wider bead board like wall as a backdrop.
See? Spoiled. Possibly.

I knew if my Joseph built me these, I would be so grateful. I’d be happy to finish them myself. Of course, I wanted them to not look new. Or fresh. And for my vision, distressing on fresh wood was not going to work. So I researched how to weather/age the wood, before painting and distressing, and was pleasantly surprised to find a way to do it. That worked!
It’s fairly simple too.  You ‘paint’ the wood with tea, first. I made a big strong batch, soaking my tea bags over night.

So I brushed the tea on all over my two built mantels, and let them dry. There was no difference to see. 
But the tea is only applied to react with the next strange solution brushed on.


I had to cover very fine steel wool (#0000) with straight distilled white vinegar.  And just let it soak, at least for overnight. 
The next day, it didn’t look much different in the jar. I know in time, that wool would rust. (It has since…). But anyway, while applying it to the mantels (already treated with the tea), I could see the instant reaction happening. Very cool. Almost magical!

To see the dried wood after the vinegar/steel wool solution treatment, click on any image in the gallery below, use arrows to see each next, and then your ESC button to close.

[Show as slideshow]
07_weathering-wood-technique
08_weathering-wood-technique
09_weathering-wood-technique
10_weathering-wood-technique

Interestingly, even after the wood had been dry and I took the above photos, the wood seemed to turn even a bit greyer. which I was happy about. For a darker finish, I could have brushed on a second treatment, but I was quite happy with the results after just one, for this project.

So then it was time to paint both mantels, white.  I used about 3-4 parts paint to 1-part water.
And then a whole lot of sanding and distressing.

Meanwhile, Michael, a.k.a my Joseph in this post, was taking care of the walls to my every wishes.


And I’m pretty much done talking, and ready to show you lots of photos of this exciting home improvement project!
Here we go!


Now for anyone concerned, we were sure to make certain these mantels met fire code.  They needed to be at least 6 inches from the stove-pipe, and they are. It’s hard to tell in these photos, but trust us. We have the most to lose! That is why they don’t wrap around behind the pipe.  The mantel shelves are very thick, and keep in mind too, that the stove is only in use maybe 1-1/2 seasons a year.

So yes, while narrow bead-board goes all the way around the lower half of our green sun room (as of this post), the wider bead board (v-groove) type paneling is just in this corner.  I think because of where we let it end, and because of the molding we used, it works nicely! 
And how about those mantels?
I love that I have two to work with! Because sometimes you get going on a theme, but you really have another idea that kind of ties in too.
So that is going to be way fun.  One is 48″ and the other is 35″.
Let’s take a closer look at the beauty of the craftmanship of my husband, shall we?

He used  1×12″ and 1×10″ pine boards, crown molding, and base cap.

And these awesome pre-assembled 9×7″ shelf brackets. Which, I love.

Do you see how the wood looks older, peeking out from underneath the (supposed) worn paint?
Love it!
A few more photos . . . .


Beautiful, no?

 I am SO happy with them. Of course, the whole point of having them, was to decorate. They are looking kind of NAKED in these photos.
But as you can see peaks of in a few photos above, I have indeed gotten my Spring mantels together!
So my Spring Mantels…..that is a next post coming up!
Detail photos of what I adorned these mantels with, for this season, are on their way. Which I believe will really help you pull the whole vision together.
They are gorgeous, and so homey, all decorated. I can’t wait for you to see!
But this post is about the craftmanship of Michael’s work, and his ability and willingness to build my little dreams.
Please leave him your thoughts!
And then look for the Spring Mantels post real soon.! ; )

* * * * * *

Please come follow me here and there:


Filed Under: Furniture Refinishing, Furniture Refinishing, Home Decor, Home Improvement, Home Projects, Mantel Decorating (Ideas), The Homestead Tagged With: carpentry, corner-mantels, custom-mantels, home improvements, making-mantels, mantel-decorating, mantels, shelving, weathering-new-wood, wood-stove-mantels

  • « Previous Page
  • 1
  • 2

We are wicked happy to have you here! We hope you find much inspiration, help, humor and enjoyment here.


Archives


POPULAR POSTS

* * * * * *

SUBSCRIBE to House of Joyful Noise blog! Every new post, delivered right to your email box!


Privacy Policy

Amazon Affiliates

Never at any additional cost to you, we may earn a small commission for our endorsement, recommendation, testimonial, and/or link to any products from our website. Your purchase through our links helps support our family, while sharing with you the products we authentically use and recommend, for various ideas, and letting you know where you can purchase them. Thank you for your support!

[footer_backtotop]

Copyright © 2025 HouseOfJoyfulNoise.com ยท Genesis Framework by StudioPress