• HOME
  • {A}’s Chipmunk Training Archives

 Homepage

  • The Homestead
    • Home Projects
    • Home Improvement
    • Home Decor
      • Seasonal Home decor
        • FALL Home Decor
        • WINTER Home Decor
        • SPRING Crafts and Creations
        • SUMMER Crafts and Creations
    • Our Chickens
    • Gardening
    • Organization
    • Re-Purposing
    • Furniture Refinishing
    • Budget
  • Crafts & Creations
    • Seasonal Home decor
      • FALL Crafts and Creations
      • WINTER Crafts and Creations
      • SPRING Crafts and Creations
      • SUMMER Crafts and Creations
    • DIY (Do-It-Yourself) Project
    • Kids Arts and Crafts
    • Homemade/Handmade Gift Ideas
    • Holiday Crafts
    • Fan Pulls
    • Free Printable/Downloadable
    • Sewing Projects
    • Giveaways
    • Business Features
  • Recipes/FoodFun
    • Breakfast
    • Lunch
    • Main Dish
    • Sandwiches
    • Appetizers
    • Slow Cooker
    • On The Grill
    • Side Dishes
      • Soups
      • Salads
    • Baking
      • Breads, Rolls and Muffins
    • Snacks
    • Treats
    • Desserts
    • Drinks
  • Homeschooling
    • Elementary Homeschooling
      • Elementary Homeschooling READING
      • Elementary Homeschooling MATH
      • Elementary Homeschooling LANGUAGE ARTS
      • Elementary Homeschooling SCIENCE
      • Elementary Homeschooling HOME ECONOMICS
      • Kids Arts and Crafts
    • Middle School Homeschooling
      • Middle School Homeschooling SCIENCE
      • Middle School Homeschooling HOME ECONOMICS
    • Language Arts
    • Math
    • History / Social Studies
    • Geography
    • Foreign Language
    • Field Trips
    • Games
    • Nature Study
  • The Big Picture
    • Life In General
    • Celebrations
    • Faith
      • Into the Light; The Series
    • Giveaways
    • Reviews & Sponsors
  • Photography & Lettering
    • Photography
    • truck lettering
    • vehicle graphics
    • Newborns
    • Kids
    • Engagement
    • High School Senior Pictures
    • High School Senior Pictures Sneak Peeks

Call Us Copy Cats! | Crayon Wall Art

September 13, 2011 By Laura 16 Comments

crayon-wall-art-tutorial-20


This crayon art thing that is happening….You know, the one that’s sweeping the nation?  It’s been pinned to death, and it’s invaded Blogland, like there is tomorrow.  And although I am hardly ever one to copy someone else’s ideas, or follow trends for the sake of everybody else doing it, I KNEW I was going to do this art-craft with my kids, the very-first-time I saw it.

Even at the risk, of being called ‘Copy Cats’.
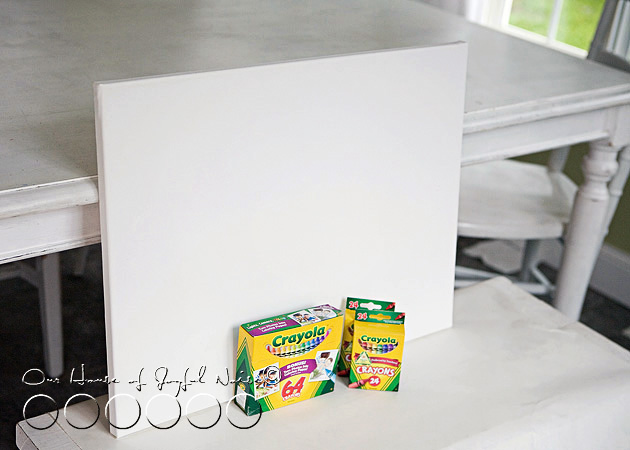
 

crayon-wall-art-tutorial  So I picked up a 16″ x 20″ white canvas. I knew I was going to love this piece when it was done so I wanted it as big as I thought we could manage, without buying every store in town out of Crayolas.  Oh yes! It has to be Crayola Crayons for me. IS there another brand? Huh. Not in my world. I’ve been a Crayon-Brat since I could….well, color! It’s Crayola, or bust.

So we started with a box of 64, and two boxes of 24. And then…..we got a 3rd box of 24 after that.  Naturally, we couldn’t use ALL of the crayons in every box.  Every color we did use, we needed 4 or more of, to make it across the canvas.  Some colors were just not going to work.  And some, I just didn’t like.
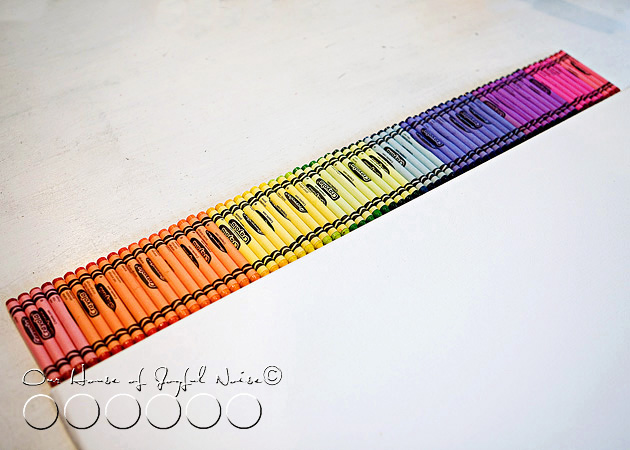
 

crayon-wall-art-tutorial-1  We laid our colors in the exact order we wanted, along the top of the canvas on the table.  Then we got ready to glue them.
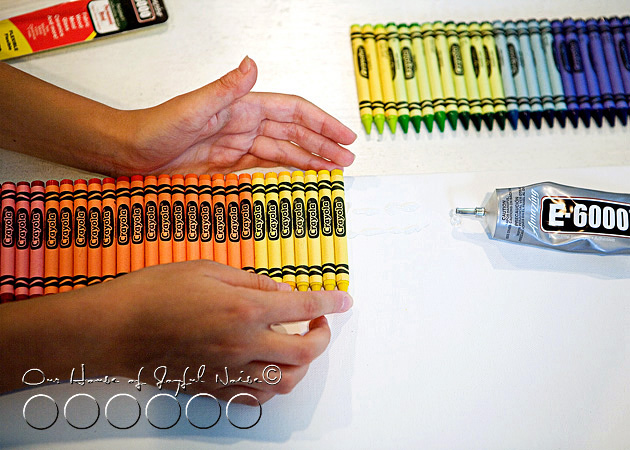
 

crayon-wall-art-tutorial-2 Our initial plan, was to hot glue the crayons down.  But we quickly decided that wasn’t working for us.  The hot glue cooled and hardened too quickly.   So we broke out the ‘Amazing E-6000’.
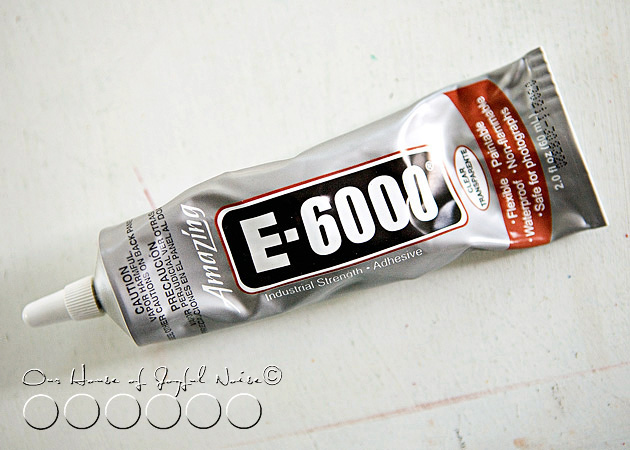
 

crayon-wall-art-tutorial-3 Amazing, is right.  I love the stuff!  It’s the Mac-Daddy of all super glues, in my crafting world.
It really stinks though. I recommend ventilation, because the fumes can’t be good for anyone.
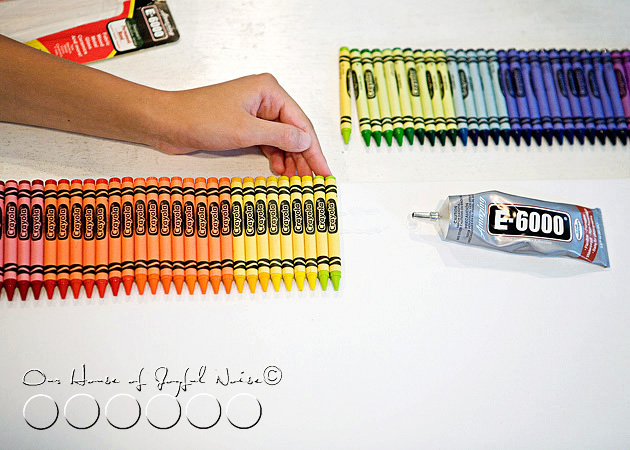
 

crayon-wall-art-tutorial-4 We just put a couple of lines of glue for a few inches at a time, and the kids helped lay down the crayons in order, as we went.   Alexis helped make sure the tops of the crayons, were as even as possible, aligned with the top of the canvas.

I wanted to just get to melting them right away.  But Alexis, often my handy voice of reason, convinced me that it really would be best, to let the glue crayons set overnight, if we were going to apply high heat to them.

I knew she was right. So I stomped away, and pretty much pouted the rest of the day.
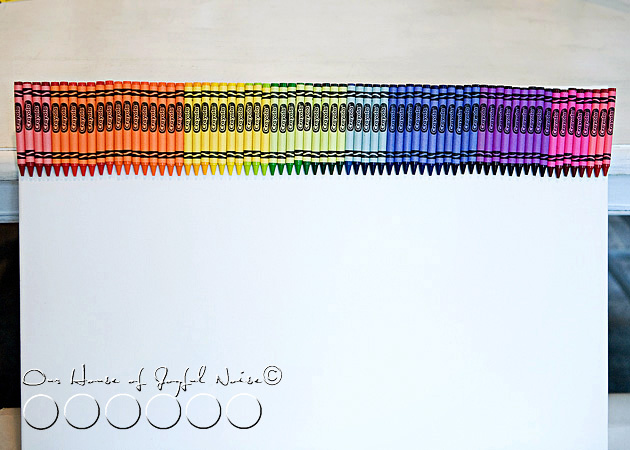

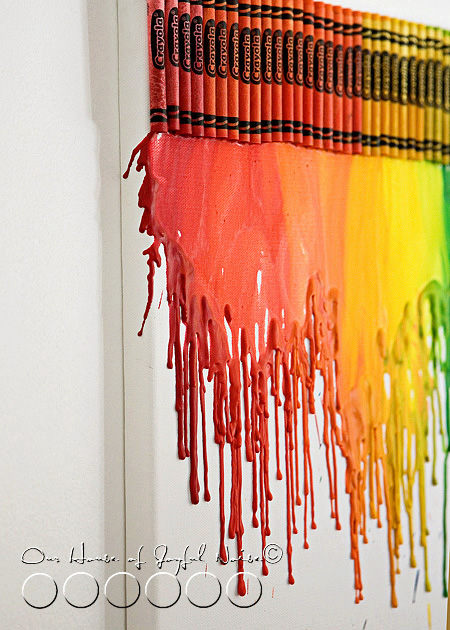
crayon-wall-art-tutorial-5 The next day, it was all set for sure! Those crayons weren’t budging.   So we stood the canvas up on the bench, and leaned it against the table.   We put large sheets of paper underneath the canvas, because we knew we were about to make a hot mess. (Like usual, but literally this time.)  I highly advise a drop cloth or paper of some sort! The wax is bound to get dripping.
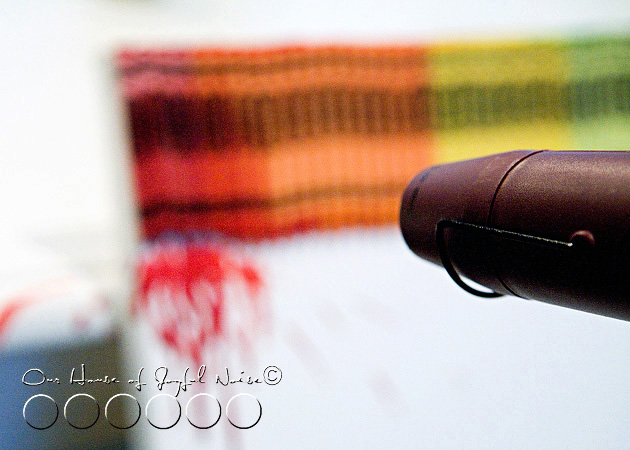
 

crayon-wall-art-tutorial-6 Finally, we could start melting the crayons!  (Yyyipeeee!!)   I can tell you, we tried a hair dryer, for about….ohhh, a milli-second. I knew there was no way I’d have that kind of patience. If it ever got the crayons melting at all, the hair dryer would probably be over-heating by then. So we plugged in my heat gun, I have used for embossing powder, over the years. I KNEW that would work.
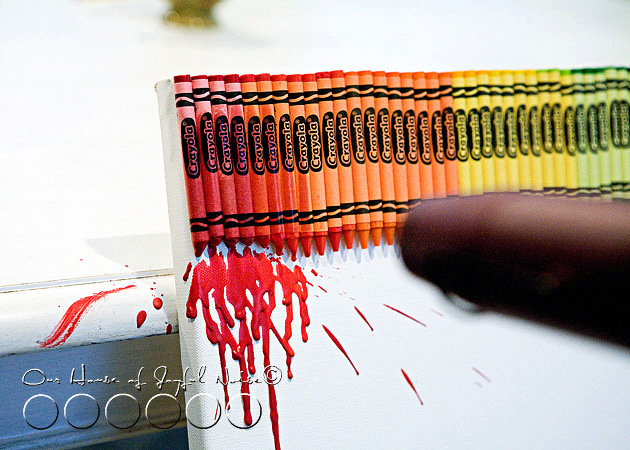
crayon-wall-art-tutorial-7 And boy did it ever.  We learned immediately that it could really blow some hot wax around!  Oops!
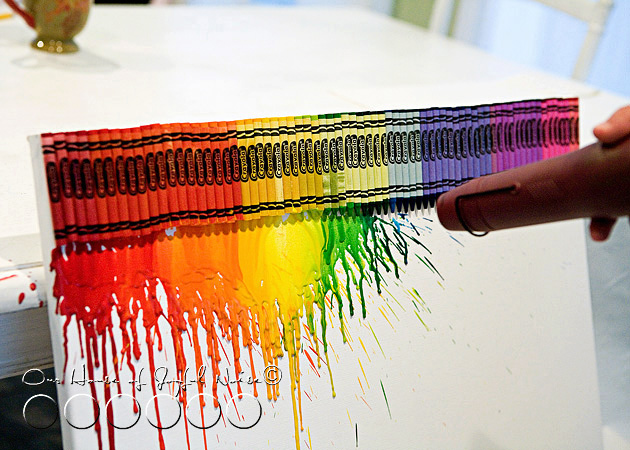
 

crayon-wall-art-tutorial-8 Very slowly, we worked our way across, watching what was happening as it was, and adjusting our distance and angle of the blowing hot air, as we did. I really didn’t want the colors blowing sideways!  But….more ‘control’ therapy for me.  Sometimes, one cannot control the way the wind blows, completely. (I’ve tried, on many-a-photo-shoot.) Furthermore, I wanted this to be more the kid’s masterpiece, than mine.
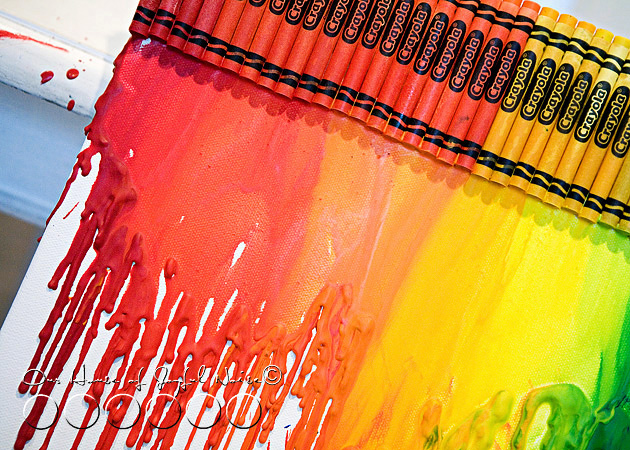
 

crayon-wall-art-tutorial-9 We were directing the heat onto the lower end of the crayons, and waving it around as needed.  The trick, is really to avoid getting too close to the top of the crayons, which we did not want to melt, and to not heat the middle either, as to have a crayon tip blob just fall out.  Sometimes, we started to see smoke, from the paper heating so much, so you want to be careful of that too.

We all took turns, while we all tried to verbally direct each other too. lol
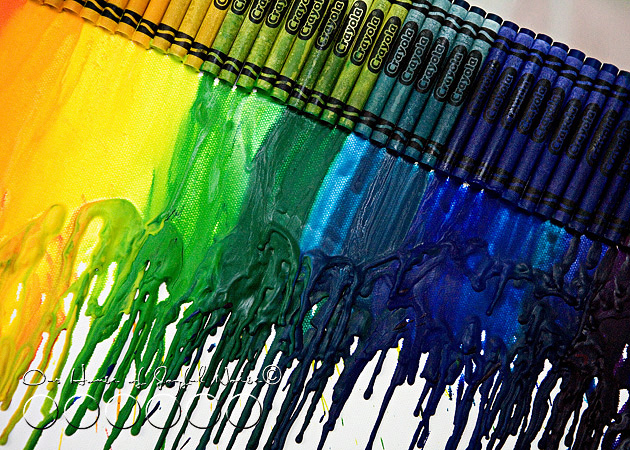
crayon-wall-art-tutorial-10 WARNING though:   This is really NOT  a craft for a young child to do alone.  The heat gun is hot, and the melting wax is really hot too.  But, it’s a fun craft to do with your littles.
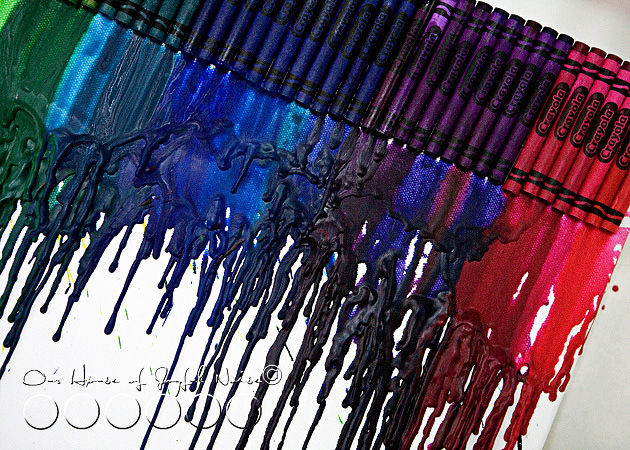
 

crayon-wall-art-tutorial-11 I really kept trying to go back, to try and perfect this, or fill in that, and the kids were like, “Mama, just leave it!!  It looks good. Don’t ruin it!”.   Excellent therapy for me, to just embrace the art that happened.   Because I have ALWAYS been the kind of technically sound type artist.  The kind that brings to life something I see, exactly as I see it in my head, down to the last detail.   My ‘let-loose’ therapy started in art school, the day I had to draw a nude model on paper, with a stick that had been dipped in ink, with my mouth. Talk about lack of control!  I think that exercise actually set me back a few years. lol
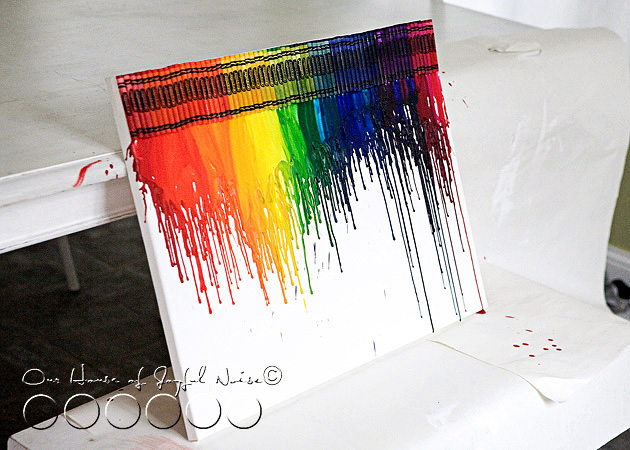
 

crayon-wall-art-tutorial-12 We all took a step back to take a good look at out artwork, and agreed to call it DONE.

Then we waited for Daddy to come home to see it. And of course, hang it up for us.  Somewhere.

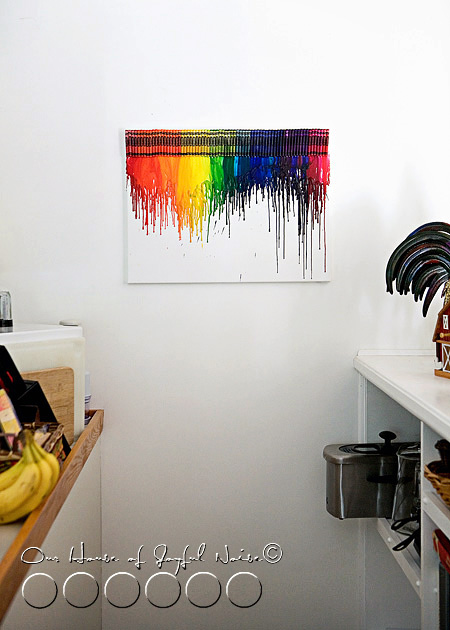
But where?  That was the question.  I wanted it in every room I thought of!  It’s colorful, and happy!  And the kids and I made it together.   It had to be in a good place.
 

crayon-wall-art-tutorial-13
We decided on the wall over the stairwell in the kitchen, down to the lower levels, was a good place for awhile.
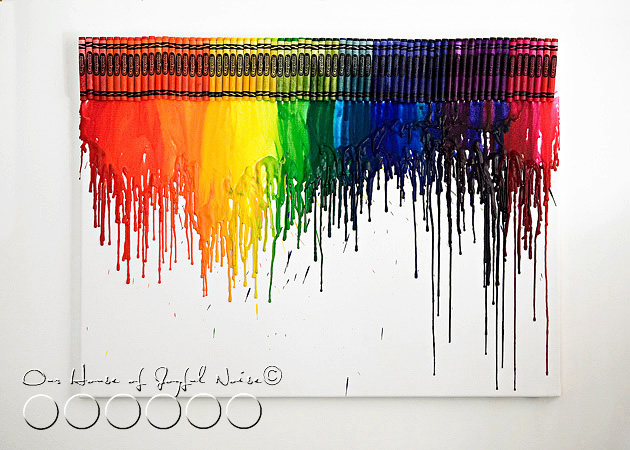
 

crayon-wall-art-tutorial-14  It was on the way down to what will at some point be the kids’ Rec Room.

It’s also on the way down to the Laundry Room.  And you all know, we ALL could use a smile, on the way to the Laundry Room!

crayon-wall-art-tutorial-13
Being over the stairwell there, it can be seen from about half the house on that level.  The kitchen, the school room, and the living room.
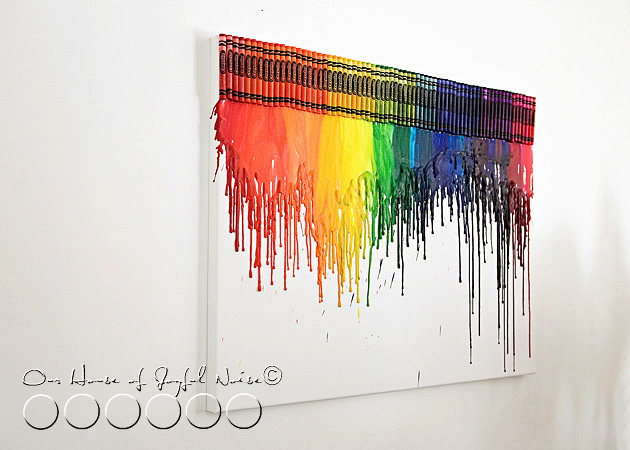
 

crayon-wall-art-tutorial-17 I have always said, “Colors make me happy.”  They really do.
 

crayon-wall-art-tutorial-18
Oh, the texture!
I wonder what the Crayola Corporation thinks about this craze.  Surely they’ve caught wind of it by now.  Probably not being able to keep their crayons in stock at stores, and all. I’d have to guess they should be pleased, with what must be a sudden and dramatic increase in sales. We helped with that!!
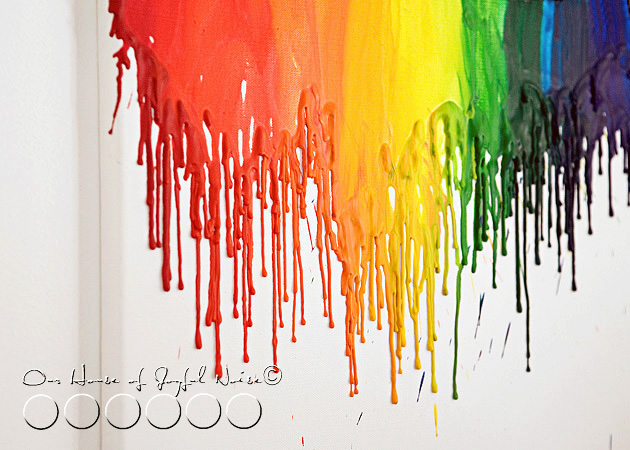
 

crayon-wall-art-tutorial-19 But again, it was not my idea.  I wish it was.  And although copying the latest craft happening will never be my style, I do not regret this once, for a minute.
I do want that thank, though, whoever did come up with this idea. Because we had so much fun doing it!

Have you, given this idea a try yet?  And if not, don’t you want to now?

******


Save

Filed Under: Crafts & Creations, DIY (Do-It-Yourself) Project, Kids Arts and Crafts, Tutorial Tagged With: arts and crafts, crafts, Crayola-crayons, crayon-art, crayon-wall-art, DIY-art, E-6000, melting crayons

A T-Shirt Craft / Wicked Cool, Fun, Easy, & Not Messy!

August 17, 2011 By Laura 35 Comments

cool-fun-kids-t-shirt-craft-21

This just may be the coolest and most fun craft, I have ever done with our kiddos.  If that wasn’t awesome enough, it is super easy, and it doesn’t make a mess either!!  I know, right? It’s perfect for kid’s birthday parties, scouts, camps, etc.  Our kids didn’t want to stop.  They even made a couple of shirts for their friends.  But all of you mothers, as we show you how simple this project is,….think outside the box, for yourselves, or other projects, too. I am!

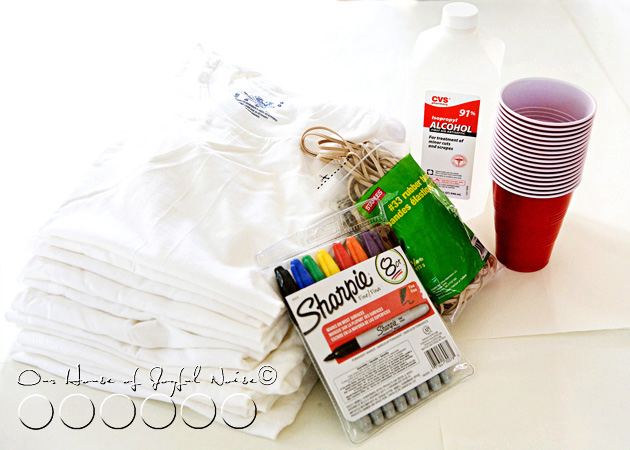
awesome fun t-shirt craft All you need is:

  • some white t-shirts (in your sizes)
  • sturdy plastic cups
  • rubber bands
  • bottled rubbing alcohol
  • a (liquid) dropper
  • and Sharpie Permanent Markers in colors!

Easy supplies to gather, right? Here’s how you get creative with them.

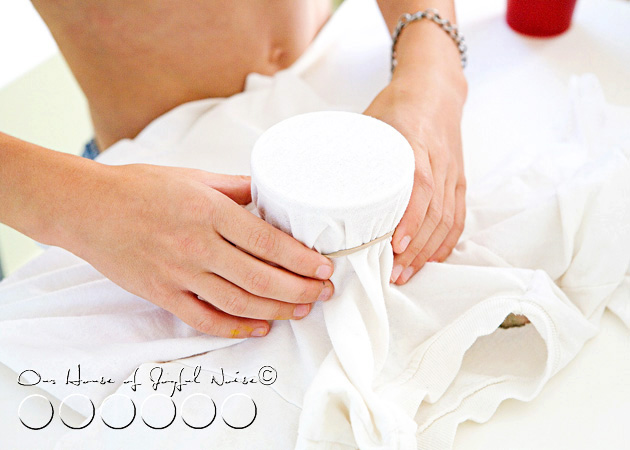
awesome fun t-shirt craft Lay your t-shirt on the flat surface you are working on, front side up. Take the cups, and arrange them upright in different places inside the t-shirt, one at a time.  As you do this, consider that where ever you have a cup, that’s where a design will be put on your shirt. Secure each cup as you go, with a rubber band. (You can do more later, on the sleeves or backside of the shirt.)

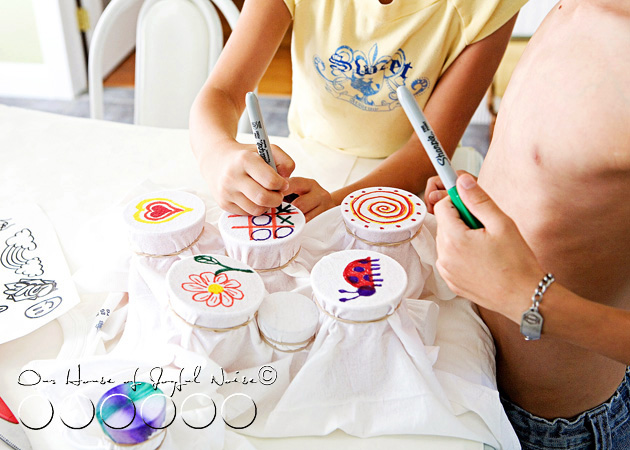
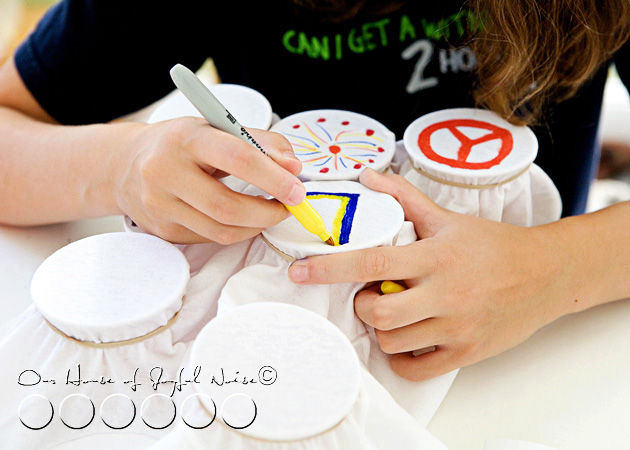
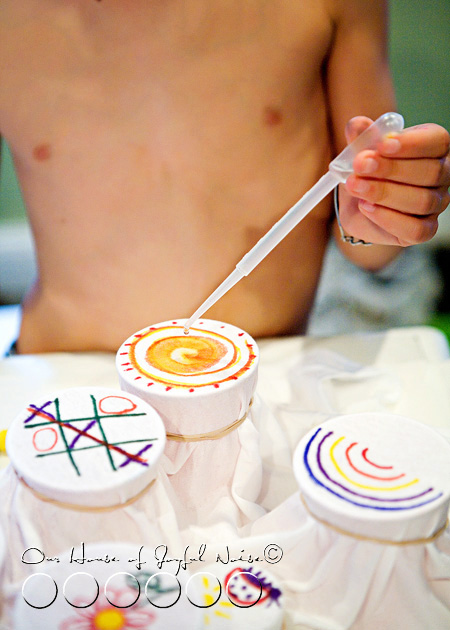
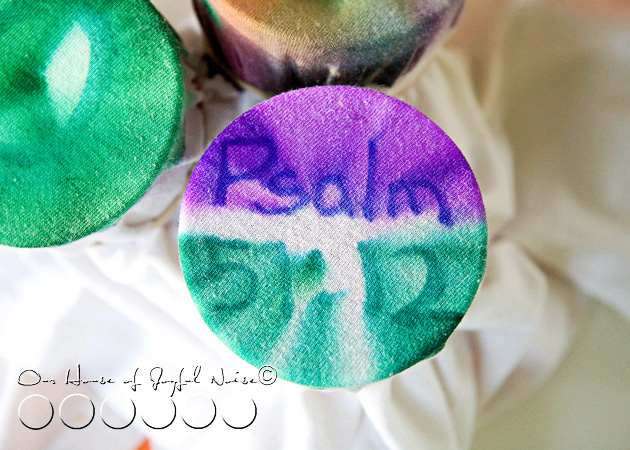
awesome fun t-shirt craft Using your colored Sharpie Permanent Markers, get creative and make some designs or simple line drawings on t-shirt fabric that is over the opening of the cups. My kids even played a game of Tic-Tac-Toe on one.  In a moment or 2, I’ll get to what colors or techniques you may want to avoid, and which ones worked best. We learned from little mistakes so you don’t have to, and figured out some tips and tricks that I’ll share with you too.

You’ll be able to see them for yourself, too. ; )


awesome fun t-shirt craft Each designer can personalize them in their own style, symbols, colors, or simple line drawings that they like, or mean something to them.  Or if it’s a gift, think of the recipient. Simple words may be able to be used as well.

Here’s where it gets even more fun.

awesome fun t-shirt craft

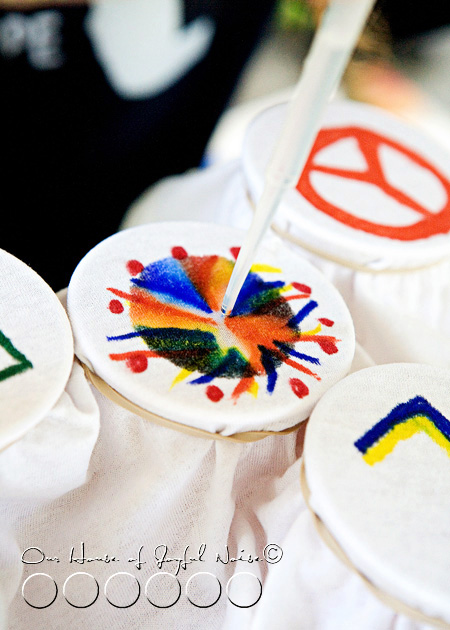
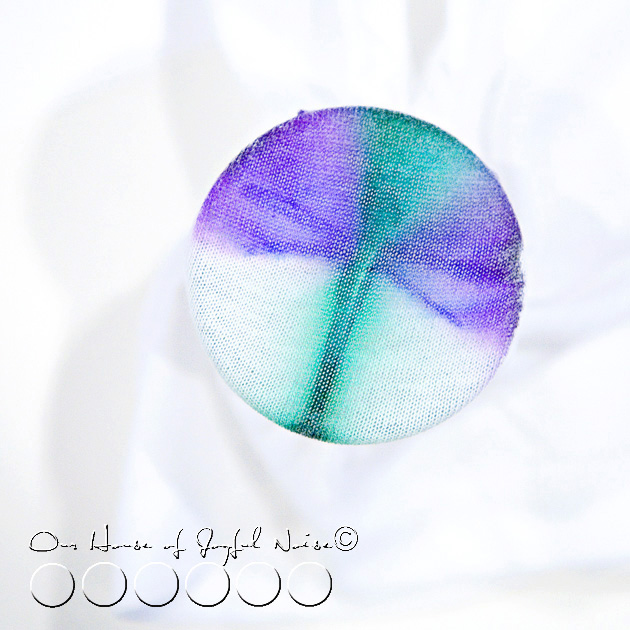
Working on one design at a time, slowly drop drops of alcohol in the *center of the circle/design.  As you do, you will see the marker ink start to spread.  You don’t want to drop too much alcohol though…..you need to do this slowly, and watch what is happening. The spreading will slow down, but if you watch carefully, it is often still spreading. If it does seem that it stopped, add more drops, one at a time, and keep watching.

*TIP:  It’s important, to only drop the alcohol drops in the center. Reason being, it pushes the ink from the center, outward, spreading it evenly and nicely, for the right effect. Also, if the fabric becomes too saturated with alcohol, the drops drip into the cup beneath, which pretty much evaporate. But that is why it’s important to keep the cups pretty upright, as to not spill any colored alcohol that may be sitting in the bottom of the cup.

awesome fun t-shirt craft Once you get the feel for it, you can do more at once. As one design is spreading, you can start another (and another) beside it.

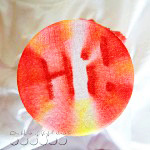
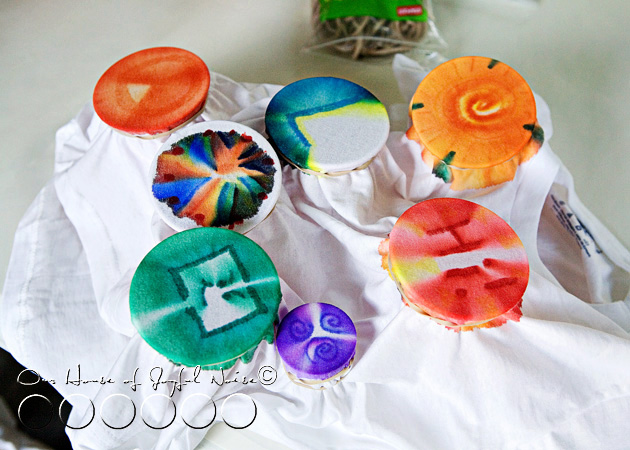
Do you see the multi-color burst? That one is still spreading very slowly.  Do you see the little purple swirly one? That’s a little shot glass, instead of a bigger plastic cup.  Perfect for the side of a sleeve too.


awesome fun t-shirt craft

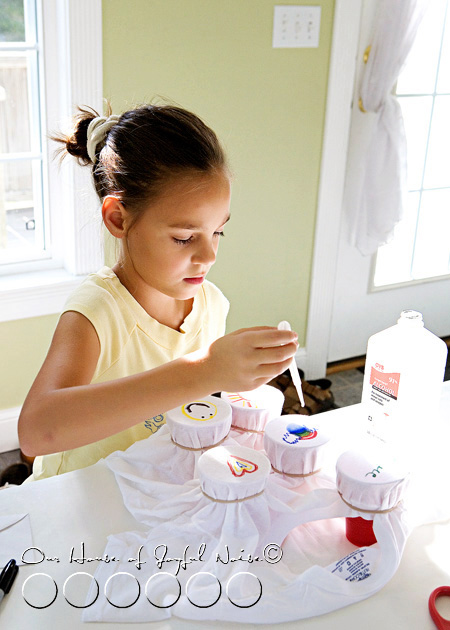
Here, {O} had finished drawing out her designs, and she’s now dropping alcohol on them.  It’s really so exciting, to watch them and see how they are going to turn out.


awesome fun t-shirt craft

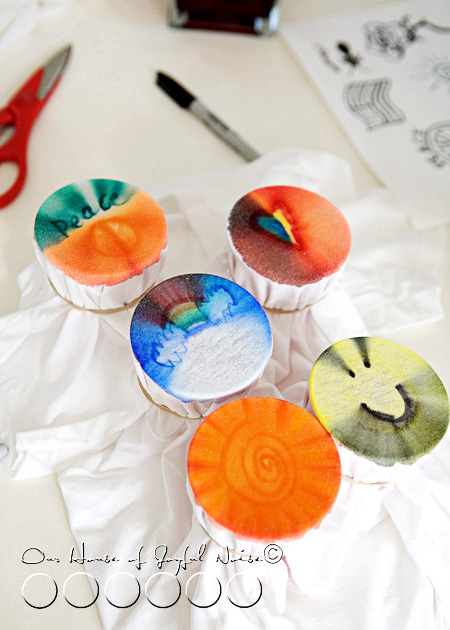
As you can see, black can get pretty messy.  In the case of the smiley face, I like how it turned out. It reminds me of a record. Remember those? ; )  But if the black were in the center of the design, it really would have blotted out the rest of the colors.

Now look at the rainbow and clouds. Because she was dropping alcohol under the last color of the rainbow, where the center is, all of the color above that pushed up. Because again, it spreads from the center. So that’s a good thing to keep in mind with your designs.   Blue reeeeaaallly spreads, so be mindful with that color, too.  It may seem like it’s a lot to remember, but really, once you are working with the colors you, you get it quickly.

*TIP:  We actually did a test t-shirt before we began our own t-shirts, and played a bit, just to see how it was going to work. But the colors’ chemistry is something we learned on the real ones.  So you may want to consider 1 practice t-shirt for everyone to do a practice design on collectively.  Or, you all can just live on the edge, and go for it!

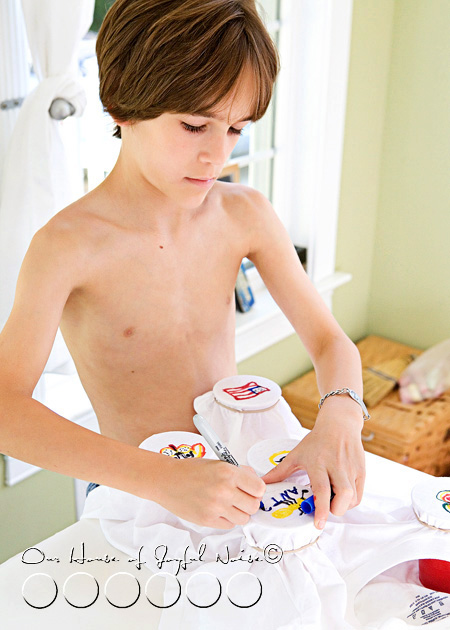
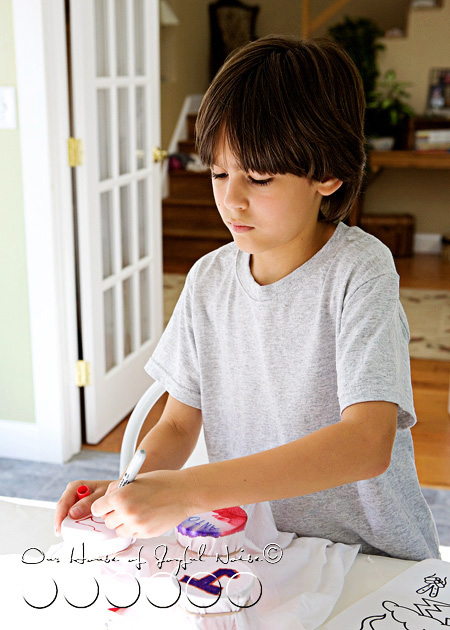
Here, the boys draw out their designs…..


awesome fun t-shirt craft

awesome fun t-shirt craft

awesome fun t-shirt craft

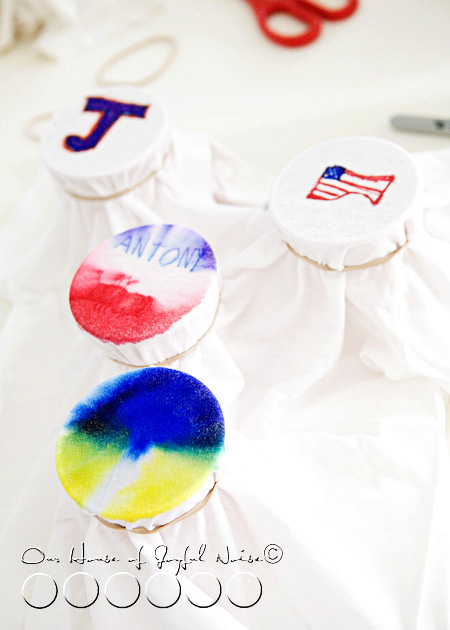
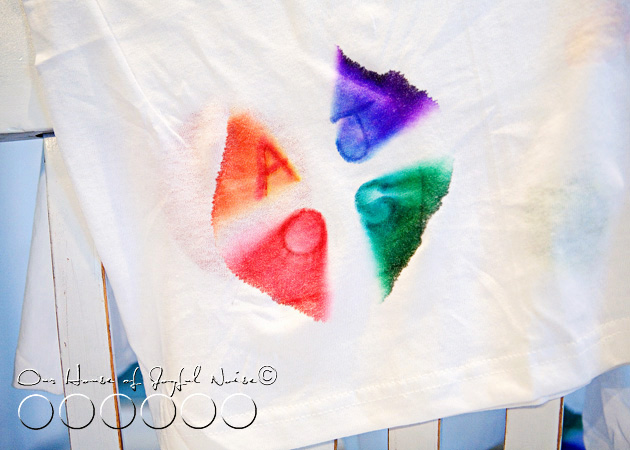
Sometimes, the ink will spread so much, that you can’t hardly tell what it was anymore, such as with the blue and yellow one above. It was a thunder cloud, with lightening coming out. But that’s ok! The designer knows what it was, which makes it fun!  Other times, you can vaguely still see the deign, like a subliminal message. ; )  In the photo above, the very top two designs in the photo are not alcoholed yet. So let’s take a look at how those came out….


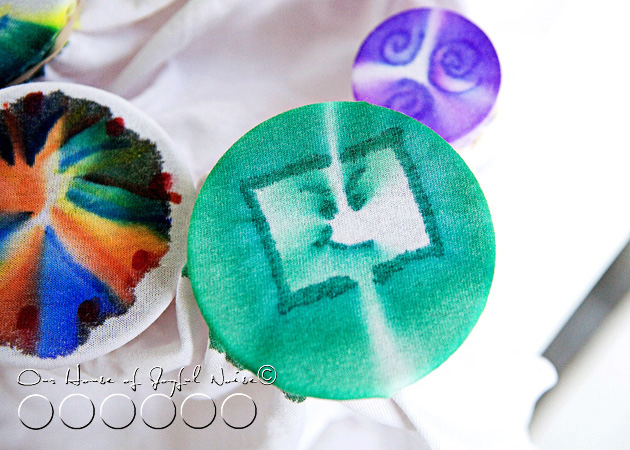
awesome fun t-shirt craft See, I was concerned that that “J”, so colored in and outlined so darkly like that, might turn into a hot mess. Using dark colors and solidly coloring in something, is going to turn out much like that J. But the flag turned out pretty cool! Again….see how it spread from the center? It creates it’s own design.


awesome fun t-shirt craft

Drop…..drop…………….drop…..we don’t really want to stop!

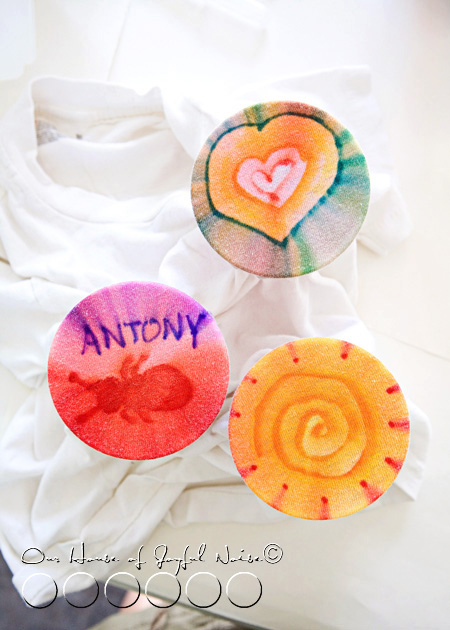
Here are some of my favorite designs…..

awesome fun t-shirt craft
Antony…..get it? ; )


awesome fun t-shirt craft

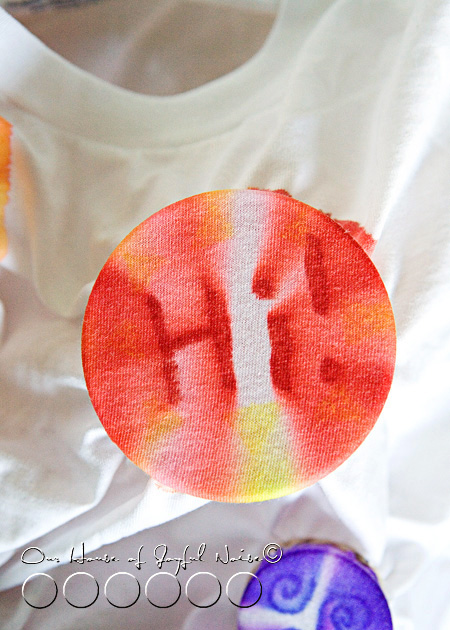
awesome fun t-shirt craft Have a nice day.


awesome fun t-shirt craft Love this one. It’s {S}’s design.


awesome fun t-shirt craft Dragonfly.

awesome fun t-shirt craft

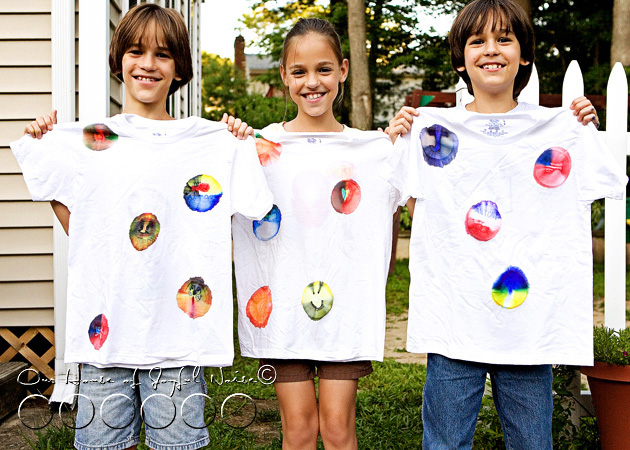
Here’s how the kid’s own t-shirts turned out.  WHICH, they are loving wearing. We have not washed them yet. I think I will just hit them with an iron before throwing them in the wash, to kind of ‘heat-set’ them first. Even though, it IS permanent marker, and shouldn’t come out.

Also…the shirts dry very fast, because it’s just alcohol, which evaporates.

Next time……because there will be a next time, very soon……we’re going to try not securing the rubber bands so tightly, and try to make a less defined circle.  Because it’s the fabric pulled tight over the edge of the cup, that really keeps the ink from spreading much more.  I bet it would look cool to let it go, too.

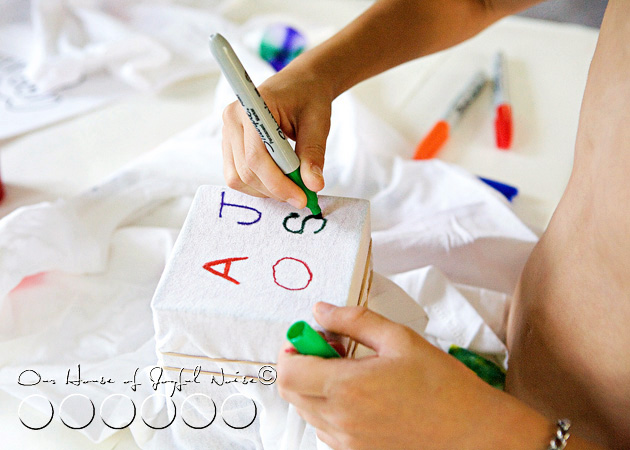
awesome fun t-shirt craft Our kids ‘signed’ the shirts to their friends, on the back side, bottom left, of the shirt.  Here, the shirt is secured over a square vase container.

Check out how cool it spread…..


awesome fun t-shirt craft I have more designs in mind, that will be fun trying.

Other Ideas: This technique can be used in the more traditional way that tie-dyed shirts are done, by twisting and rubber banding the shirt, coloring it with markers, and applying the alcohol.

I’m going to try making my own shirt, with a design just in the center, on a women’s t-shirt. Maybe a little something cool on the sleeve cuff too.

Another idea: white bandanas!!

Hope you loved this easy, fun crafts, that’s (not just) for kids!!

You may also be interested in another t-shirt craft we did years ago: T-Shirts with Sole!

* SPREAD the craft idea with others!  Facebook it, Twitter it, or Pinterest it for yourself.*

Have fun with it!

If you and your kids do this craft, take photos, and blog it….come back and leave the link in the comments of this post, so we can see how yours came out!

******


Save

Filed Under: Crafts & Creations, DIY (Do-It-Yourself) Project, Kids Arts and Crafts, Kids Arts and Crafts Tagged With: best-t-shirt-crafts, Catholic-blogs, Catholic-families, crafts, fun-not-messy-kids-crafts, kids-arts-and-crafts, sharpie-markers-craft, t-shirt-art, t-shirt-craft, t-shirt-project

Our Daughter’s Handmade Rosary

August 15, 2011 By Laura 7 Comments

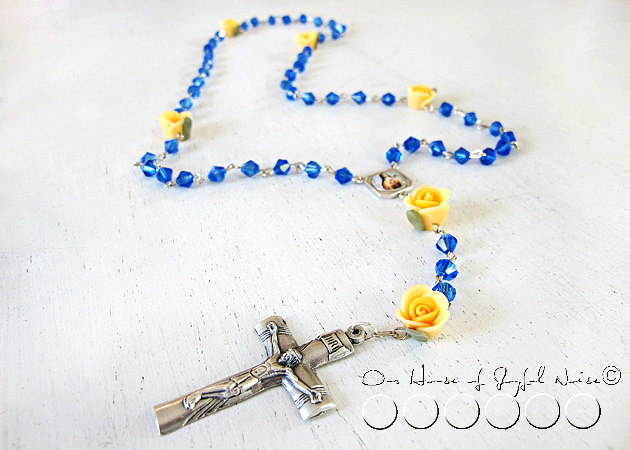
We just wanted to share with you this beautiful rosary our daughter {A} > Alexis Grace made. She is 14.


as-first-rosary_web
She made it as a gift for her friend, Fr. Bob Reed.  The Rosary center is a metal of St. Therese of Lisieux, who is Fr. Reed’s favorite saint, also known as ‘St. Therese – The Little Flower’, thus the roses for the Our Father Beads.  Yellow roses, as many of us know, are symbolic of friendship. But yellow is also one of Fr. Reed’s favorite colors, as well as blue, in the Swarovski crystals, which serve as the Hail Mary prayer beads. So suffice it to say, being a Catholic priest, who loves saying the Rosary, Fr. Reed was very happy to receive this gift from {A}, that consisted of so many of his favorite things.

From a creative standpoint, I am sure many of you can also appreciate the tedious work that went into this project, as well. {A} selected all of the beads, and special pieces of the Rosary in an eclectic manner, through Etsy searches as well as the craft stores, until she had all she needed to begin her project. Then using eye pins and crimping pliers, she created the Rosary.  We were really impressed with her handiwork, and are grateful for her giving heart as well.

Thanks for coming to see.

Update: Fr. Reed was very touched by the gift.  He frequently leads praying the daily rosary on CatholicTV, and {A} has noticed a time or 2 that he was using her rosary she made him.  He likely has many, many sets, and many as special gifts, too. He continues to be such a powerful witness of faith in countless ways to our children, and us as well, through his life and vocation, and his beautiful and authentic commitment to the power of daily prayer to our Lord, and Blessed Mother Mary. We are grateful to God for his friendship and example, all of which has blessed our lives.

Save

Filed Under: Crafts & Creations, Faith, Faith/ Catholic, Homemade/Handmade Gift Ideas, Kids Arts and Crafts, The Big Picture Tagged With: Catholic-blogs, Catholic-families, CatholicTV, handmade-rosary, rosaries, St-Therese-of-Lisieux, St-Therese-The-Little-Flower

Skeleton Key Accessories

May 22, 2011 By Laura 5 Comments

skeleton-key-accessories

I’ve always thought skeleton keys were pretty cool, even back when I was a kid.  While hunting at a frequented antique/junk stop of mine for old door knobs (for my recent Door Knob Project) I found some door knobs were part of a whole working set, complete with the opposite knob, door plate, locking mechanism, and of course…key holes.  That got me wondering if there might be some old skeleton keys around the place too. So I asked the old man who owns the place.

skeleton-key-accessories-1

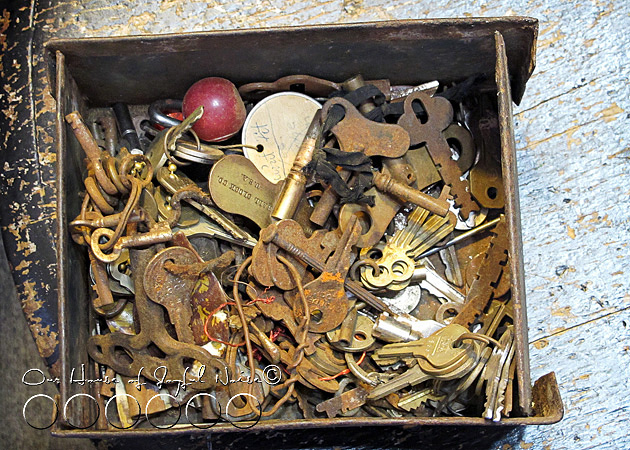
By golly he did.  He pulled out this box from under his desk, and dropped it in front of me with a clang.   At first sight, it was looking like I wasn’t going to find much.  But a little digging proved me wrong. I realized that, like vintage door knobs, skeleton keys come in many sizes, shapes and unique styles, as well. I did get a few keys on this day, to start, and I have a few different ideas of what creative things I can do with them.

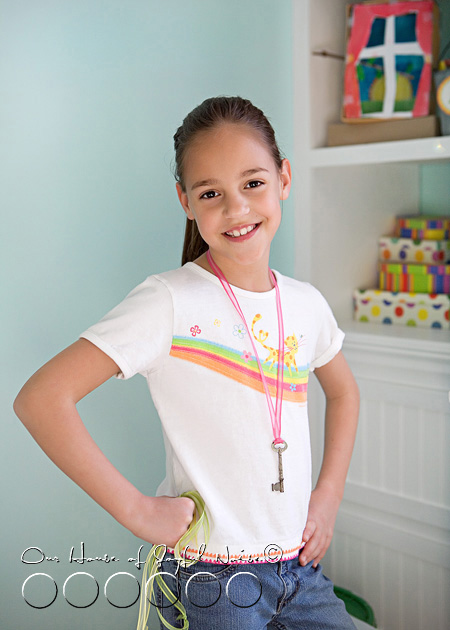
One idea I put into action so far, was to make a simple necklace or 2 with them.  This particular project here was for {O}, our ‘Resident Accessory Girl”.  So these shown here in this post are a bit little-girlish in fashion, but I’ll give you some great ideas for grown women necklaces in a minute.

I gave {O} one of the keys and a steel wool pad, and let her try to clean it up this key, out on the deck.  She’ll take a task on, anytime.  She’s the kind that wants to be busy, at all times.

skeleton-key-accessories-2
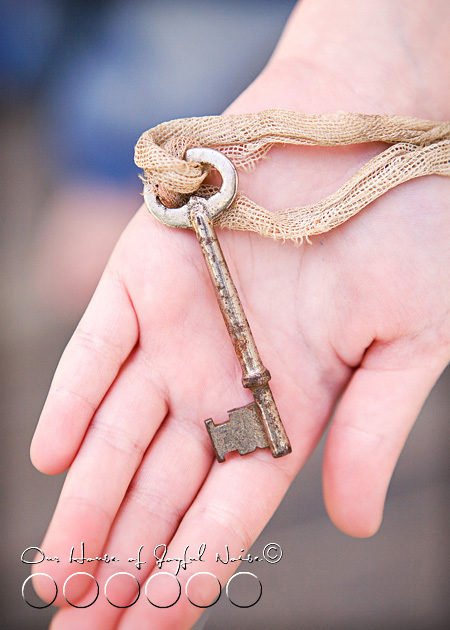
It started out looking like this. We didn’t find it necessary to get rid of all of the rust, as that’s what gives it an aged look, and a bit of charm.  But certainly we wanted to smooth it down enough, to be sure it wouldn’t be leaving rust residue on any clothing. Also, that nasty gauze strip needed to be removed.  Yuck! That thing had me wondering all kinds of hee-bee-gee-bee thoughts.  Nothing fashionable about that scrap!

skeleton-key-accessories-3
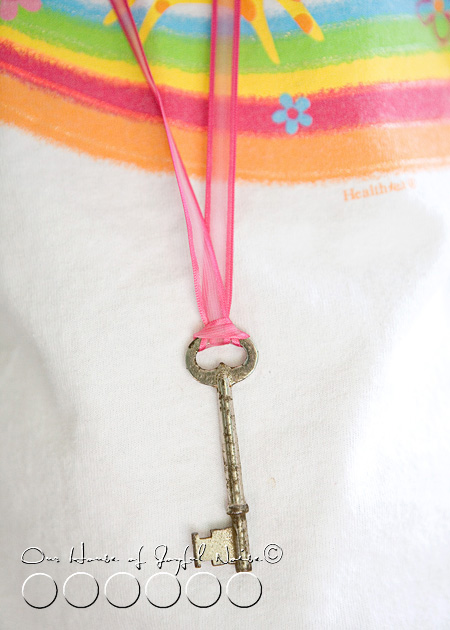
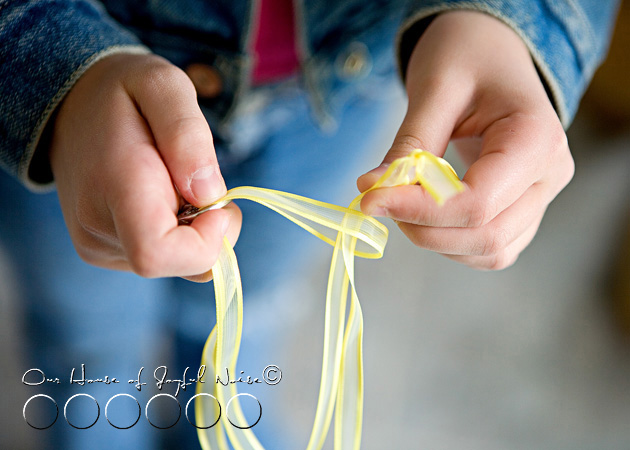
Once the key was clean, we looped it onto some very simple satin & sheer ribbon we had on hand, in bright fuchsia pink
!

skeleton-key-accessories-4

{O} did a nice job cleaning the key up, and we thought it looked pretty cute!! I let her know that, when she wore this piece or others like it, out & about, that she can expect the question, “What’s the key to?”, and that it would be a good idea for her to have some answers ready. The expression on her face flashed from realizing I was probably right, to thinking-mode, in quick succession.  She can be so funny sometimes. So far, here’s some answers she came up with:

“Maybe to my heart!”

“To allll of my secrets.”

“That’s for me to know, and for you, to never know!” 😀


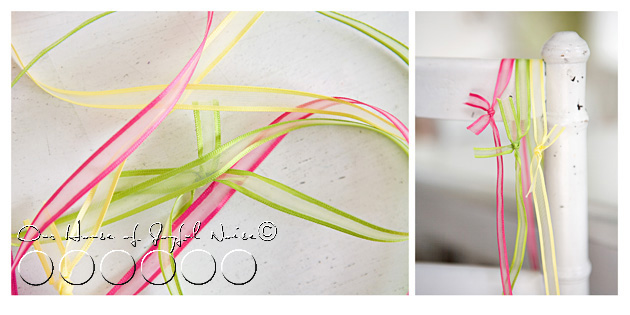
skeleton-key-accessories-11 I gave her some different colored ribbons, cut to size and knotted, so that she can change out the ribbon on the key anytime, to co-ordinate with other outfits.

Then I showed her again, how simple it is to tie on the key, and I’ll show you right now too.

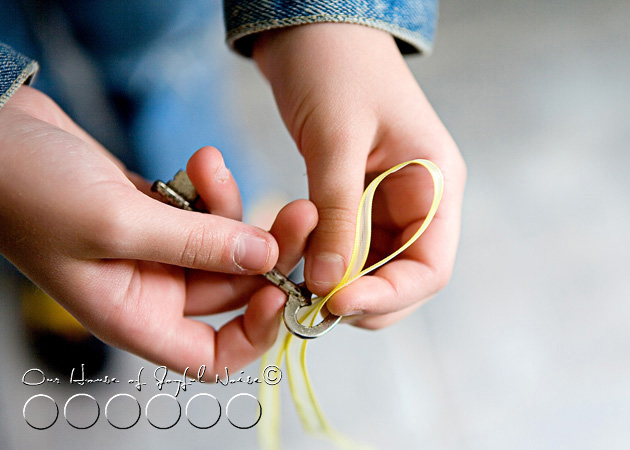
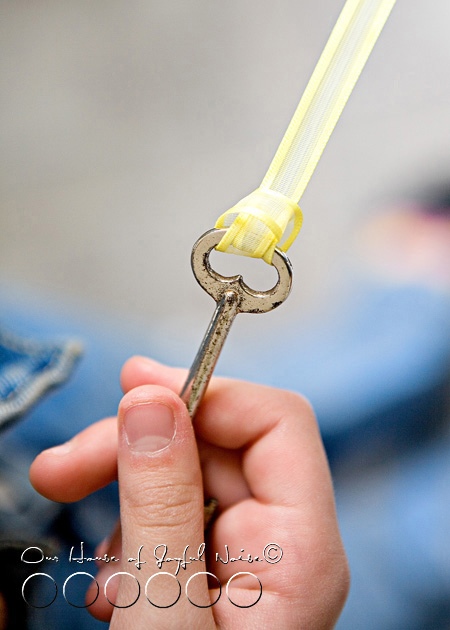
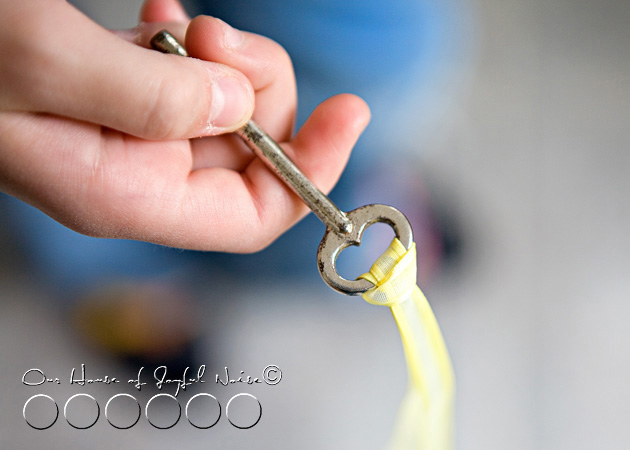
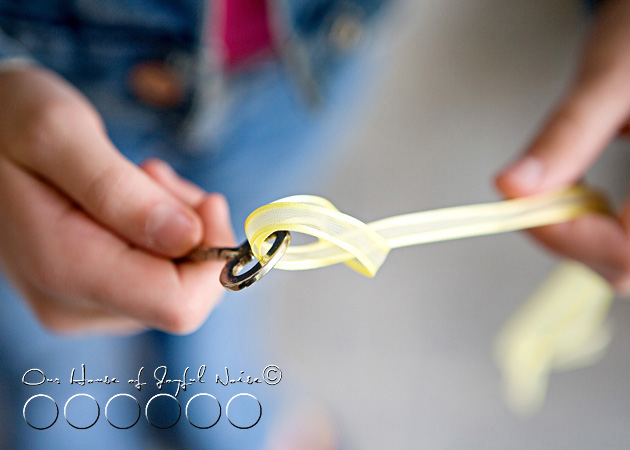
skeleton-key-accessories-7  With the lose ends knotted, take the opposite end doubled, and put the loop through the key hole.


skeleton-key-accessories-8  Then take the knotted end, and pull it through the inside of the loop that you just fed through the key.


skeleton-key-accessories-9  Pull slowly….

skeleton-key-accessories-12
….to make sure that it tightens nice & neatly at the top of the key.


skeleton-key-accessories-10 Voila!!  Slip the necklace over your head!

Here’s another technique, for a different look:

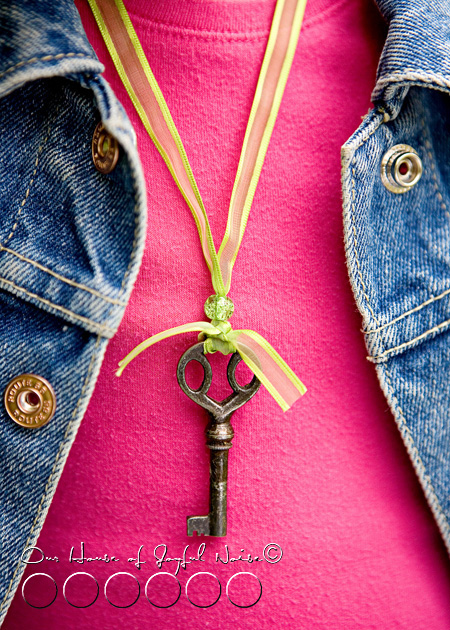
Feed the doubled ribbon through the top of the key, using the opposite end with the knot this time, and then put the opposite end’s plain loop through.  Then slowly pull to tighten so that the  end’s knot and tails tighten at the key top.

skeleton-key-accessories-6
You then can also slide on one or more pretty beads, over the doubled ribbon, right down to the knot.  To do this, you do need to use beads with a large enough hole.  I kind of stuffed this one through!

For some more grown up looks, consider using multiple keys, and other types of ribbon in more earth tones or royal colors, or try leather or suede string.  You can also add beads in a mix or match variety of beads made of ceramic, glass, carved wood, etc.  If you are a more experienced jewelry maker, you could work with chains, links and clasps, along with other decorative elements, to really make a vintage-style necklace.

Skeleton keys can actually be incorporated into all kinds of fashion accessories.  Since they do come in different sizes, think in terms of designing as bracelets, belts, zipper pulls, or hair accessories.

I know we plan to make more unique projects using skeleton keys, and I am sure to be sharing them right here, with you!

skeleton-key-accessories-5

We hope you enjoyed this simple little creative idea, for your wardrobe accessory collection.

If you have an other answers for {O} about what the key might be to, or, if you have re-purpose ideas for skeleton keys yourself, please share them with us in the comment section.  We hope to hear your great ideas!


Save

Save

Filed Under: Crafts & Creations, DIY (Do-It-Yourself) Project, Kids Arts and Crafts Tagged With: key-necklaces, repurposing-old-skeleton-keys, skeleton keys, skeleton-key-accessories

Creative Easter Egg Dyeing & My Photography Fun

April 19, 2011 By Laura 14 Comments

creative-egg-dyeing-ideas-photos-5

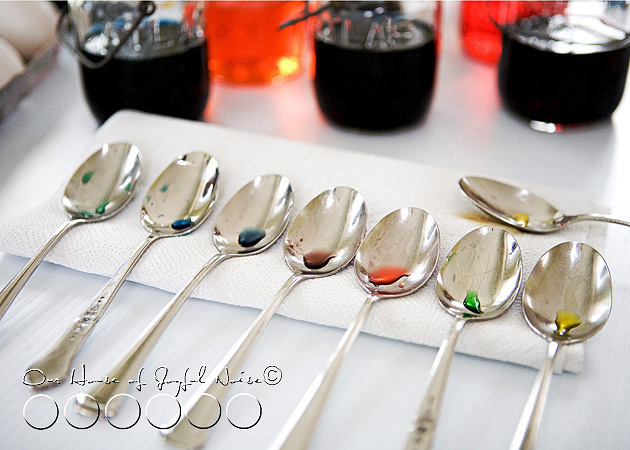
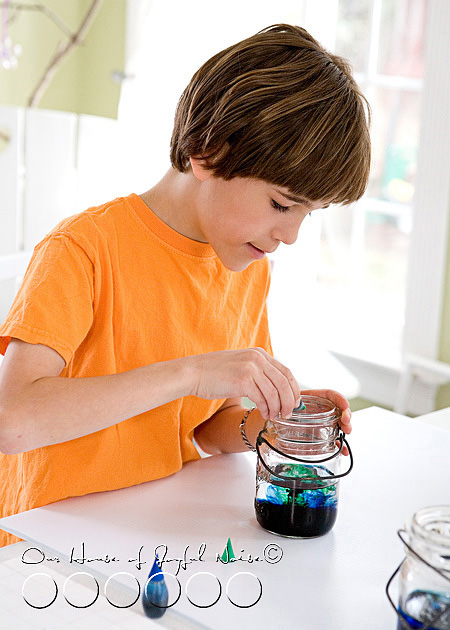
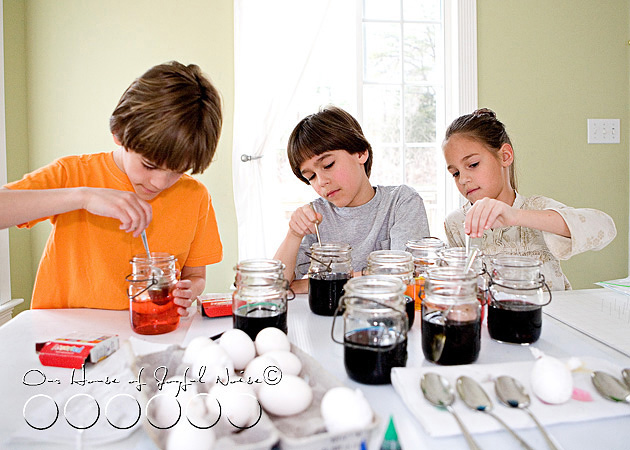
Dyeing Easter eggs is one of our family’s favorite creative Easter activities.  (And photographing the process, is also one of mine.) But every year, dyeing hard-boiled eggs causes us personal dilemmas.  For one, there is the question of how soon, is too soon, to dye eggs. Then we are afraid to put them in the fridge, knowing condensation will likely form on our artwork, when we take them out on Easter day.  Of course, we are always sad to crack and peel our hard work off, and then we’re a little leery of eating them anyway!

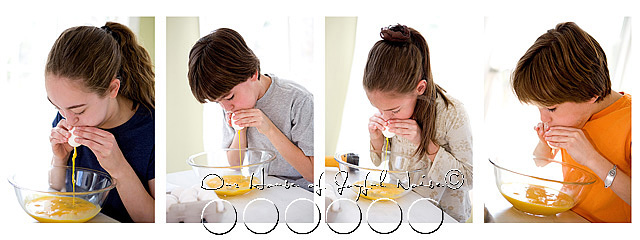
So this year we decided…..we’re blowing out the eggs!!  It solves all of those dilemmas of ours, and we can save them until next year, for decorating, and collect more and more with each passing year.   It was to be our first year blowing eggs out, and we were excited.

creative-egg-dyeing-ideas-photos Honestly, the kids were killing themselves, blowing them out.  Michael had made suitable sized holes, and broke up the yolk in there, so it wouldn’t be difficult.  Still….faces were turning red and purple. I could hardly watch. They only did a few.  I didn’t want their head to explode, or anyone to get a headache.
–

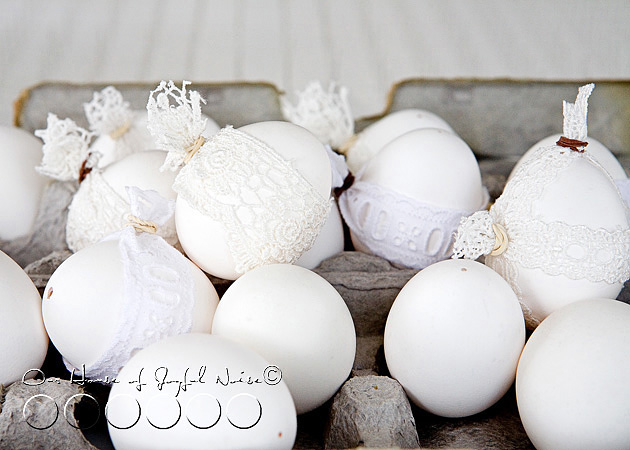
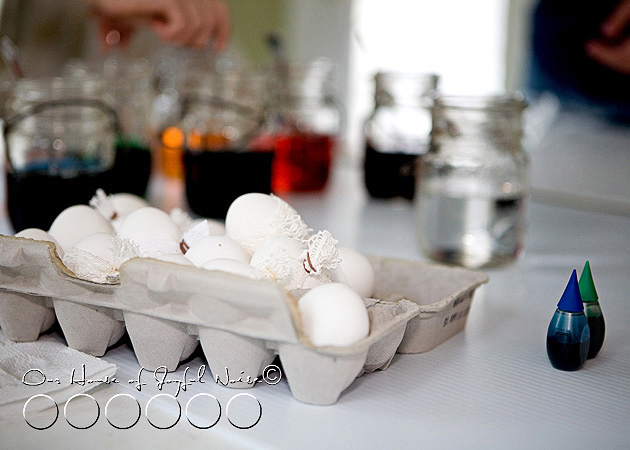
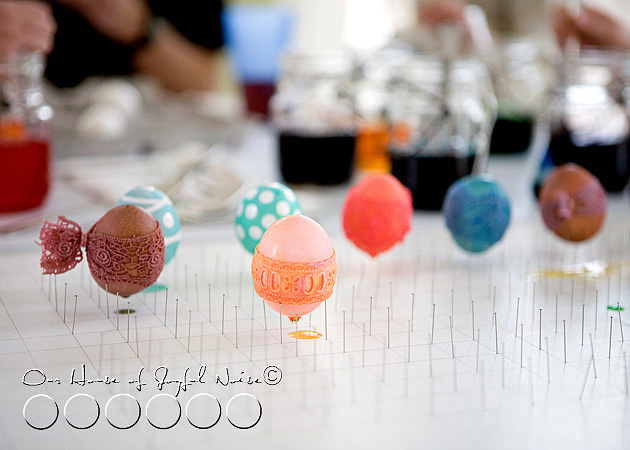
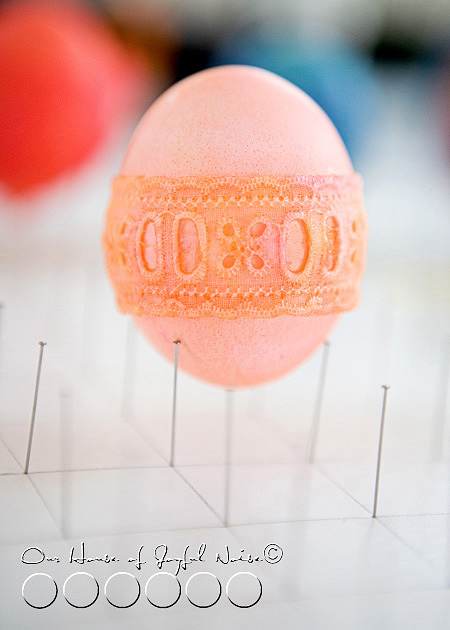
creative-egg-dyeing-ideas-photos-4 I had picked up a few tips from Martha Stewart, that I was excited to try.  One was tying lace around some eggs, dyeing them, and hopefully leaving a lace impression on the egg, when the lace was removed.   That was the plan, anyhoo.

Lots of photos coming up here.  Some of how we dyed the eggs, and many are just photos I was having too much fun taking.


creative-egg-dyeing-ideas-photos-1

creative-egg-dyeing-ideas-photos-2

creative-egg-dyeing-ideas-photos-3

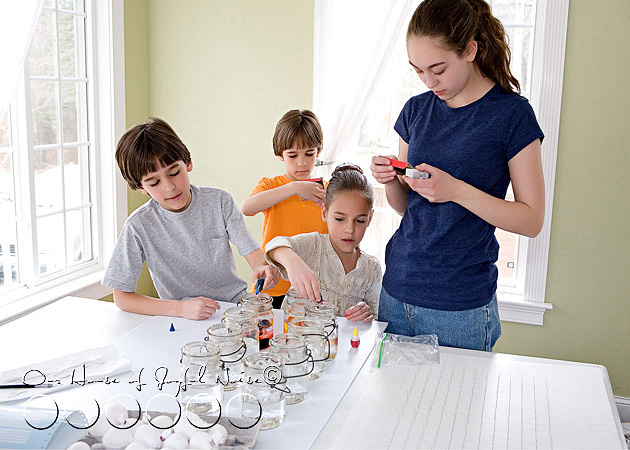
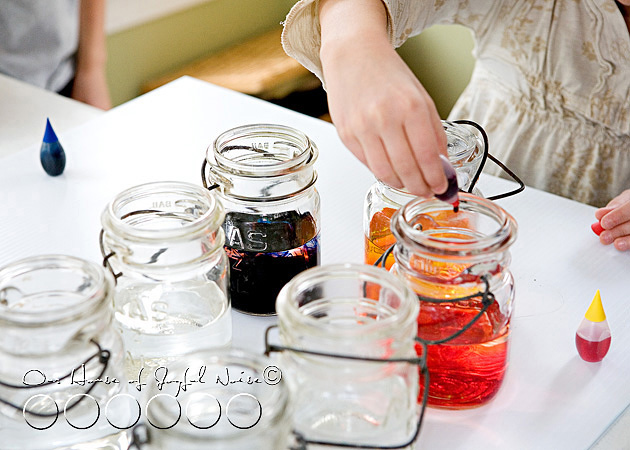
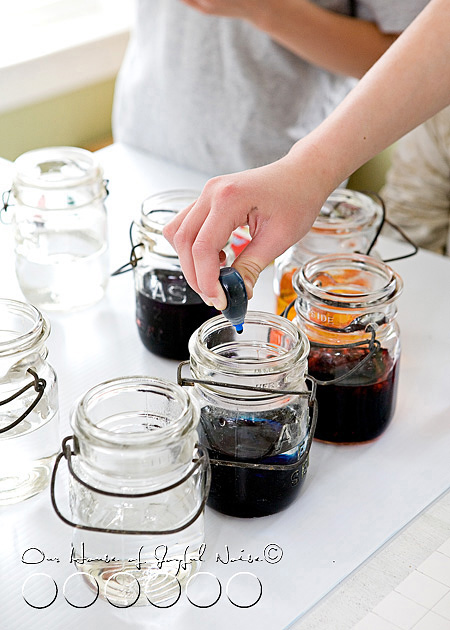
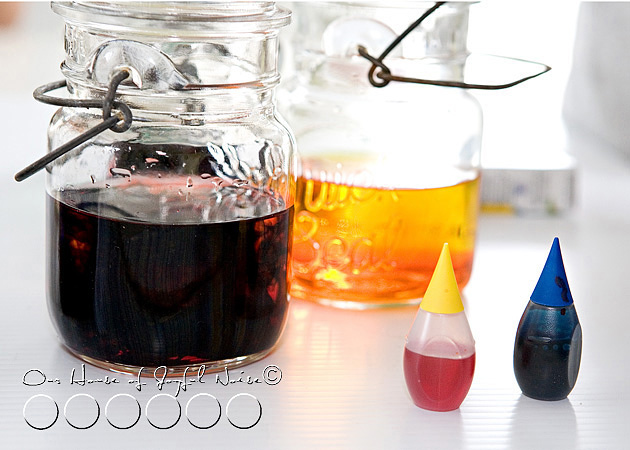
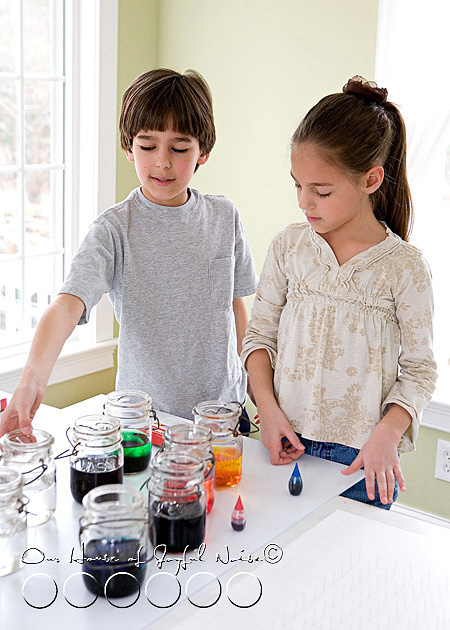
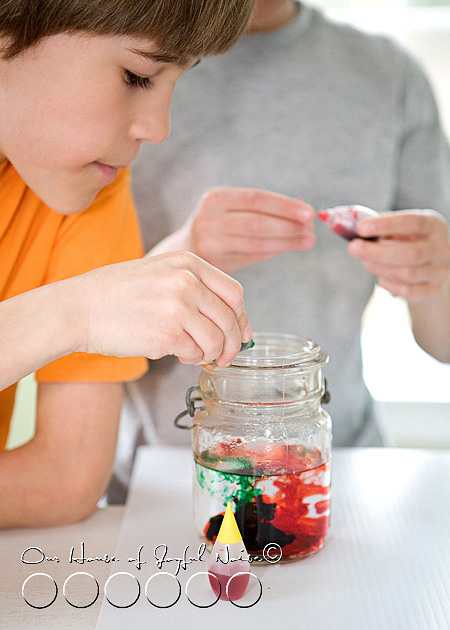
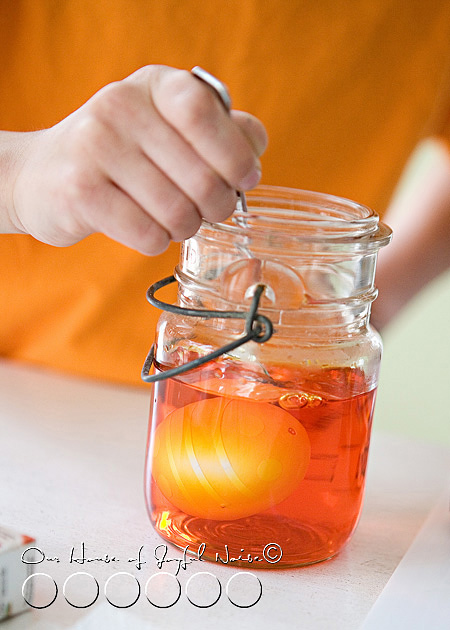
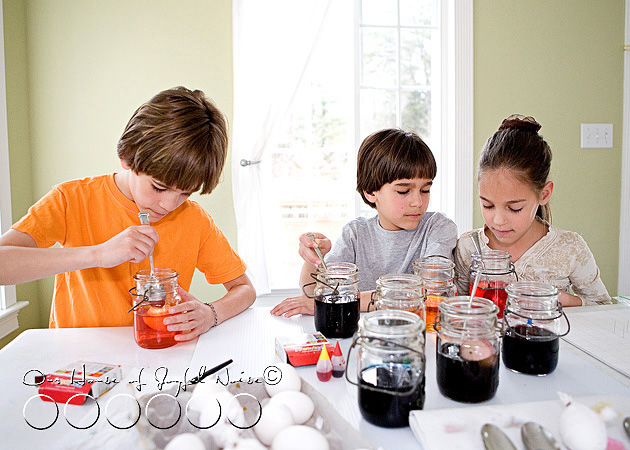
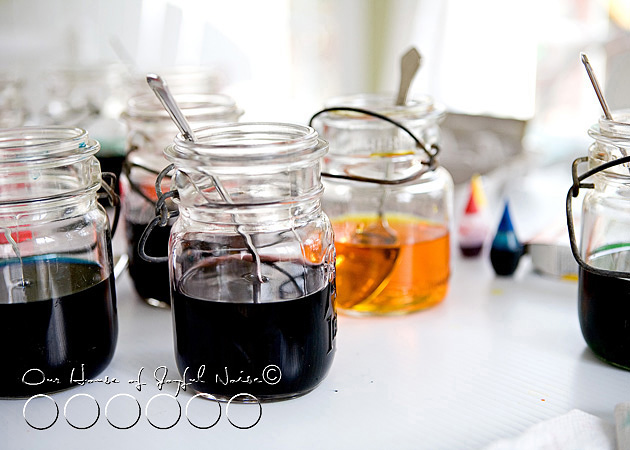
All of these mason jars I had just picked up at an estate sale on Sunday!  I knew I’d find lots of uses for them, and I did, the very next day!  They are perfect for dyeing eggs!

  creative-egg-dyeing-ideas-photos-6

creative-egg-dyeing-ideas-photos-7
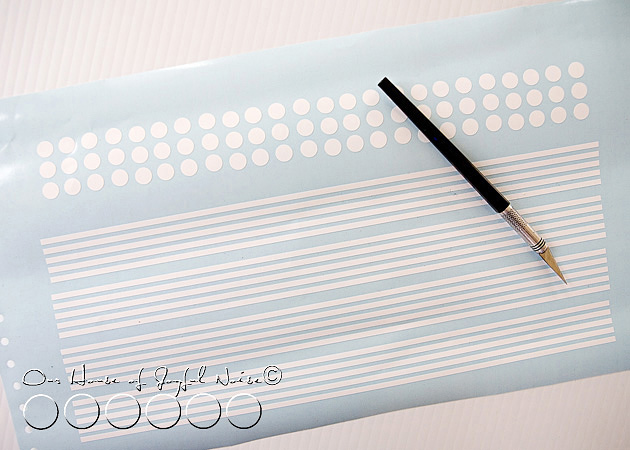
We had cut some vinyl dots and stripes, to adhere to some of the eggs before dyeing, and to be removed after they were dry.

–

creative-egg-dyeing-ideas-photos-8

creative-egg-dyeing-ideas-photos-9
One of my favorite shots of the day.

The kids always have so much fun choosing colors, and checking their eggs.  I love to watch them work, and listen to them chat.

creative-egg-dyeing-ideas-photos-10

creative-egg-dyeing-ideas-photos-11

creative-egg-dyeing-ideas-photos-12

creative-egg-dyeing-ideas-photos-13

creative-egg-dyeing-ideas-photos-14

creative-egg-dyeing-ideas-photos-15

I was very eager to take the lace off some the eggs.   But it seemed like they should be fairly dry before I did, being concerned the wetness would run onto the lace impression.  I wasn’t sure if that was a good plan or not.

     creative-egg-dyeing-ideas-photos-16
creative-egg-dyeing-ideas-photos-17
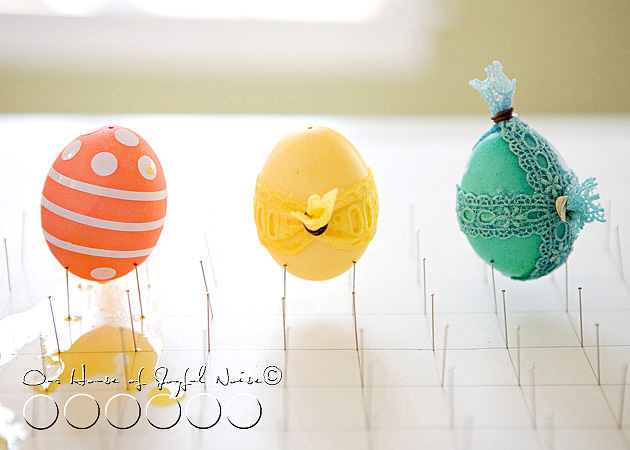
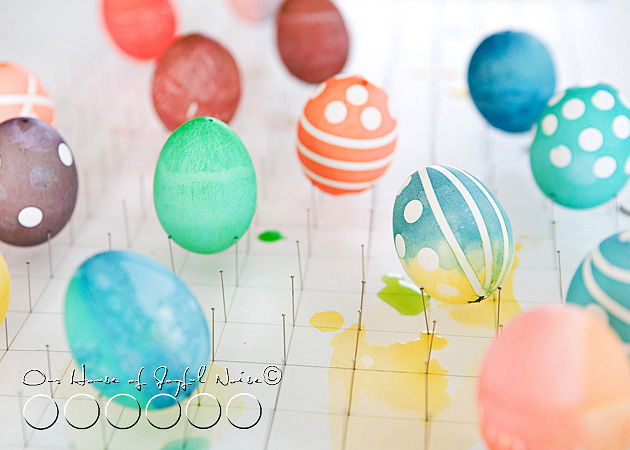
Also another new technique we were trying this year:  flat-head pins stuck in foam-core, to dry the eggs on.  Worked like a charm!  I never liked the mark that is left when resting a drying dyed egg on a flat surface.  This leaves no marks!

–

creative-egg-dyeing-ideas-photos-18

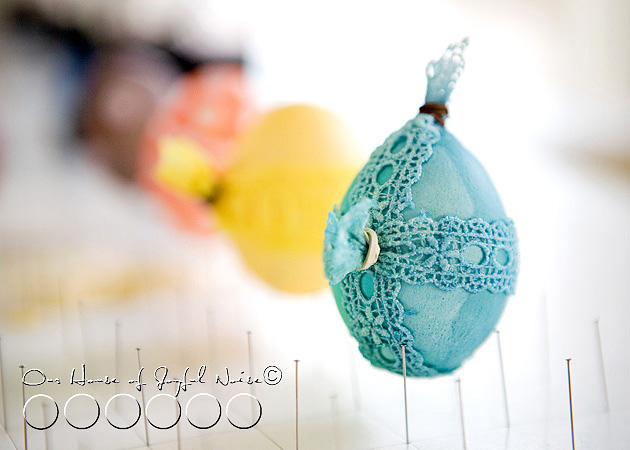
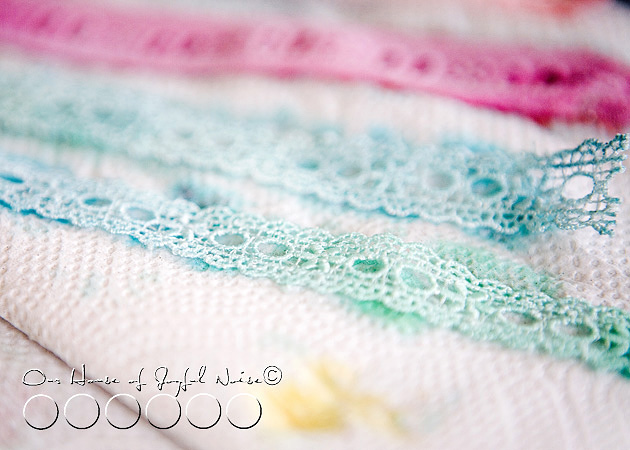
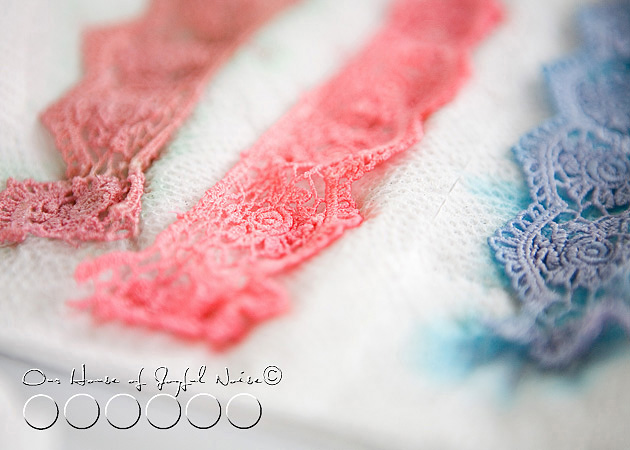
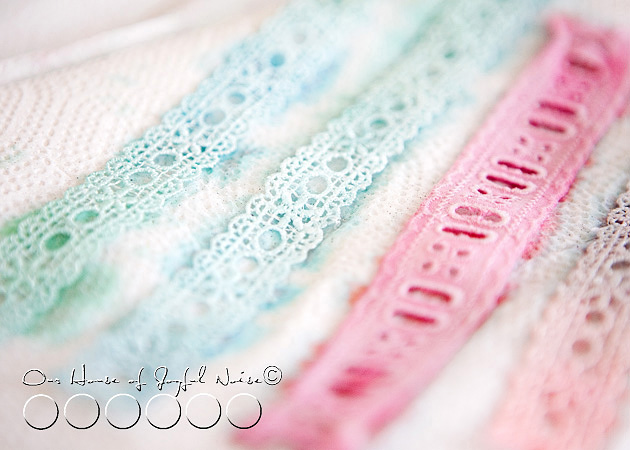
I started noticing how much I loved the dyed lace! I wondered, should I leave them on?


creative-egg-dyeing-ideas-photos-19
O.k., I guess leaving this one on, with the little rubber-bands, would just look plain silly.  But I still loved the dyed lace.
–

creative-egg-dyeing-ideas-photos-20 Our {O}.
–

creative-egg-dyeing-ideas-photos-25
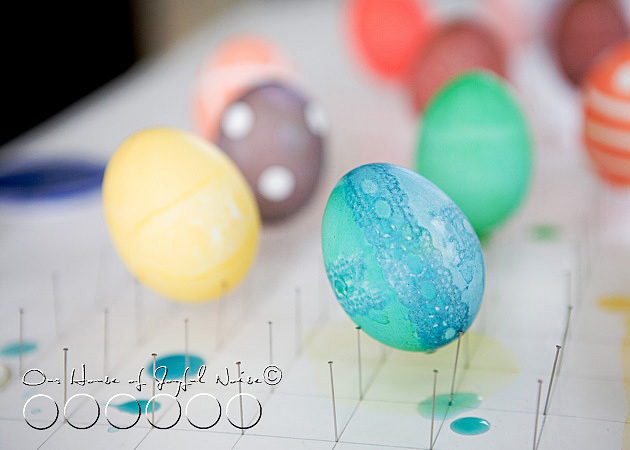
I did start removing the lace pieces, and this was the best that came out.  Hmmmm.
It’s not what we were expecting. But the effect is interesting and beautiful, anyway.


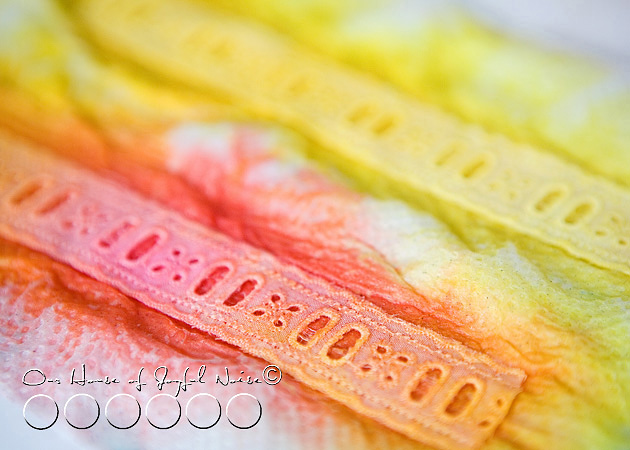
I especially loved the dyed lace pieces…..

creative-egg-dyeing-ideas-photos-22

creative-egg-dyeing-ideas-photos-23

creative-egg-dyeing-ideas-photos-24

I’ll have to think of a way in which to use, such beautiful pieces.
–

creative-egg-dyeing-ideas-photos-26

creative-egg-dyeing-ideas-photos-27

Some eggs came out nicer than others.  But they were just beautiful, all together.

–

creative-egg-dyeing-ideas-photos-28 I did end up coming up with a plan, to use the lace pieces.  I couldn’t throw them out. You’ll see…I’ll be showing you all more finished eggs, this week.  How about a peek around our Easter-time home? That’s coming right up.

Also…..would anyone like a step-by-step photo tutorial on how to thread blown eggs for hanging?  I’ve got photos all set to show. We came up with a wicked cool trick, that makes getting the thread through, so easy. We could also share how to blow eggs too, if you are interested in that.  Let us know!

030_beaten-eggs

Have you been creative lately?  Creativity comes in many, many forms. So we’re betting you have.

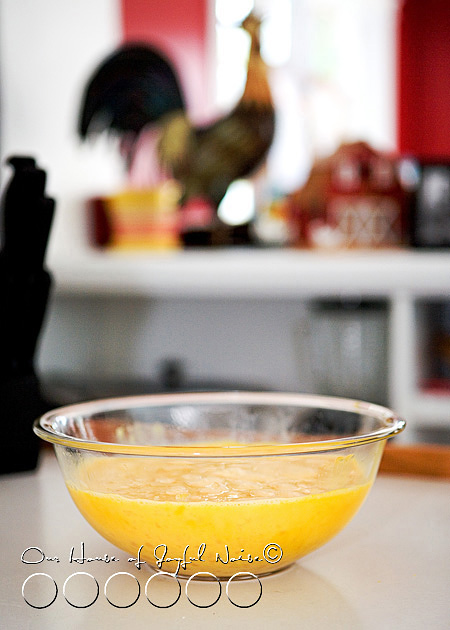
By the way:  GUESS what we had for dinner this night? ; )


Save

Filed Under: Crafts & Creations, Holiday Crafts, Kids Arts and Crafts, Seasonal Crafts and Creations, SPRING Crafts and Creations Tagged With: creative-egg-dyeing, Easter eggs, egg-coloring-ideas, egg-dyeing

  • « Previous Page
  • 1
  • 2
  • 3
  • 4
  • …
  • 8
  • Next Page »

We are wicked happy to have you here! We hope you find much inspiration, help, humor and enjoyment here.


Archives


POPULAR POSTS

* * * * * *
SUBSCRIBE to House of Joyful Noise blog! Every new post, delivered right to your email box!


Privacy Policy

Amazon Affiliates

Never at any additional cost to you, we may earn a small commission for our endorsement, recommendation, testimonial, and/or link to any products from our website. Your purchase through our links helps support our family, while sharing with you the products we authentically use and recommend, for various ideas, and letting you know where you can purchase them. Thank you for your support!

[footer_backtotop]

Copyright © 2025 HouseOfJoyfulNoise.com · Genesis Framework by StudioPress