• HOME
  • {A}’s Chipmunk Training Archives

 Homepage

  • The Homestead
    • Home Projects
    • Home Improvement
    • Home Decor
      • Seasonal Home decor
        • FALL Home Decor
        • WINTER Home Decor
        • SPRING Crafts and Creations
        • SUMMER Crafts and Creations
    • Our Chickens
    • Gardening
    • Organization
    • Re-Purposing
    • Furniture Refinishing
    • Budget
  • Crafts & Creations
    • Seasonal Home decor
      • FALL Crafts and Creations
      • WINTER Crafts and Creations
      • SPRING Crafts and Creations
      • SUMMER Crafts and Creations
    • DIY (Do-It-Yourself) Project
    • Kids Arts and Crafts
    • Homemade/Handmade Gift Ideas
    • Holiday Crafts
    • Fan Pulls
    • Free Printable/Downloadable
    • Sewing Projects
    • Giveaways
    • Business Features
  • Recipes/FoodFun
    • Breakfast
    • Lunch
    • Main Dish
    • Sandwiches
    • Appetizers
    • Slow Cooker
    • On The Grill
    • Side Dishes
      • Soups
      • Salads
    • Baking
      • Breads, Rolls and Muffins
    • Snacks
    • Treats
    • Desserts
    • Drinks
  • Homeschooling
    • Elementary Homeschooling
      • Elementary Homeschooling READING
      • Elementary Homeschooling MATH
      • Elementary Homeschooling LANGUAGE ARTS
      • Elementary Homeschooling SCIENCE
      • Elementary Homeschooling HOME ECONOMICS
      • Kids Arts and Crafts
    • Middle School Homeschooling
      • Middle School Homeschooling SCIENCE
      • Middle School Homeschooling HOME ECONOMICS
    • Language Arts
    • Math
    • History / Social Studies
    • Geography
    • Foreign Language
    • Field Trips
    • Games
    • Nature Study
  • The Big Picture
    • Life In General
    • Celebrations
    • Faith
      • Into the Light; The Series
    • Giveaways
    • Reviews & Sponsors
  • Photography & Lettering
    • Photography
    • truck lettering
    • vehicle graphics
    • Newborns
    • Kids
    • Engagement
    • High School Senior Pictures
    • High School Senior Pictures Sneak Peeks

3 Little Garden Chairs | Refinishing

July 2, 2012 By Laura 9 Comments

006_annie-sloan-provence-paint-color-300x214

There’s been these 3 little chairs, sitting in our basement for years now.  One of my husband Michael’s clients offered them to him, knowing we had triplets, and thinking maybe we could use them.  They are about toddler size. So he brought them home, and they’ve been in the basement ever since. I’ve never been a primary-colors kind of girl.  I thought maybe I would repaint them or do something with them at some point, for the kids, or maybe as available props for my photography studio.   But, I was just never inspired to ‘have-at’ them.

Until of course, I was.

001 I know these are ugly. Please don’t leave! I promise you, it gets much better! We were hauling out all kinds of things out of our basement that needed to GO, for our yard sale. Michael put these chairs out there, and when I saw them I said, “Hey! We’re not selling these! I could make them into cute little garden chairs!”  Well then….there was my inspiration.  The idea hit me for the first time, and flew out of my mouth. (As most thoughts do, if you must know. But I’m getting better.)  As so as it was, I was finally inspired to do something with these 3 little chairs.

The challenge was the primary colors of paint that was already on them.  Yes, I was going to paint them anyway, but I was NOT going to NOT distress them. And I sure as heck was NOT going to strip them.  They didn’t mean enough to me, to work that hard.  I mean, I love to paint, and to sand, and even to wax.  But stripping off paint? Not so much. So the primary colors underneath were staying, and I was starting to imagine, they were going to look pretty cool when I was done!

I’ll say right here, that I didn’t take photos of every step of the process.  But I think you all know what painting and sanding looks like. I DID take a whole bunch of photos of the chairs all done though! Lots. Those are the more fun photos you all like to see most, right. Because there was no special complicated process. I will tell you just how I did it right now, which was easy as 1-2-3, and then you can see so many photos I had so much fun taking as well, simply to show you.

Since I had 3 chairs, I thought it would be perfect to use the cans of the 3 colors of Annie Sloan chalk paints that I still had: Provence, Versailles, and Paris Grey. So, 1) I painted each one those colors.  It was actually very scattered painting sessions over a period of a few weeks, and my girls helped some too when they wanted to.  2) Then I distressed them to my liking. (That means, a lot of sanding. ; )
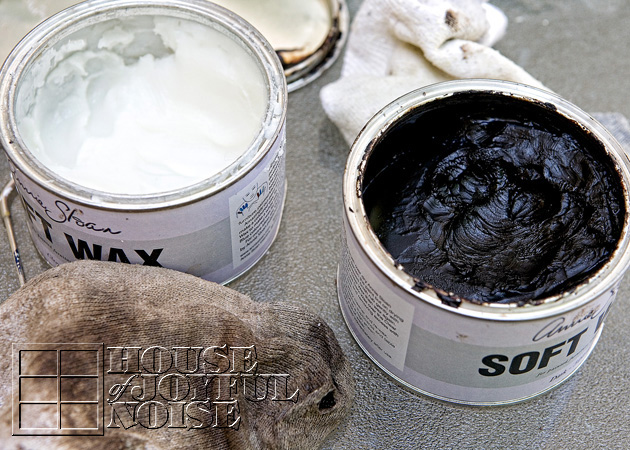
002_annie-sloan-waxes 3) Lastly, I waxed them with my Annie Sloan waxes.  It was especially important for them to be waxed, because I knew they were going to be left outside in all kinds of weather. So they needed some kind of protection, to preserve all of my efforts, of making them into cute little garden chairs around our homestead.  I did wax each chair one at a time, from start to finish.  First I did the clear wax all over a chair, let it set up a bit, but before it was completely dry, I worked in some dark wax where I wanted it, to give them a more antiqued, aged look. It kind of has to be done that way, because the dark wax is potent stuff. It only takes a little bit, and if the clear wax is too dried, it is hard to rub off – or even rub around, the dark wax. So that is always the little bit tricky part, as well as wicked messy and sticky and stinky. But I’ll tell you what, this point in my project process really proved even to me, how much I love furniture refinishing! Because it was also sunny and hot this day.  But I was out on our deck working away in the sun, sweating my a*# off (but wouldn’t you know it, it’s still all there!), but singing and rocking out to the music, with that nasty sock on my busy hands, and having a ball!

Or I might of been high on wax fumes. Hard to say. But it was fun! That much I’m sure of.

Not much chatting left. Just a ton of photos, and some tidbits I think you might like to know.
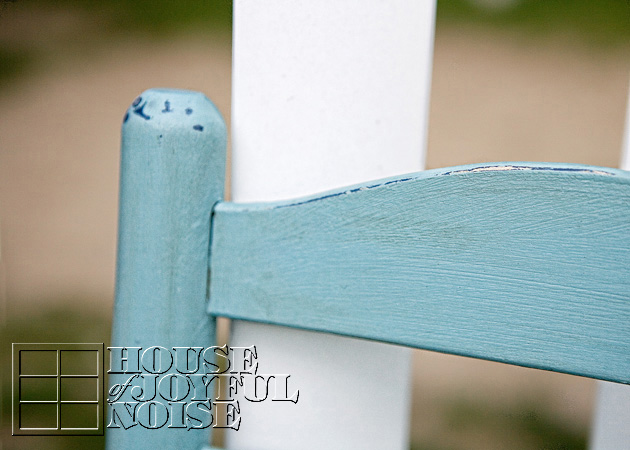
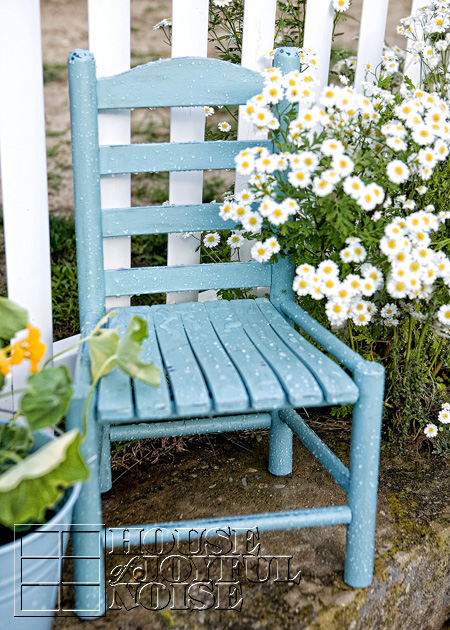
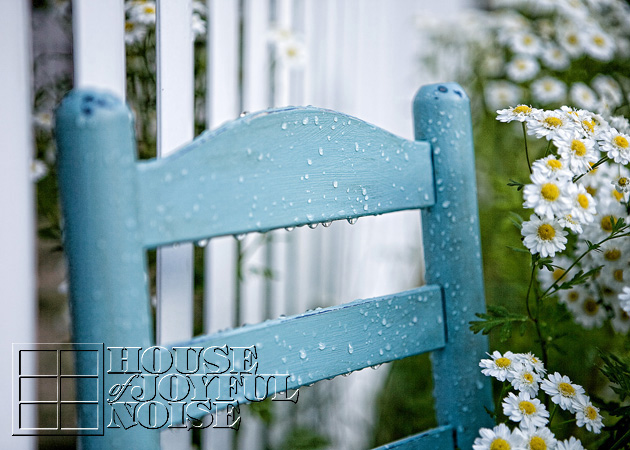
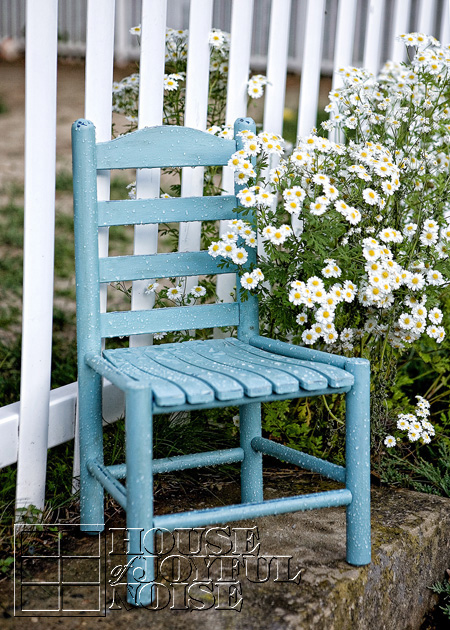
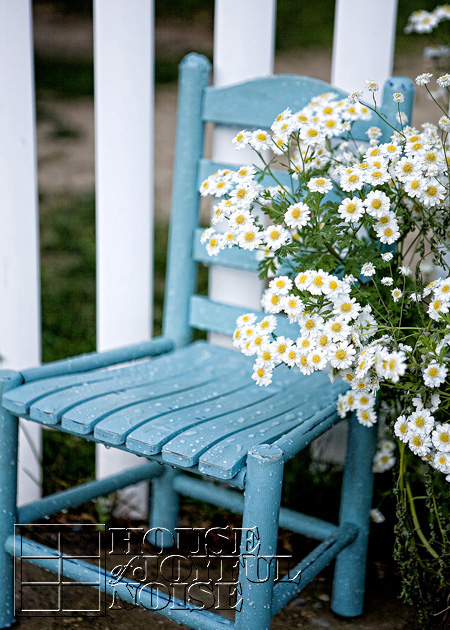
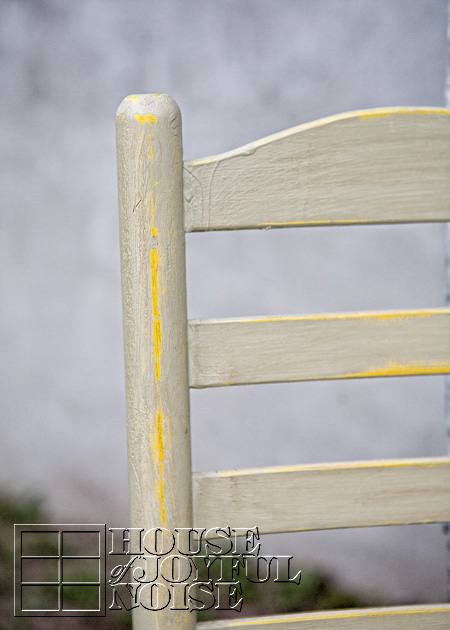
003_chair-antiqued-with-dark-wax Here you can see a couple of things, that really make these chairs beautiful to me. Knowing the primary colors underneath were going to show, I was careful in deciding which paint color was going on which chair. So here is the (Annie Sloan) Provence, on the dark blue.  You can also best see in this photo, the dark wax work, that helps make the chair look more aged.

 And a bunch of photos, where I have this one right now . . . . . .
004_chair-refinish

005_chair-refinishing

006_annie-sloan-provence-paint-color

007_garden-chairs

008_garden-chair

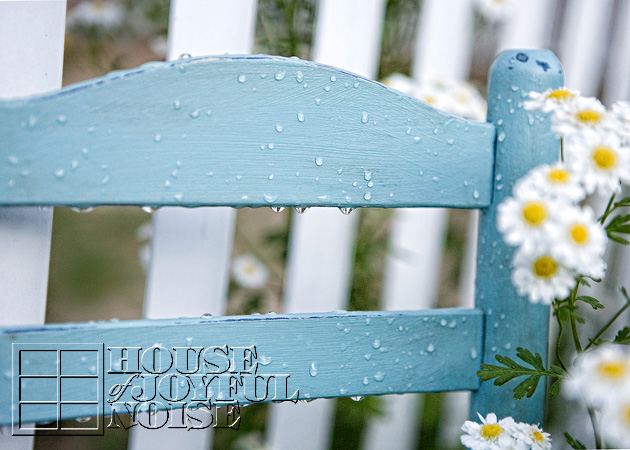
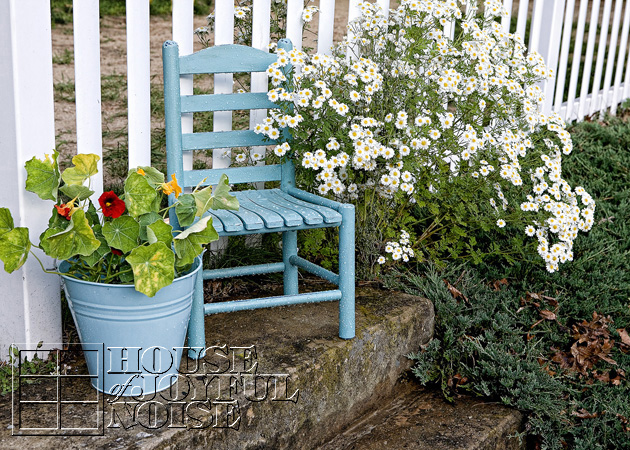
009_repainted-furniture Do you love it? I do!! I love the color, and I love where it is, with the daisies and the white picket fence there.  What I don’t love, is our yard. You may have noticed the lack of real grass. We pretty much just have crabgrass, and fine sand. I don’t much like the cement steps either. But, we have decided to hold off a bit and not invest in our grounds anymore, until we make some other pretty big decisions.  So, we make due, with making ugly . . . pretty, best we can for now.

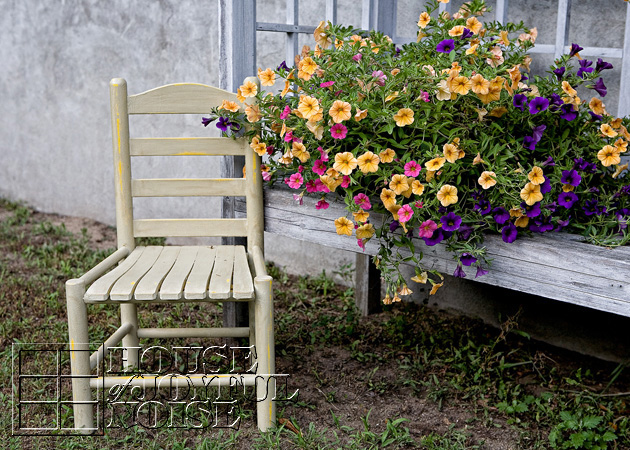
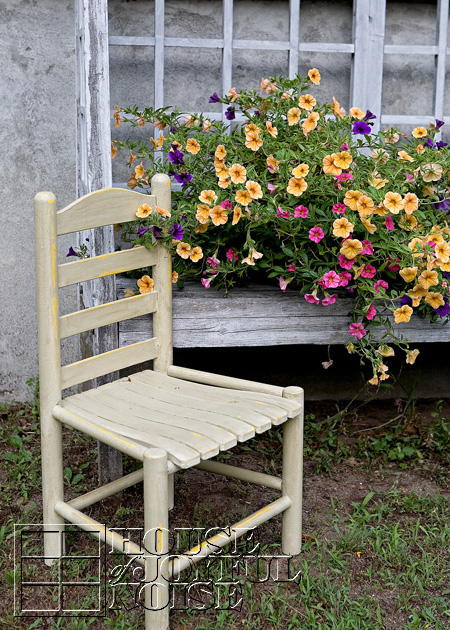
Next up, is the one that was yellow chair, which I painted Versailles.  It’s out front with the garden beds, next to the covered bench and potting bench . . . . . .

010_little-garden-chairs

011_garden-chair

012_annie-sloan-versailles-paint-color

Again, you can really see the paint underneath, where I excessively sanded, just the right amount. : )  You can also see the dark wax work, which only adds some character to it, to me. And do you see where the paint dripped? Some may think that is some imperfection. But I see it, and it makes me smile and feel happy. Because it reminds me of the memory, that my little girl was helping me paint this chair.

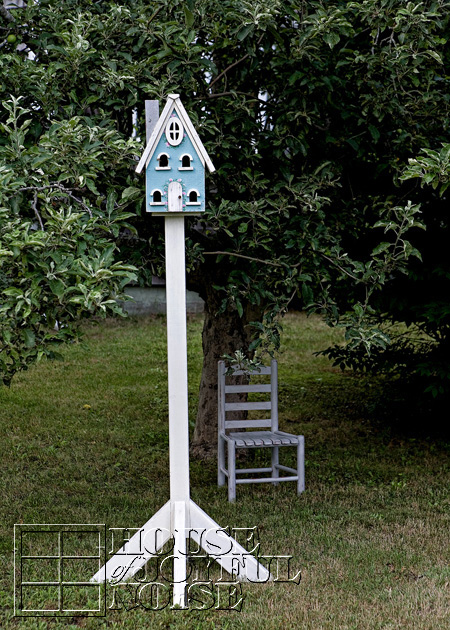
 And lastly, is the red chair, that I painted Paris Grey! I really wasn’t sure where I was going to put this one. So I just stuck it under the apple tree, and it seemed to look like it was at home there. Funny thing is . . . . . . it’s not at our home. (Yikes!)
013_little-garden-chair

The apple tree is not actually ours, nor on our property of course. Just over the line, but we pretend it’s ours. The owner is not usually around at all, and Michael does manage the property. (My excuse to take such liberties.) But she’s coming tomorrow for a week, so we’ll see if I get my hand slapped, or she kicks it back to our side, along with the birdhouse. And if I get arrested or anything, I’ll surely let you know. Because we’ll need to collect some bail!  (You all would help me get out. Right?!  Say yes.)
014_garden-chair

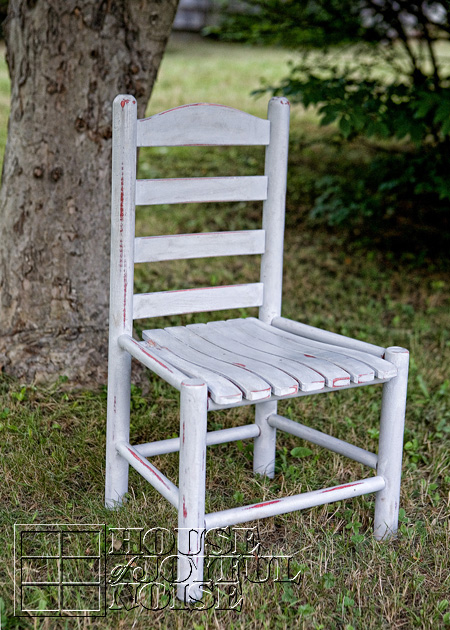
Care to sit for a spell, in the cool shade of the apple tree?
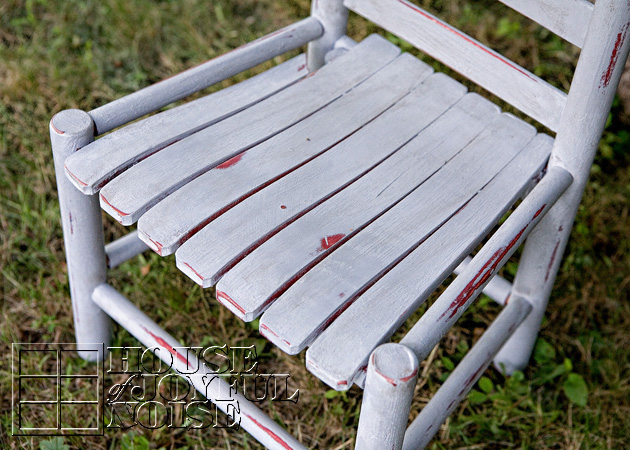
015_annie-sloan-paris-grey
See? I really go to town, with my sand paper!  This one even has a little broken piece. Again = love.

 I always say . . . . . . it’s the little things, that make me so happy.
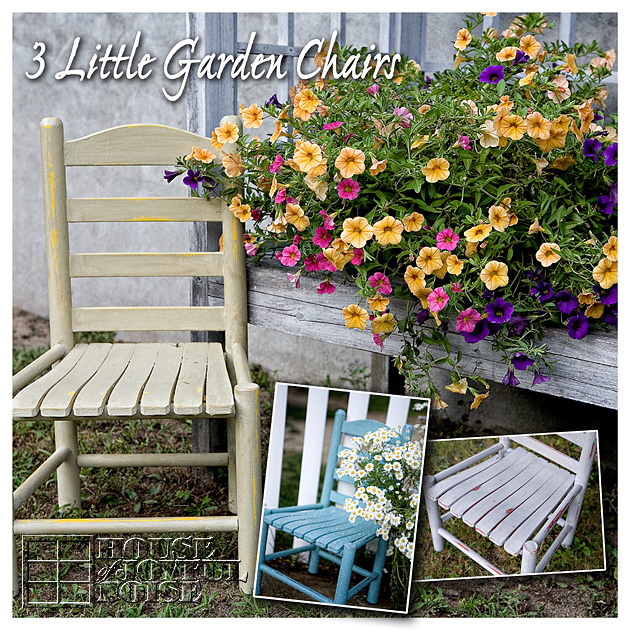
016_three-little-garden-chairs Thanks for taking a stroll around my gardens with me. (We literally, walked around the garden beds.) I always love when you visit us here, so please come again. We invite you to join us on Facebook too.

Save

Save

Filed Under: Furniture Refinishing, Furniture Refinishing, Gardening, Home Decor, Photography, Refinishing, The Homestead Tagged With: aging-furniture, annie-sloan-chalk-paints, annie-sloan-wax, cute-garden-decorations, distressing-wood-paint, garden photography, garden-decor, garden-decor-ideas, how-to-antique-furniture, little-garden-chairs, making-furniture-pieces-look-antique, painting furniture, photography, re-painting-furniture, refinishing-chairs, refinishing-furniture, still-life-photography, triplets, weather-proofing-furniture

Garden Peek!> Early Summer 2011

July 20, 2011 By Laura 1 Comment

early-flower-vegetable-garden-photos-12

I believe we’ve been both gardening and blogging, for about 3 years.  Our life is filled with so many various passions, there is more than we are actually able to get to blogging.  I sure try to get it all in though!  But one area that is especially hard to keep you all updated with, is the gardening!  Good gosh. Things grow and change SO fast, by the time I photograph what I want, edit the photos, and start putting a post together (while you know, living my life and doing 1,000 other things in the midst of it all), the post report, explaining the photos I took, don’t seem very current by the time I get to typing it out! But my intent today, is really just to share with you all what we’ve got growing this year.

In that light, after the first photo, the photos in this post were taken in early July. As I type, it is the 20th of July. Still, while reporting with photos is unavoidably a little delayed, we like to try and give you the picture of the process as a whole, even if the photos are a little behind the 8-ball of the gardens in the moment.  I imagine it is all still relate-able for the interested gardeners (or wannabes) reading, and perhaps it opens a door for conversation, as you reflect back on the few weeks prior to your own gardening-status, and the subsequent changes.  So we’re going to roll with this delay-thing we have going on in the gardening blog-shares, and hope you all can too.
early-flower-vegetable-garden-photos

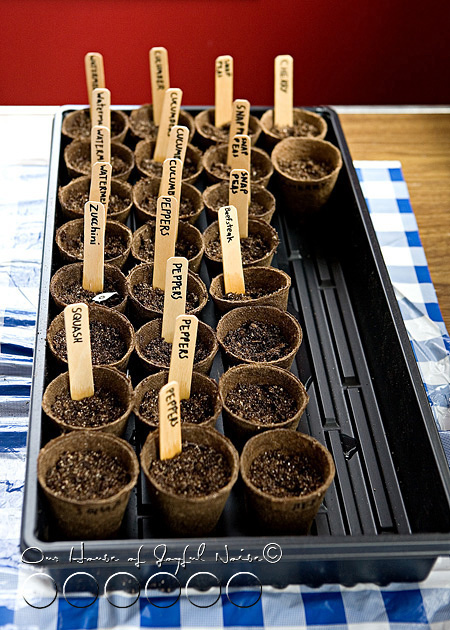
One thing we did differently this year, that we have not done in the past 2 years, is start our vegetable plants from seed!  Our experience with gardening has been that we learn a little more every year.  While we were somewhat successful in growing the plants from seed indoors, to transplant to the garden beds come Memorial Day weekend, I’m not sure our timing was right with everything. (?) For example, our pepper plants started out so tiny in the beds, that I couldn’t imagine them ever producing fruit this season!  But in sharing this with my Mother-in-law when she visited in early June, she mentioned those seeds probably should be planted in February or so.  She and my Father-in-law kept a beautiful yard full of gardens when they lived in this area. In the course of our conversation, I could not even remember the month we actually did start the seeds. But I was sure it was not that early!  The packaging of the seeds did not say, that I could tell, how long prior to replanting, that the seeds should be started. It only seemed to say how many weeks before they should bare their first fruits. So….I was winging it all. All of the seeds did sprout, grow plants, and were transplantable. In fact,  some grew too tall to keep the clear cover on, for the greenhouse effect.  What to do about that? And as I said, maybe different seeds should have started at different times. But when, for each variety, is my question. So, more researching to be done, and more lessons to be learned.  But as I have said all along, the learning as we go is half the fun!  Next year , also, I’ll keep a record of when the seeds were put in the soil. At least write the date on the containers!

Here is just a couple of other small points to note:  1)  As a reference, these photos were taken in early July. Things have grown and changed a lot since then.  So we plan to update you soon, but a little after the facts of course. : )  2) Please pay no mind to the very patchy crabgrass, in our sand-dirt, that needed mowing badly. It was done that evening.  But I am working on not procrastinating photos or a post, due to a likely irrelevant detail, so don’t call me out on that, or I may have a relapse with my self-therapy. ; )  Alrighty?

early-flower-vegetable-garden-photos-1

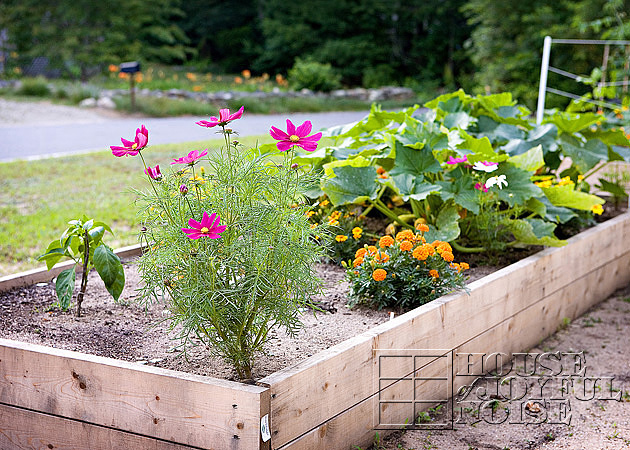
Here in Bed #1 we have little pepper plants on the far right, behind the Marigolds.There is Green Peppers, and Jalapenos.  Aside from the Marigolds, we also have Cosmos, and a sweet single Sunflower that {O} grew.  I plant the Marigolds and Cosmos in ever bed, to attract bees and butterflies, for assistance in pollination. But also, because I love bees and butterflies.  : )   On the far left, we have Cucumbers growing.


early-flower-vegetable-garden-photos-2

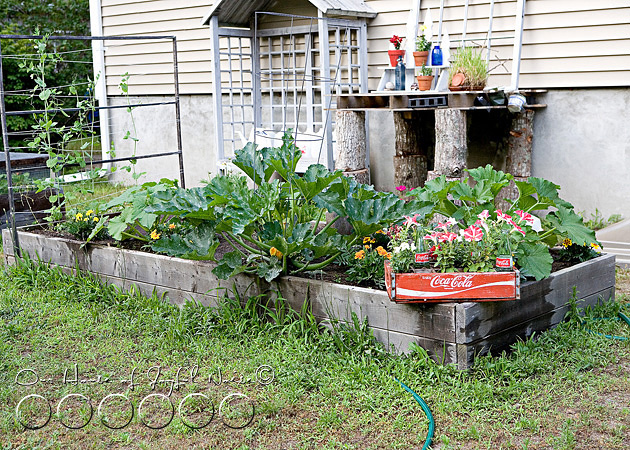
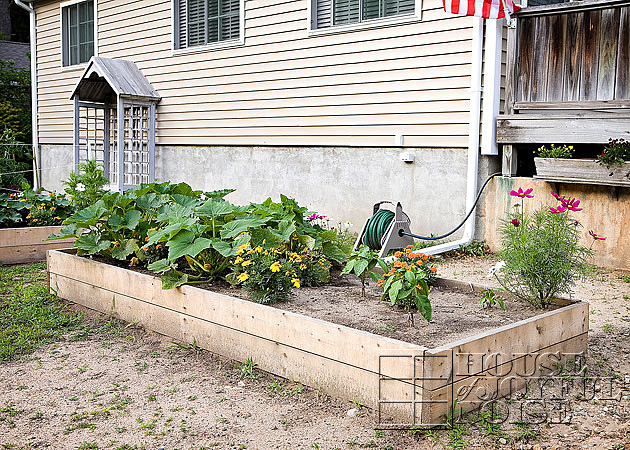
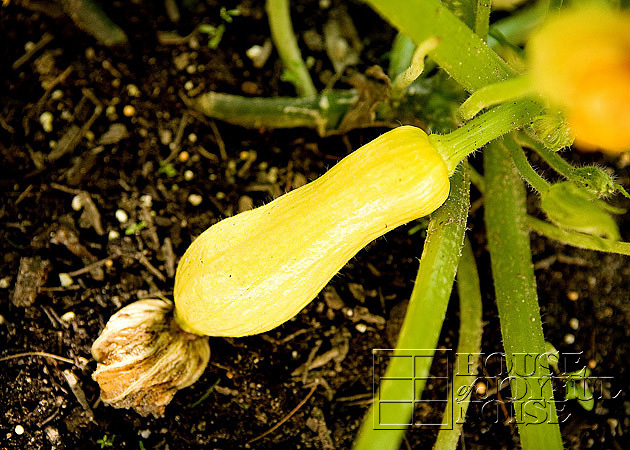
In Bed #2, we are growing Yellow Summer Squash and Zucchini.  We were adamant about the squash varieties growing in another bed this summer, after last year’s devastation!  Some of you may recall the sudden and devastating death of our squash bed last year, and eventual discovery of the culprit!  More on our remedy for this in just a bit.  But also in this garden bed is something new we are trying to grow Sugar Snap Peas! We had no idea what we were doing there at first, but I researched it and learned quickly. They started out ‘thin’, in my Mother-in-law’s word. That was her nice way of saying ‘puny’ I think. Made me giggle. But they are looking GOOD now. A closer look on that in just a minute as well. All else we have here, is the Marigolds, Cosmos, and still sitting there is our now-virtually-famous Coke Bottle Box and Candy-Cane Striped Petunias. There’s also a few Snap Dragon in that box.

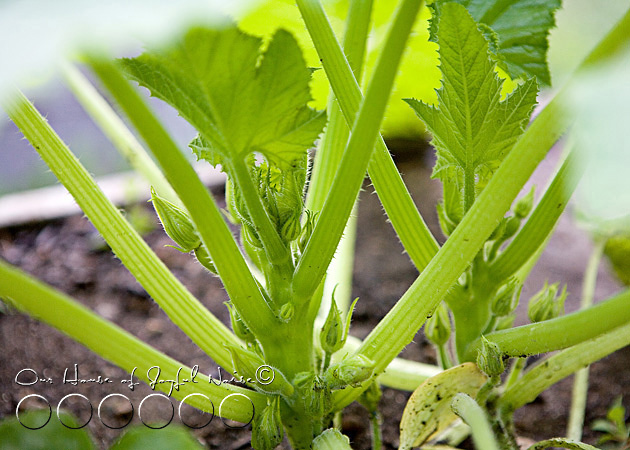
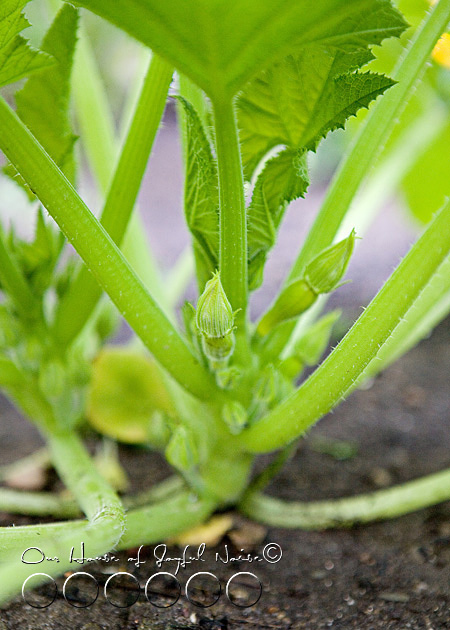
early-flower-vegetable-garden-photos-3 Promising buds of  squash.

early-flower-vegetable-garden-photos-4

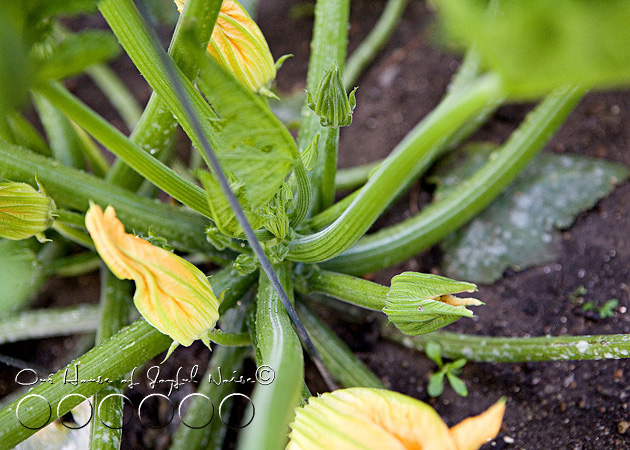
early-flower-vegetable-garden-photos-5 Squash Flowers.  No, we have not prepared them as a recipe in any way yet. Fried? Stuffed? It just sounds strange to me.  We’ll see who can convince me.

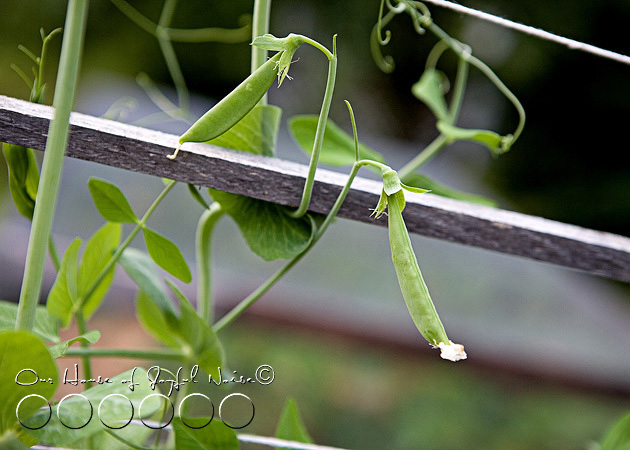
early-flower-vegetable-garden-photos-6 We were pretty excited to see these 2 pods!  I have fond memories of picking & gobbling peas in my aunt’s garden, when I was little.  I want our kids to be able to do the same.

early-flower-vegetable-garden-photos-7

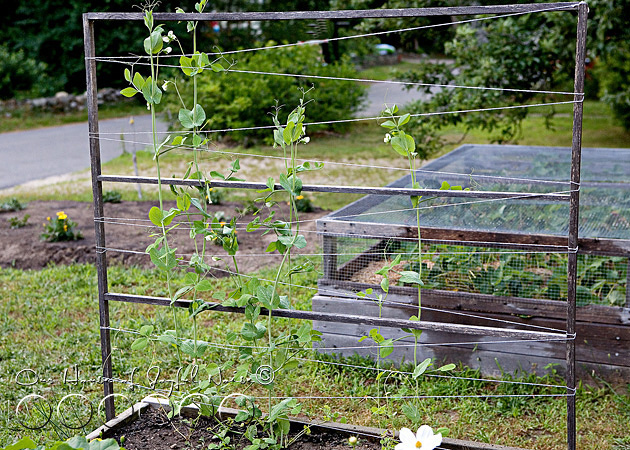
So as I implied earlier, I wasn’t sure starting out, how we would do producing Sugar Snap Peas this first year. But regardless, I have loved watching them climb our wooden frame, and zig-zagging twine.  The hornets are ‘having at’ that wood frame, by the way.  I’ve found myself watching & studying their activity intently, both fascinated & irked at the same time.  I hope the frame holds up through the season anyway. It’s easy enough for Michael to whip another one up next year.  As an update, the peas are doing wonderfully, and I’ll show you more on that next garden post.

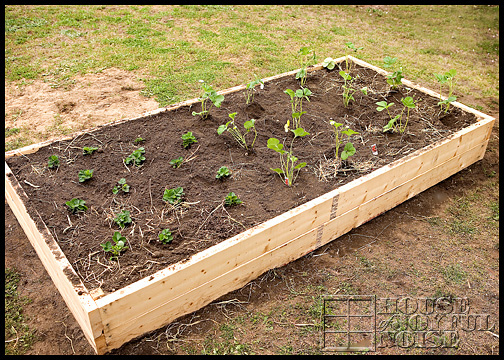
early-flower-vegetable-garden-photos-8 Garden #3 is the Strawberry Bed.

You are welcome to check out the post prior to this one, for lots of photos and chat on our Strawberries this year.

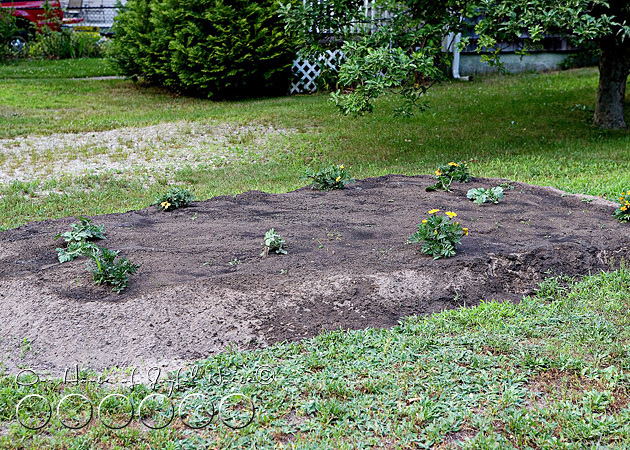
early-flower-vegetable-garden-photos-9 Another new learning experiment this year.  Since last year we learned that we planted our Pumpkin Patch too soon, this year we thought we’d try using the bed as a Watermelon Patch first!  The kids planted the seeds into this bed themselves. You can hardly see them well in this early photo, but let me point them out among the Marigold plants.  The Watermelon plants are in the upper far left, the one in the middle-ish, and far center-right.  There were just a couple others that the squirrels pulled out, before we got to spraying a Deer-Off border.  So I planted a row of 6 new Watermelon seeds in the soil vertically on the far right side. Updated photos of the plants will be coming up too.  We’re not sure if we’ll actually get Watermelons this year either, as my Mother-In-Law said those should have been planted earlier too.  But the plants are spreading like mad now, and I did catch a glimpse of a flower. So there’s a small chance we’ll get at least 1 melon. Heyyyy, we can split it!
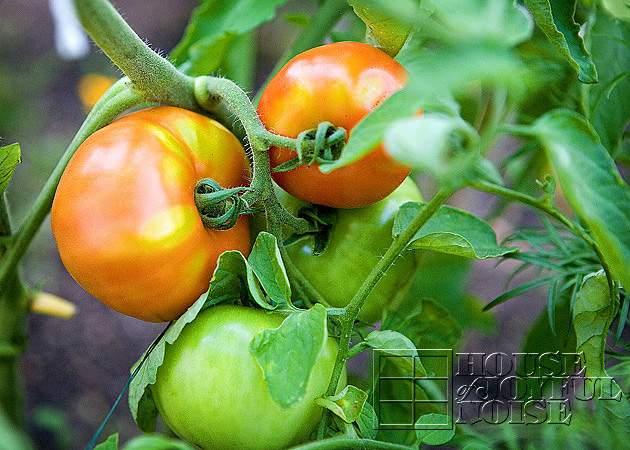
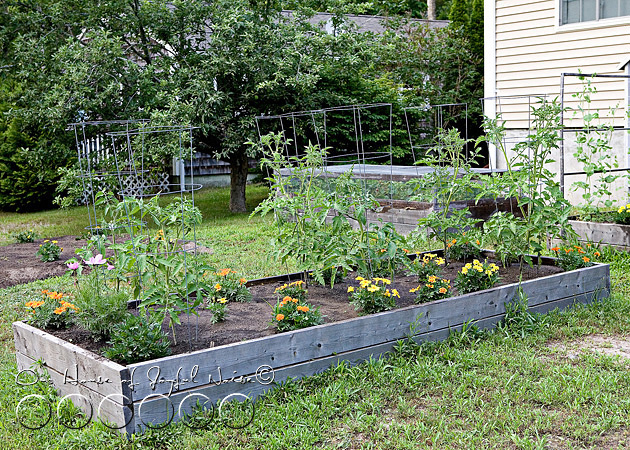
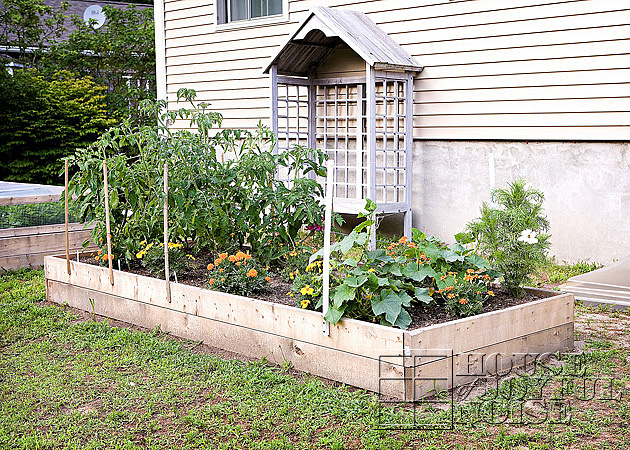
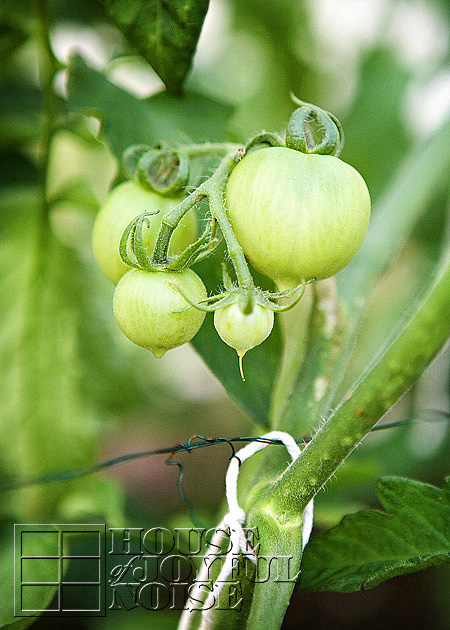
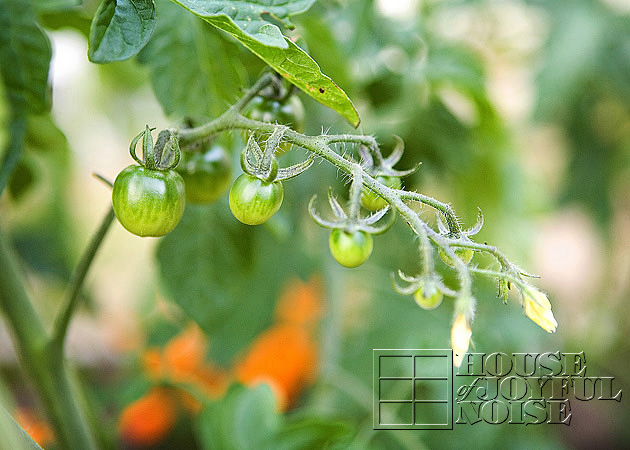
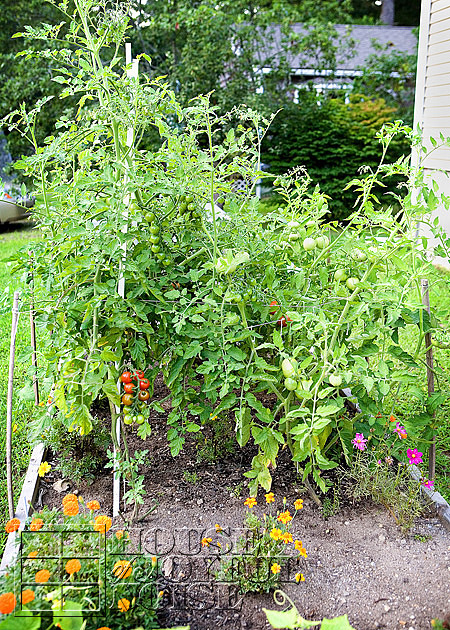
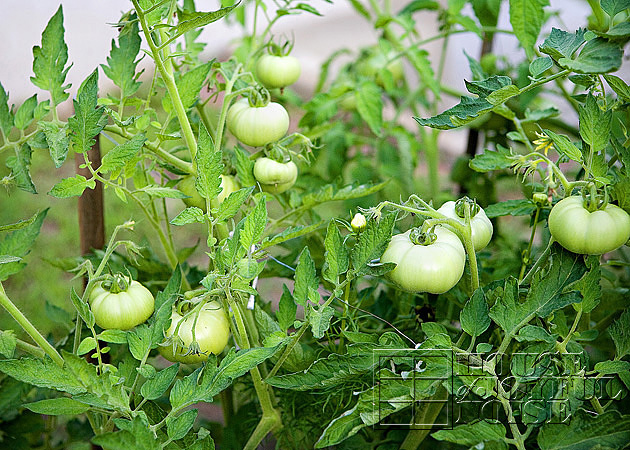
early-flower-vegetable-garden-photos-10 Lastly, in Bed #4 we have 4 Varieties of Tomatoes:  Cherry, Early Girl, Big Boy & Beefsteak.

This is the bed that was our Squash Bed last year! First, we screened all of the soil, looking for any Vine Borers that were hibernated down into the soil, pupating, after the devastation they do in the year prior, waiting to reak new havoc again this year!  We learned that’s what they tend to do!  We didn’t really seem to find any, but we used a new bed for the squash this year just in case.  Besides, we try to rotate the beds every year or 2, so the soil is not depleted of any nutrients from one particular plant variety.

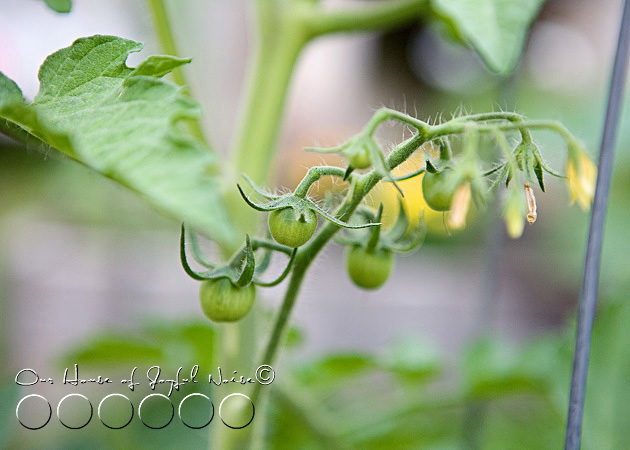
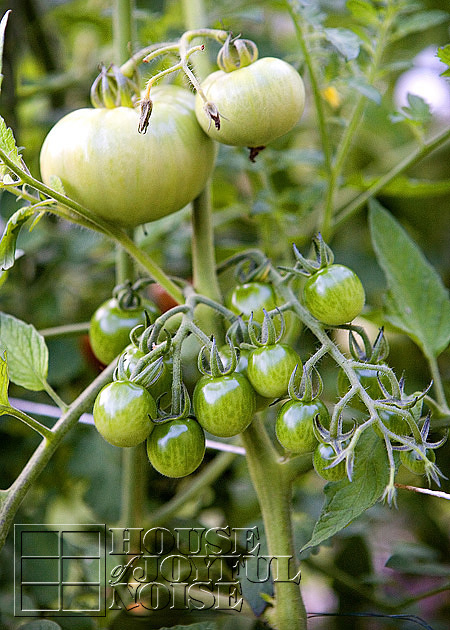
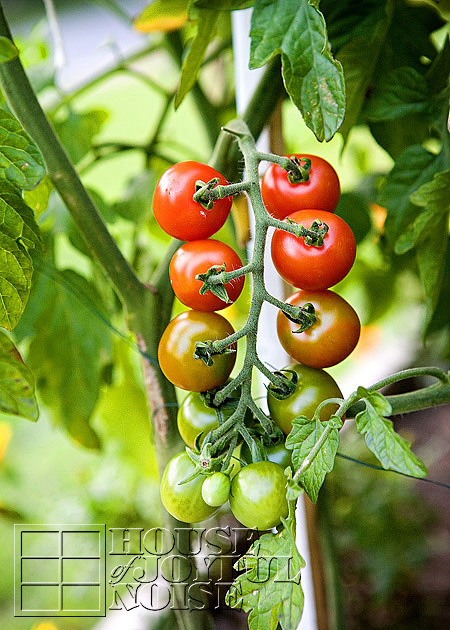
early-flower-vegetable-garden-photos-11 Some Cherry Tomatoes on the vine.

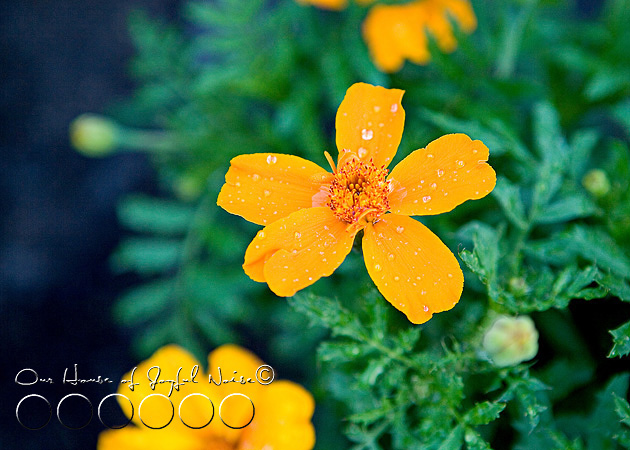
early-flower-vegetable-garden-photos-13 Marigolds.

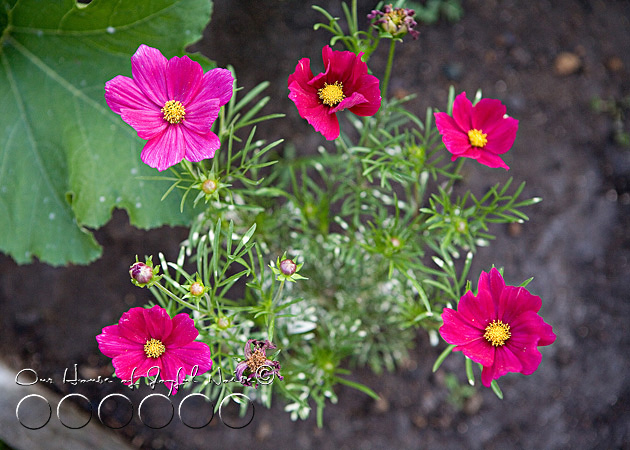
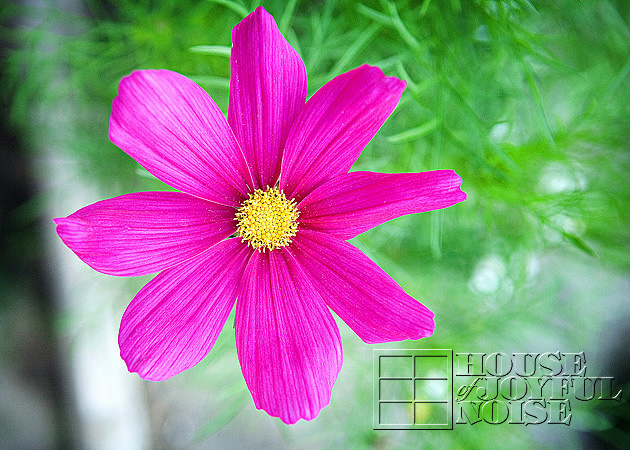
early-flower-vegetable-garden-photos-14 Cosmos.

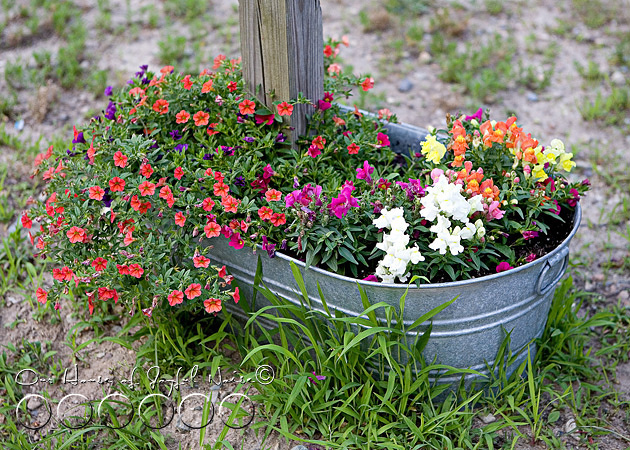
And lastly, a quick look at how our Mailbox Garden Tub has filled in….

early-flower-vegetable-garden-photos-15 I love how the Calibrachoa spill over.

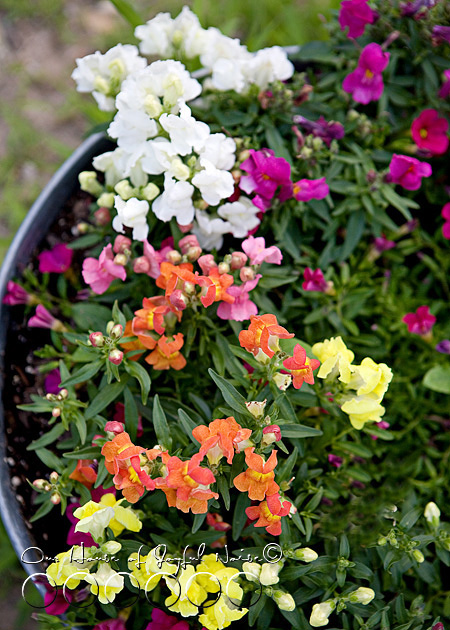
early-flower-vegetable-garden-photos-16 And I have always loved Snap Dragons.

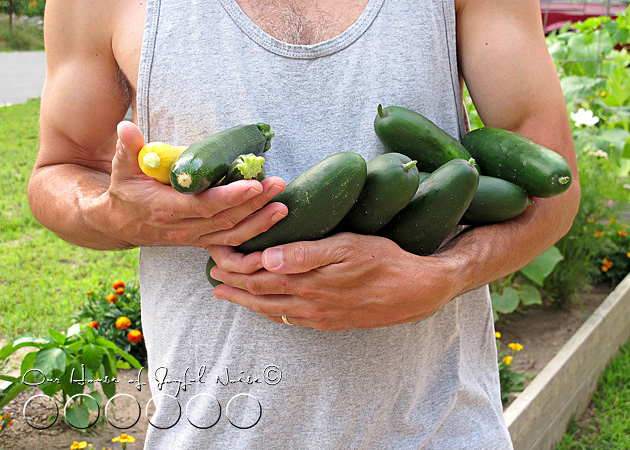
early-flower-vegetable-garden-photos-17 THIS, is not a photo from early July, but a more recent photo after some picking, last weekend. We have been enjoying Yellow Summer Squash, Zucchini, and Cucumbers, so far.

And that my friends, is your Late Garden Report!  Stay tuned for more Late Reporting, right here in the The Homestead ~Home & Gardens section, of Our House Of Joyful Noise.  Meanwhile, I’m open to some sharing and garden chat in the comments!


Save

Save

Save

Save

Filed Under: Gardening, Photography, The Homestead Tagged With: cosmos, cucumbers, early-gardening-season, flower photography, flower photos, garden beds, garden photography, garden photos, Gardening, gardens, green peppers, jalapenos, peppers, snapdragons, squash, strawberries, sugar-snap-peas, vegetable-plants, watermelon-patch, yellow-summer, zucchini

Front Yard Gardens – Progress Update

August 25, 2009 By Laura 8 Comments

Everything we planted in our front yard gardens, is really growing!  We wanted to give you a progress update.

front yard gardens

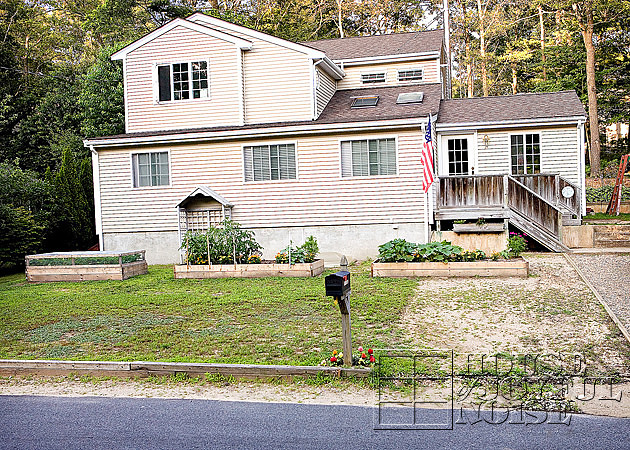
In our last post, we shared with you the very beginnings of our front yard transformation.  We planned out 3 gardens, built 3 garden beds, had loam delivered, filled the beds with the loam, and got our strawberry plants planted all in mid-May.

At the end of May, after the threat of frost had past, we planted all of the vegetable and flower plants in the beds.   I did not take photos of the extensive work we did that day along the way, because frankly, I was covered in earth and sweat, and wasn’t about to touch my camera. : )

front yard gardens

Here’s a photo of our front yard now, with the 3 garden beds. I think it’s a dramatic improvement to the ‘blahness’ it was, already!  Don’t you?  We even have some green weed/crabgrass growing in our dirt where the driveway was extended!  Since we don’t have plans to plant grass anytime soon, we’ll take anything green!   In the long run here, we’ll likely be putting in more  gardens, little walkways, maybe a small tree or 2 ….who knows what.  So planting grass at this point is not wise, when it mostly will be getting dug right up, soon enough.

front yard gardens Here’s a view from this angle, taken in mid-July.  I’m going to take you from garden to garden here and show you what we’ve got.  All of these photos coming up were taken in mid-July.

front yard gardens

First on the far left, while acing our house with your back to the street, is our strawberry bed.    This is the garden that was done first, a couple of weeks before the others, because we could do that with the strawberries.  So I had done a couple of posts on how the plants and strawberries were coming along.   Rather then re-hash all of that, and re-post all of those photos, I’m just going to link you to those 2 posts.  They will open in their own window, so don’t worry about losing your spot here if you want to take a quick peek.

Strawberry Fields Forever

We Picked Our First Strawberry

Being the first year, the plants needed to get established, so we weren’t expecting an abundance of berries this year.  But we have high hopes, jam recipes, and many desserts on our agenda for next year!

front yard gardens

This is the second garden from the left, next to the strawberry garden.  Or, the middle garden. : )

Aside from the flower, which I will get to a little later on, we have growing 4 varieties of tomatoes:   Beefsteaks, Better Boys, Early Girls, and Cherries.  We also have cucumbers in this bed.

front yard gardens

front yard gardens Just a couple now-outdated tomato photos. More to come.

front yard gardens

In our last bed here, 3rd from the left, closest to the drive-way, we have growing summer squash, zucchini, and green peppers. Plus the flowers.   I had read how helpful having certain flowers in your vegetable gardens were, to their growth and production.  They attract certain bees that help pollinate, as well as other certain insects that are good for the garden and good for keeping other harmfuls away.

I know that sounded a little vague, but I just didn’t want to get into the full explanation right now.  Besides, I’m not sure I can remember it ALL at the moment.   But I can tell you, that everything I knew at the time, and therefore did, seemed to have done exactly what it should , and it all worked!  So that’s got to count for something. lol

front yard gardens Here’s one of our first baby squashes.  I learned real quick that I can’t be all in the squash leaves, working around, with bare arms!  I got a rashes all over my arms almost instantly, and I was going nuts.  Not sure if that happens to everyone, or if I’m just sensitive?  But….I was more careful from there on out.  Kind of like my jalapeno chopping incident, but I’ll spare you the story on that. For now.  (But eventually, these dramatic complaints need to come out. So…be forewarned. : )

front yard gardens

On the corners of some of the beds, I had planted cosmos, that have really grown beautifully.  We let them grow tall, and they are not only lovely, but really beneficial to the garden.

front yard gardens Pretty, huh?  We have this color, and white ones as well.

Mid-August….

front yard gardens

These photos are now from mid-August, and things were looking great!

Look at all of the tomatoes growing!…

front yard gardens

front yard gardens

front yard gardens

front yard gardens

front yard gardens

Here is one more shot of the middle garden, with the white Cosmos.

So as I said, the second half of this this post was mid-August.  A week later, so much had changed, and there were so many new surprises!  So up next, will be yet another garden post, to share with you how things developed from here.   I have discovered a new love of garden photography.  Shocking??  Probably not.

But soon, we’ll be heading inside the house for a bit, to show you a couple of new things that we’ve been doing in there.  I can’t wait to show you!!

Save

Save

Filed Under: Gardening, The Homestead Tagged With: cherry-tomatoes-on-the-vine, cosmos, cucumbers, flowers, front-yard-gardens, garden beds, garden photography, garden photos, green-bell-peppers, peppers, squash, tomatoes, vegetable photos, vegetables, zucchini

Strawberry Fields. FOREVER!

June 8, 2009 By Laura 3 Comments

Our family has gotten into some major gardening this year, and you’ll be seeing a whole lot of  it coming up this summer.
Our first project was a strawberry bed.
growing strawberries
We LOVE strawberries!  Just fresh picked and washed.  In our cereal.  As strawberry shortcake.  Chocolate covered strawberries.  : )   If our crop is plentiful enough, I may even make some jam!

growing strawberries

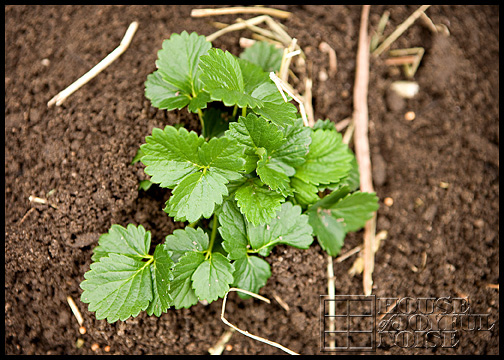
In early May,  Michael built the bed, and we filled it with some ordered and delivered loam, because our yard/land is pretty sandy.  Then we planted 2 kinds of strawberries. Junebearing, and Everbearing.  I discovered while planting that we didn’t get a tag for the Everbearing plants.  I was irked with that, not only because I would have liked to know which variety of Everbearing we got, but also because I wanted to photograph that tag too. lol  Anyway, once all was planted, the bed as a whole looked somewhat on the pathetic side, but I was hopeful they all just needed to get acclimated to their new home.  Don’t look at the ground around it for now. We’ve got BIG plans for all of that too.
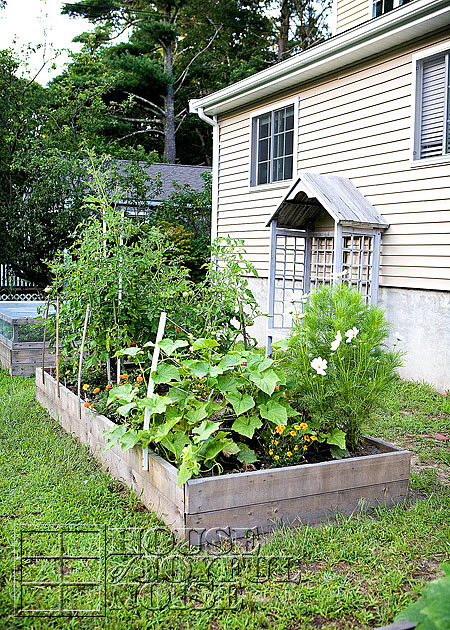
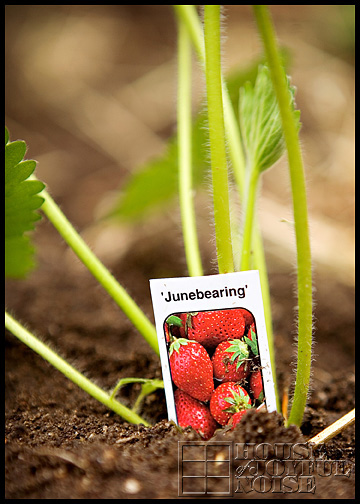
growing strawberries

Here’s a shot of a newly planted Everbearing.  When I came across it in my shots, I had to include it because, you have no idea how much time I spent trying to figure out what the original orientation of the photo was that I shot it at.  I did 2 full rotation, 90 degrees at a time, trying to figure it out. lol.  If you think it looks wrong now, you should see the other ways. I was getting dizzy.  I must have shot it at a weird angle.

growing strawberries

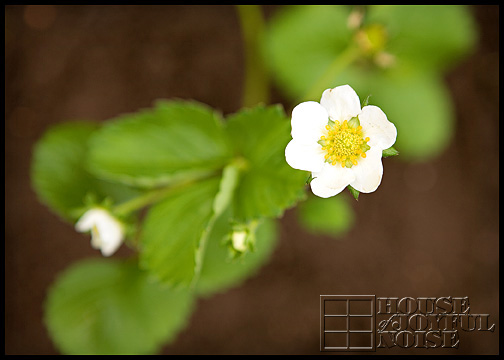
This is the tiny beginning blooms of this Everbearing plant.

That first day that we had gotten this garden all planted, a vacationer staying in the beach house next door, asked me how we planned to keep the birds, squirrels and other pesky creatures out of the strawberry garden.  I told him I wasn’t sure, but that I shouldn’t have to worry about it for awhile, because they didn’t even have berries yet.  He just looked kept looking at me, and didn’t respond to that, which I determined as rather odd.  Made me glad, in the moment, that  he wasn’t a real neighbor.  Know what I’m saying?

Well, the next morning we discovered a squirrel romping around in our bed!!   The strawberry bed I mean.  Not the one we were sleeping in. lol.  (Thank goodness.)   Not only was he/she (whatever…who cares) trampling all over the place, but it had already bitten off several of the long stems to the Junebering plants! Turns out Mr. Funny-Looks that was next door, is from Vermont, and has acres of all kinds of gardens. Or something.

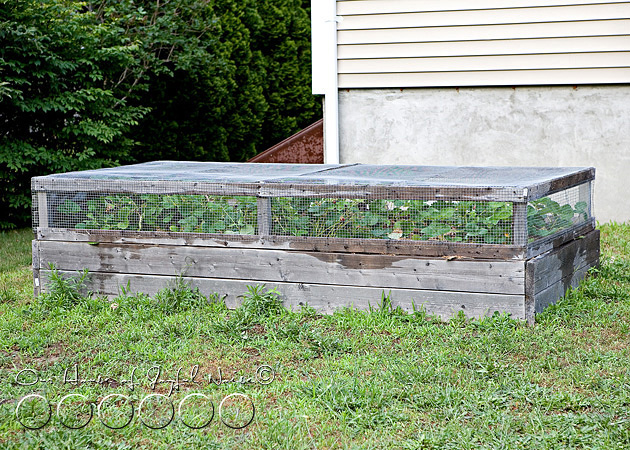
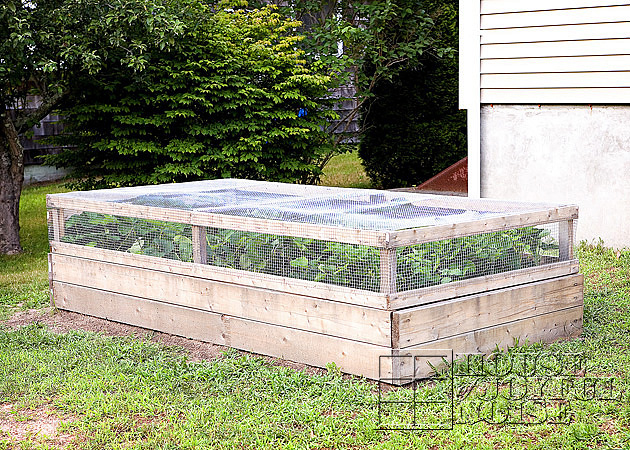
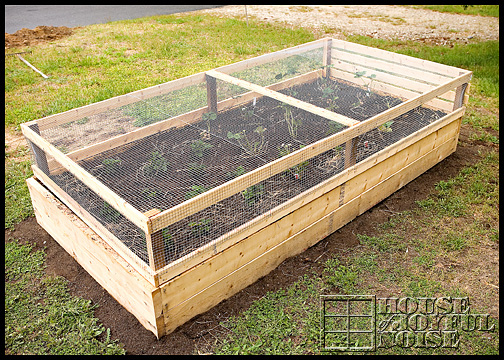
Well….I saw Michael do that tight-lips thing he does, when he is super aggravated.  I think it took him all of 2 hours to sketch out a battle plan, (remember…he sketches everything out first)  go to Home Depot for some supplies, and build THIS baby…….

growing strawberries in a covered bed

I was DULY impressed, as I often am with his designing and building abilities, and his facial expression had definitely moved onto one that spoke more of,  “Take THAT squirrels.”  And then one of the kids suggested we get up early the next morning, sit in the window and wait for the squirrels to come, and laugh at them.  (I don’t know WHERE they learned such gloating-type attitudes!? lol)  (OK, I might know where, but I’m not telling you.)

So that all was back in May.  Yesterday in the late afternoon, I went out and did some garden weeding.  The cover just lifts right off very easily, if you’re not 4 legged gray-furred creature, with a long bushy tail.  I thought I’d take some more photos while I was at it.

growing strawberries

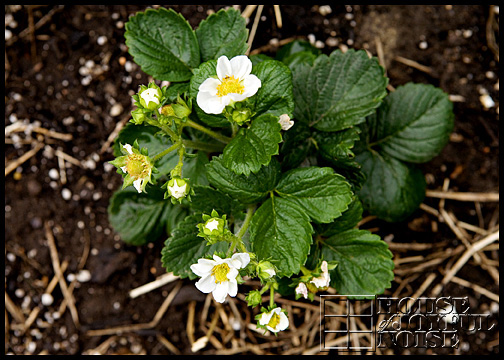
Just LOOK at all of the flowers on these Everbearing plants!!

growing strawberries

I just learned that we should pluck these first flowers off, to give the roots more time to get established before the plant starts producing fruit.  So I’ll do that today.  I had been told, when we bought them, that the Everbearing plants, which tend to give a good 3 crops per season of the bigger, juicier strawberries,  can take 2-3 years to really produce a good crop.  But my mother-in-law disagrees with that and says we’ll get plenty this year.  So I guess we’ll see what happens.  Since the Junebearing only put out one good crop for 2-3 weeks ( around June, I’m guessing, lol),  I wasn’t planning on a whole lot, collectively, THIS year.  I hope my mother in law is right, this time. lol

But over at the Junebearing plantings, we’ve got berries growing all over the place!!  Check it out!

growing strawberries

As new gardeners, the initial discovery of strawberries growing had us screaming, and making the neighbor’s dog start barking.  We were rather excited.

Sometime the next day, I saw a squirrel nearby, and before I could stop myself, I yelled in his little rodent face,

“WE WIN!!”.

Now what does that tell you?

Save

Save

Filed Under: Gardening, The Homestead Tagged With: covered-gardening-beds, covered-strawberry-beds, garden beds, garden photography, garden photos, Gardening, growing strawberries, protecting-strawberries-from-animals, strawberries, strawberry beds

We are wicked happy to have you here! We hope you find much inspiration, help, humor and enjoyment here.


Archives


POPULAR POSTS

* * * * * *

SUBSCRIBE to House of Joyful Noise blog! Every new post, delivered right to your email box!


Privacy Policy

Amazon Affiliates

Never at any additional cost to you, we may earn a small commission for our endorsement, recommendation, testimonial, and/or link to any products from our website. Your purchase through our links helps support our family, while sharing with you the products we authentically use and recommend, for various ideas, and letting you know where you can purchase them. Thank you for your support!

[footer_backtotop]

Copyright © 2025 HouseOfJoyfulNoise.com · Genesis Framework by StudioPress