In addition to our continual progress of finishing the inside of our home since our major house reconstruction, we’ve had a continually growing list of ideas for smaller projects around our home.
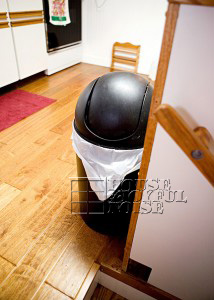
One of them has involved this ladder inside our home.
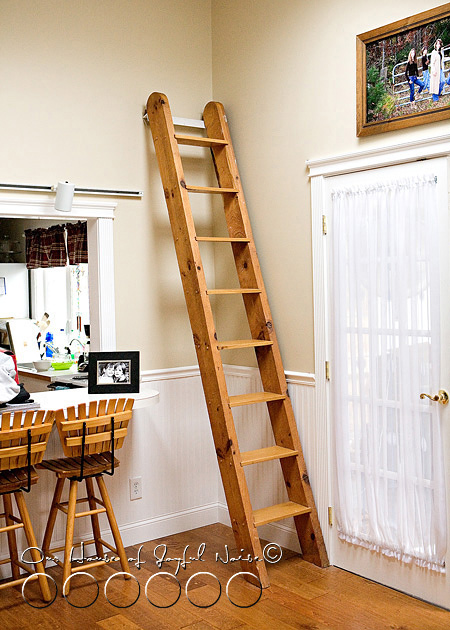
It has been right here where you see it, every since we bought our home in 1995. What has changed a lot, is almost everything around the ladder. For one thing, at the foot of this ladder, where you now see French doors to our sun room, was a brick hearth, to a black iron coal stove, that was built into a brick wall as a fireplace of sorts.
You may wonder just what the purpose of the ladder was.
Well, at the top of the ladder, was a carpeted crawl loft, that was open to and overlooked the living space. We had a few large floor plants up there, that looked lovely in the sunlight, that streamed in from the skylights.
But when we added a second story to our home, the crawl loft, and all of the new construction to the backside of the house, became the boy’s room. So, a wall replaced our beloved crawl loft.
As you’ve probably figured out along the way here, the ladder was the way to get up into the loft.
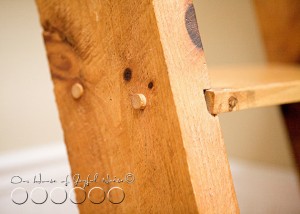
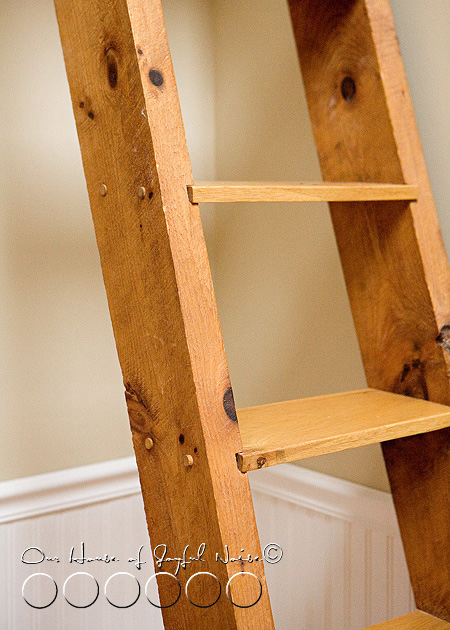
It’s a beautiful, solid, solid (read: HEAVY!!) wood. It’s the same natural wood the beams were made of, that also used to be a part of the house.

As a humorous tidbit of knowledge for you, (if you’ve never been through our home reconstruction posts), the crawl loft became our (mine and Michael’s) bedroom, when we gave our own to our triplets following their birth. The house only had 2 bedrooms at the time, and ours was by far the biggest. So…we took our bed down, put the mattresses up in the crawl loft, and we climbed the ladder to bed every night.
We really didn’t mind it, much. You couldn’t really see our bedding that much, and it was….cozy. : ) I’d say it was even kind of fun. Except for when one of the kids woke up, and needed us. Or, when we had to go potty. I feared in the dead of night many times, that I would fall trying to descend the ladder in my sleepy state, and splat on the brick hearth below. But it never happened. Maybe because Michael said “Be care-ful” every.single. time. I had to go down. Even when he was sleeping.
Oh…..{A} just found a photo that will give you an idea of how much the house has changed:
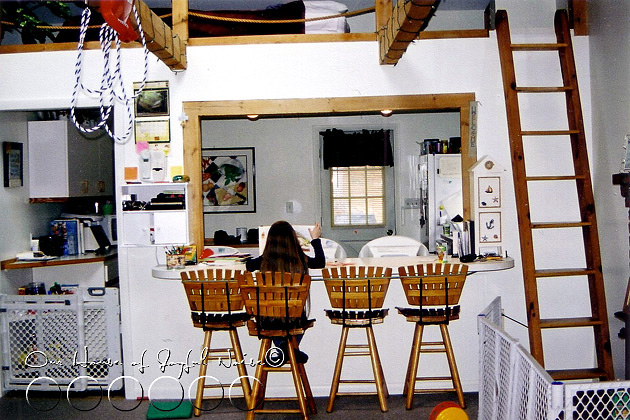 See the loft at the top? With big boxy openings, roped off with 2 ropes. You can also see the natural beams I spoke of. They were great for wrapping Christmas lights on, and using for outdoor toddler swings, in the house! The beams were so strong, and with the cathedral ceiling, there was plenty of room! Of course they had outdoor swings too. Boy did they love swinging. You can also see what was the back door. That wall came down, and there is a school room there now, on the other side of the stairwell that descends into the floor. Yes…things have changed. Drastically. Inside and out. Do you love seeing houses transformations? I’ll post the links on our HOJN Facebook Page sometime soon, if you’d like. But be sure to ‘Like’ the HOJN Facebook Page, so you don’t miss them in your feed! I put lots of fun extras there, for you all.
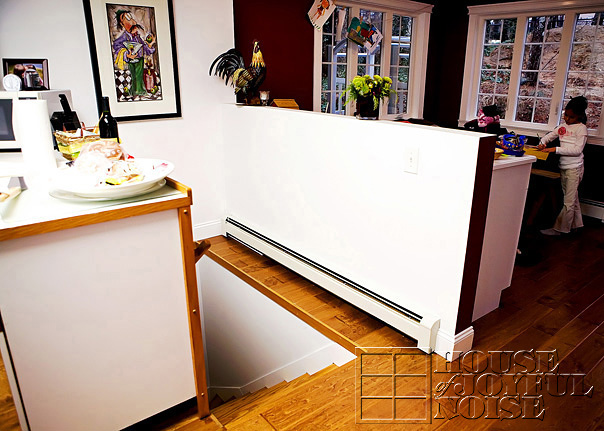
Anyway….ever since the loft was ripped out and the wall went up, the ladder-to-nowhere, has remained there. We couldn’t get rid of it! It was a sentimental piece. We always loved that ladder, and it’s one of those things people always mention when they first visit our home. It’s unique, and unusual, in a home. But really…. it’s needed purpose! And it’s looked dark and ….. well, heavy, in our light and airy living space.
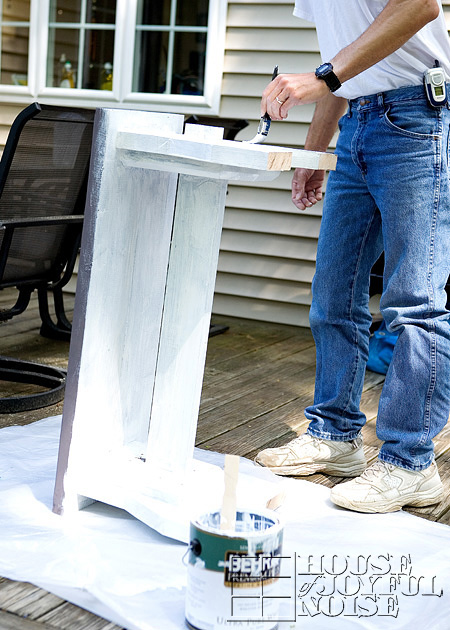
So I had an idea to make the ladder more useful, and we started by doing something possibly, crazy.

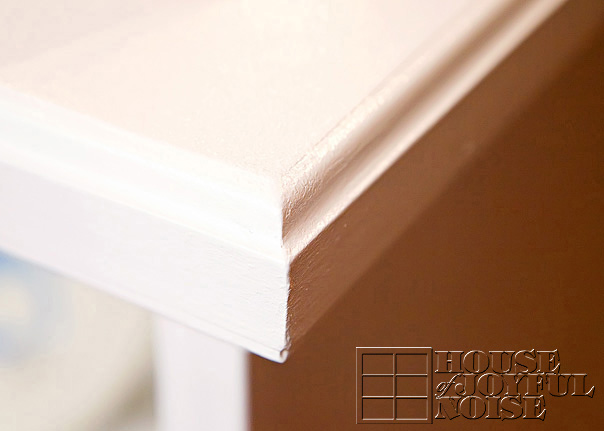
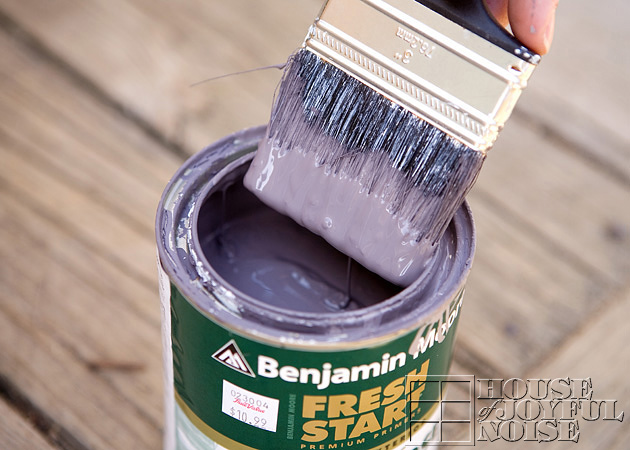
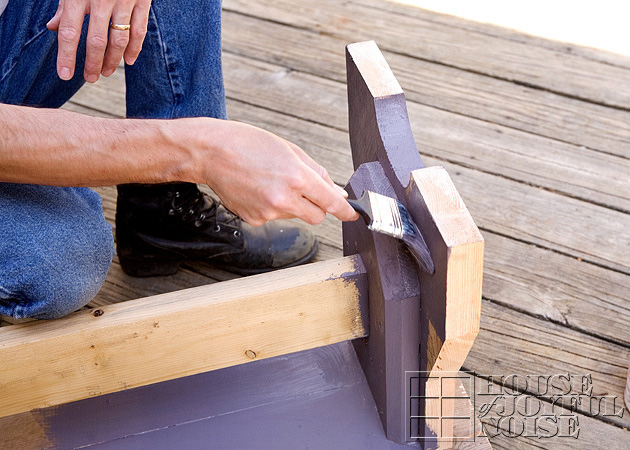
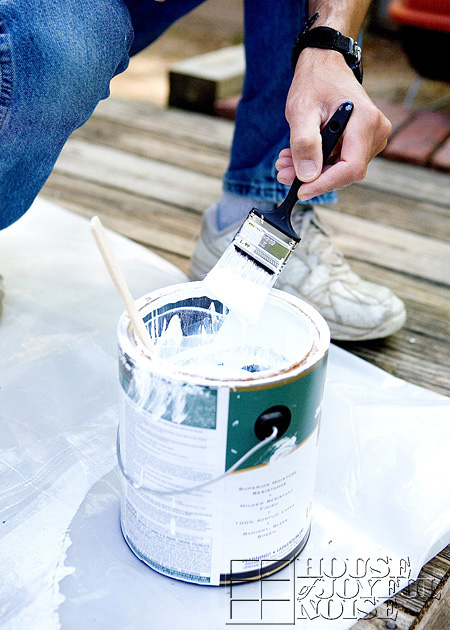
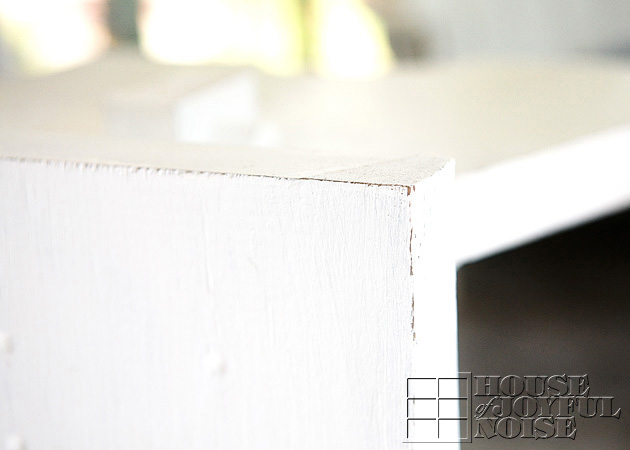
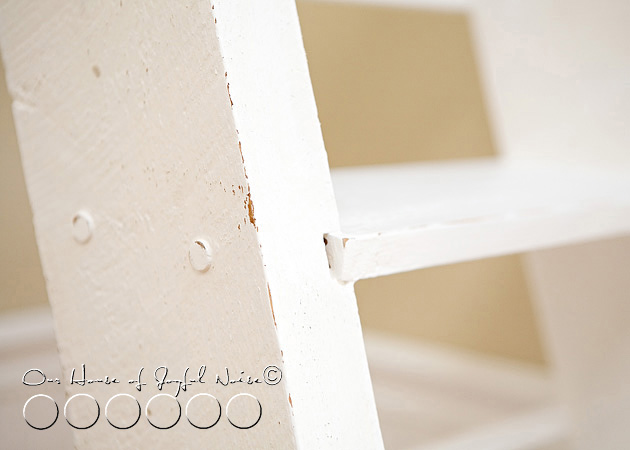
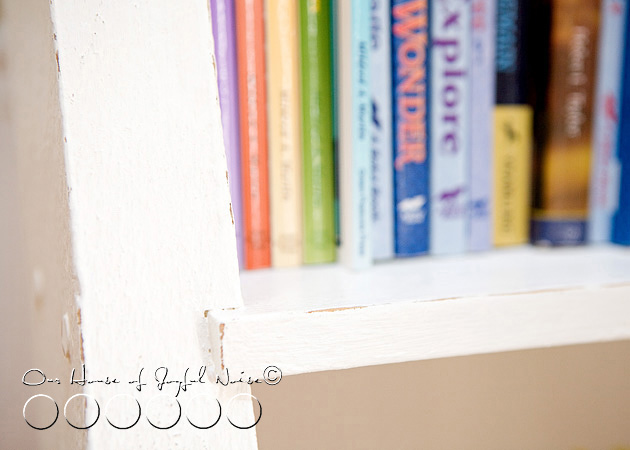
We painted it white. After adding a few little pieces you may notice, which you’ll understand why in a moment.
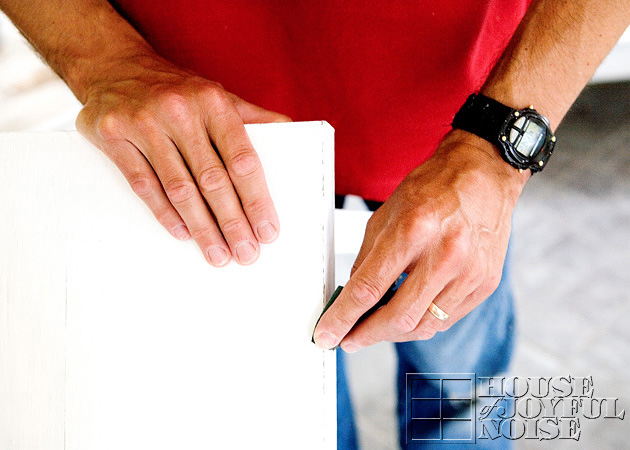
Now, if you know me, I’m really not down with perfectly painted stuff. I like things old. Beat up. Worn.
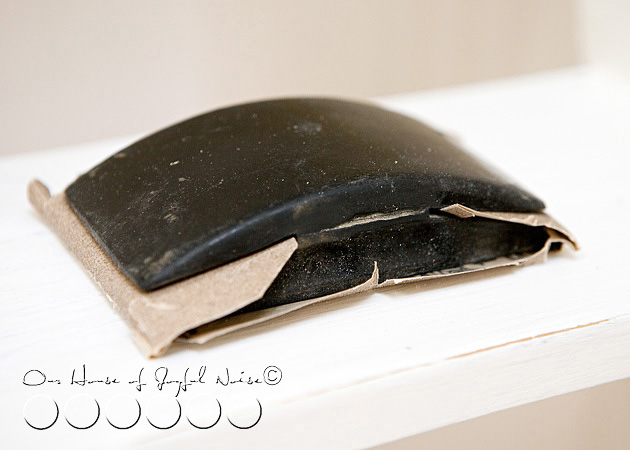
So I took a sandpaper covered block, and ‘had-at’ the newly painted ladder.
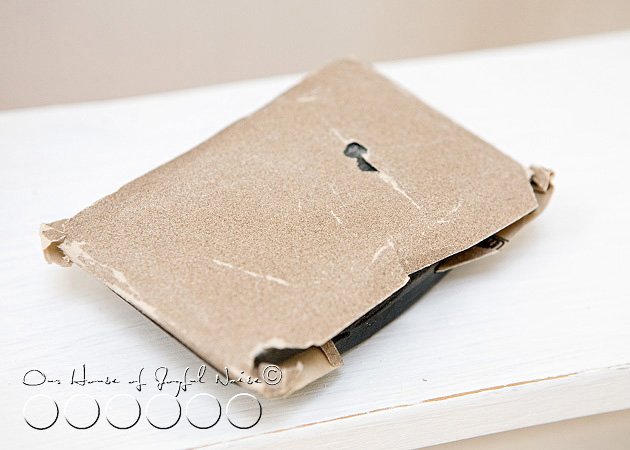 And wore a hole in it. : ) (The sandpaper of course. Not the ladder.)
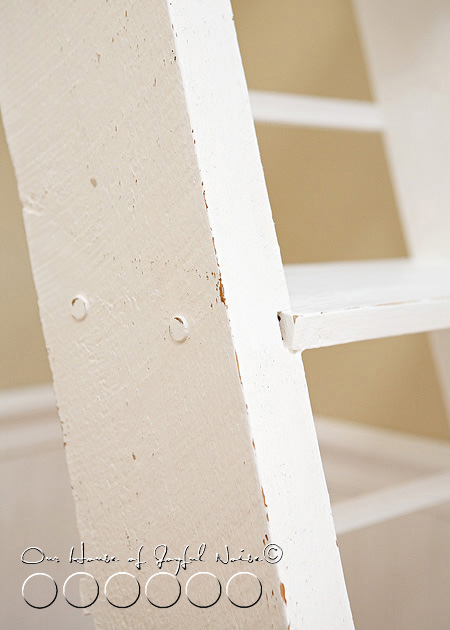
I did my best to make it look……well, not ‘just painted’.
But I’m not any kind of expert at distressing pieces yet. I’m sure it needs something more. A glaze of some kind, to crack the paint some, or something. I don’t want to yellow it, as a lot of the ‘new paint’ around is white as snow. But, I plan to ask a friend what more I can do, to push it a little more.
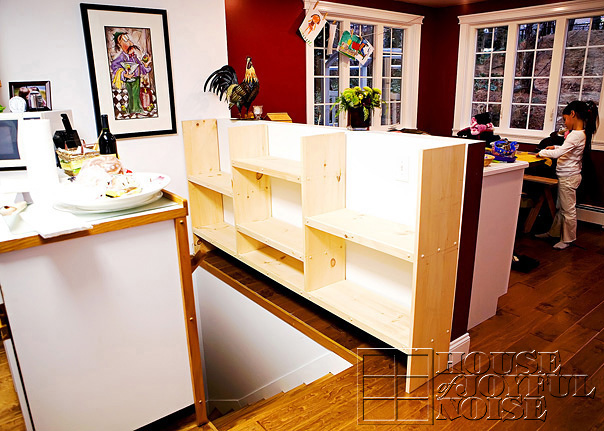
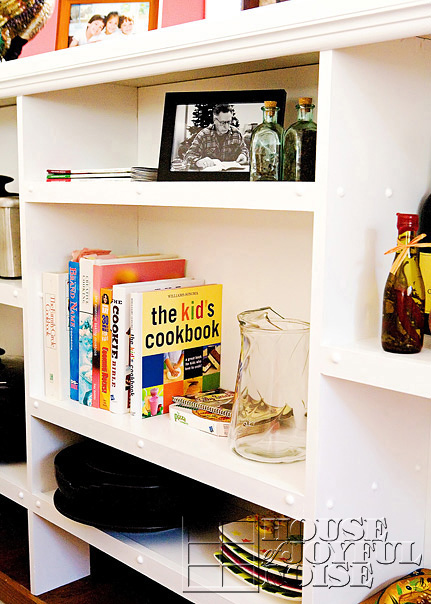
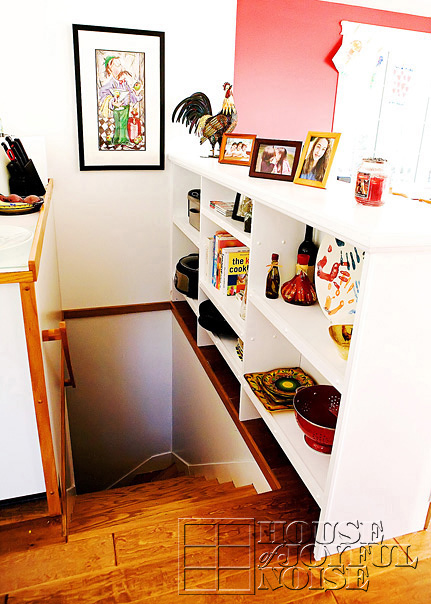
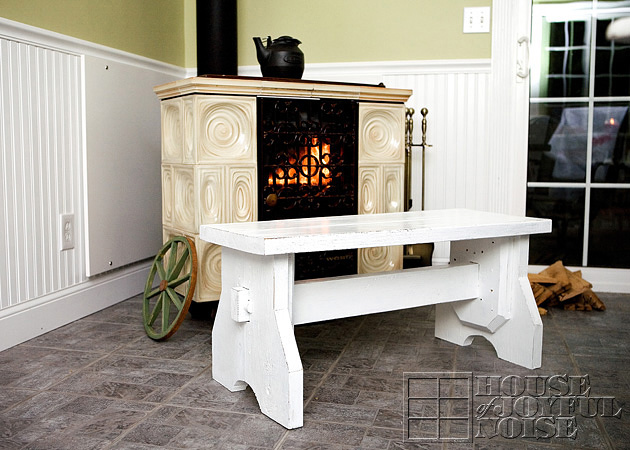
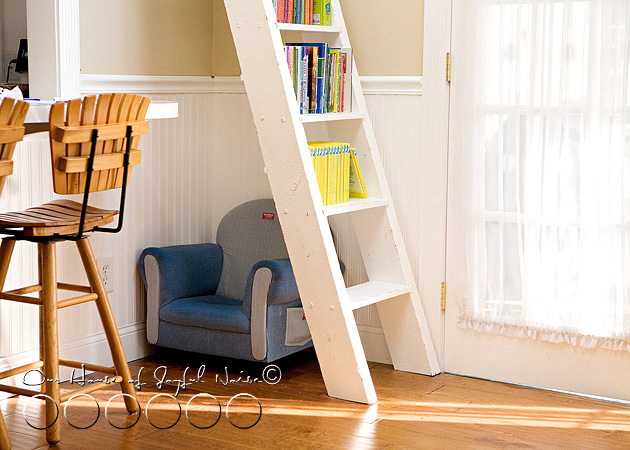
But the purpose of painting the ladder, and adding the little crossbars to the back, was to use it for….
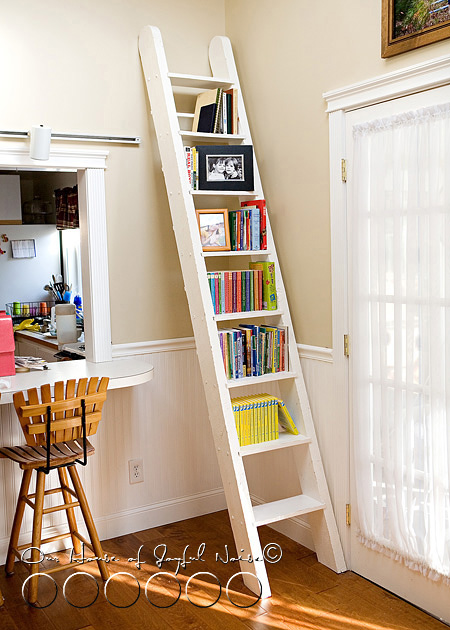
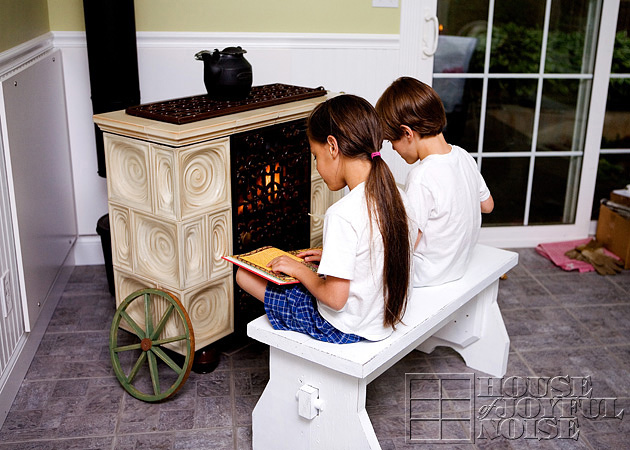
Books!!
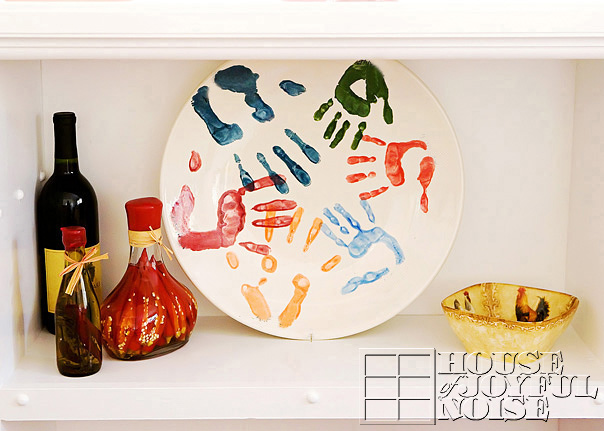
With the exception of when we were actually using the ladder every day to access the loft, we’ve always had photo frames and little things displayed on the ladder. I just took them off before photographing it before. But, we are swimming in books around here. So I thought it would be a creative and useful transformation.
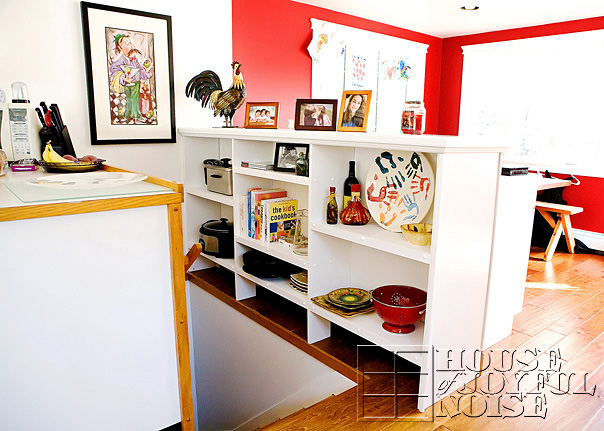
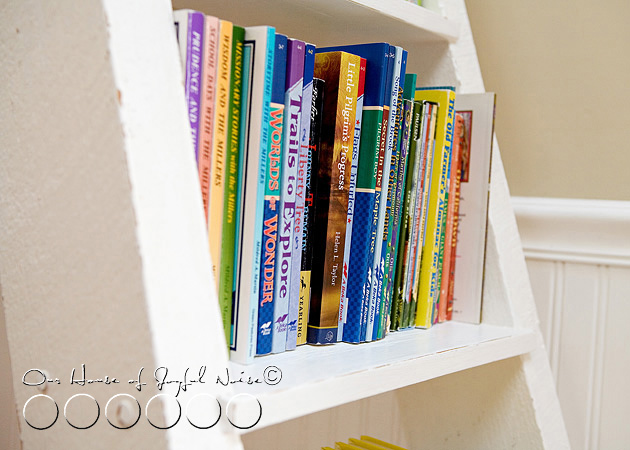
Mostly it’s the kid’s books on the ladder for now, with the bottom step left open for stepping up and reaching higher. There are lots more books, that will be relocated to the ladder, soon. And we have more book shelving that Michael just installed as well, that will be for another post.
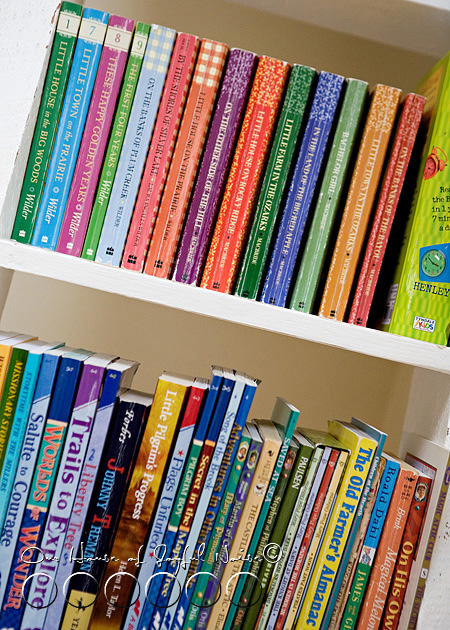
Because not only do the kids have more reading books, but then there are my own, and some of my mother’s too. Books of all kinds. For leisure, for education, for how-to, for you-name-it. As I said, we’re swimming in them.
I actually filled a couple of boxes recently, with books to get rid of. We have cabinets filled, and boxes downstairs, of more books – still needing sorting.

So this ladder transformation I think was a wise one. The ladder now has purpose. I’m sure it feels more worth, in it’s day to day life. We all need purpose. Don’t you think?

I have to admit: I’m feeling a little pang inside, about painting over this beautiful wood.
Do you think that was a mistake?
But I do think the corner as a whole, looks a little cheerier, and more in keeping with what the rest of the house has going on. Because we’ll probably be doing something with those wooden breakfast bar chairs too. Not painting them white. But they need stripping of the shellac , or something.
Anyway….
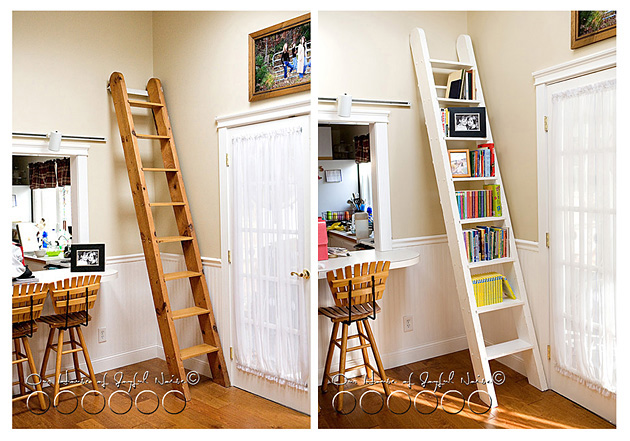
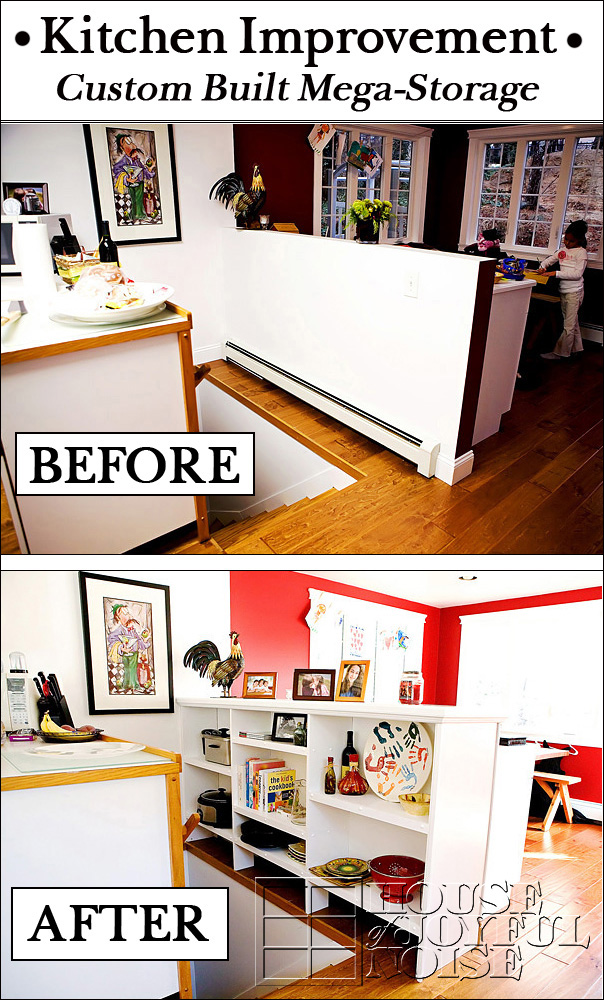
BEFORE AFTER
What do you think? A good idea? And are you cringing, because I painted that wood? Go ahead and tell me the truth. I think I can take it.