• HOME
  • {A}’s Chipmunk Training Archives

 Homepage

  • The Homestead
    • Home Projects
    • Home Improvement
    • Home Decor
      • Seasonal Home decor
        • FALL Home Decor
        • WINTER Home Decor
        • SPRING Crafts and Creations
        • SUMMER Crafts and Creations
    • Our Chickens
    • Gardening
    • Organization
    • Re-Purposing
    • Furniture Refinishing
    • Budget
  • Crafts & Creations
    • Seasonal Home decor
      • FALL Crafts and Creations
      • WINTER Crafts and Creations
      • SPRING Crafts and Creations
      • SUMMER Crafts and Creations
    • DIY (Do-It-Yourself) Project
    • Kids Arts and Crafts
    • Homemade/Handmade Gift Ideas
    • Holiday Crafts
    • Fan Pulls
    • Free Printable/Downloadable
    • Sewing Projects
    • Giveaways
    • Business Features
  • Recipes/FoodFun
    • Breakfast
    • Lunch
    • Main Dish
    • Sandwiches
    • Appetizers
    • Slow Cooker
    • On The Grill
    • Side Dishes
      • Soups
      • Salads
    • Baking
      • Breads, Rolls and Muffins
    • Snacks
    • Treats
    • Desserts
    • Drinks
  • Homeschooling
    • Elementary Homeschooling
      • Elementary Homeschooling READING
      • Elementary Homeschooling MATH
      • Elementary Homeschooling LANGUAGE ARTS
      • Elementary Homeschooling SCIENCE
      • Elementary Homeschooling HOME ECONOMICS
      • Kids Arts and Crafts
    • Middle School Homeschooling
      • Middle School Homeschooling SCIENCE
      • Middle School Homeschooling HOME ECONOMICS
    • Language Arts
    • Math
    • History / Social Studies
    • Geography
    • Foreign Language
    • Field Trips
    • Games
    • Nature Study
  • The Big Picture
    • Life In General
    • Celebrations
    • Faith
      • Into the Light; The Series
    • Giveaways
    • Reviews & Sponsors
  • Photography & Lettering
    • Photography
    • truck lettering
    • vehicle graphics
    • Newborns
    • Kids
    • Engagement
    • High School Senior Pictures
    • High School Senior Pictures Sneak Peeks

Tissued Decorative Storage Tins | Craft

June 7, 2011 By Laura 7 Comments

tissued-storage-tins-craft-21

Sometimes, us creative people, have ideas that come out better in our head, than they do in real life!  Agree? But this project of tissued decorative storage tins was the opposite.  On the one hand, it may have been just a tad more difficult than I had imagined.  Only because I should have remembered how tissue paper and I, can go round and round and round.  We just don’t seem to get along. I normally do not have the patience for the stuff, and end up making the tissue a wrinkled mess. So much so, that I refer to my husband, to put the tissue in gift bags if I can, and he also is so kind, as to do all of my packaging for my portrait photography orders for my clients.   But on the other hand, these tissued tins actually came out way nicer than I expected!  I’d have to say the credit for that probably goes to Modge Podge. Love that stuff!

This idea is one I came up with as homemade gifts for our nieces & nephews, for Christmas 2010, as well as for my God-Daughter {Ju}. (You all know her by now, right?)   I thought they would be cool for them to keep little treasures & trinkets in, in their rooms, or even for my oldest nephew/God-Son to keep change or what-not in in his Jeep.
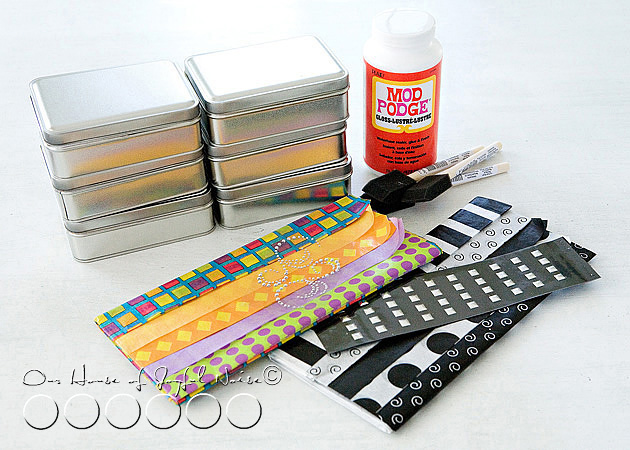
tissued-storage-tins-craft Here’s all you need!

As well as an x-acto knife or razor blade of some sort (not shown), and possibly a little patience, if you are like I am with tissue paper.  If you don’t need the patience…..well I’m happy for you!  : )
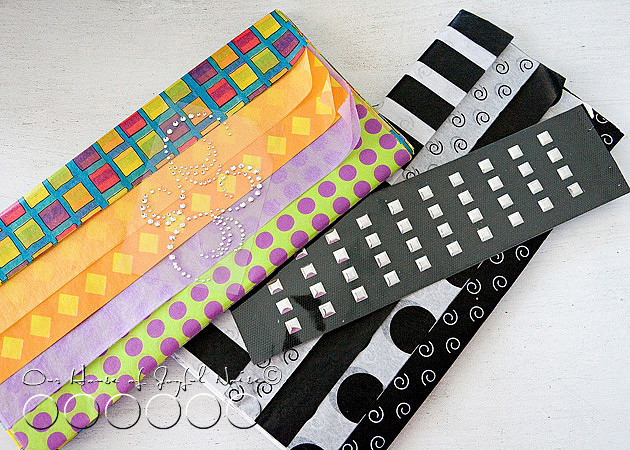
tissued-storage-tins-craft-1 I was so thrilled to find such bold & funky designer tissue paper, at The Dollar Store!…. that I thought was just perfect for the age range of the kids, from elementary school to teens, and for both the boys and the girls as well.  The silver sticky elements I got in the scrapbooking section of Michael’s Arts & Crafts.
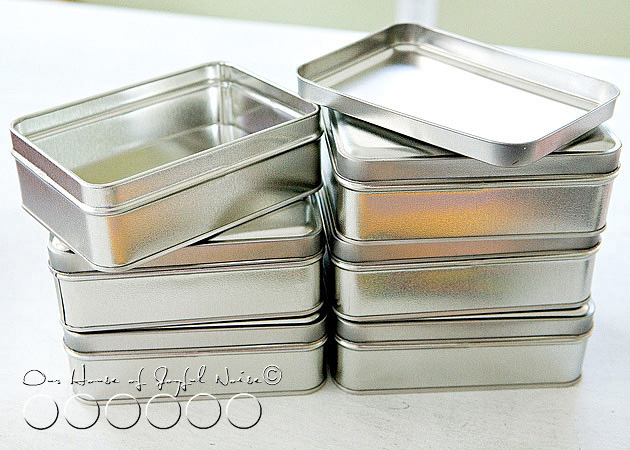
 

tissued-storage-tins-craft-2 I found the tins shown, at Michael’s Arts & Crafts.

They had a variety of shapes and sizes to choose from.
tissued-storage-tins-craft-3

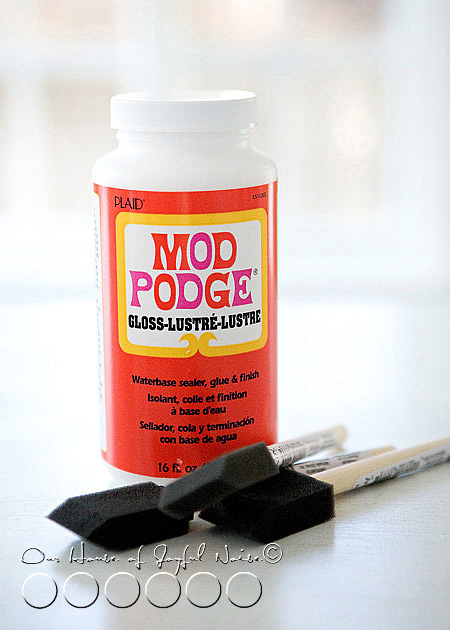
Modge Podge and foam brushes came from the same place.

So this is how this is done:

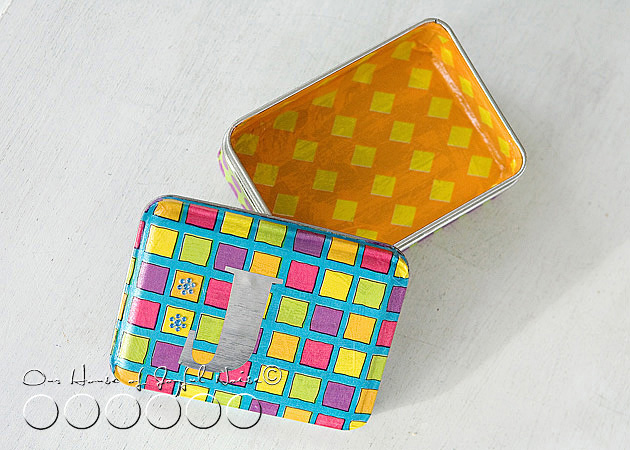
With your foam brush, you begin by Modge Podging the inside of one tin, and then layer it with the tissue design you would like on the inside.
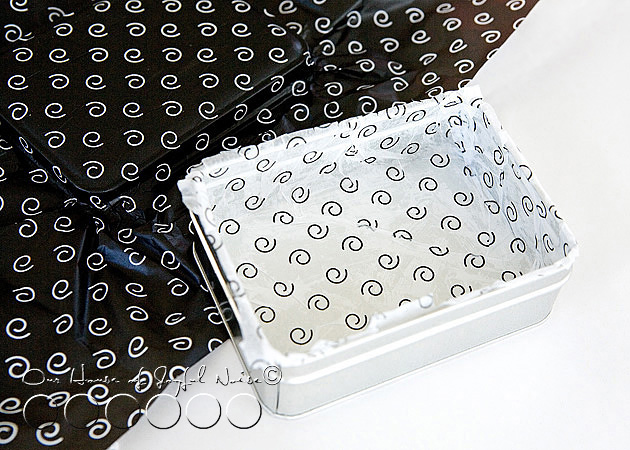


tissued-storage-tins-craft-4 You really only want to Modge Podge up to the lip of the inside of the tin before laying on the tissue, but let the tissue overlap from there, for now.  Just carefully rip off or cut the excess with scissors.  Then leave to dry.  We’ll get to how to finish it off in a minute or 2.

Now I am telling you right now, there is no way for the tissue to come out perfectly smooth. Most especially on the inside, where you virtually have to stuff the tissue in there.  But do be careful not to tear the tissue or poke a hole in it. However, IF you do by accident, (as I did more than once (yes, the patience with tissue issue…..) it’s not that hard to cover it up, or manipulate the tissue to make the hole not show.  Honestly, it’s just the insides of the tins that are the hardest part of the whole project.
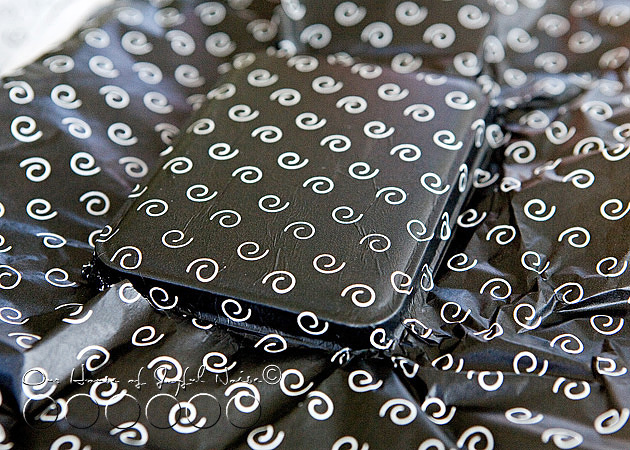
tissued-storage-tins-craft-5 Do the outside of the tin cover, in much the same way.  Again, only Modge Podge to the lip of the lid, then apply the tissue.  Now getting a little (Modge Podge) glue where it shouldn’t be, and the tissue sticking to it, is no big deal. It can be scraped off easily enough once dry.
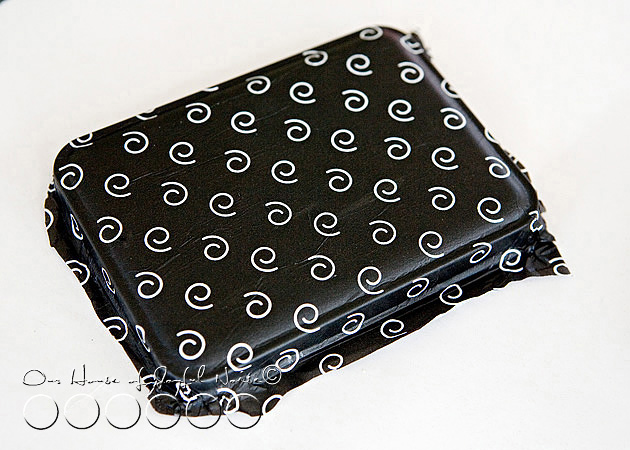
 

tissued-storage-tins-craft-6 Just rough trim it with your x-acto blade, and then leave to dry.  If you are trimming first before it really sits to dry, just make sure you don’t drag-rip the tissue.  Your blade will get Modge Podge on it, so you’ll want to try to keep it clean too.
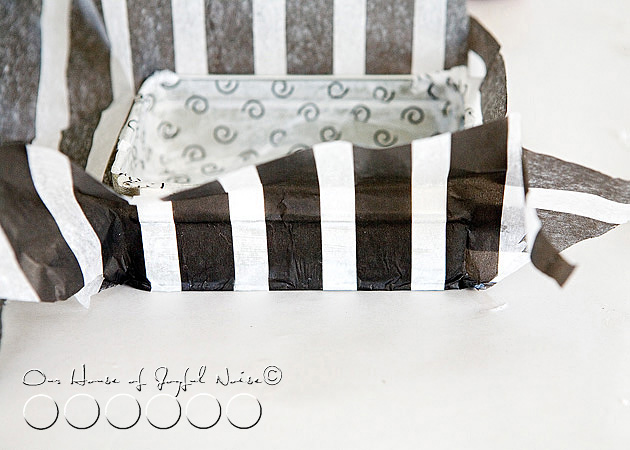
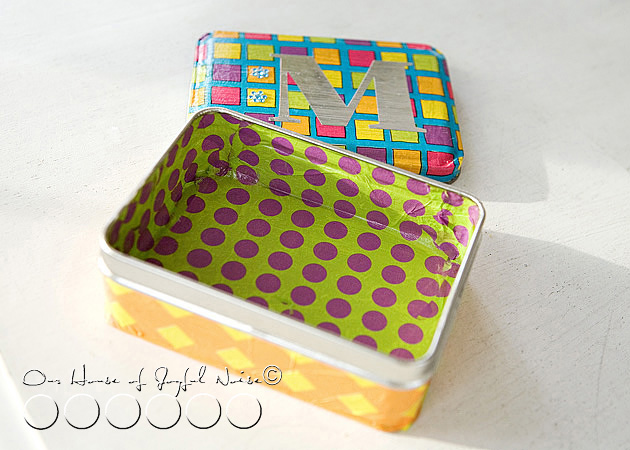
tissued-storage-tins-craft-7 Now you can do the outside of the tin container the same way:  Apply the Modge Podge, and then apply the tissue, smoothing it all as best you can.  Agai…wrinkled are going to happen here and there.
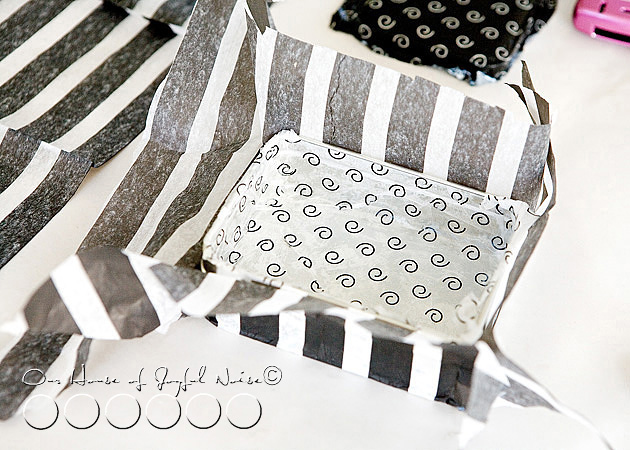


tissued-storage-tins-craft-8 It was really fun to have these co-ordinating designs to work with.  (Pay no mind to my BlackBerry over there.  Always nearby, and forever bLiNkInG!)

Now, in terms of cleaning them up, I found an x-acto knife to be a handy little tool!  I trimmed off the excess tissue, by running the sharp point of the blade, right in the groove of the lips.  If you aren’t sure exactly where or how I mean, just inspect the earlier photo above of the bare tins, and the ones coming up, and think about how the tin is put together.  You can’t have tissue anywhere, where the tin cover and container need to fit together.  Just a little common sense I dug up there. ; )

OK, so after each tissued piece is dry, and you have trimmed the excess tissue off everywhere, you then need to put a coat of Modge Podge over all of the tissue layers, inside and out!  I did second coats of Modge Podge too, letting them dry before coats, and I recommend doing that.  That is what gives the tins a finished look, once they are dried, and keeps the tissue surfaces protected.  Granted, now that the tissue is trimmed and there is tin lips exposed, you want to try and apply the Modge Podge a little more carefully, as to not get glue all over the naked tin parts .  But again, if any gets on the bare tin edges, once it is dry, it scrapes right off like any glue would. Modge Podging the inside of the tissued tins are probably the hardest to do with your foam brushes, only because you’ll see it puddles a little where folds and creases of the tissue are.  It looks a mess at first. But that is ok…..just spread it out best you can, because the Modge Podge really dries hard and clear.  You are using the foam brush to sort of stick down and smooth out any wrinkled tissue as well, as you work.  You’ll be amazed how good it starts to look as the Modge Podge dries clear.

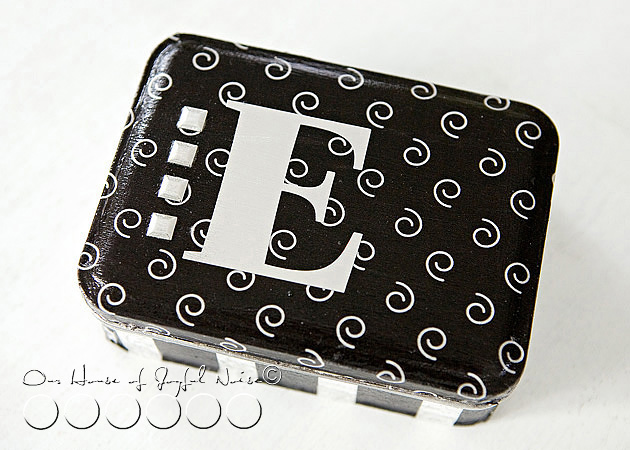
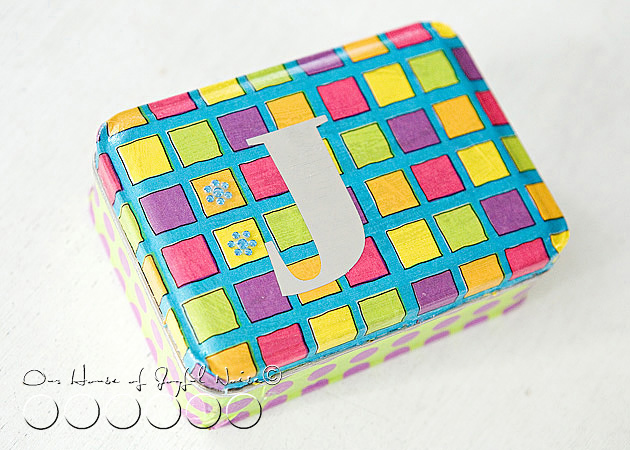
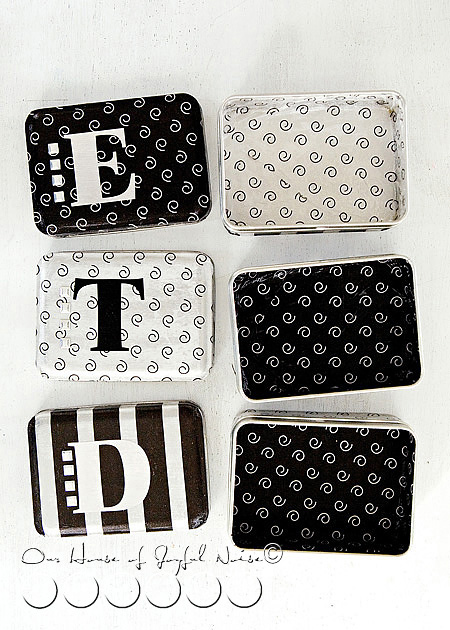
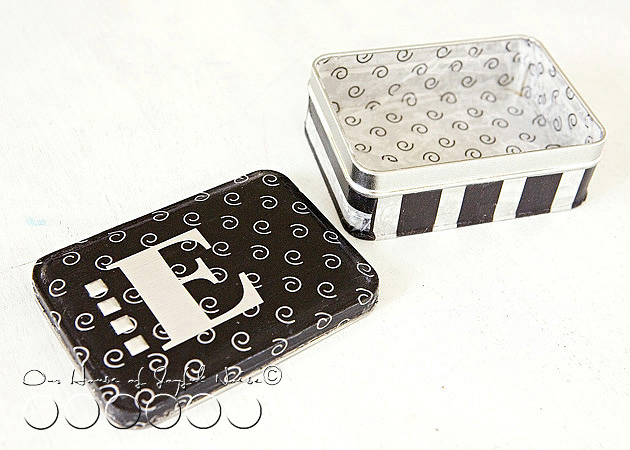
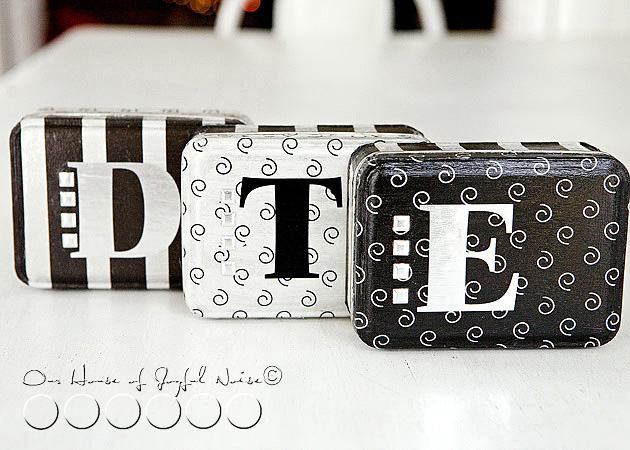
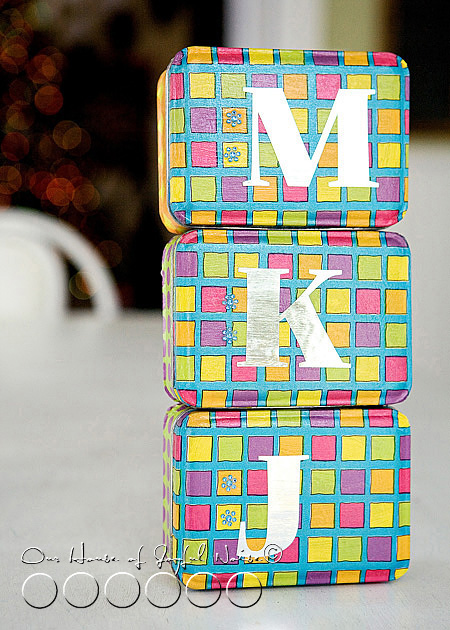
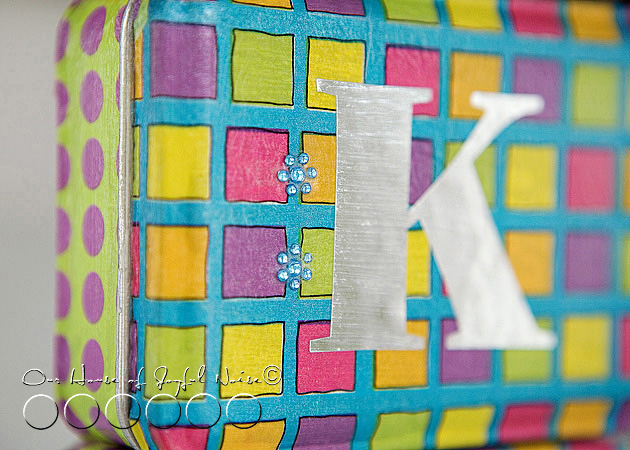
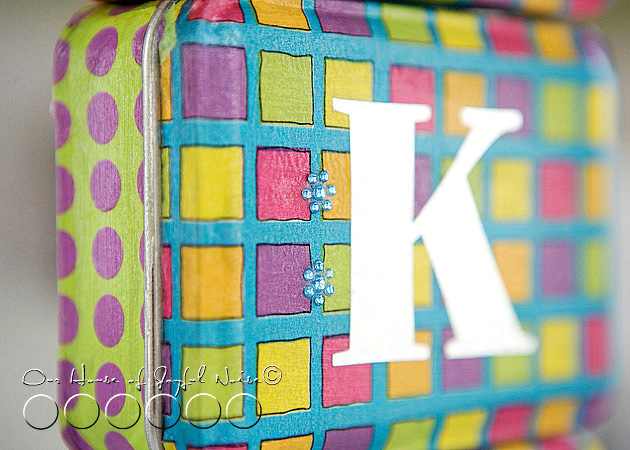
I wanted to personalize them, so I had hubby cut their initials out of sliver mylar vinyl.  Then used the decorative sticky elements, to add a little extra bling.  Finally, I went right over the mylar and the elements on the covers, with another coat of Modge Podge.  Honestly, these came out slick & with a bit of sheen, seeing as though I used the glossy Modge Podge.

I LOVE how they came out, and I am about to show you a whole bunch more of photos, so you really can get the idea. (And, o.k., so I can show them off a little more.)
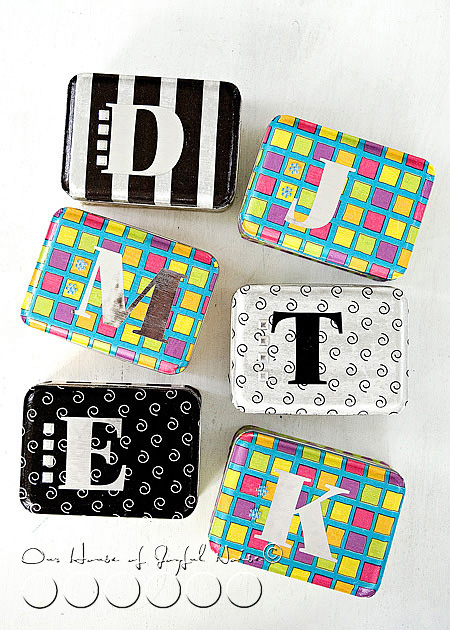
tissued-storage-tins-craft-9

Bold Black & white for the boys……bright happy colors for the girls.
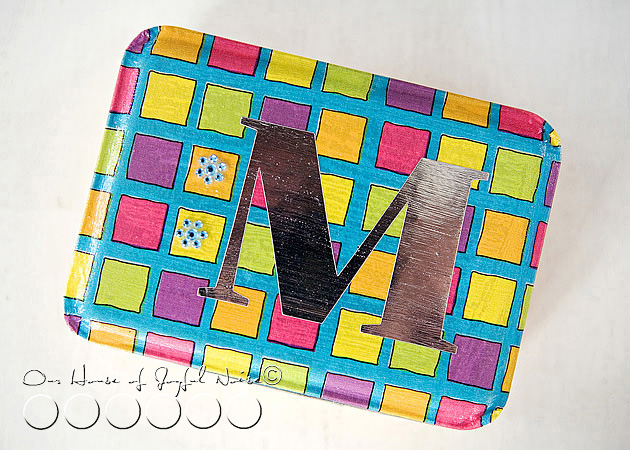
 

tissued-storage-tins-craft-10

tissued-storage-tins-craft-11

tissued-storage-tins-craft-12

tissued-storage-tins-craft-13

tissued-storage-tins-craft-14

tissued-storage-tins-craft-15

tissued-storage-tins-craft-16

tissued-storage-tins-craft-17

tissued-storage-tins-craft-18

tissued-storage-tins-craft-19

tissued-storage-tins-craft-20

Like? Love? Let me know what you think!

******


Save

Filed Under: Crafts & Creations, DIY (Do-It-Yourself) Project, Homemade/Handmade Gift Ideas, Tutorial Tagged With: crafts, gift tins, handmade gifts, homemade-gifts, Modge-Podge-crafts, modge-podge-projects, storage-tins, tissue paper crafts

A Christmas Heirloom in the Making | Hand-Sewn Advent Calendar

December 30, 2009 By Laura 3 Comments

My mother-in-law/Michael’s mother/(the kid’s grandmother, if you are not catching on to who I am referring to yet..lol), seemingly got quite crafty this year, and we surely benefited from her doing so, in the way of wonderful gifts this Christmas!

A package full of goods arrived from Florida in early December, but there was one that we were instructed to open right away.  So we did, and I literally gasped, and naturally, because I am becoming more of a sap with each passing day in my older years here, teared up.  I guess I kept saying, “Oh my gosh….I LOVE that!”….because Michael said, “We KNOW Honey.  We HEARD you.  You LOVE it!”  lol.  He loves it too.  We immediately started discussing where we could hang it.

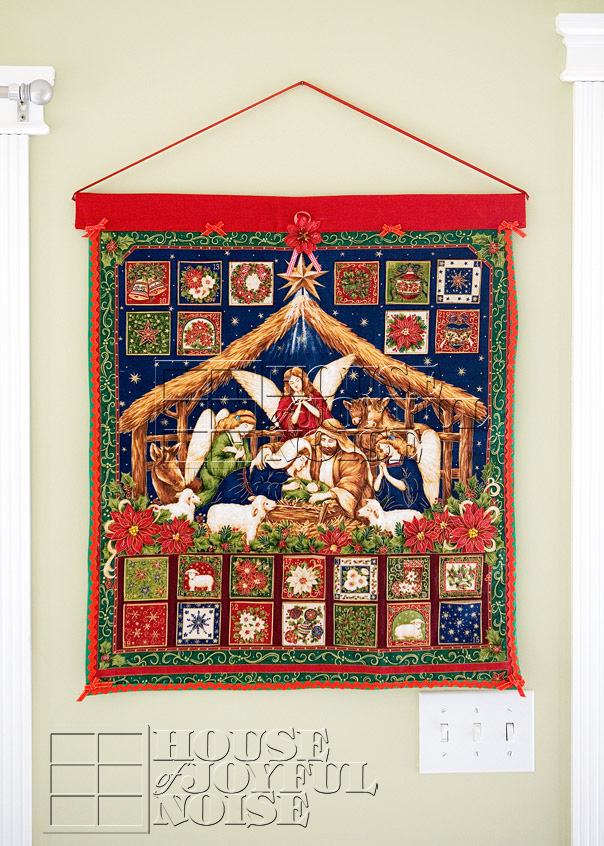
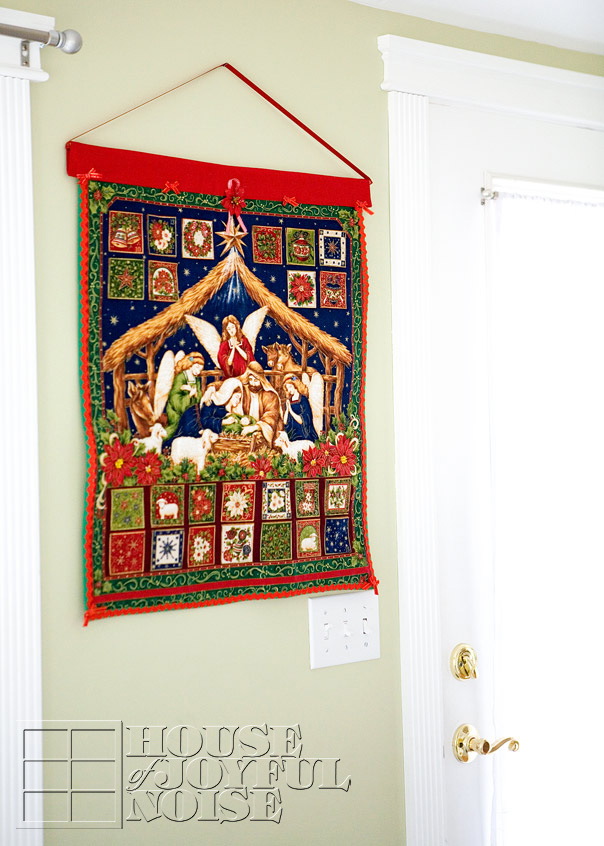
Christmas advent calendar It’s an Advent Calendar she sewed and quilted herself.

Christmas advent calendar I love the art of the scene, there at the manger in Bethlehem, that starry, blessed night.

I love the royal colors!

Every numbered day is a little pocket too, to be able to put little notes or treats in for the kids, I would imagine.   And they need to search for the day on the calendar.

Christmas advent calendar
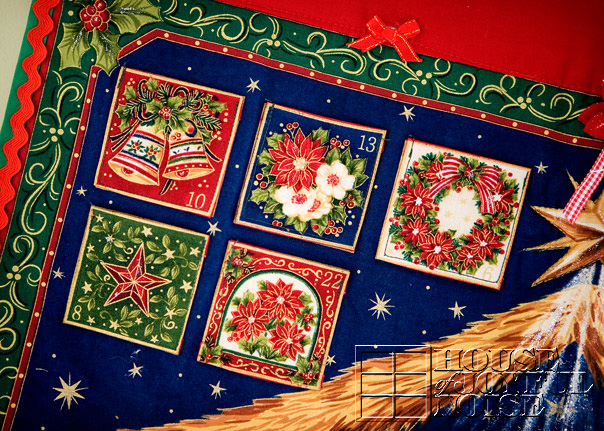
{O}, who didn’t yet understand the purpose of the numbers being mixed up, said “Grandma did a really nice job making this, but I just can’t believe she doesn’t know her numbers yet!” lol.

I love the little details.

Do you see the light coming down from the star on the right there?  It’s twinkle dust that she applied.

Christmas advent calendar This angel has a flower-sequin in her hair.

Christmas advent calendar We decided to put it right next to the front door, where every one who comes and goes, can enjoy it as much as we do through-out this Christmas season.

Honestly, this is a gift to our family, that I will truly treasure, every year for the rest of my life.  I’m sure we all will!  It’s one of those truly meaningful things I’ll be anxious to find first, and dig out of the boxes of Christmas ‘stuff’, every year when we bring out the decorations.  In time, it’ll become a family heirloom.  Everyone knows what our faith means to us, and how much we soley focus on the true meaning of Christmas.  So that in itself makes it a wonderful gift for us.  But what makes it a TREASURE, is that it was made with love, by someone we love,  for us.  It matters none to us, if she made more, or who else got one too.  This one is ours, and it came from a loved one 2 generations back (to our kids.)  I know I’ve talked much about how much I love ‘family pieces’ in our home, so I guess I’ve made my point well enough now.

Suffice it to say, it will bring us joy, every family Christmas to come, that we ever blessed to embrace and celebrate.

Save

Filed Under: Crafts & Creations, Homemade/Handmade Gift Ideas Tagged With: Catholic-blogs, Catholic-Christmas, Catholic-families, Christmas-handmade-advent-calendar, handmade gifts, religious-advent-calendar

Winner of Our 1st Giveaway Received….

April 20, 2009 By Laura 4 Comments

For those of you who have been itching to know what the winner of Our First Giveaway received, this is the post you’ve been waiting for!

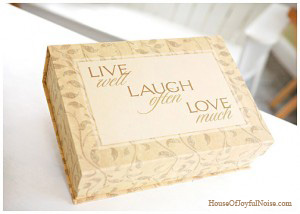
1_live-laugh-love-box

 For those of you who are new to our blog, and have no clue what we’re talking about here, these links may help:

Announcement for our blog’s First Giveaway!

Winner Announcement

Now that we’re all on the same page, here we go…….

The first thing the winner received, was the box itself, that we put all of our hand-made gifts in! I’m telling you, I just loved this box.  We did not make it, we bought it.  It was just the perfect size, sturdy, and simply lovely. The cover had a front flap that magnetics closed!  I opened and closed it several times, just for the fun of it!  :  )  The cover adorned the phrase:  Live well, Laugh often, Love much.   Wise words we try to live by around here.  It really was a great box.  One could use it to store all kinds of things, like letters, cards, drawings from your children, or any kind of special momentos.

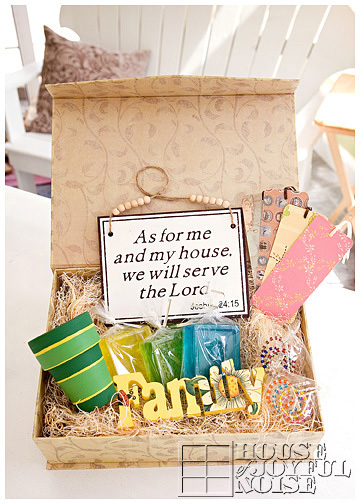
But here’s what WE put in it…..

….an assorted collection of handmade gifts.

2_everythingv

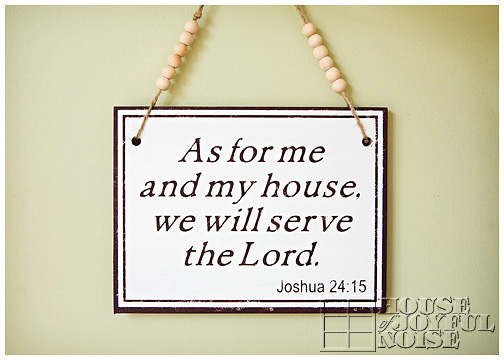
One of my favorite handmade gifts was this sign….

4_joshua-24-15

This was my idea and I designed it, but Michael actually made it.  We bought the sign unfinished, and Michael painted and lettered it. The paint is not solid, but more old looking, which is also one of the things that I love about it.  It’s rustic, and humble, and I think he should make me one now.

Next, I made glass stem bracelets….

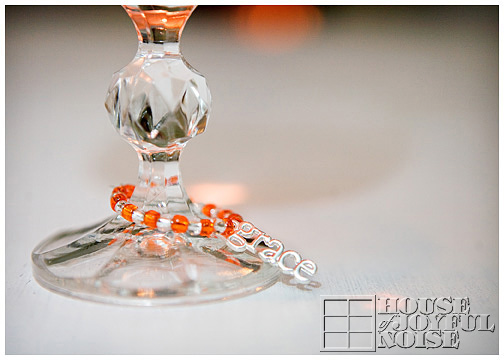
5_wine-glass-bracelet

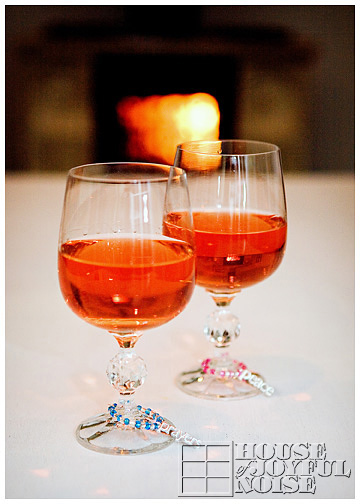
For those who are unfamiliar with these little doo-hickeys, these bracelets go on the stems of wine glasses or pedestal mugs.  They are made with wire rings and beads, and any other functional charms. These glass bracelets have a couple of purposes:  The first is simply to make your glass sets more festive and pretty. The second, is for social gatherings involving several guests, and therefore several glasses around. The assorted bracelets help people differentiate which glass is theirs, on the counter or table-top.  This was my other favorite gift we made. I think they are beautiful, style-ish, and frankly, I feel fancy and clever having them on my wine glasses.

6_wine-glasses-with-bracelets

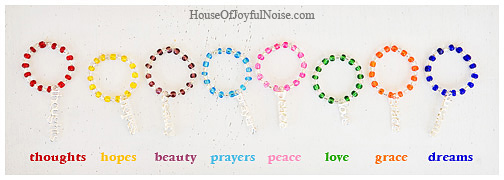
I made a set of eight different bracelets.  It was really hard to photograph them together, and make all of the sentiments readable, so I labeled them all for you, because I have a thoughtful side.  : )

7_wine-glass-bracelets

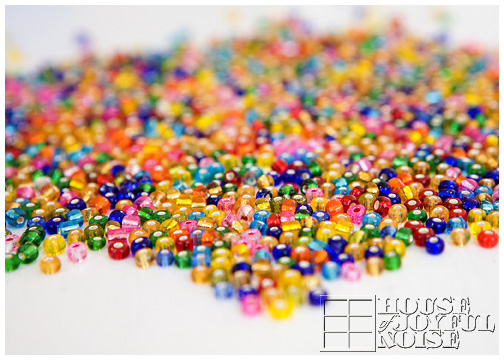
Also, while I was making them, I was mesmerized by all of the colorful beads on the table, and lost control with my camera once again.  I loved this shot, so I’m throwing it in here to share.  There are people out there who understand this problem I have, in needing to take such photos, and they appreciate it!

8_beads

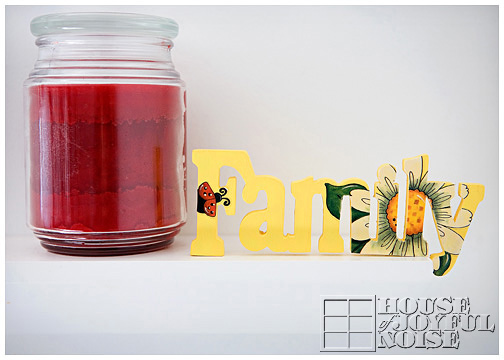
Next up……..I bought this wooden carved word, which is very important to me, and many of you:  FAMILY.   I painted it pale yellow, and then just rubbed on some floral and ladybug decorations.  That came out like this…

9_family
(Candle not included.)

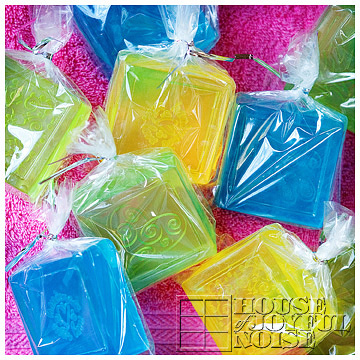
The soaps we made as Christmas gifts were a big hit, so I made a few more (one of each color) for the Give-Away.  I love glycerine soap, and we scented it a lovely apple aroma.  I didn’t take a new photos of the new soaps alone, though….this photo is from the Christmas batch, just for a closer look…

10_soap

I also threw in some bookmarks, which honestly were from the abundance of leftovers we still have from making them as Christmas gifts.

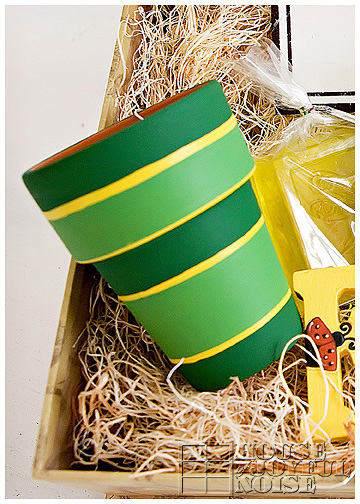
Lastly, a charming little hand-painted pot….

11_painted_pot

Michael painted this, and even pulled the painted stripes free-hand around the pot, with a fancy long-haired brush.  I think it came out really cute.

That would conclude the up-close review of the hand-made gifts given to our First Giveaway winner.  We plan to plan (lol,) another Giveaway, of some sort,  soon.  We’d like to wrap up our over-due ‘Michael Project’ we started first.  IF, that is, you all are interested, in another Giveaway??  If so…speak up People!  We’d love to know what kind of interest is out there.

The Regan Camp reports that the favorite items were the sign and the soaps.

What would your favorites have been?

Save

Save

Filed Under: Crafts & Creations, Giveaways, Giveaways, Homemade/Handmade Gift Ideas, The Big Picture Tagged With: giveaway, handmade gifts, handmade-gift-ideas

We are wicked happy to have you here! We hope you find much inspiration, help, humor and enjoyment here.


Archives


POPULAR POSTS

* * * * * *

SUBSCRIBE to House of Joyful Noise blog! Every new post, delivered right to your email box!


Privacy Policy

Amazon Affiliates

Never at any additional cost to you, we may earn a small commission for our endorsement, recommendation, testimonial, and/or link to any products from our website. Your purchase through our links helps support our family, while sharing with you the products we authentically use and recommend, for various ideas, and letting you know where you can purchase them. Thank you for your support!

[footer_backtotop]

Copyright © 2025 HouseOfJoyfulNoise.com · Genesis Framework by StudioPress