Did you know that many of the gold church crosses you see are actually real gold? If you did know that, have you ever wondered what the process is to apply the gold? This is called gold leafing, or gilding, and today we are going to show Part I of that process with you, on a church steeple cross.
In Michael’s business of truck lettering and sign making, he often does gilding. Gilding is the process of applying a fine, thin layer of real gold, to a prepped surface. Often times, letters or graphics are done on flat surfaces in gold on truck doors, boats, signs or storefront windows. 3D letters can also be gilded, to be applied to a building side, sign, etc. Michael has done gilding for all of those lettering purposes.
But he also does weather vanes, and church steeple crosses! He is often-subcontracted by Christopher Burgess, of The Burgess Company Steeple Jacks from Pembroke, MA. As a steeple and tower specialist, Chris often removes (if possible), repairs and replaces these structures for refinishing. Chris strips them and preps the surface for finishing, and often hands off the piece to Michael for gilding.
So while Michael had this church cross in to be gilded, we thought some of you might be interested in seeing the process.
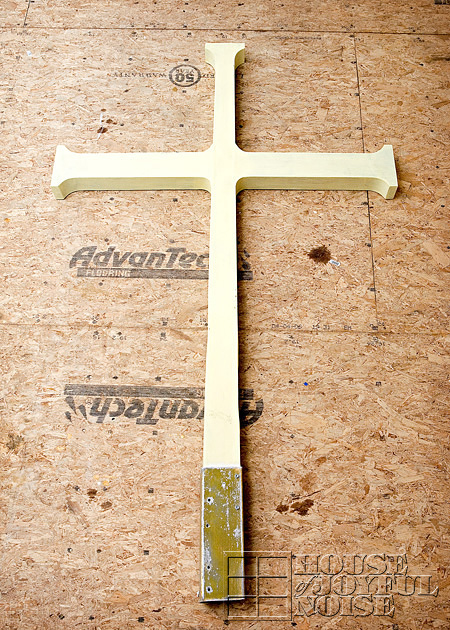
This cross is 5 feet 10 inches tall, and needs to be gilded, picked up and replaced on the steeple as soon as possible.
So Michael starts with these 2 mediums….
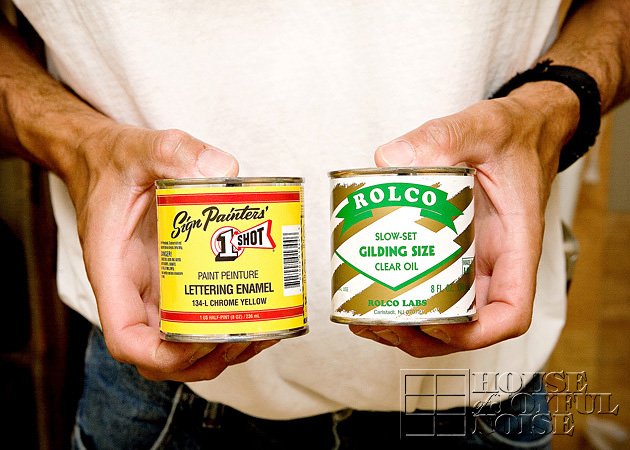
Slow-Set Gilding Size, and Yellow Lettering Enamel. The sizing is the medium applied to the surface first, to make the gold adhere. Because the sizing is a clear oil, about a tablesp0on of yellow paint to 1/4 cup of sizing is added, to tint the oil. This way Michael can see where the oil has been applied already as he works.
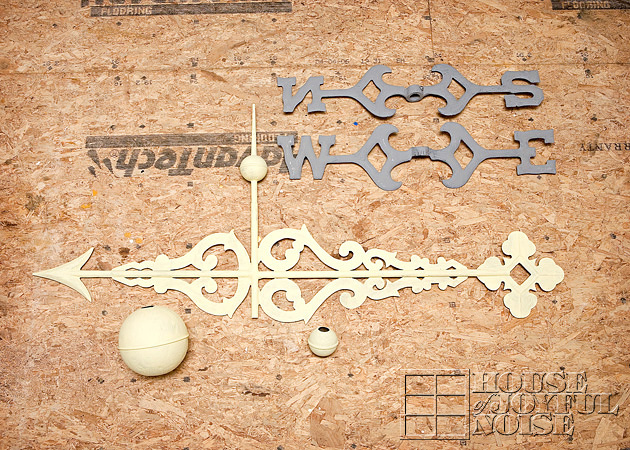
He also had a weather vane to be done, but for this post we are going to focus on the cross.
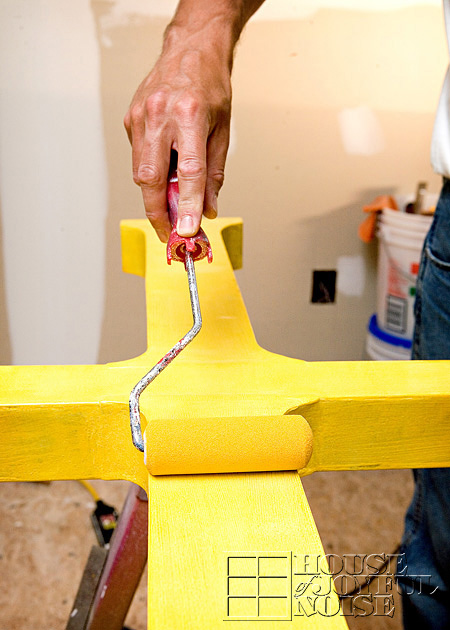
Here, for this piece, he is able to roll out the mixed medium on the entire cross.
Then it needs to be left alone for awhile. For slow-size, it takes anywhere from 12-16 hours, depending on humidity, to reach a desired tack. Quick size can be ready in 2-3 hours, but is preferred for truck doors, boats and windows, when it would receive a clear coat over the surface. But slow-size is used for gilded pieces that will not be handled, touched, or washed. In these instances, the gold by itself will stand up to the elements for a number of years. In any case, the desired tackiness Michael waits for is when he can drag his knuckle on the surface and it squeaks.
Once the surface is at the appropriate tackiness, it is ready for gold.
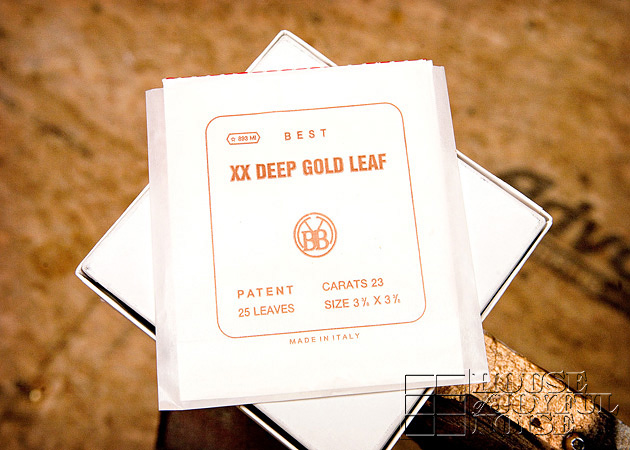
This is how the gold comes – in a box that holds 25 books with 25 leaves per book. This is patent gold, which means that it is adhered to sheets of tissue.
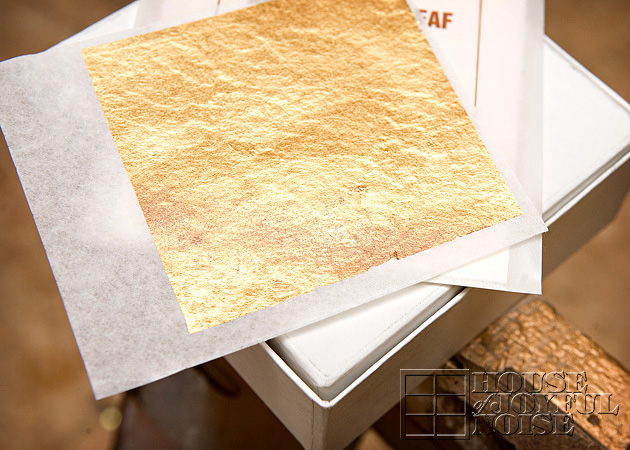
A sheet of gold looks like this. This is very fine, thin gold layer.
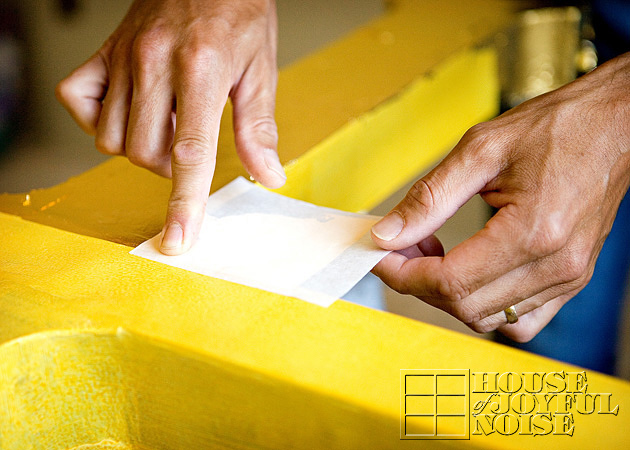
It’s applied very carefully, to the surface, as you see above. The sheet is gently laid down, and then rubbed with a finger or thumb.
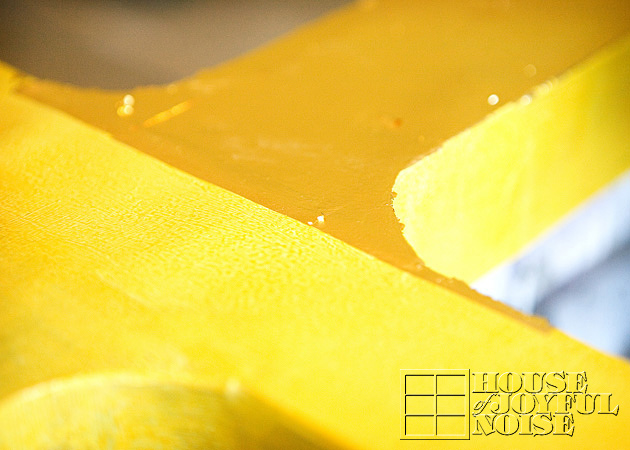
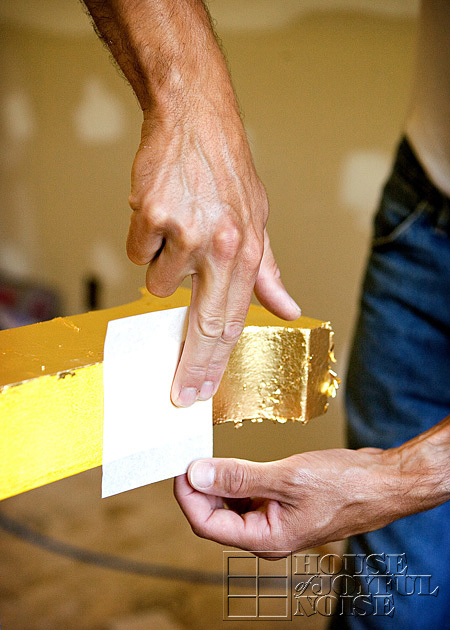
You can see how very soft and light as air the gold is.
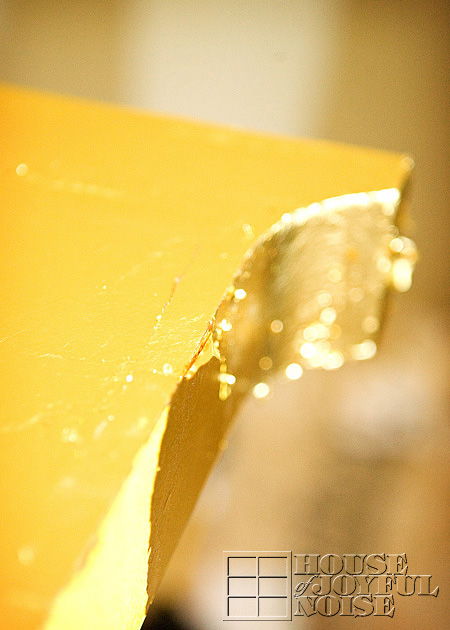
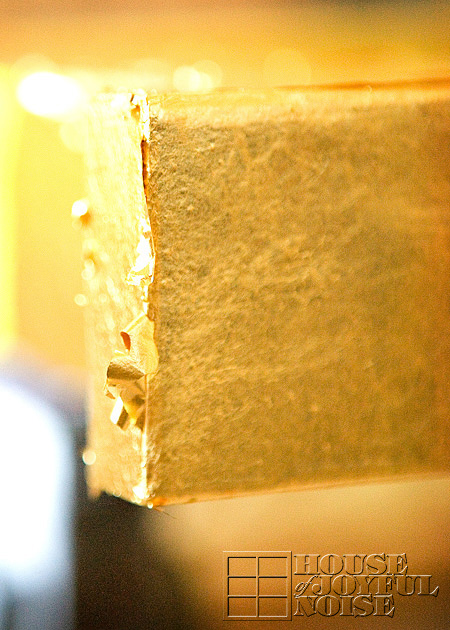
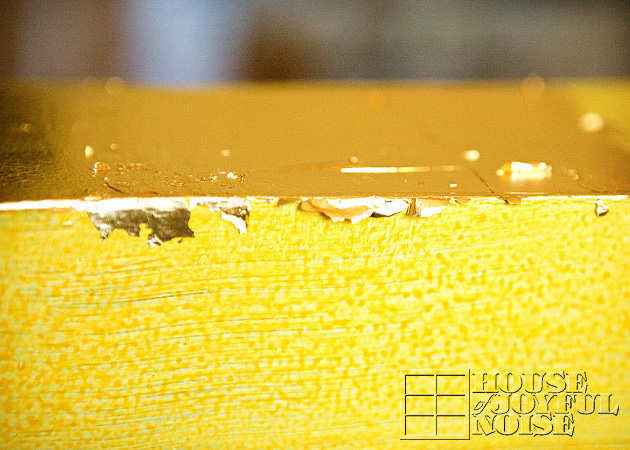
This method, of precisely laying sheets of gold, and rubbing down to apply it, is continued over the entire surface of the cross, until it is covered completely.
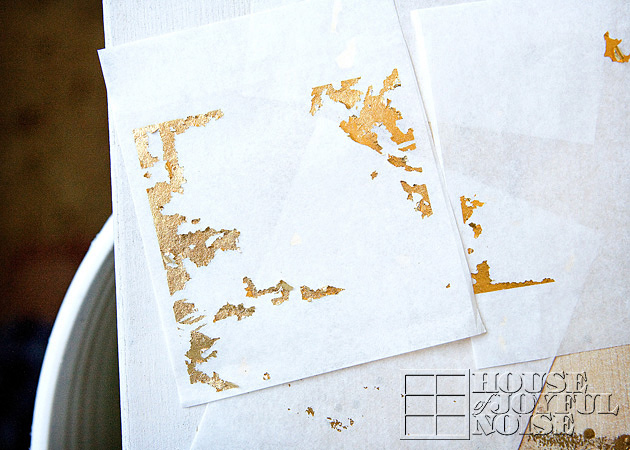
The goal is to use every bit of gold off of every sheet. What’s left on the sheets like above, are used for filling in seams, cracks and missed spots.
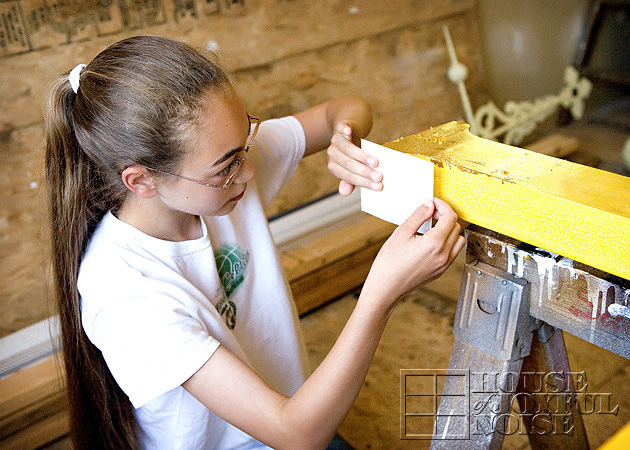
As we’ve mentioned before, {A} is often a voluntary apprentice on our jobs. She loves to gild with Daddy-Boy. Not to say she doesn’t have an ulterior motive or 2 as well. ; ) More on that later…
This post would just be way too big and long to explain the entire process with all of the photos, so stay tuned to see how this church cross is finished, and how beautiful it looks when it is all done!
Check out PART II HERE.


