
It’s the most beautiful time of the Fall season here in New England, with tree foliage at the peak of their most vibrant colors, on show. Soon, the leaves will be falling all around us, and swirling around our feet, as we go from here to there. The gardening season for this year, is surely all but behind us. Looking back, we’ve had a wonderful and productive season, for which we are very thank for.
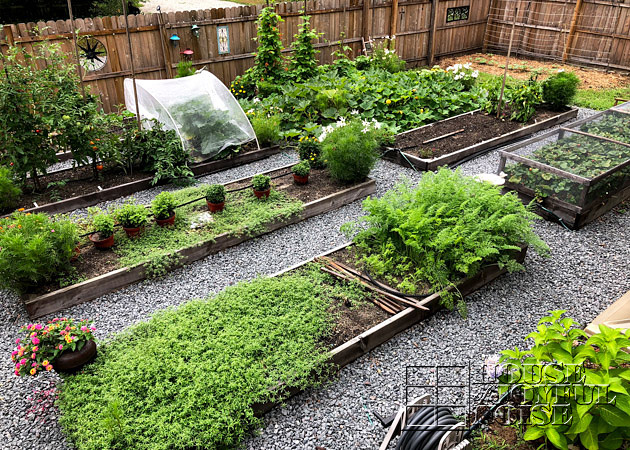
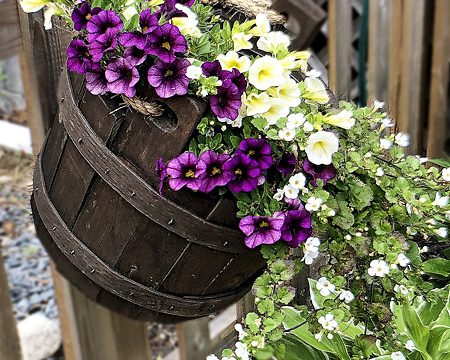
(August 2018 – when all was thriving.)
Now that we are well into this Fall season, where all that grows comes to the end of life, little by little the Fall clean up in our organic gardens has been done, and all looks barren and just about ready for a long winter’s nap.
One of the last fruits of our labors to reap, is the harvesting of our organic, non-GMO carrots!
–
Harvesting Carrots
Everyone has their own ways of doing things when it comes to harvesting and processing the vegetation that comes from their gardens. You just tend to find a system that works best for you, with a little experience. In this post, we thought we would take you through how we get our carrots from the ground to the freezer, in the way that we find to be the fastest and easiest manner.

In the spirit of sharing, the variety of carrots we have been growing are Shin Kurodas. The bright orange roots of this type of carrots typically grow five to six inches long. But honestly, we have pulled up a wide range of sizes, depending on how close they are grown together, or how long we have left them in the ground, growing, since we often harvest as needed; ground to table. This type of carrot is stump-rooted in shape, and are tender and sweet flavored.
–
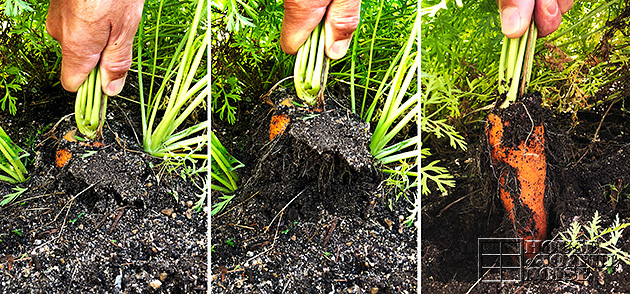
As fun as carrots are to grow, they are even more fun to harvest! It’s rather exciting to them pull up out of the earth, one after the other, and see how big (or small) each one is going to be. Ripping the roots from the ground is also rather therapeutic and gratifying, if we do say so ourselves. (Fall clean up in general, is gratifying, in that light.)
–

Here we have one of the biggest carrots we have grown to date. It was mammoth, compared to the others.
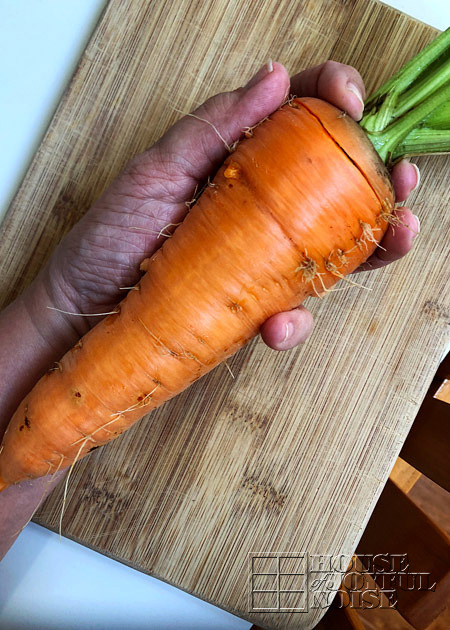
I’d say it was well over 9″. It had a healthy girth, as well. Me and O couldn’t even wrap our fingers around it towards the top.
(Although admittedly, us girls don’t have the biggest hands.)
O.k., let’s get to our process.
–