
A couple of weeks ago, I hinted on our Facebook Page about the weekend project we had in the works. I mentioned that I was all done dealing with the ‘mantel envy’ I have had going on, for years now. You know, mantels, the shelving surface that many homes have over their fireplace? Many creative homemakers have great fun decorating their mantels for various seasons and holidays, switching it up all of the time. I wanted that, too!
We don’t have a fireplace, anymore. Years ago, before the little-house to big-house renovation, we had a built in coal and wood fireplace insert, with a brick mantel. But that was ripped out when our sun room was added on.
I wanted a mantel of my own to work with. And when I really want something, I usually figure out how to get it.
And you know how good I am at that?
I got me TWO mantels! HA!
I reckon some will have some envy for me, now. ; ) See, the good Lord blessed me, like Mary, with a carpenter of my own. A very skilled carpenter, I might add, who can build just about anything I want. And because I am not only blessed, but possibly (possibly . . . ) spoiled, he does build me anything I want.
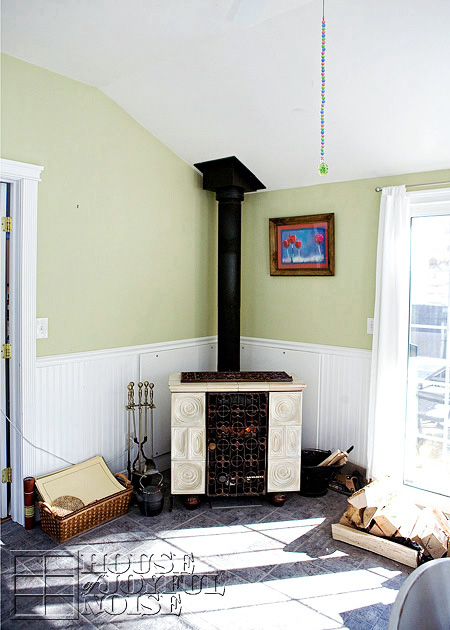
I had been telling my-personal-Joseph, how I thought it was a fine idea, for him to build me a great pair of corner mantels, over our beloved, ceramic wood burning, family-heirloom. I explained it to him in great deal, trying to paint the picture for him. I don’t think he was really getting my vision for awhile, because he kept looking puzzled, while assessing the area, and saying, “Really?”, every time I brought it up. But then on the Thursday before said-prior weekend, I told him I just had to have it. And I’d love for him to get sketchin’, and bring home any materials he;d need for the weekend, home after work on Friday. And he said, “So let me get this straight. This is our new urgent project, that you’d like done right away, before I have even finished the last urgent project, that you’d like done right away? I’m supposed to stop that one, and do this one first, after stopping the one I was doing 2 projects ago, to do the last, new urgent project?” And I said,
“Right. Honey.”
And so he got sketchin’,
and buildin’, and
yes, I helped quite a bit too.
Because I’m not that spoiled.
And by the next weekend, my mantel dreams had come true, x2.
And I was and am still, thankful.
WANNA SEE?!
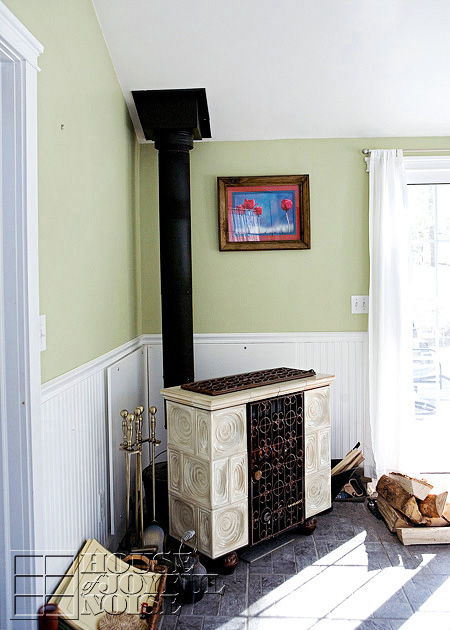
Ok so this is the corner as it has been (before), when anyone is looking at, when they walk into our front door. On the left hand side there, is where our Prayer List Chalkboard has been hanging for years. (And we still use it, regularly.) For now, it’s moved to the wall beside the front door. But take not of the wall straight ahead. It’s shorter . . . . .
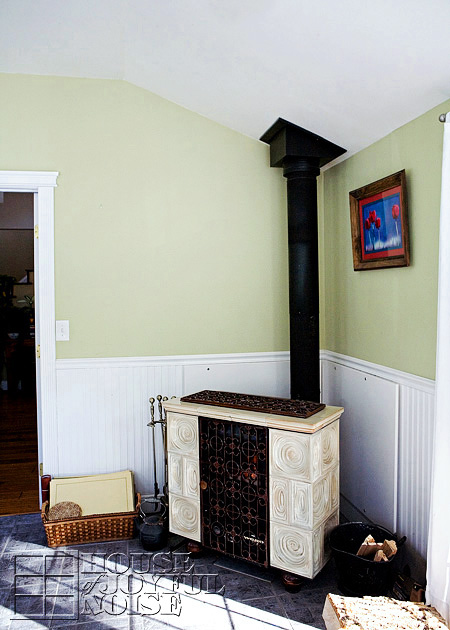
. . . . than the corner wall perpendicular to it. This one is a bit longer. So I’ll have two different lengths of mantels.
I also got thinkin’ about how much I’ll be photographing the mantels as it changes for our home decor. And it hit me that the backdrop will always be the same, and green. And the simple (right?…) mantels project instantly grew. I wanted a wider bead board like wall as a backdrop.
See? Spoiled. Possibly.
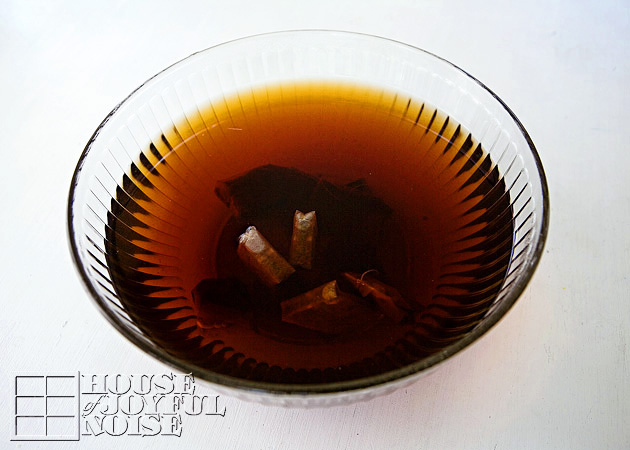 I knew if my Joseph built me these, I would be so grateful. I’d be happy to finish them myself. Of course, I wanted them to not look new. Or fresh. And for my vision, distressing on fresh wood was not going to work. So I researched how to weather/age the wood, before painting and distressing, and was pleasantly surprised to find a way to do it. That worked!
It’s fairly simple too. You ‘paint’ the wood with tea, first. I made a big strong batch, soaking my tea bags over night.
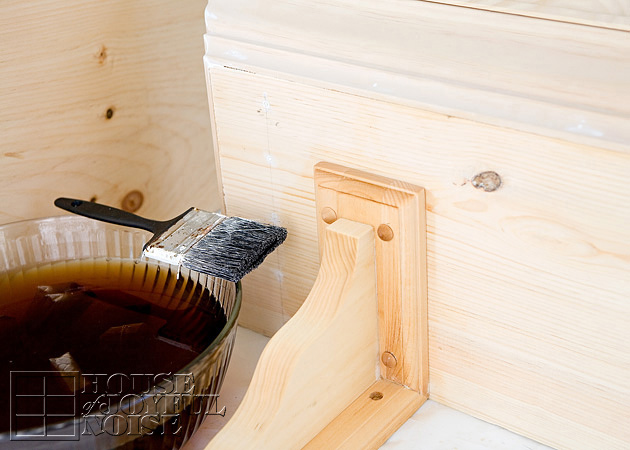 So I brushed the tea on all over my two built mantels, and let them dry. There was no difference to see.
But the tea is only applied to react with the next strange solution brushed on.
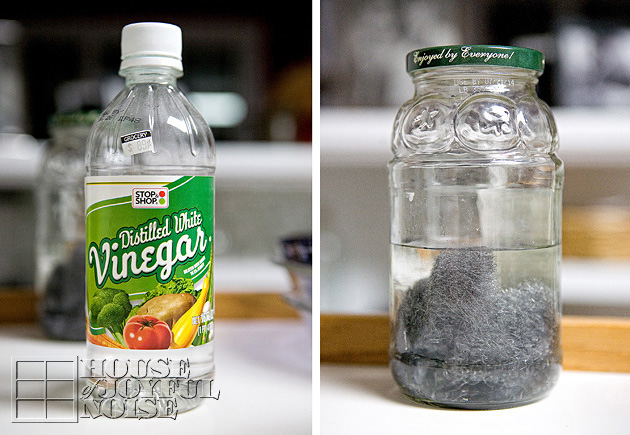 I had to cover very fine steel wool (#0000) with straight distilled white vinegar. And just let it soak, at least for overnight.
The next day, it didn’t look much different in the jar. I know in time, that wool would rust. (It has since…). But anyway, while applying it to the mantels (already treated with the tea), I could see the instant reaction happening. Very cool. Almost magical!
To see the dried wood after the vinegar/steel wool solution treatment, click on any image in the gallery below, use arrows to see each next, and then your ESC button to close.
Interestingly, even after the wood had been dry and I took the above photos, the wood seemed to turn even a bit greyer. which I was happy about. For a darker finish, I could have brushed on a second treatment, but I was quite happy with the results after just one, for this project.
So then it was time to paint both mantels, white. I used about 3-4 parts paint to 1-part water.
And then a whole lot of sanding and distressing.
 Meanwhile, Michael, a.k.a my Joseph in this post, was taking care of the walls to my every wishes.

And I’m pretty much done talking, and ready to show you lots of photos of this exciting home improvement project!
Here we go!
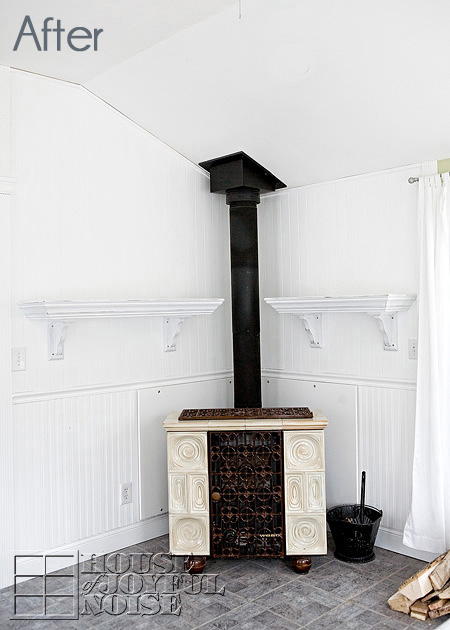
Now for anyone concerned, we were sure to make certain these mantels met fire code. They needed to be at least 6 inches from the stove-pipe, and they are. It’s hard to tell in these photos, but trust us. We have the most to lose! That is why they don’t wrap around behind the pipe. The mantel shelves are very thick, and keep in mind too, that the stove is only in use maybe 1-1/2 seasons a year.
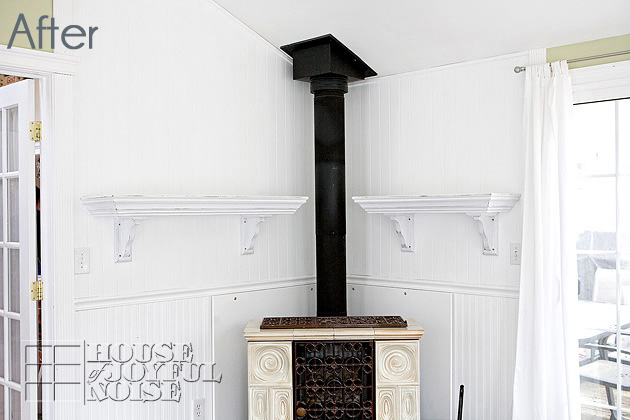 So yes, while narrow bead-board goes all the way around the lower half of our green sun room (as of this post), the wider bead board (v-groove) type paneling is just in this corner. I think because of where we let it end, and because of the molding we used, it works nicely!
And how about those mantels?
I love that I have two to work with! Because sometimes you get going on a theme, but you really have another idea that kind of ties in too.
So that is going to be way fun. One is 48″ and the other is 35″.
Let’s take a closer look at the beauty of the craftmanship of my husband, shall we?
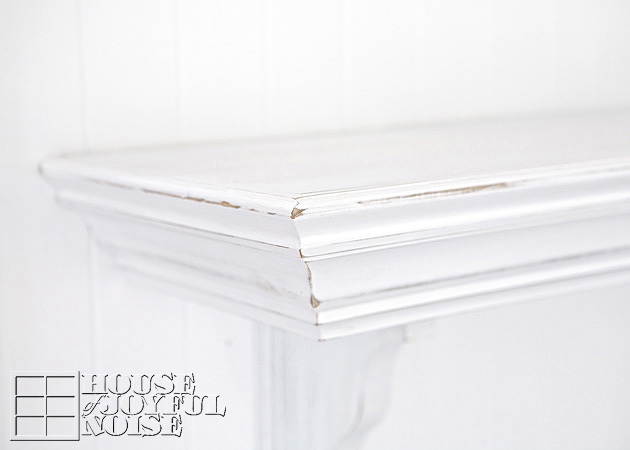 He used 1×12″ and 1×10″ pine boards, crown molding, and base cap.
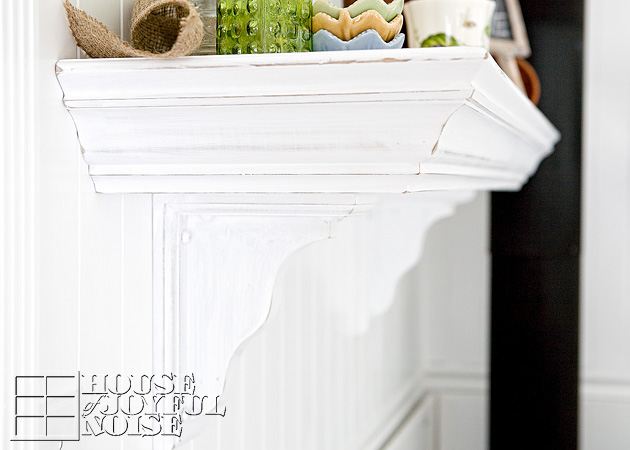
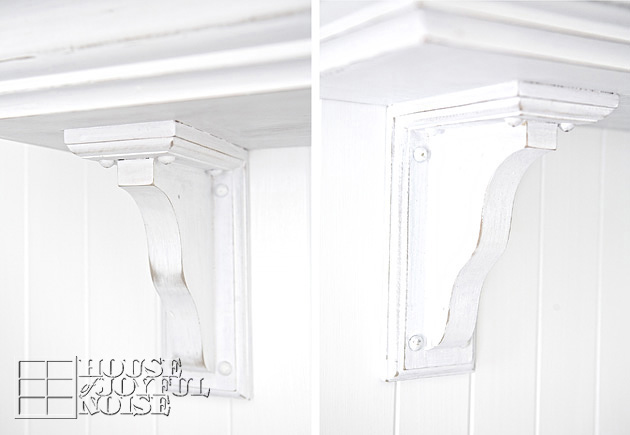 And these awesome pre-assembled 9×7″ shelf brackets. Which, I love.
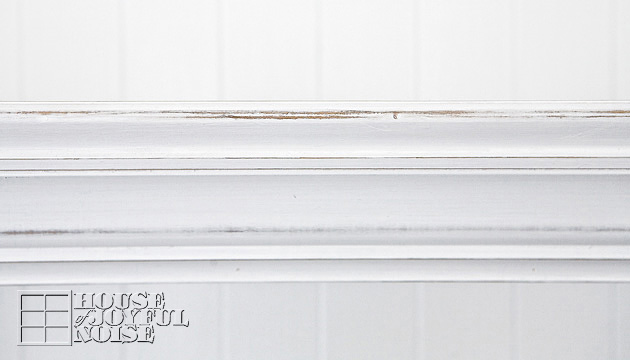
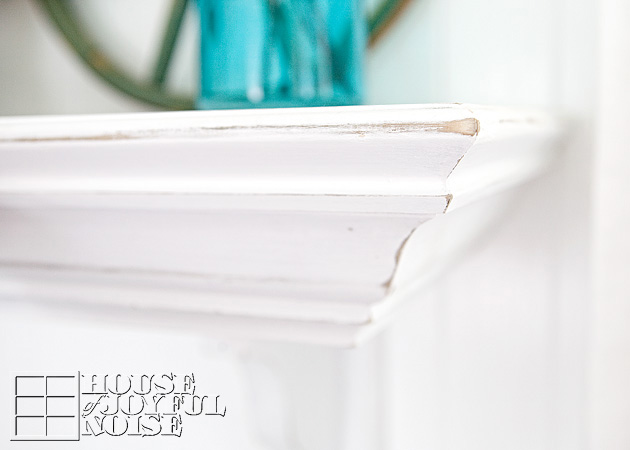 Do you see how the wood looks older, peeking out from underneath the (supposed) worn paint?
Love it!
A few more photos . . . .
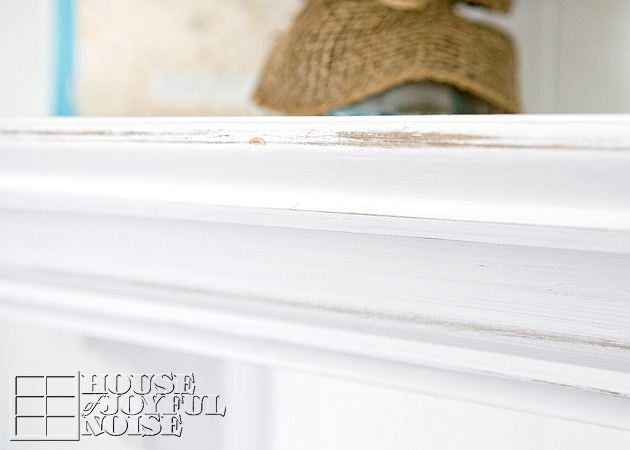
Beautiful, no?
 I am SO happy with them. Of course, the whole point of having them, was to decorate. They are looking kind of NAKED in these photos.
But as you can see peaks of in a few photos above, I have indeed gotten my Spring mantels together!
So my Spring Mantels…..that is a next post coming up!
Detail photos of what I adorned these mantels with, for this season, are on their way. Which I believe will really help you pull the whole vision together.
They are gorgeous, and so homey, all decorated. I can’t wait for you to see!
But this post is about the craftmanship of Michael’s work, and his ability and willingness to build my little dreams.
Please leave him your thoughts!
And then look for the Spring Mantels post real soon.! ; )
* * * * * *
Please come follow me here and there:


Beautiful! I’d love if you’d link up to The DIY’ers. http://homecomingmn.blogspot.com/2013/04/the-diyers-and-more-curtains.html
Wow – two mantels – too awesome! Congrats on them turning out so well! Can’t wait to see how you decorate them!
I know it Laura K, right? Maybe TOO much fun, too. But I doubt it!! HA ha.
Thanks for checking them out. 🙂
~Laura
Very nice! Thanks for the tea bag tip!
I’m visiting you today from Homework. I hope you get a chance to stop by my blog and leave a comment, too!
~ Megin of VMG206
Medicine Cabinet Makeover
Absoluuuuutely positiveeeelllly gorgeous! great job to “Joseph” and I cant wait to see what you do with it, Laura! 🙂
~Heather
Thank you, Heather! And I can’t wait to SHOW you! Taking detail photos of my spring mantels today. I am looking forward to working with my mantels, year round! Thanks for coming over to check them out, my friend. : )
~Laura
Beautiful job !! Love them.
Thanks so much, Michelle. Me too! 🙂