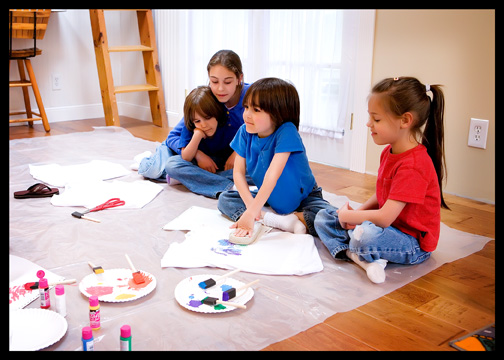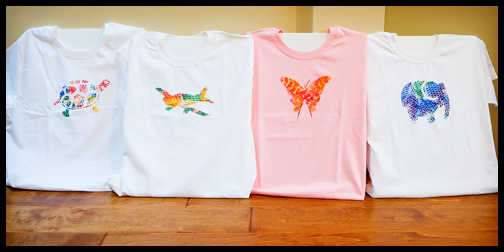
This just may be the coolest and most fun craft, I have ever done with our kiddos. If that wasn’t awesome enough, it is super easy, and it doesn’t make a mess either!! I know, right? It’s perfect for kid’s birthday parties, scouts, camps, etc. Our kids didn’t want to stop. They even made a couple of shirts for their friends. But all of you mothers, as we show you how simple this project is,….think outside the box, for yourselves, or other projects, too. I am!
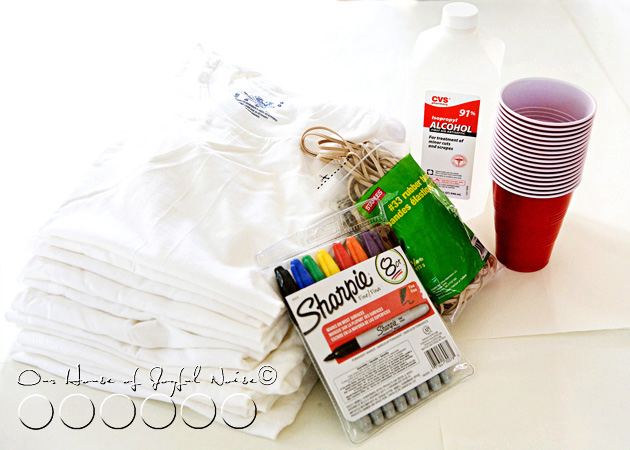 All you need is:
- some white t-shirts (in your sizes)
- sturdy plastic cups
- rubber bands
- bottled rubbing alcohol
- a (liquid) dropper
- and Sharpie Permanent Markers in colors!
Easy supplies to gather, right? Here’s how you get creative with them.
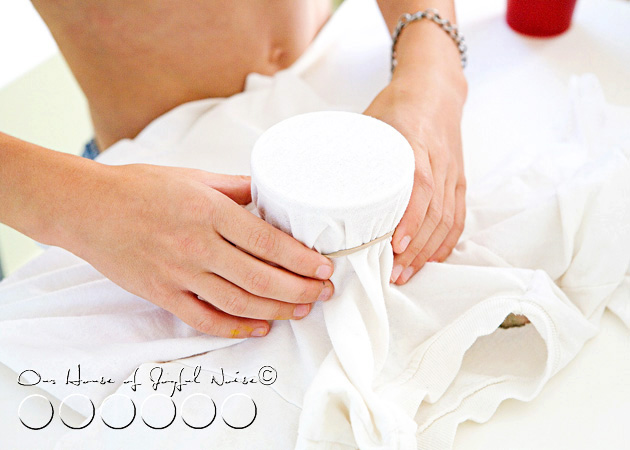 Lay your t-shirt on the flat surface you are working on, front side up. Take the cups, and arrange them upright in different places inside the t-shirt, one at a time. As you do this, consider that where ever you have a cup, that’s where a design will be put on your shirt. Secure each cup as you go, with a rubber band. (You can do more later, on the sleeves or backside of the shirt.)
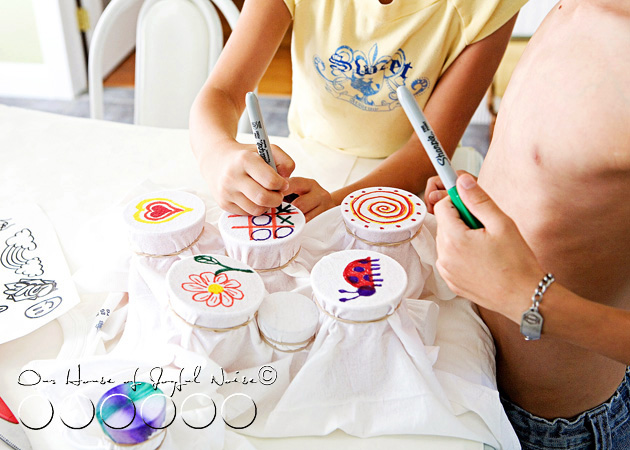 Using your colored Sharpie Permanent Markers, get creative and make some designs or simple line drawings on t-shirt fabric that is over the opening of the cups. My kids even played a game of Tic-Tac-Toe on one. In a moment or 2, I’ll get to what colors or techniques you may want to avoid, and which ones worked best. We learned from little mistakes so you don’t have to, and figured out some tips and tricks that I’ll share with you too.
You’ll be able to see them for yourself, too. ; )
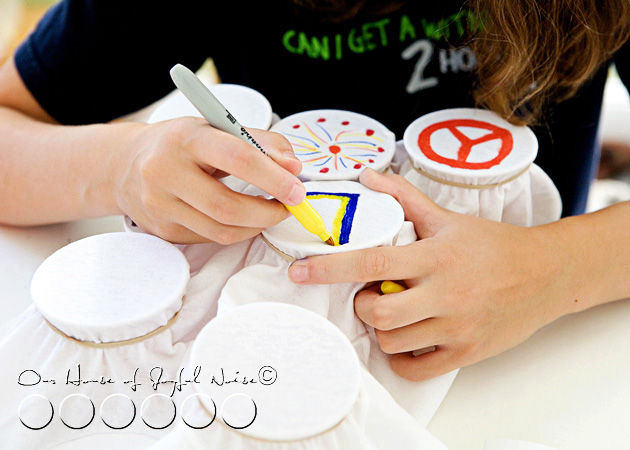 Each designer can personalize them in their own style, symbols, colors, or simple line drawings that they like, or mean something to them. Or if it’s a gift, think of the recipient. Simple words may be able to be used as well.
Here’s where it gets even more fun.
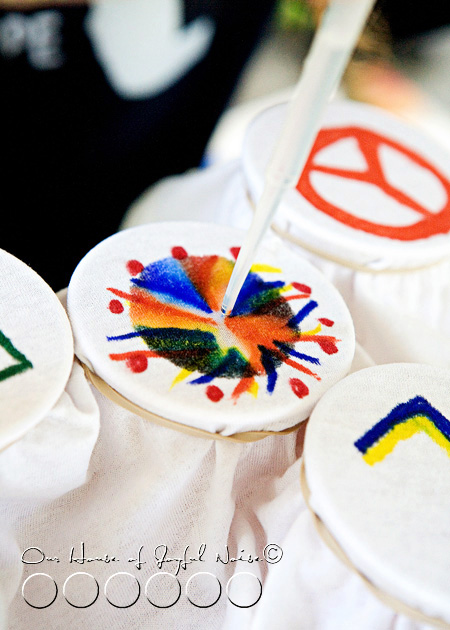
Working on one design at a time, slowly drop drops of alcohol in the *center of the circle/design. As you do, you will see the marker ink start to spread. You don’t want to drop too much alcohol though…..you need to do this slowly, and watch what is happening. The spreading will slow down, but if you watch carefully, it is often still spreading. If it does seem that it stopped, add more drops, one at a time, and keep watching.
*TIP: It’s important, to only drop the alcohol drops in the center. Reason being, it pushes the ink from the center, outward, spreading it evenly and nicely, for the right effect. Also, if the fabric becomes too saturated with alcohol, the drops drip into the cup beneath, which pretty much evaporate. But that is why it’s important to keep the cups pretty upright, as to not spill any colored alcohol that may be sitting in the bottom of the cup.
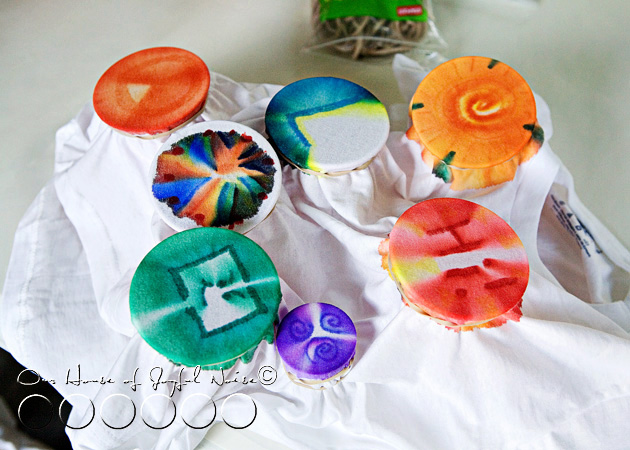 Once you get the feel for it, you can do more at once. As one design is spreading, you can start another (and another) beside it.
Do you see the multi-color burst? That one is still spreading very slowly. Do you see the little purple swirly one? That’s a little shot glass, instead of a bigger plastic cup. Perfect for the side of a sleeve too.
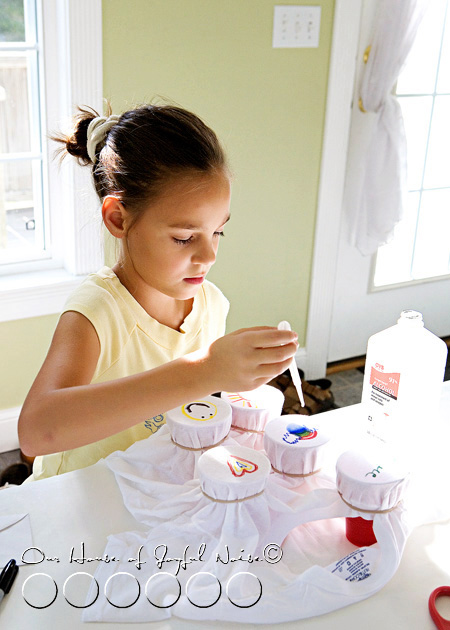
Here, {O} had finished drawing out her designs, and she’s now dropping alcohol on them. It’s really so exciting, to watch them and see how they are going to turn out.
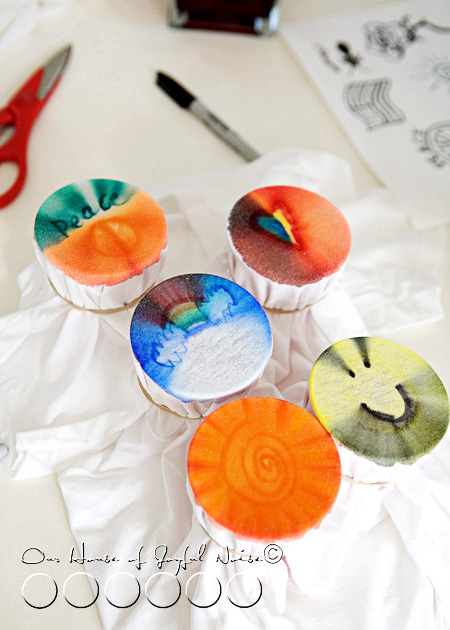
As you can see, black can get pretty messy. In the case of the smiley face, I like how it turned out. It reminds me of a record. Remember those? ; ) But if the black were in the center of the design, it really would have blotted out the rest of the colors.
Now look at the rainbow and clouds. Because she was dropping alcohol under the last color of the rainbow, where the center is, all of the color above that pushed up. Because again, it spreads from the center. So that’s a good thing to keep in mind with your designs. Blue reeeeaaallly spreads, so be mindful with that color, too. It may seem like it’s a lot to remember, but really, once you are working with the colors you, you get it quickly.
*TIP: We actually did a test t-shirt before we began our own t-shirts, and played a bit, just to see how it was going to work. But the colors’ chemistry is something we learned on the real ones. So you may want to consider 1 practice t-shirt for everyone to do a practice design on collectively. Or, you all can just live on the edge, and go for it!
Here, the boys draw out their designs…..
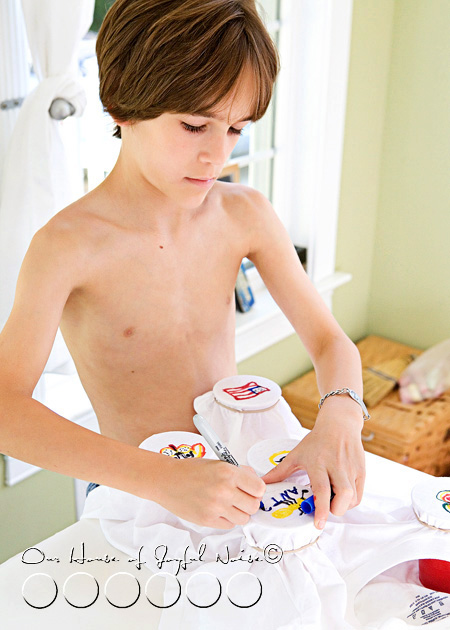
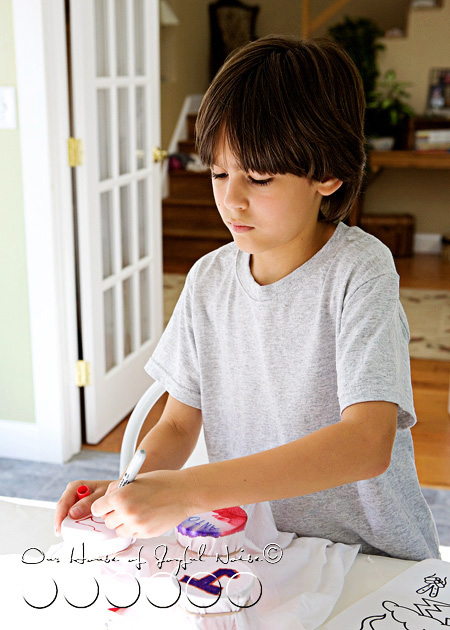
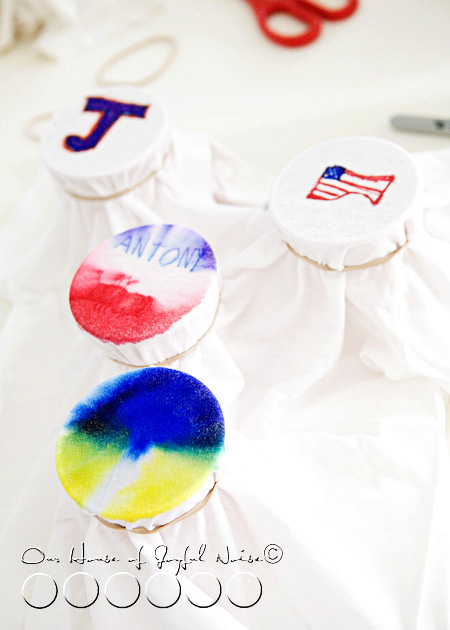
Sometimes, the ink will spread so much, that you can’t hardly tell what it was anymore, such as with the blue and yellow one above. It was a thunder cloud, with lightening coming out. But that’s ok! The designer knows what it was, which makes it fun! Other times, you can vaguely still see the deign, like a subliminal message. ; ) In the photo above, the very top two designs in the photo are not alcoholed yet. So let’s take a look at how those came out….
 See, I was concerned that that “J”, so colored in and outlined so darkly like that, might turn into a hot mess. Using dark colors and solidly coloring in something, is going to turn out much like that J. But the flag turned out pretty cool! Again….see how it spread from the center? It creates it’s own design.
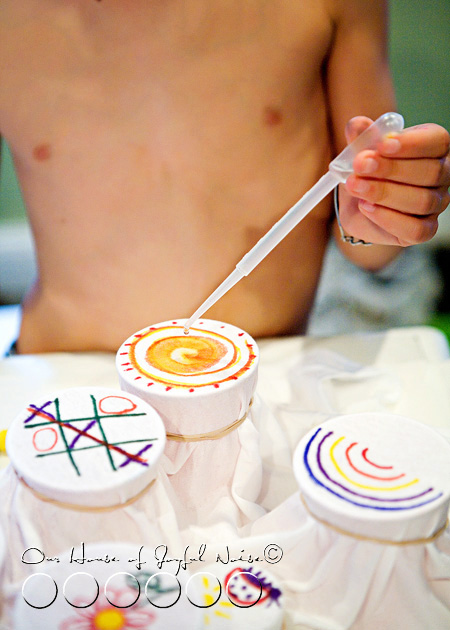
Drop…..drop…………….drop…..we don’t really want to stop!
Here are some of my favorite designs…..
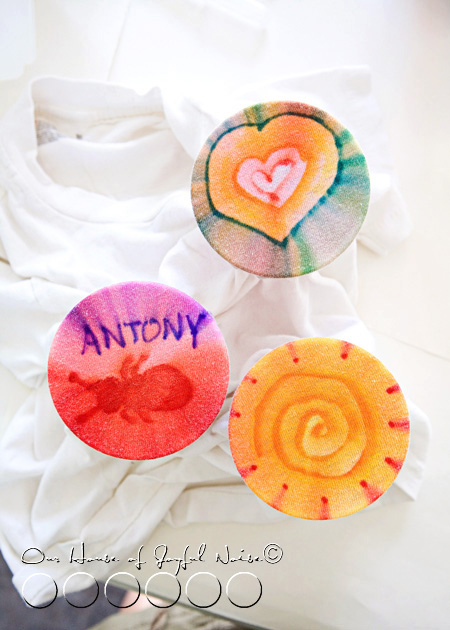
Antony…..get it? ; )
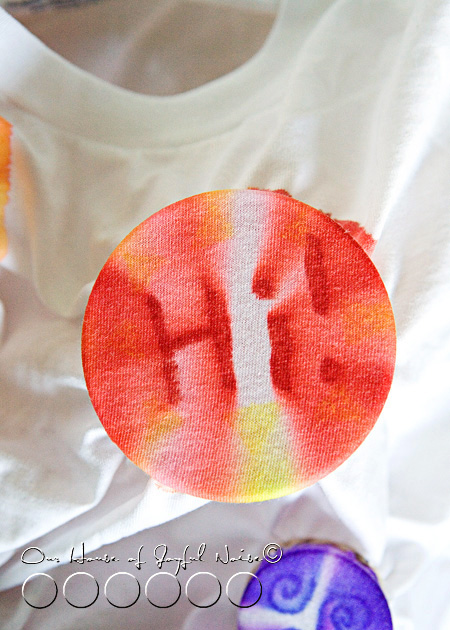
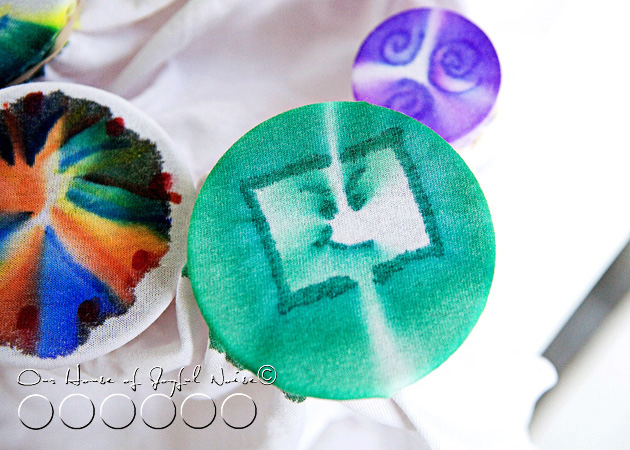 Have a nice day.
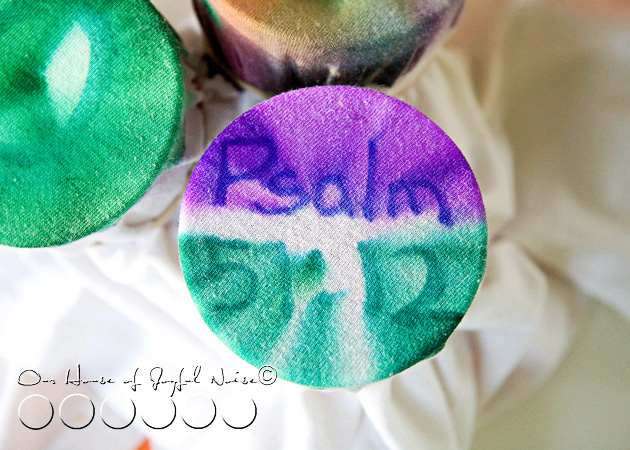 Love this one. It’s {S}’s design.
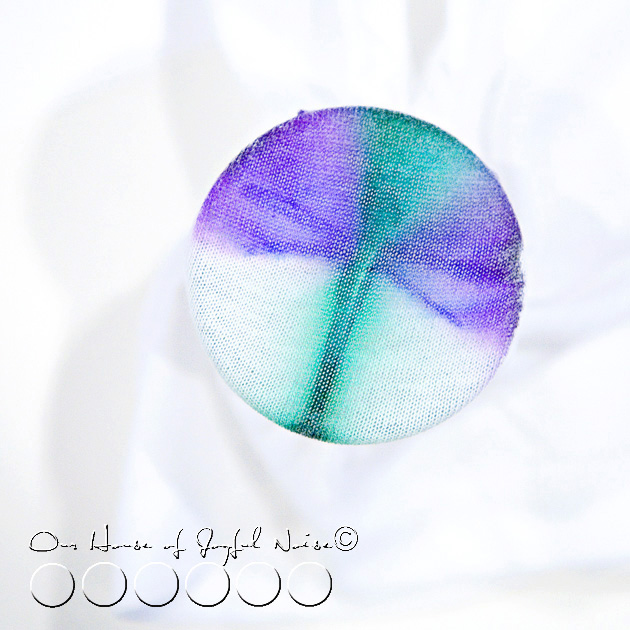 Dragonfly.
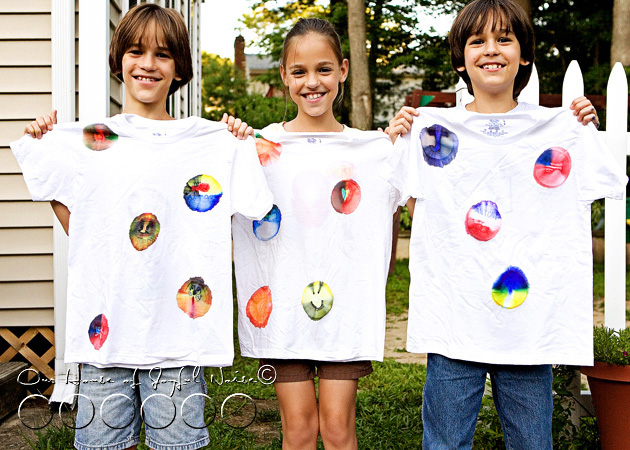
Here’s how the kid’s own t-shirts turned out. WHICH, they are loving wearing. We have not washed them yet. I think I will just hit them with an iron before throwing them in the wash, to kind of ‘heat-set’ them first. Even though, it IS permanent marker, and shouldn’t come out.
Also…the shirts dry very fast, because it’s just alcohol, which evaporates.
Next time……because there will be a next time, very soon……we’re going to try not securing the rubber bands so tightly, and try to make a less defined circle. Because it’s the fabric pulled tight over the edge of the cup, that really keeps the ink from spreading much more. I bet it would look cool to let it go, too.
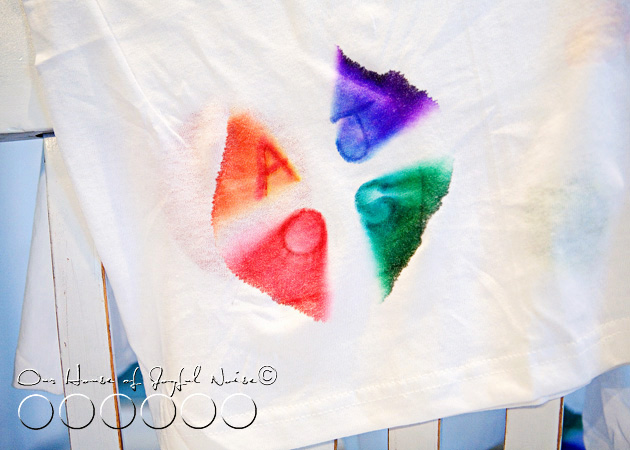
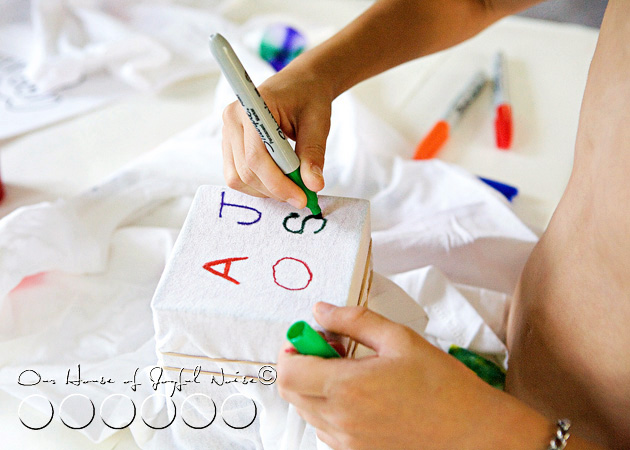 Our kids ‘signed’ the shirts to their friends, on the back side, bottom left, of the shirt. Here, the shirt is secured over a square vase container.
Check out how cool it spread…..
 I have more designs in mind, that will be fun trying.
Other Ideas: This technique can be used in the more traditional way that tie-dyed shirts are done, by twisting and rubber banding the shirt, coloring it with markers, and applying the alcohol.
I’m going to try making my own shirt, with a design just in the center, on a women’s t-shirt. Maybe a little something cool on the sleeve cuff too.
Another idea: white bandanas!!
Hope you loved this easy, fun crafts, that’s (not just) for kids!!
You may also be interested in another t-shirt craft we did years ago: T-Shirts with Sole!
* SPREAD the craft idea with others! Facebook it, Twitter it, or Pinterest it for yourself.*
Have fun with it!
If you and your kids do this craft, take photos, and blog it….come back and leave the link in the comments of this post, so we can see how yours came out!
******


