I’m so happy I now know how to make our own awesome lip balm! It’s all-natural, made right at home, and in our extensive experience and personal opinion, it’s the best lip balm we have ever tried. This one is Wild Orange; made with real wild orange essential oil! And all kinds of other nourishing stuff that is so good for your lips. It not only feels good, it leaves a nice gloss.
You have no idea how much we are a ‘lip stuff’ kind of family. 4 out of 6 of us anyway. “Where’s the lip stuff?” “Mama, can I have the lip stuff in your purse?” “The lip stuff is almost gone!” If we are running out, we start to panic a little.
It’s as important to keep in the house, as milk and bread. It’s crazy. We need our lip stuff!
We’ve been through many kinds of ‘lip stuff’ over the years. But our favorite we really got stuck on, was some we could only get at the Farmer’s Market, and only when that vendor was there. It’s from a local bee/honey farm, and they have many products with their honey in it. Their lip stuff rocks. It was a tangerine balm. But, it’s not really easily accessible. So we’d stock up a little when we saw them at the farm market, at $3.75 each. Yikes! Worth it but, I always thought it would be nice to figure out a way to make our own, for less.
That day has come! And we don’t need to worry about running out.
To figure out what ingredients to use, I went by those listed on our last tube of honey bee lip balm, as a guide, and figured the rest out from there.
My little O helped me make these, and we had great fun making them! It was like science for her, but she always enjoys helping me anyway (as I enjoy her help…ha haha), and she loves anything that involves making something in the kitchen. (What a blessing it will be for her if that lasts her whole life long. Eh??)
In this post I am sharing exactly how we made these lip balms, so you can make your own too, just like we did!
It’s a recipe, DIY how-to, with **FREE PRINTABLE LABELS** I designed for your lip balms as well!
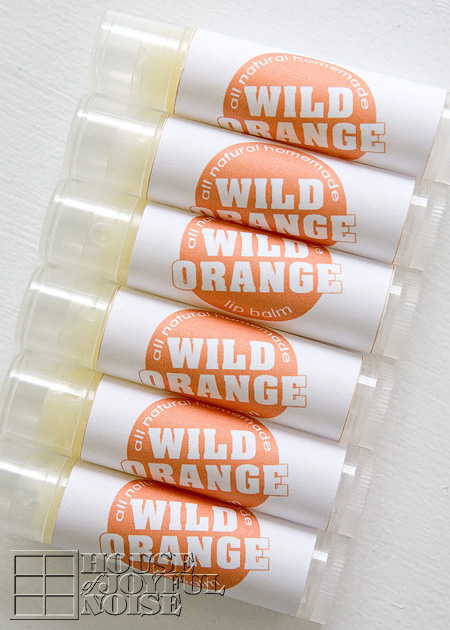
Our recipe makes 6 lip balms, just like this.
Ready to learn how to make your own?
Here’s What You’ll Need
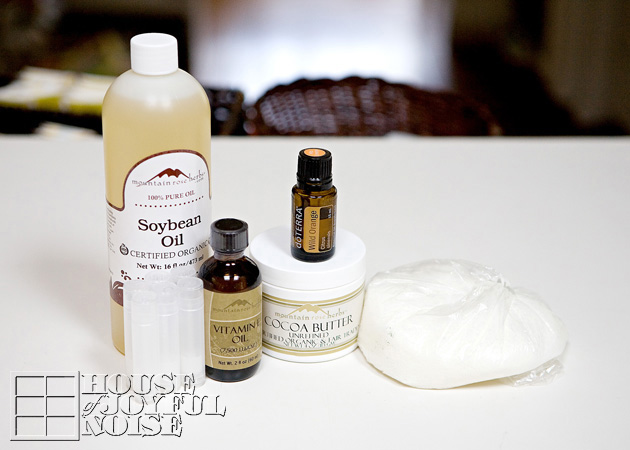
This is the Ingredients list.
You can find the following at Mountain Rose Herbs, using the search tool there:
(5-1/2 tsp) Soybean/Soy Oil
(2 tsp) Bees Wax Pastilles
(1/2 heaping tsp) Cocoa Butter
(1/2+ 1/8 tsp) Vitamin E Oil
6 Clear Lip Balm Tubes
(12 drops) *Wild Orange Essential Oil. (We use doTERRA).
* If you don’t know where to get Wild Orange Essential Oil, you can email us at TheRichardHome@aol.com and I’ll direct you to my shop.
HEY! – If you love these lip balms, you can also use the Wild Orange essential oil in our Wild Orange Sugar Scrub.
—
Equipment: – A double boiler
– A stove top
– a glass dropper (or disposable pipettes?)
Here’s the How-To
It’s so simple, and so fun to make these lip balms!
And it’s as easy as measure, melt and mix, and put in the tubes!
I did not take photos of the process with the double boiler because it’s easy enough to explain without unnecessary photos. (Even though I include unnecessary photos most all of the time in my posts, just because I like to take them. So who am I kidding, right? lol) But my double boiler is just a pan you sit in the top of another pan of boiling water. Got one of those? It would be a boring photo.
So get your double pans set up on the stove top. As you get the under-pan of water boiling, put your 5-1/2 tsp of Soy Oil in the top pan.
Once warm, add the 2 tsp of Bees Wax
Use a tiny whisk and get it melting.
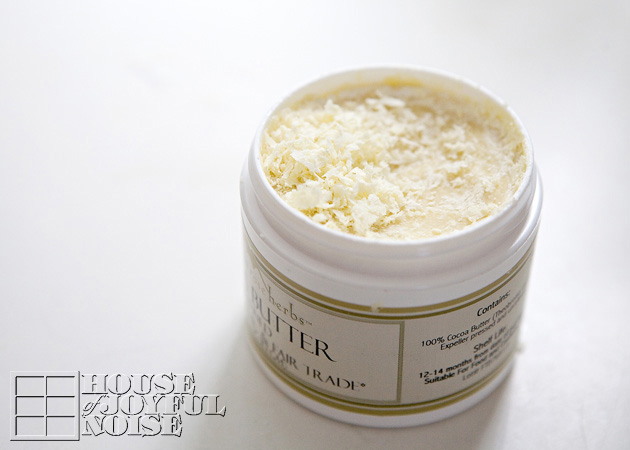 Next add 1/2 heaping tsp of Cocoa Butter.
This Cocoa Butter comes pretty hardened. So just take a spoon and scrape up shavings, until you have enough.
Add that your pan and whisk together.
Once the wax is melted and everything is blended, you can remove from the heat or simply turn off the burner, and add your Vitamin E Oil, which will be 1/2 tsp and then an additional 1/8 of a tsp, and then 12 drops of Wild Orange Essential Oil.
It’s important to keep the mixture in liquid form until you get your tubes filled. You can remove the upper pan as you work, but keep returning it over the pan of hot water if it begins to harden. The mixture can be reheated to liquefy again at any point, if necessary.
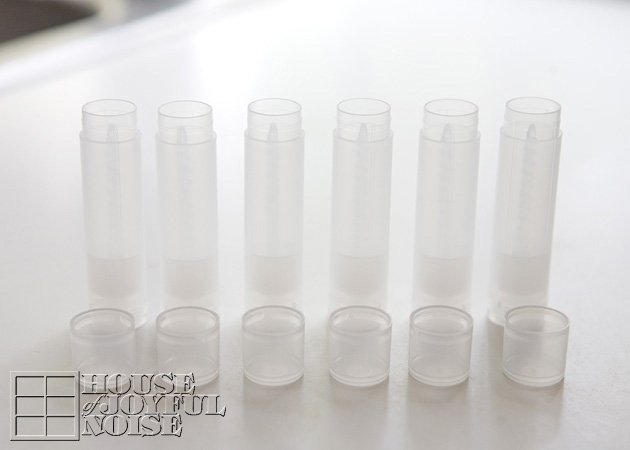 I had my tubes all lined up and ready to go.
I chose clear ones, because I’d like to be able to see how much is left in a tube as we use it.
–
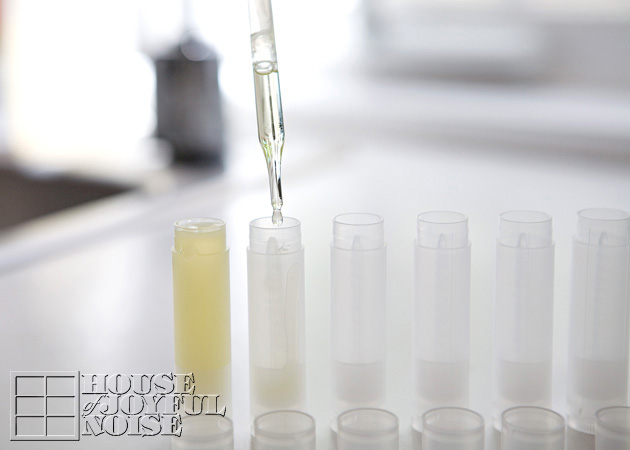 I used a glass dropper from one of our science kits, to extract the mixture from the pan, and fill the lip balm tubes.
–
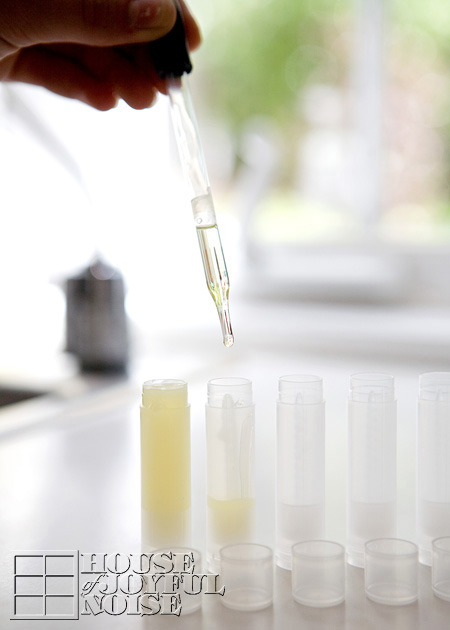
Work as quickly as you can (safely) and fill each tube to the brim with the liquid.
Then let them sit to cool and firm.
Clean-Up Tips
Meanwhile, you’ve got a pan and a dropper to clean! (Unless you used disposable pipettes – which I did not do. I don’t know if the mixture would be too hot for the plastic pipette? But if anyone tries it, come back and let us know how it works!)
To clean the pan, while it’s still hot, wipe any wax-liquid mixture out as best you can with paper towel. And then wash as normal.
To clean the glass dropper, I used pipe cleaners. That worked very well! But I wasn’t able to get every bit out. That’s ok, I’ll continue to use it for the same thing, as we make more lip balms.
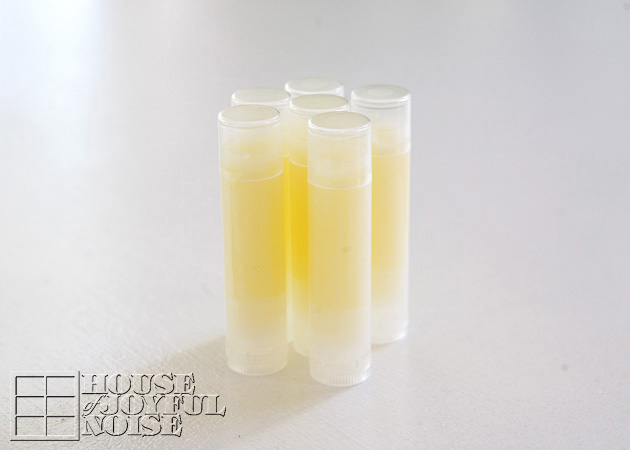 And there you have it! 6 awesome Wild Orange Lip Balms!
You can keep stocked up for yourself, or give them away as gifts.
I know we’ll be doing a whole lot of both! Because these are so easy to make, literally costs you cents, and they are fun to give away as little tokens of love and care.
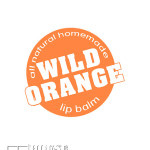
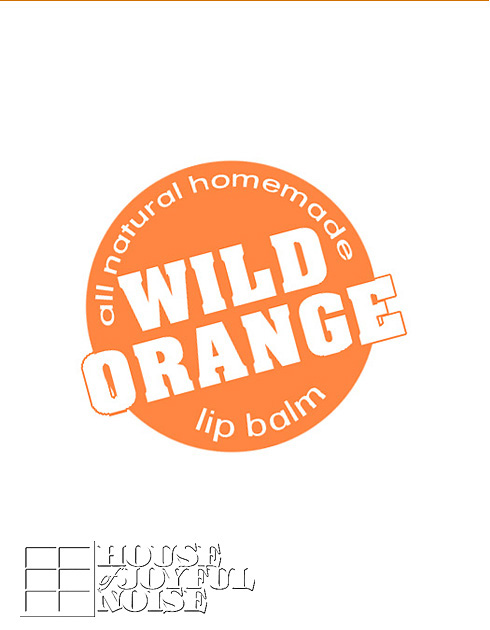
I even designed a label for them! As seen below.
Just click on the big orange circle, and it’ll take you to a whole sheet of labels you can download and print right out.
It’ll look like this:
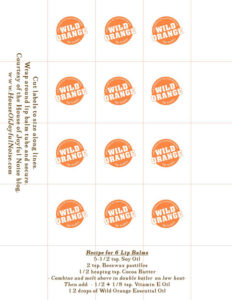
The printable sheet also lists the ingredients on it, with has simple directions as to how to put the labels on your tubes. (We secured the labels on with handy 2-sided sticky tabs. Love those things!)
My oldest has requested Peppermint Lip Balms, so we’ll be making those, as well as more of these, very soon!
We hope you try making these yourself! Please leave any questions you have below, or come back and let us know you made some and what you think!
ENJOY!
