
We are so excited to show you a couple of major storage solutions we came up with for our home, that has made a huge help to us!
Not only do we feel much more organized, but these are unique projects where we re-purposed old doors.

We’re guessing many of you love to see little home transformations, and creative spaces, as we do, and that’s just what we hope to share with you today. The photos we share will likely explain what we have done. But if you have just a bit of time, grab a drink of choice, and let us amuse you with a little more about the birth of this project.
We’ve heard some people try to ‘ keep up with the Jones’. But that’s not our style. I’m sure they’re really nice peeps, and all. But they don’t run in our circles, and even if they did, I doubt we’d want or care what they have, even if we could afford a thing. No, our wants and needs are really quite simple. If not a little off-beat sometimes, I suppose.
What we would love to keep up with, is ourselves, and our own plans and ideas. Michael and I enjoy walking around our home and yard, chat, brainstorm, and hatch a plan, that continues to make the best of our little piece of the world. Our ideas always have a purpose, whether they are to create a sense of decor, efficiency, organization, to save money, or simply to amuse ourselves because we think it’s cool. Many times, it’s all of the above. One thing is for sure; 100’s of plans have been laid out between us, in detail, and never come to fruition, whether it was intended to be done right away or not. Time and/or funds usually hold up the process a bit, until we’ve forgotten we even had the plan! Sometimes, new plans and ideas have been made over the old ones we forgot, or remember we had. And we always have more, than we could ever realistically get to, anyway. It’s craziness, actually. So priority is the key, and some things just need to be dealt with once and for all.
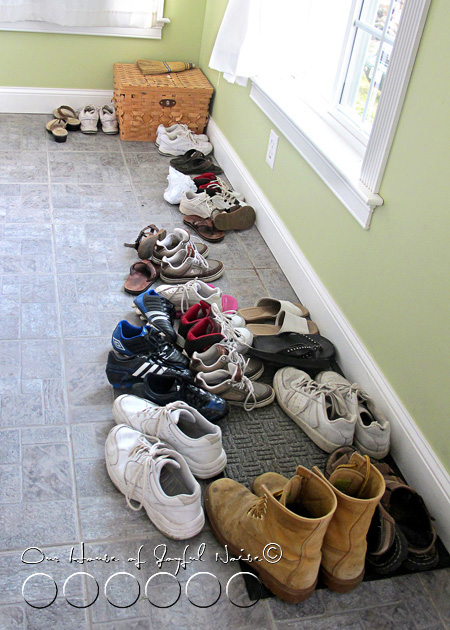
Case in point is this hot mess, known as our shoes issue. First, you should know, “I” am the kind of person, that really prefers one take off their shoes, before walking around the house. Not because we have any fancy home, or carpet that mustn’t get dirty for appearances sake. But, because of the things I notice in the world around me, the things I think of, and the things I know dang well those shoes have walked through.
Take for example, (just to make the most of my point), those teenage/adolescent boys you see walking through parking lots from point A to B, when you suddenly see and hear them do a big collecting sniff of sorts, hack it up, and just let it fly out onto the parking lot ground. It turns-my-stomach. I’ve seen/heard it hundreds of times, and I have told my boys every time, “Don’t you EVAH, in your life time, do that. I don’t care if you are 36. That is absolutely dis-gust-ting, rude and UNacceptable.” To which they reply, “We know Mama. You tell us that every time.” So along with 100 other examples I could give (I’ll spare you), I simply know it’s a small sample of what is on the bottom of anyone’s shoes, and I really do not want to know such disgust is all over the floors of my home.
I’ll take earth-dirty-feet over that kind of what-nots, any day of the week.
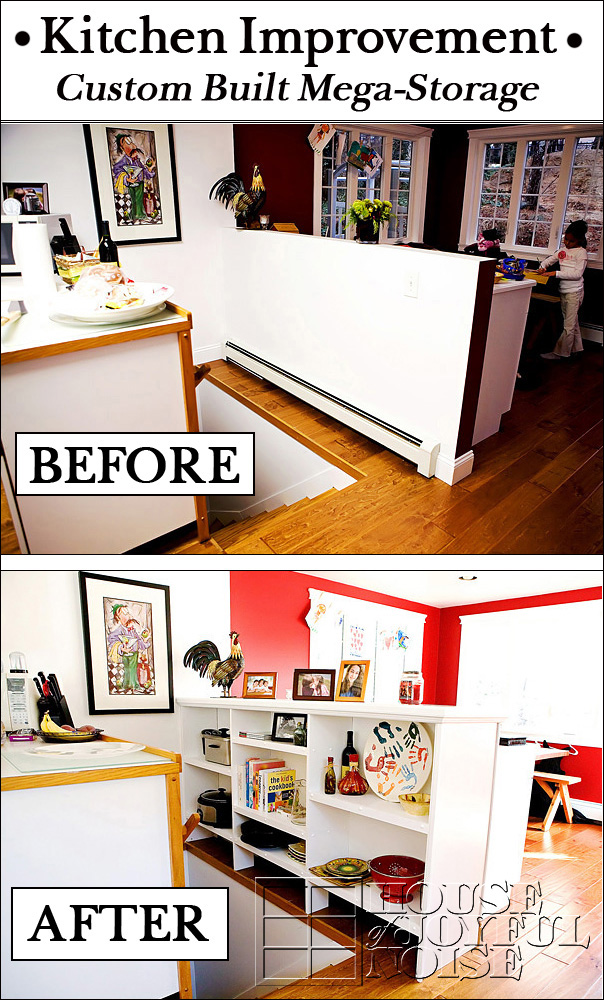
So that helps explain all of the shoes, along the walls of our sun room, right inside our front door. Keep in mind, this is also the room with our wood stove, and one of our family tables where we often eat and school, half the time. We originally imagined it as a cozier room for reading and such, possibly with a chaise lounge chair or 2, and an area rug under the table. Not the feel we had going here. Using the table for eating and schooling the other half of the time, it is the room we enter when we come home, and through which guests come as well. With only our shoes for that season out, with 6 of us, it’s too many. Any, is too many, for me. It’s actually worse then you see. At the time of this photo, some had just been put away, and 5 other pairs were busy walking around in the world of what-not. The bottom line is this: the sight of these shoes always puts me in a bad mood. It looks terrible, and we are always tripping over them. So, for a couple of years now, our plan was to build a storage bench along the wall you see. We had designed it right down to the details, and frankly, the shoes could never let us forget that plan. It’s just been on a list of many things we’re been trying to get to. But we finally did, with a whole new spin, and we’re about to show you.
But completely related, you need to see this…..
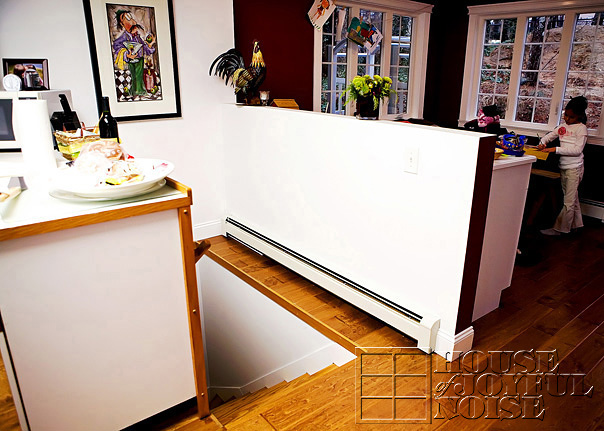
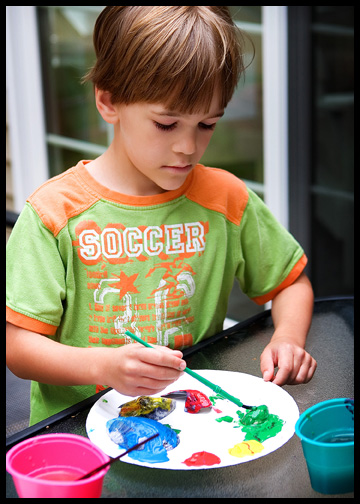
 This is in (in part) our school room. If I ever took photos of these floor cabinets Michael built for our school room 4-5 years ago, I cannot find them. So this photo and the one below, will have to give you an idea. There are 3 of them along the 1/2 wall adjoining the kitchen.

If you can possibly look past one of our adorable boy when he was starting 1st grade, you will better see the size of these cabinets. Michael did an great job, and they served us well in this room for 5 years. But as of late I decided they are really (way) more spacious inside, than we actually need, for our school books and materials. Very roomy. And we probably did not need so much table-top space either. As a whole, they take up a lot of space in this room, where there is also another long table and chairs, and where we also tend to gather to eat and school.
Since the sun room was meant to be cozier and lounge-ier than it is, we thought a good first step, is to not let it be the door we come inside the house through, for one. The back door would probably be better for that. More like a mud room. But there was still the countless shoes issue! We still needed somewhere to sit down and take our shoes off, and somewhere to store all of those shoes. What we did not need, was quite so much storage space, for all of our schooling materials. I forget now exactly when, but the 2 matters collided at some point in my head, and ideas started rapidly coming together. It was likely in the shower, which tends to be my most productive think-tank, but if that is TMI for you, disregard.
The gist of it all was….get rid of the big spacious cabinets in the school room, build some kind of more shallow shelving instead, and move this whole storage bench idea to the school room, where we should really enter the house from now on. A-hA!! Then we can do better with the sun room! But that would be getting ahead of ourselves here.

I also had an idea of how/where else we could use the big cabinets, but that too is for another time. In a nutshell, they were moved elsewhere, and it occurred to me that it would probably come out pretty cool, and save us big-time in material costs, to build our storage bench and shelves, out of old doors.
In a matter of days, we had found 4 doors on ebay offered for dirt cheap, just a hop, skip, and maybe 2 jumps, from us. Michael arranged to meet the guy to take a look, and he brought them home. (2 of them from this photo were already moved to the school room.) The doors were dirty, and somewhat mismatched, but that was all workable.
Show and tell will go fast from here I think.All 4 doors were re-purposed in this project(s).
 I loved the features on these old doors, and I knew I’d probably rough things up some more, from here.
 First Michael relocated the huge cabinets to other locations. The floor space we gained just doing that, was unreal. Then, put up some leftover bead-board we had, as the back wall.
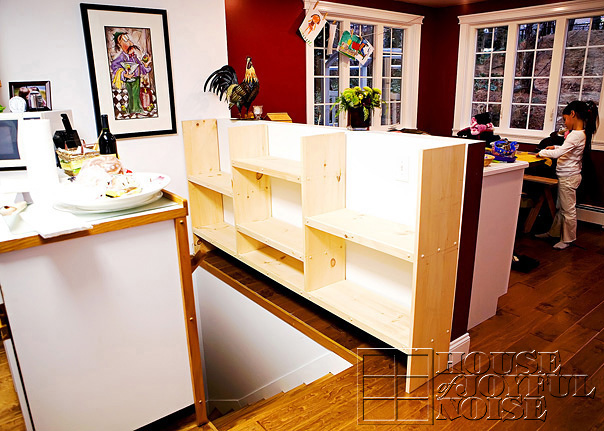
Then a bit of measuring and taking a moment to think things through, and we started to build.
The doors were sawed into half the long ways, as well as proper sized-pieces, for various parts, and we were able to start putting it together. We wanted it a good height to sit on, and have as much room on the inside, to store/hide the abundance of shoes.
 As you can see, the bench unit, using the doors, was built 3 sided, simply using the back wall as the back of the unit. And all of our shoes fit in there perfectly.
 Without all of the shoes inside yet, here is what the bottom looks like. These removable racks are a feature we came up with, even when the plans was to build traditional storage benches in the front sun room: The shoes we take off when we come indoors are not only dirty/sandy, but often times wet too. I know what a mess the elements from the shoes made on the floor, so I had thought of that in terms of the inside of the bench, and what a pain it would be again, to move each pair of shoes, to vacuum up the sand and dirt.
 So we built these shoe racks out out of strapping and chicken wire, so that a whole rack with shoes on it, could be lifted out, and we could vacuum underneath. They would also keep the shoe off the floor of the bench, so they could dry easier.

At the same time, we were not only building the storage bench with our old doors, but wall shelves beside it, for all of our school books and materials.

I know it’s quirky, but I really love this part of the door-shelves. I knew the doorknob would serve purpose, aside from looking cool. The sharpener simply needed to be relocated from elsewhere, as it ended up being located in such a way they we could no longer use it, without moving it, and this was the best place for it.
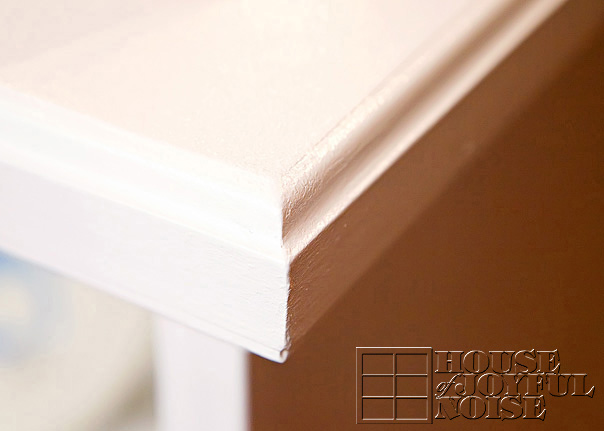
As you can see, a lot of the doors were beat-up, and the dark wood of the original door showed through. I liked that. But a few parts of the structures were also necessarily built with new wood.

Such as the shelving itself, built with new wood. So there was still some distressing and aging to do anyway, on new wood and not, which I did with course sand paper, and dark wax, to properly stain and age the new wood, with the old.
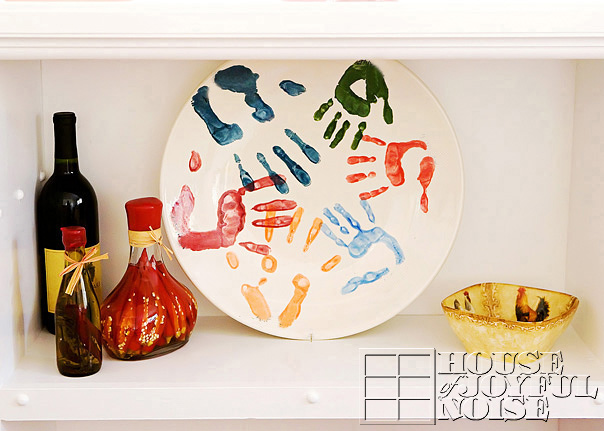
 Here is the lid to the storage unit open, pre-distressed. Obviously a door, but this side was painted by the original owner more recently, it appeared. To add interest, and of course organization and function, we added a collection of old and mismatched doorknobs along the wall above it.
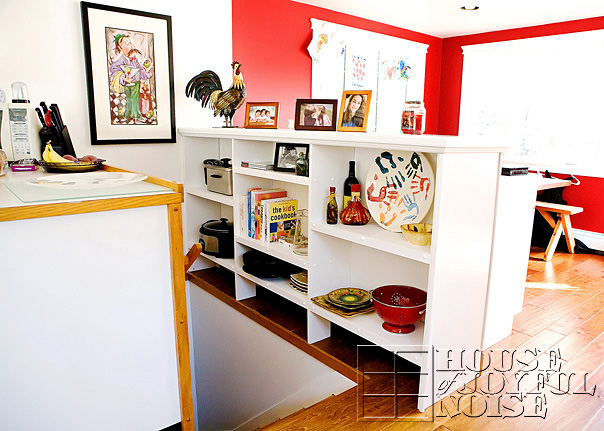
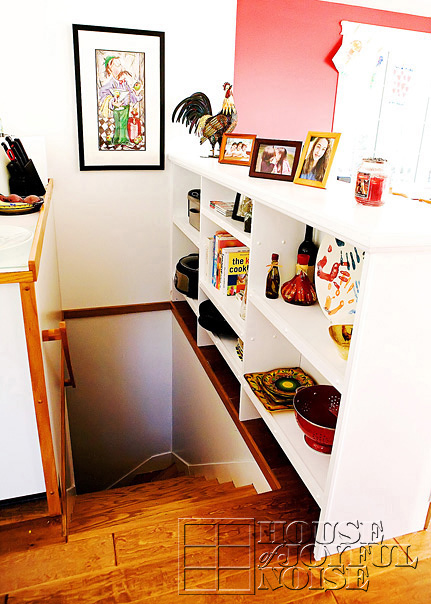
 Here’s a better look as you step back and look at it as a whole. Again, we obviously used doors, and we intended for it to remain obvious, keeping every lock , doorknob and door feature we could.
Coming into the house using the back door, we come in and sit down on the bench to take off our shoes, and put them inside. I should add, we will be putting down a mud runner, from the backdoor to along the front of this bench. The little kids can hang their jackets and hats on the doorknobs, which is much easier for them as they cannot reach well in the coat closet that is in the room. Yes, some coats will be too long to hang completely, leaving the bottom of the coats to sit on the bench, but that’s fine. Scarves, bags and all kinds of accessories can be hung on the knobs too.

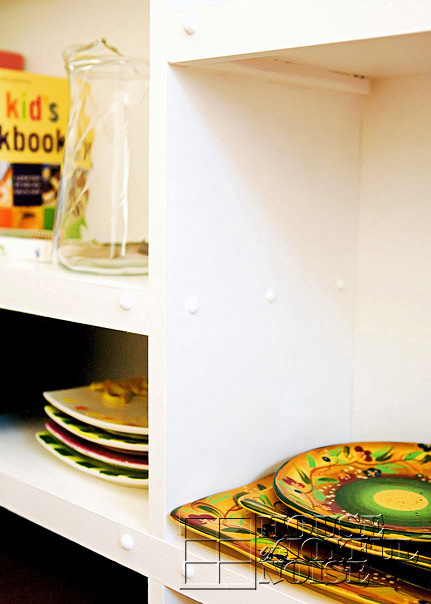
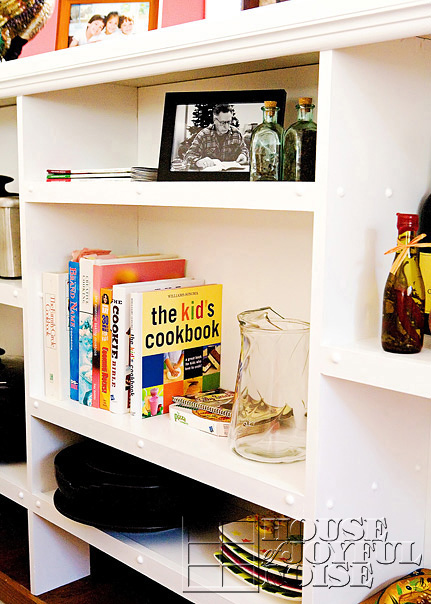
 The top shelves are for what you can see, as well as some of our music books. I have many more of my teacher and resource school books that I plan to move from other shelves in the house to these upper ones, for my own use. But the depth we made the door shelves was just right for our needs.
 The lower shelves are for the kid’s school books, and more of my every day teacher books. As you can see, we found immediate use for this original doorknob, as well.
 The kids hang their recorder instruments there. Perfect!
 I forgot to take photos of the bench with the lid closed, before we embellished it just a little bit. But in closing this post, I wanted to give you a better look at the finished bench and shelves.

In an upcoming post, we will share with you the embellishments details you see, and how exactly we did it, with a surprise inside as well! But that’s pretty much the finished project as a whole.
We have found the entire project to serve us much better. It’s all so much more convenient, functional, and we think, has a cool factor. I would think it’s the kind of thing that one would either love, or hate. And I wonder, would features such as these, have a negative 0r positive impact on the ability to sell a house, should the time arise? What do you think? We personally love the uniqueness and interesting features of people’s homes, and this fits right in with why we love ours. Everyone’s tastes vary, and so our feelings could never be hurt. But we’re curious to know what you think of this idea? Is it cool, creative, or downright crazy?
* * * * * *
Come follow us here or there:


