• HOME
  • {A}’s Chipmunk Training Archives

 Homepage

  • The Homestead
    • Home Projects
    • Home Improvement
    • Home Decor
      • Seasonal Home decor
        • FALL Home Decor
        • WINTER Home Decor
        • SPRING Crafts and Creations
        • SUMMER Crafts and Creations
    • Our Chickens
    • Gardening
    • Organization
    • Re-Purposing
    • Furniture Refinishing
    • Budget
  • Crafts & Creations
    • Seasonal Home decor
      • FALL Crafts and Creations
      • WINTER Crafts and Creations
      • SPRING Crafts and Creations
      • SUMMER Crafts and Creations
    • DIY (Do-It-Yourself) Project
    • Kids Arts and Crafts
    • Homemade/Handmade Gift Ideas
    • Holiday Crafts
    • Fan Pulls
    • Free Printable/Downloadable
    • Sewing Projects
    • Giveaways
    • Business Features
  • Recipes/FoodFun
    • Breakfast
    • Lunch
    • Main Dish
    • Sandwiches
    • Appetizers
    • Slow Cooker
    • On The Grill
    • Side Dishes
      • Soups
      • Salads
    • Baking
      • Breads, Rolls and Muffins
    • Snacks
    • Treats
    • Desserts
    • Drinks
  • Homeschooling
    • Elementary Homeschooling
      • Elementary Homeschooling READING
      • Elementary Homeschooling MATH
      • Elementary Homeschooling LANGUAGE ARTS
      • Elementary Homeschooling SCIENCE
      • Elementary Homeschooling HOME ECONOMICS
      • Kids Arts and Crafts
    • Middle School Homeschooling
      • Middle School Homeschooling SCIENCE
      • Middle School Homeschooling HOME ECONOMICS
    • Language Arts
    • Math
    • History / Social Studies
    • Geography
    • Foreign Language
    • Field Trips
    • Games
    • Nature Study
  • The Big Picture
    • Life In General
    • Celebrations
    • Faith
      • Into the Light; The Series
    • Giveaways
    • Reviews & Sponsors
  • Photography & Lettering
    • Photography
    • truck lettering
    • vehicle graphics
    • Newborns
    • Kids
    • Engagement
    • High School Senior Pictures
    • High School Senior Pictures Sneak Peeks

No-Sew, Double-Sided Fleece Blanket | Tutorial

November 6, 2010 By Laura 4 Comments

The kids and I were recently brainstorming for ideas, to put together a very special package for a certain little boy.  It was very special circumstances, that called us to put something together very special, just for him. I wanted to share with you all this idea our oldest, {A}, came up with:  Making a no-sew, double-sided fleece blanket for him.

no sew double sided fleece blanket
It was the perfect idea for this little boy.

The kids had received fleece blankets like this before, as gifts, and as single layer blankets.  But I wanted to see if we could make a double-sided blanket, so that it would have a different pattern on each side. How FUN, right? And it would be double warm and cozy!

It’s really quite easy, and well worth the effort!   Maybe this is a home-made gift idea you can use sometime, for Christmas gifts, or birthdays.


They are great for anyone, at any age.  From babies to grandparents, and anyone in between.  Just change up the patterns to be more suitable for the recipient, and it’s perfect. Who doesn’t use blankets? It can be a single layer too, and would take even less time. It just wouldn’t have a different pattern on the reverse side.  They are great as throws for beds, getting all wrapped up and cozy to watch a movie, as a lap blanket while you read, or even traveling in the car.  Just choose the appropriate patterns, and a suitable size for whom ever it is for.

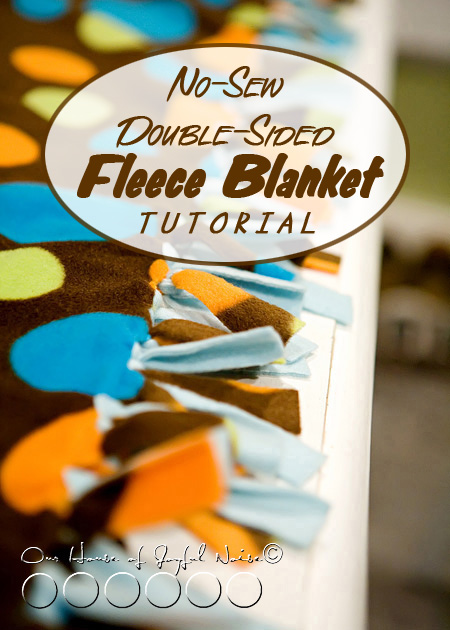
Here’s How Easy it is to Make a No-Sew, Double-Sided Fleece Blanket

no-sew-double-sided-fleece-blanket-tutorial 
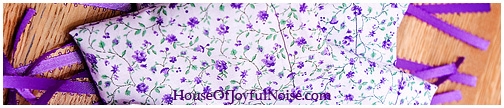
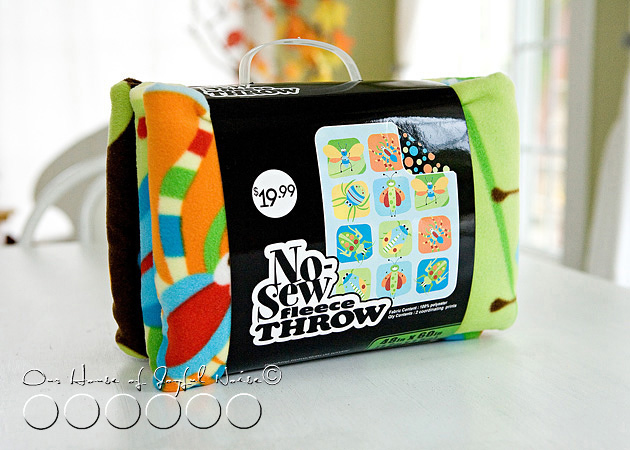
We found this set of 2 different patterns, at Joann Fabrics!  I didn’t know there was such thing, and had planned on having to choose 2 patterns separately, and have them cut off the roll to size.   So we were pleased to find these available!  (I also unexpectedly got it at half price!!)  There are a few sizes available in sets. This one was 48″ x 60″.  Perfect width and height for a little boy.  But you can buy any patterns you want off the rolls, and just cut them to matching size.

no-sew-double-sided-fleece-blanket-tutorial-1

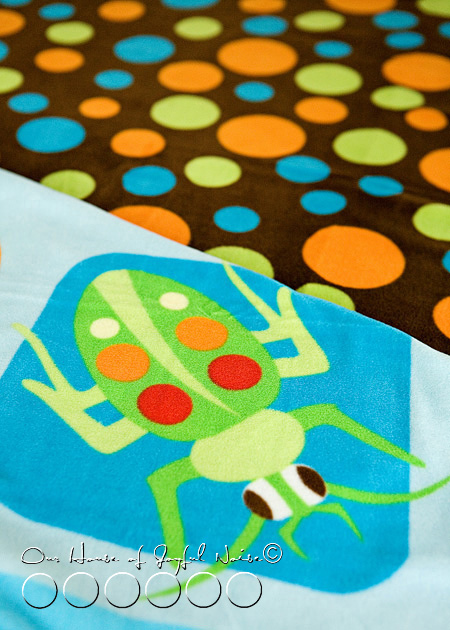
I was tickled with this 2-in-1 fleece fabrics of chocolate brown with colored polka dots, and bugs!

Again, perfect for a little boy.

  • The first thing we did was lay it out on a clean table, layering the 2 pieces, one on top of the other, as perfectly lined up as possible.

Then we chose a side to start on, and laid a heavy board several inches away from, but along that edge, to keep the fabric from moving too much.

no-sew-double-sided-fleece-blanket-tutorial-2

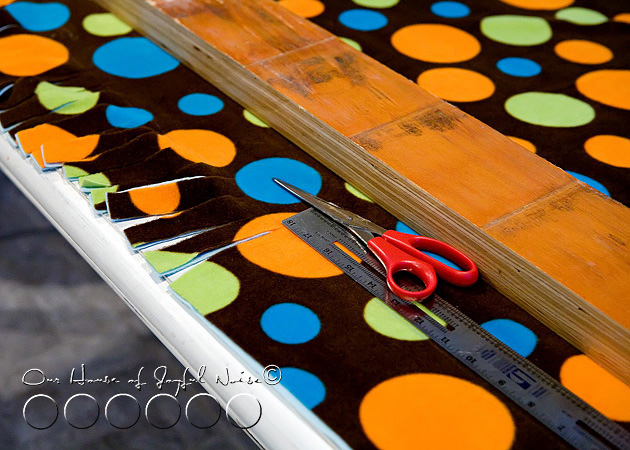
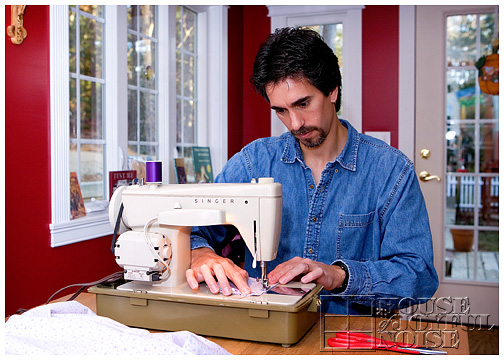
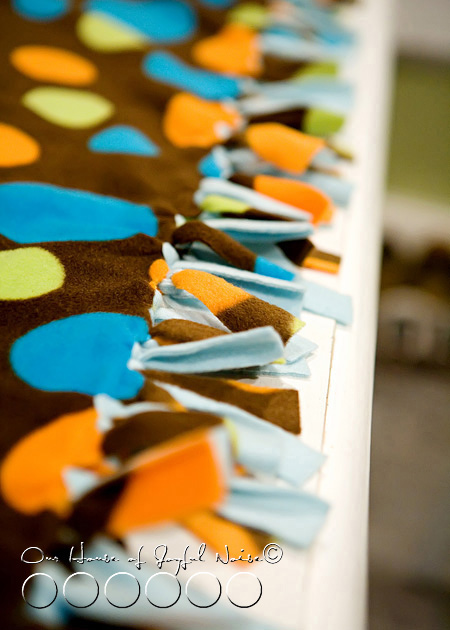
We were prepping to cut fringes through both layers.   So using a snapline chalk, we measured up 5 inches from the edge, and snapped a chalk line across from one end to the other, to indicate where to stop cutting, so the fringes would all be the same length. This would create 5 inch long fringes, minus what is taken up when we knot them. Then we measured in from each corner 4 inches,  and cut 1 inch wide fringes, all the way across in between.   In other words, we stopped cutting fringes 4 inches from each end.   This would leave you a squarish block piece on all of the corners, for now.   We’ll get to why we did that, in a bit.

Now, if you don’t have a chalk-line to mark things off, you can use a ruler and chalk per usual.  But this was faster.

no-sew-double-sided-fleece-blanket-tutorial-5 
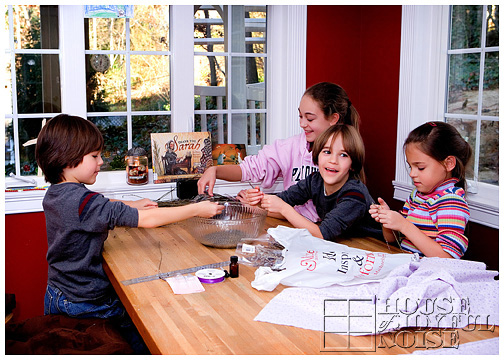
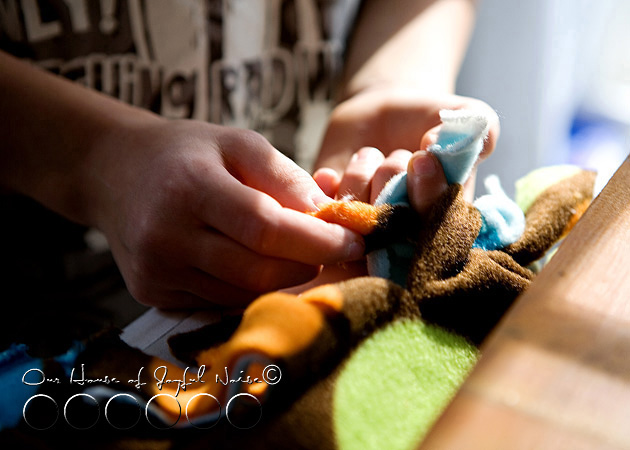
Then, we just started tying each top layer of fringe piece, to the bottom layer fringe piece.

no-sew-double-sided-fleece-blanket-tutorial-6 Now because this blanket is 2 layers, the fringe pieces need to be double tied. Or else it would just un-tie.

But if it was a one-layer blanket, you would just knot the one piece of fringe, and once, would do.

You get me? ; )

no-sew-double-sided-fleece-blanket-tutorial-3
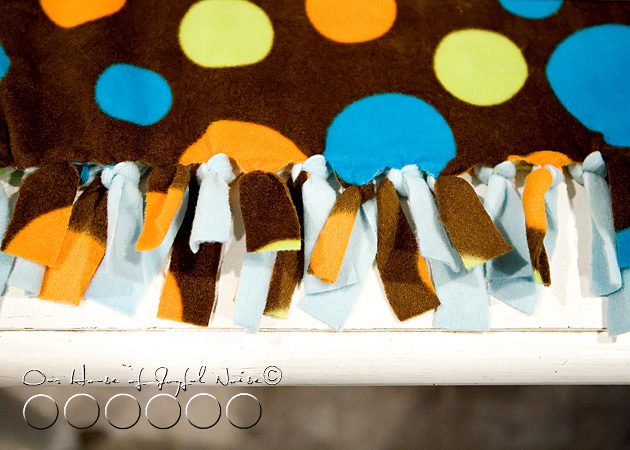
This is how it starts looking.
–

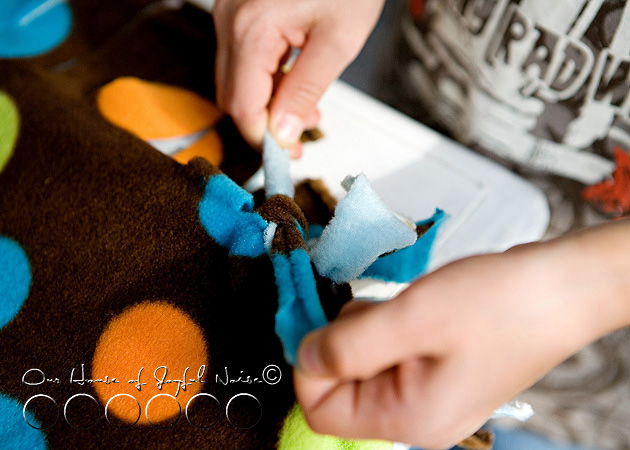
There can be a cool little technique here, where the print of the same side can show most. or the other side.  While tying it (like the beginnings of shoe tying), I found whichever side you stuffed through the whole, is the side that ended up on top. I wanted the opposite side showing, so I made sure to stuff that piece and pull it through to on top.

Now you even get that, or you don’t.  Either way will not ruin your blanket.  This project is virtually fail-proof!

no-sew-double-sided-fleece-blanket-tutorial-4
This is done all the way down, to your 4 inch corner piece.

The same process is done on every side of the blanket.  Again, stopping 4 inches for each corner.

Now what to do with the 4 inch corners:  We just cut 1 inch fringes, on angles, to go around the corner. I think it was 3 cuts, creating 3 more fringes.  Just make then 1″ -ish wide, like the others. This was to create a rounded corner blanket.   It IS an option, to just make fringe cuts one inch apart, all the way to the end, on 2 ends, to make the whole blanket more rectangular.  If you do it that way, I would do one whole side first, and then the opposite side, so they are the same.  Then work on the other 2 sides.

no-sew-double-sided-fleece-blanket-tutorial-7

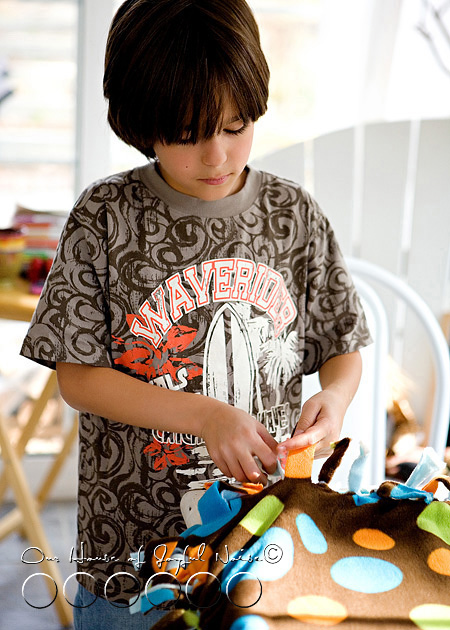
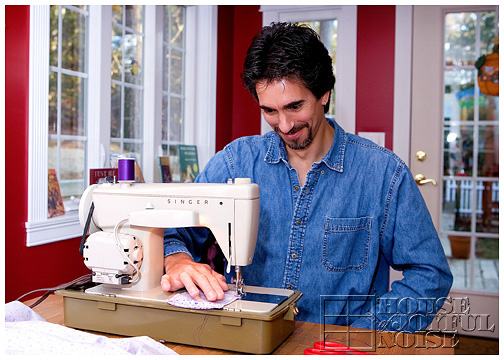
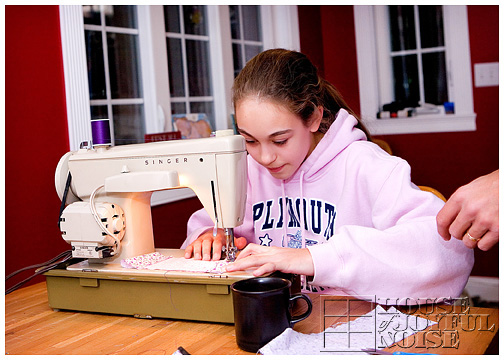
Cutting 2 layers of fleece at once was a little hard for the kiddos, but they were very helpful for tying!    They took a lot of care with their work.

no-sew-double-sided-fleece-blanket-tutorial-8

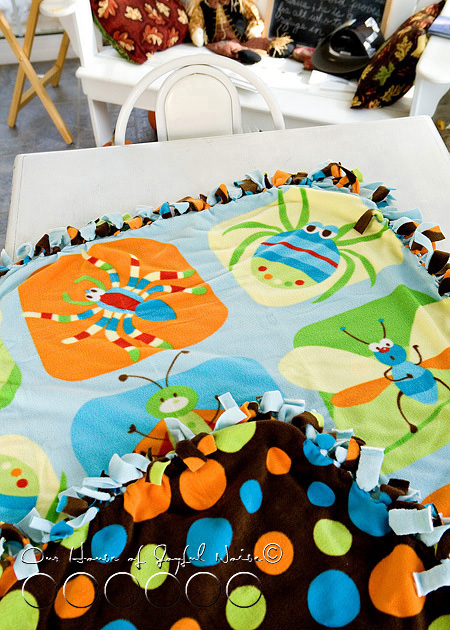
Look how cute!   I just loved the colors.  And the bugs.  And the polka dots!

We were really happy with how it came out.

no-sew-double-sided-fleece-blanket-tutorial-10

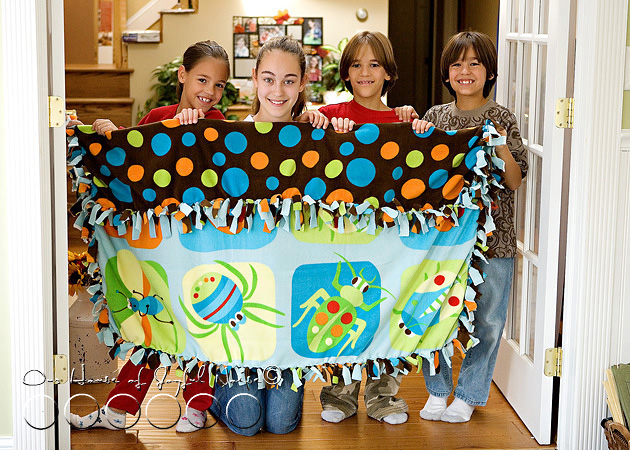
The kids were really excited to send it out to our special gift, to this special little boy, along with some other gifts. It was a big package.

We hope our home made blanket warms his heart, as much as it warms him, head-to-toe.

It was certainly made with love!

Save

Save

Save

Save

Save

Filed Under: Crafts & Creations, DIY (Do-It-Yourself) Project, Holiday Crafts, Homemade/Handmade Gift Ideas, Kids Arts and Crafts, Tutorial Tagged With: birthday gift ideas, blankets, Christmas-gift-ideas, gift-ideas-for-anyone, gift-ideas-for-kids, handmade-gift-ideas, homemade-Christmas-gift-ideas, how-to-make-a-fleece-blanket, how-to-make-an-easy-blanket, no-sew fleece blanket, no-sew projects

Winner of Our 1st Giveaway Received….

April 20, 2009 By Laura 4 Comments

For those of you who have been itching to know what the winner of Our First Giveaway received, this is the post you’ve been waiting for!

1_live-laugh-love-box

 For those of you who are new to our blog, and have no clue what we’re talking about here, these links may help:

Announcement for our blog’s First Giveaway!

Winner Announcement

Now that we’re all on the same page, here we go…….

The first thing the winner received, was the box itself, that we put all of our hand-made gifts in! I’m telling you, I just loved this box.  We did not make it, we bought it.  It was just the perfect size, sturdy, and simply lovely. The cover had a front flap that magnetics closed!  I opened and closed it several times, just for the fun of it!  :  )  The cover adorned the phrase:  Live well, Laugh often, Love much.   Wise words we try to live by around here.  It really was a great box.  One could use it to store all kinds of things, like letters, cards, drawings from your children, or any kind of special momentos.

But here’s what WE put in it…..

….an assorted collection of handmade gifts.

2_everythingv

One of my favorite handmade gifts was this sign….

4_joshua-24-15

This was my idea and I designed it, but Michael actually made it.  We bought the sign unfinished, and Michael painted and lettered it. The paint is not solid, but more old looking, which is also one of the things that I love about it.  It’s rustic, and humble, and I think he should make me one now.

Next, I made glass stem bracelets….

5_wine-glass-bracelet

For those who are unfamiliar with these little doo-hickeys, these bracelets go on the stems of wine glasses or pedestal mugs.  They are made with wire rings and beads, and any other functional charms. These glass bracelets have a couple of purposes:  The first is simply to make your glass sets more festive and pretty. The second, is for social gatherings involving several guests, and therefore several glasses around. The assorted bracelets help people differentiate which glass is theirs, on the counter or table-top.  This was my other favorite gift we made. I think they are beautiful, style-ish, and frankly, I feel fancy and clever having them on my wine glasses.

6_wine-glasses-with-bracelets

I made a set of eight different bracelets.  It was really hard to photograph them together, and make all of the sentiments readable, so I labeled them all for you, because I have a thoughtful side.  : )

7_wine-glass-bracelets

Also, while I was making them, I was mesmerized by all of the colorful beads on the table, and lost control with my camera once again.  I loved this shot, so I’m throwing it in here to share.  There are people out there who understand this problem I have, in needing to take such photos, and they appreciate it!

8_beads

Next up……..I bought this wooden carved word, which is very important to me, and many of you:  FAMILY.   I painted it pale yellow, and then just rubbed on some floral and ladybug decorations.  That came out like this…

9_family
(Candle not included.)

The soaps we made as Christmas gifts were a big hit, so I made a few more (one of each color) for the Give-Away.  I love glycerine soap, and we scented it a lovely apple aroma.  I didn’t take a new photos of the new soaps alone, though….this photo is from the Christmas batch, just for a closer look…

10_soap

I also threw in some bookmarks, which honestly were from the abundance of leftovers we still have from making them as Christmas gifts.

Lastly, a charming little hand-painted pot….

11_painted_pot

Michael painted this, and even pulled the painted stripes free-hand around the pot, with a fancy long-haired brush.  I think it came out really cute.

That would conclude the up-close review of the hand-made gifts given to our First Giveaway winner.  We plan to plan (lol,) another Giveaway, of some sort,  soon.  We’d like to wrap up our over-due ‘Michael Project’ we started first.  IF, that is, you all are interested, in another Giveaway??  If so…speak up People!  We’d love to know what kind of interest is out there.

The Regan Camp reports that the favorite items were the sign and the soaps.

What would your favorites have been?

Save

Save

Filed Under: Crafts & Creations, Giveaways, Giveaways, Homemade/Handmade Gift Ideas, The Big Picture Tagged With: giveaway, handmade gifts, handmade-gift-ideas

Lavender Sachets

February 19, 2009 By Laura Leave a Comment

We believe this is the last craft to reveal.  Lavender sachets. It was actually one of the first we made.  Probably one of the least creative, which may be why I saved it for last. lol.

If you all recall this header:

homemade-lavender-sachets

And husband/Daddy, learning how to use the machine and sew, all in about 2 minutes, (and then hogging the machine, because he was having so much fun)……….

m1hand

(One-handed showoff)

…..while the ‘other kids’ were working at the other end of the table……. all4

He did let {A} get in there for a LITTLE bit….

a

….until he kicked her back out, because he wanted another turn, and couldn’t take it anymore.

m

It was definitely a gift-making family affair!

how-to-make-lavender-sachets
NOTICE how the sachets are hung out to air out!!  It’s a comical little story, really……

We had bought real dried lavender.  That is what the 4 kids in the photo up there are doing….cleaning the buds off the sticks.  WHICH, mind you, smelled NOTHING like lavender, flowers, or ANYTHING NICE.  It smelled like…well, dried weeds.

SO, we had lavender scent oil drops that we had bought, and had planned on adding a drop or 3 anyway. Just give it a little boost in smell.  But from the smell of that bowl of dried buds….it needed LOTS of help. And our sweet little helper was there, ready, willing and waiting, to help….A LOT……..

That is, until we ventured to take that saran wrap off and spoon some in our sewn sachet bags anyway.  HOLY…..the SCENT SURELY SHOWED UP!!  Gees…it was through the whole house, and stuck in our noses for DAYS.   We made all of the sachets, but man….they were SO POTENT!!  Really…just…..a little MUCH.

So I hung them out one day….ALL DAY.  Not sure if that helped, much.   When it came time to package them with other crafts, for Christmas gifts, we triple zip-locked them.

And-you-could-still-smell-them.  Grandma was so kind about how nice hers smelled, with her little telling-giggle.

If it is true, that a lavender scent helps you sleep well, these babies will knock you out for a lifetime!!  They did smell like SOMETHING NICE in the end.  Just a little more than necessary. : )   Update-2016:  These days, I know to use 100% real natural lavender essential oil, as opposed to the concoctions they sell in the store. (We use doTERRA, for all of our essential oil needs.)

It’s been fun, showing you all of our craft-gift ideas this year! Hope you’ve been enjoying it, as well.

Save

Filed Under: Crafts & Creations, Homemade/Handmade Gift Ideas Tagged With: easy-homemade-gift-ideas, handmade-gift-ideas, homemade-Christmas-gift-ideas, lavender-sachets

We are wicked happy to have you here! We hope you find much inspiration, help, humor and enjoyment here.


Archives


POPULAR POSTS

* * * * * *

SUBSCRIBE to House of Joyful Noise blog! Every new post, delivered right to your email box!


Privacy Policy

Amazon Affiliates

Never at any additional cost to you, we may earn a small commission for our endorsement, recommendation, testimonial, and/or link to any products from our website. Your purchase through our links helps support our family, while sharing with you the products we authentically use and recommend, for various ideas, and letting you know where you can purchase them. Thank you for your support!

[footer_backtotop]

Copyright © 2025 HouseOfJoyfulNoise.com · Genesis Framework by StudioPress