Winter used to be my least favorite season, here in New England. But I have chosen to embrace it, for there is no doubt that there is beauty in every season, and things that I love in all of them, too. For winter, snowmen are one of those things, to me! I’ve just always loved them. So I thought it would be fun to make a snowman Christmas tree ornament.
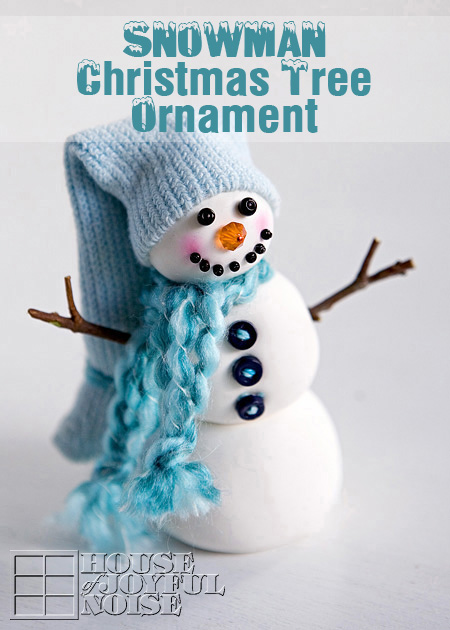
It was not only more fun than I expected, I think it came out absolutely adorable. So I’m going to show you how easy it was to create!
Here’s the simple supplies that you’ll need:
Crayola Model Magic, in White.
Craft wire: 20 gauge or so
Wire cutters
An old sock for the hat
Yarn – Homespun Style. (I used Lion Brand, in Waterfall)
(The sock & yarn will be your snowman’s clothing, so you’ll want to pick co-ordinating or matching colors that you like.)
Embroidery thread (*optional accent for buttons)
Black beads for the eyes
An orange bead for the nose
Flathead pins, small, like used for tailoring
Pinkish chalk
A tiny brush for the chalk.
E-6000 or a good glue, may come in handy.
Black and Orange permanent Sharpie Markers
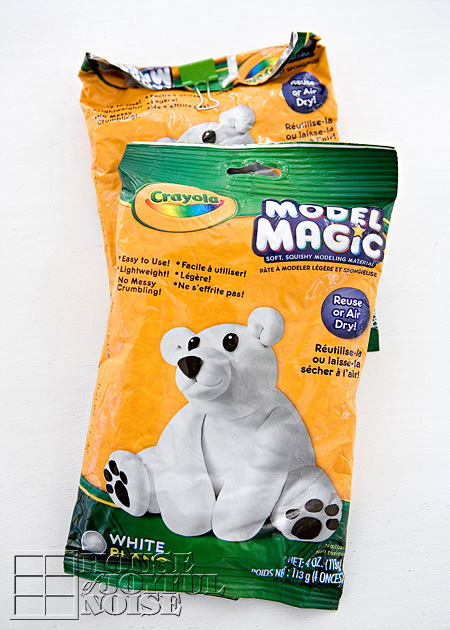
This is the Crayola Model Magic. It’s ‘modeling material’. It’s lighter and softer than clay. And yes, it’s for kids, I guess.
Have you seen it? Have you ever played with it? It’s great stuff!
–
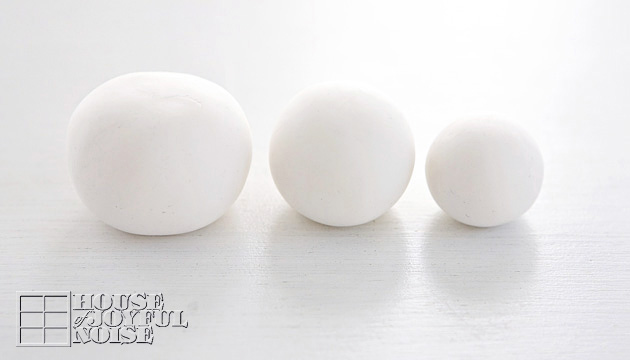 Take a chunk of the Model Magic into your hands, and roll three balls each smaller than the other. These are the body parts of the snowman: lower body, middle, and head. So size accordingly. My bottom body ball is about 1-1/2″. Now I’m sure you’re dying to, but don’t build a snowman yet!! You’ll put them all together in a couple of steps.

Cut about an 8 or 9 inch piece of wire.
Straighten it out as best you can, and then bend it into an L-shape, folding at the middle.
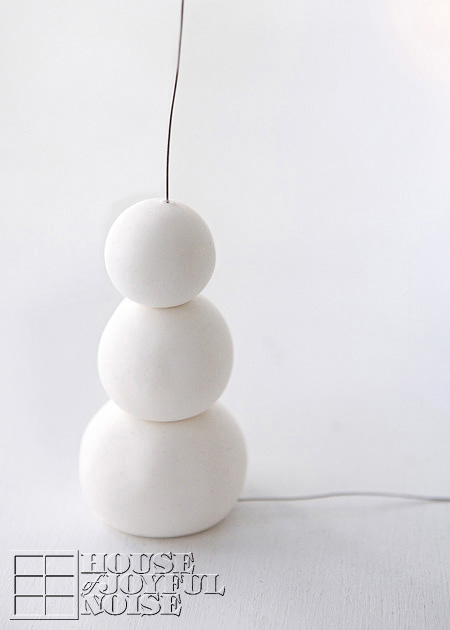
Now, thread the wire up through the center of the big ball first. then middle size, then head, really trying to keep it though the center of the ball and piling them neatly, as shown in the photo above. Why are we using the wire? Well, the modeling material actually sticks together pretty well. But the wire, which will be cut again in the coming steps, serves two purposes: It gives the whole snowman core stability for years of use and packing and unpacking, and we’ll also be making a loop at the top to hang the ornament from at the top.
–
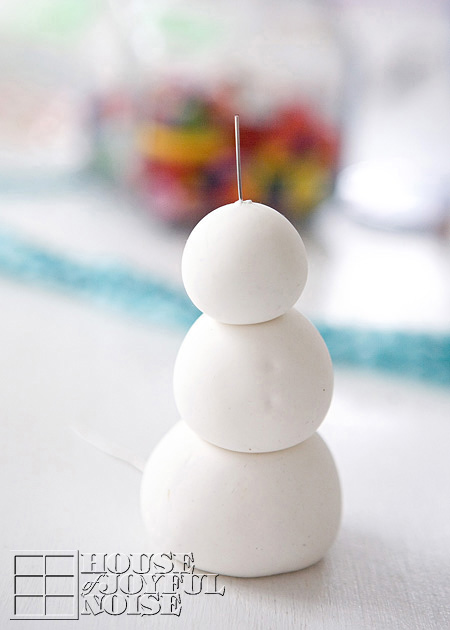
Using your wire cutters, cut the wire at the top leaving an inch or 1-1/4″ or so.
–
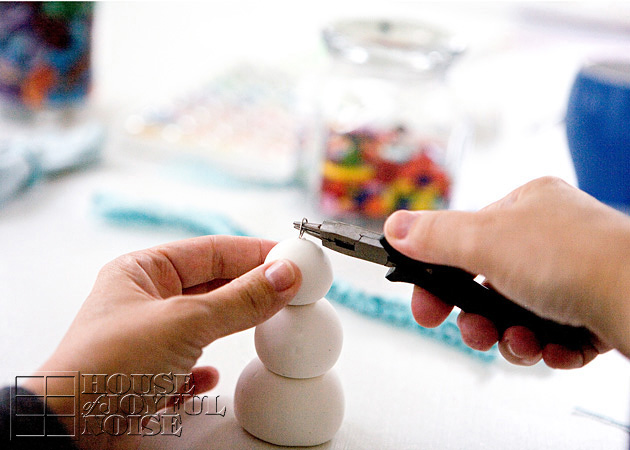 Then using the nose of the pliers, twist the wire into a loop.
There is still the long wire off of the bottom, but let’s leave that for now. I felt like it just helped the snowman stand up while I was working on him.
Let’s make his hat now. Shall we?
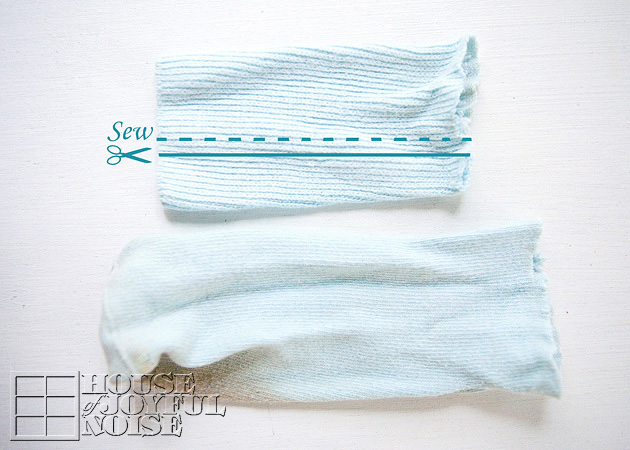 Cut the ankle part of your sock off of the foot. The ankle/ribbed part of the sock will be the hat. Lengthwise, cut about 1/3 off, as shown in photo. This makes the hat narrower, as you need. You can check for sizing on your snowman head first before you get sewing. Now, fold it the opposite way to get ready to sew it closed along where you just cut, because you’ll want to sew it inside out so the stitches later will be on the inside.
Now you all may use a sewing machine if you’d like. But I just stitched it by hand quickly.
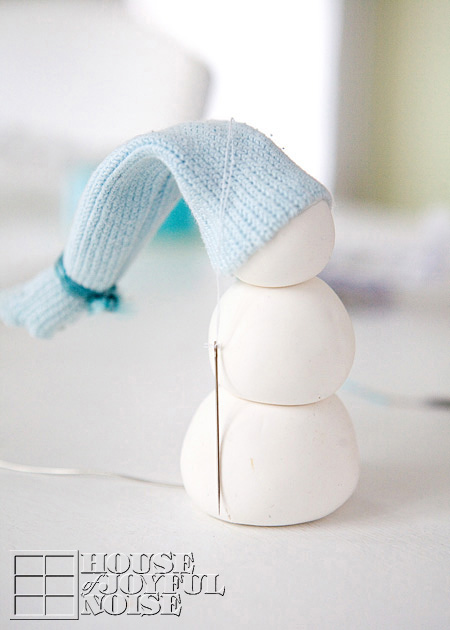
I tied off the cut end of the hat, with a matching piece of yarn. And put the finished edge over the head.
But first, I put some thread through the wire loop, and then threaded a needle with both ends of the thread, to pull it up through the hat, so it can be hung on the tree.
And I also did something else before putting the hat on . . . . . .
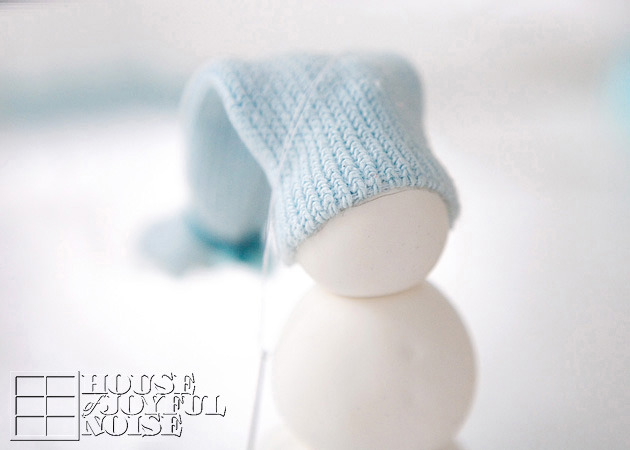
Do you see that light pencil line right under the hat brim? Right above there I put a dab or few of E-6000 (you can use any glue), before carefully pulling that hat over the head. Just to secure the hat, so it doesn’t keep slipping off the head while being handled over the years.
The needle can be taken off now, and just tie the ends in a knot. As I said, you’ll use the thread loop to hang it on the tree.
Face time!
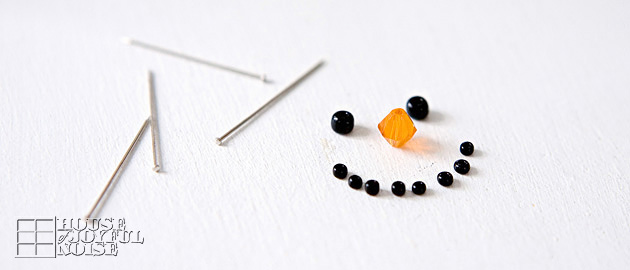 Call me an over-planner, but I laid my face out in beads on the table first. Hey, it’s the distance of our features, and the curve of our smiles,that make us uniquely looking like US.
Same thing with snowmen! They are individuals too! What a perfect orange bead, for a pointy nose, huh?
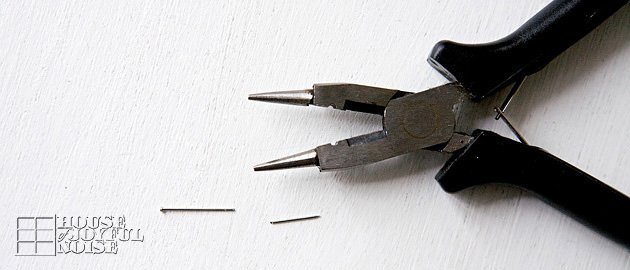 For every bead you have, cut a flat head pin to shorten the unnecessary length.
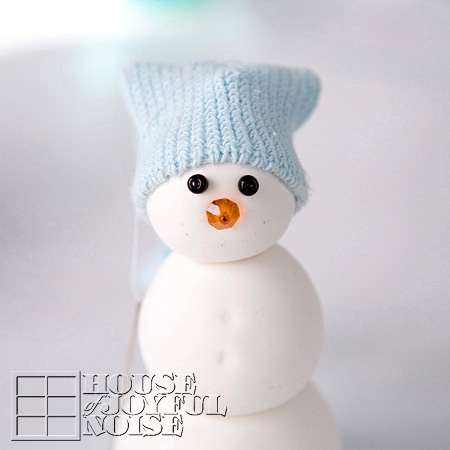
Again I laid out in pencil dots, exactly where I wanted each bead, to form his face.
Much like Mr. Potato head, just put a pin through a bead, and stick it into the snowman head.
(Mr. ♪ Snowman ♫ head ♪ , I-love-you! ♪)
I waited on the mouth, so it wouldn’t be in my way to apply some pink blushing cheeks!
 You can use any pink colored chalk dust. I just happened to have this chalk palette, and used a tiny pointed brush.
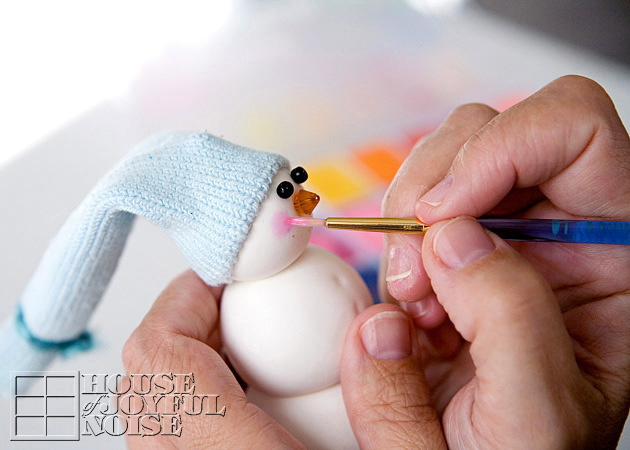 Have you ever heard the saying, that you can always tell someone’s age, by looking at their hands?
Right. I’m like, 106.
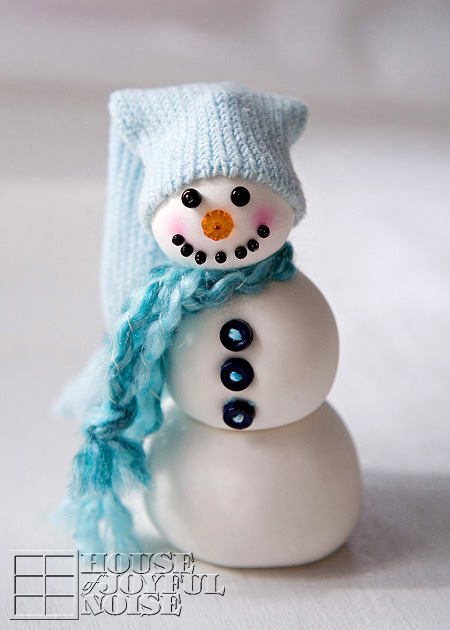
The mouth is all added.
Now here’s another tip: The flat-head pins are silver, right? So, my snowman looked like he had braces! Nothing wrong with braces. But it wasn’t the look I was going for. So I used a black permanent Sharpie marker, to color it. And an orange Sharpie for the nose. Worked well enough for me!
Buttons: I used some teal colored embroidery thread, to thread my buttons. Then, because my holes were filled and I couldn’t put pins through them, I just used a dab of my E-6000 again, and just pushed them right into the soft modeling material.
Scarf: 3 equal length pieces of the homespun yarn, knotted on both ends, and tied around his neck.
Once you’re done crafting your snowman, or sooner, you can take your wire cutters, and cut the wire extending way out from under the snowman. Leave the L shape, so your snowman doesn’t slide off. But it doesn’t need to be so long. Cut it short enough so it’s hidden underneath.
So how does he look?
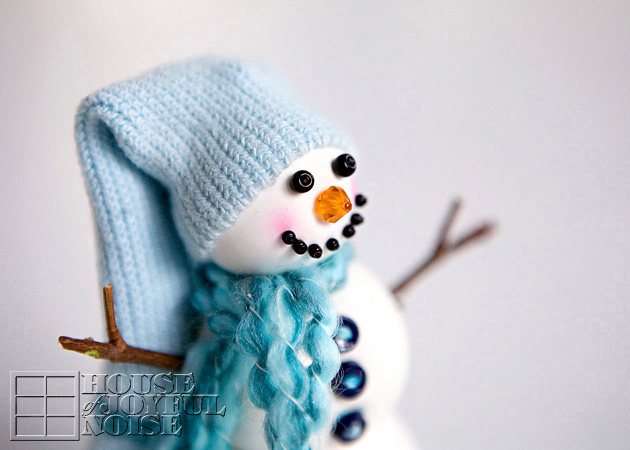 Cute, right?
I added little stick arms, because seeing snowmen with no arms gives me a little anxiety.
I mean….HELLO! What if he had an itch?
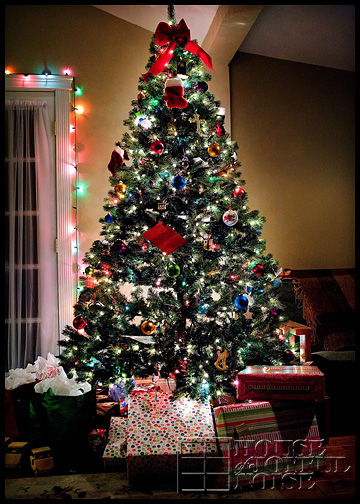
Let’s try him out in the Christmas Tree.
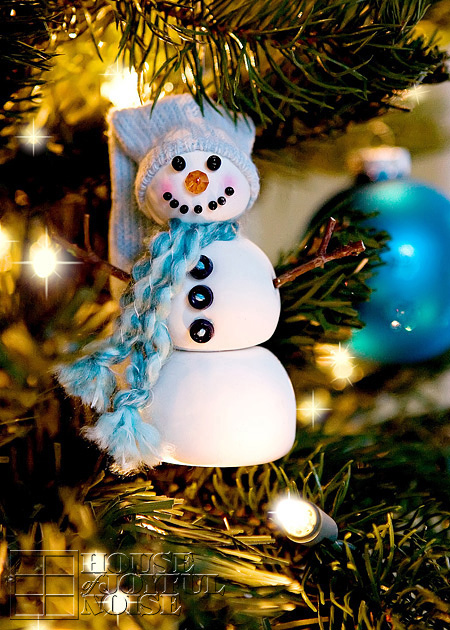
I think he looks right at home!
And he is.
Another cute idea if you’re ambitious: You could make a whole family of snowmen, and put them all together on a tabletop.
I hope you enjoyed seeing my ornament, and how I made him. It really was fun, just like building a snowman really is. Without the cold. ; )
You can do this!
What do you think?
* * * * * *
Please come follow me here and there:


