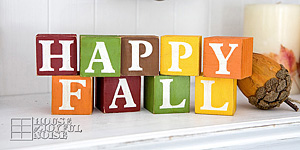
Today, I wanted to share with you our mantels, decorated for Fall! Alright, so I realize Fall is a month in here, and many are maybe so over it. But you know….there is two months more of the Fall season to go, you know! (Can you even believe it is the Fall season until December 20th?) Yes, in the bloggers’/crafters’ world, I could be a little late with this. But that’s OK! I figure, you can pin it for some ideas on Pinterest for next year! Or find a little inspiration in it for your Thanksgiving mantels. Regardless, I am really enjoying the mantels I put together for our home decor and for my family, and I hope you enjoy seeing them as well.
By the way, I actually did ‘Back-to-School’ mantels, you never got to see. YET. That’s a season shorter lived than Fall! BUT….take heart, I did take photos to share with you next year, in a timely manner, that would allow time to be inspired. But let’s get back to our mantels decorate for Fall here, shall well?
Here’s an overview of our Fall double mantels.
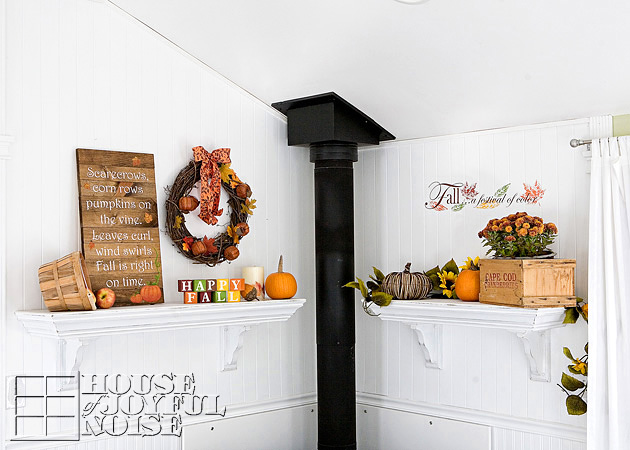 Can’t tell you how much I love having double-mantels.
–
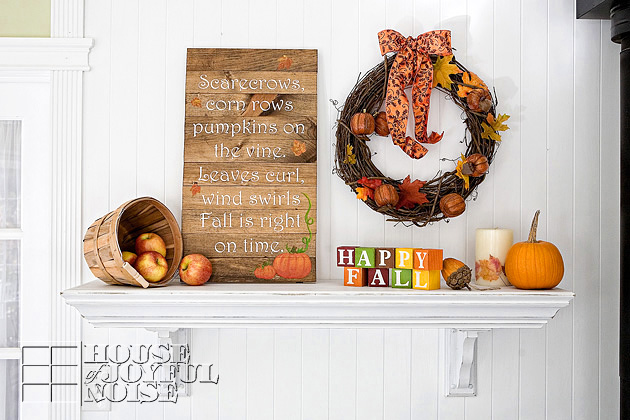
A closer look at the first mantel….
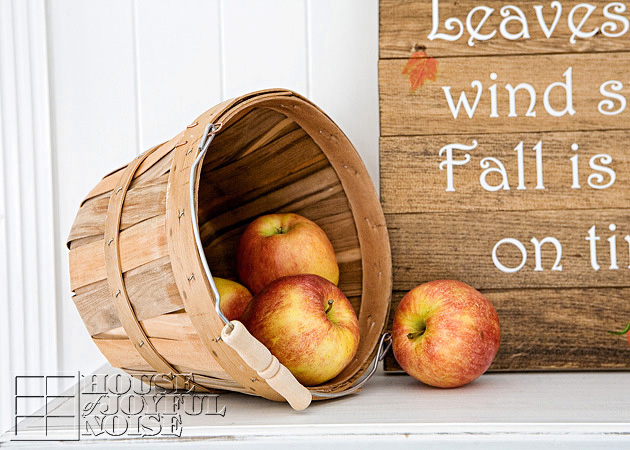 Now for some details . . . . . . (I so love details . . . .) . . . .
By the way, I made four of the objects on this mantel. I’ll discuss a little about them along the way here. Pay attention if you care to. 😉
A simple basket of apples. Which wasn’t quite as simple as you think. You see, my Fall mantels have been done for some time, except for one project I was working on. So while I wanted this basket of apples to be part of my decor, I also wasn’t going to make it off limits for my kids to eat. Because….they just seem to always be hungry, always looking for food, and always eating. So I told them, “Hey, go ahead and grab an apple off the mantel whenever you want. I don’t want them on the mantel going bad.” Well, I think I had to buy more apples and resupply this basket four times already. And the cycle will continue until, well, I guess December!
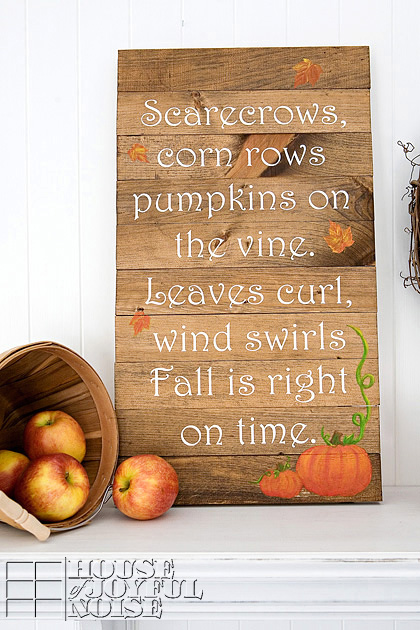
This sign; I did make it. I’ll do a separate short and simple post about it, such as what inspired it and how I made it, at some point soon.
I can tell you now, that I love it. It’s not quite as elaborately simple as I had intended….more simply simple in the end….but I love it nonetheless.
–
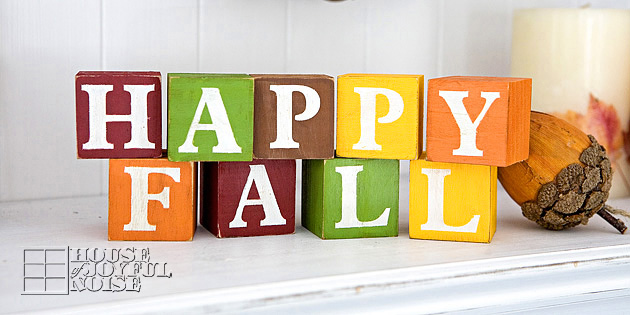 I also made this set of greeting blocks, which were so fun to make! And…..there is much more than meets the eyes with these! I can’t wait to show you how versatile they are! I took photos along the way, and will have a whole tutorial for you on this project as well.
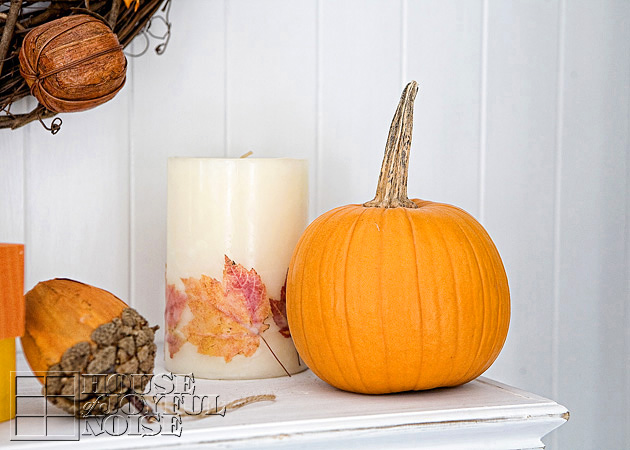 I did not grow the pumpkin, because, well, if you follow me on our Facebook Page (please come ‘LIKE’ us if you’re on Facebook!) you may know that our pumpkin patch bit the dust hard and early this year!
(Vine borers…..I despise them oh so much!)
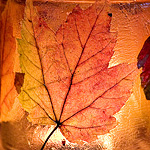
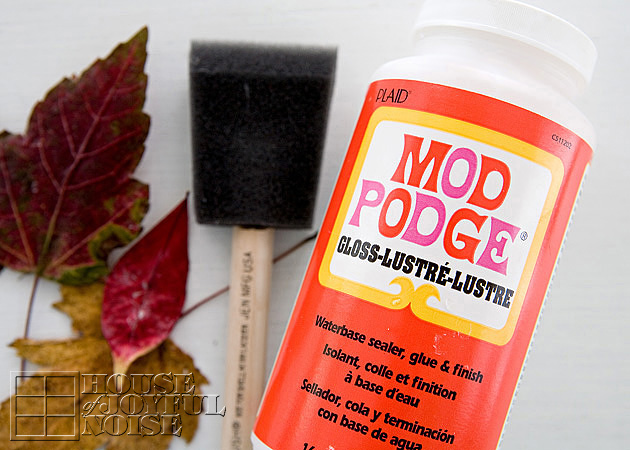
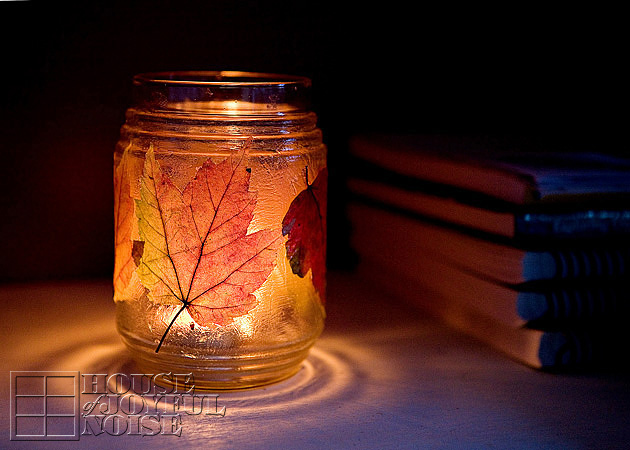
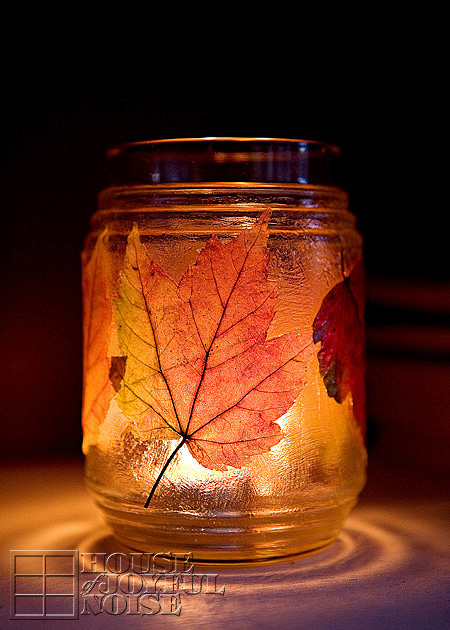
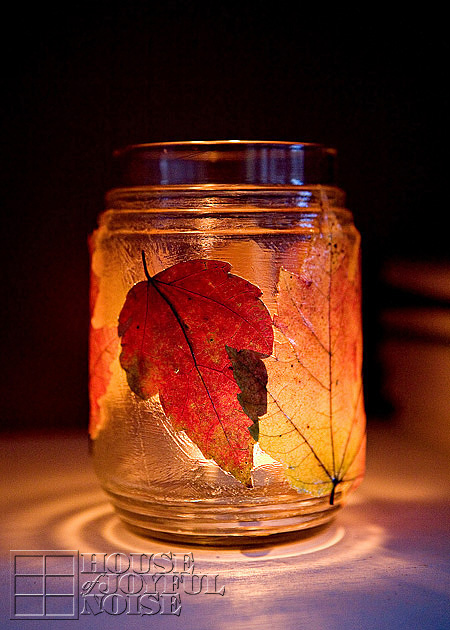
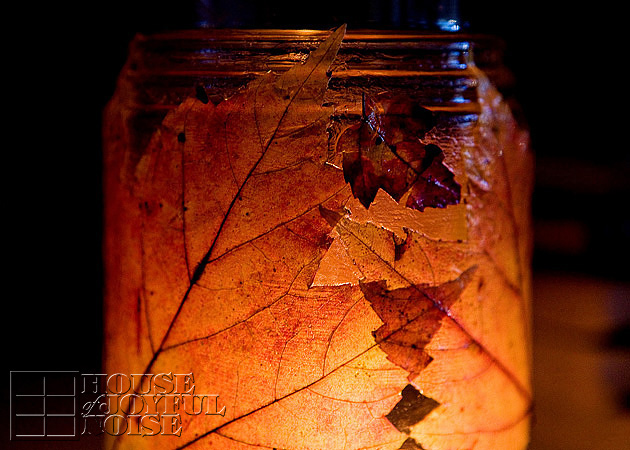
BUT, I did indeed make the candle a bit behind the pumpkin, with real leaves embedded. I made two, and gave one to my sister.
You can find the post with directions about how I made them HERE.
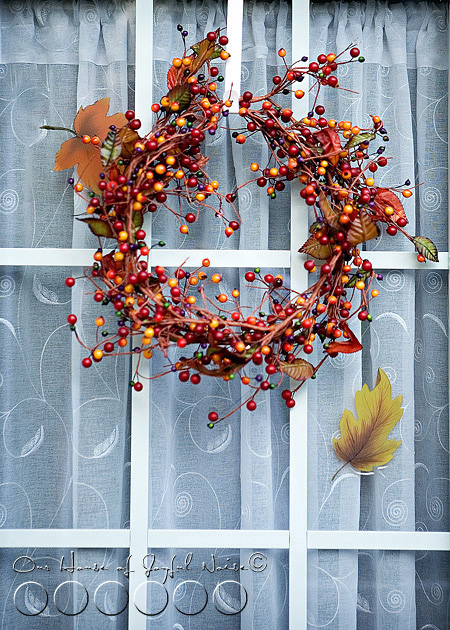
This rustic Autumn wreath is the fourth homemade item I made last year, as of the date of this post Simple, simple, simple. It’s more….assembled, than homemade.
You can see just how I did that, what I used, and from where, in this post on this wreath HERE.
And that concludes the details of the first mantel.
–
On to the second mantel….
for which I made nothing for, with my own hands. But I can share some ‘where to get’ info, for this year anyway.
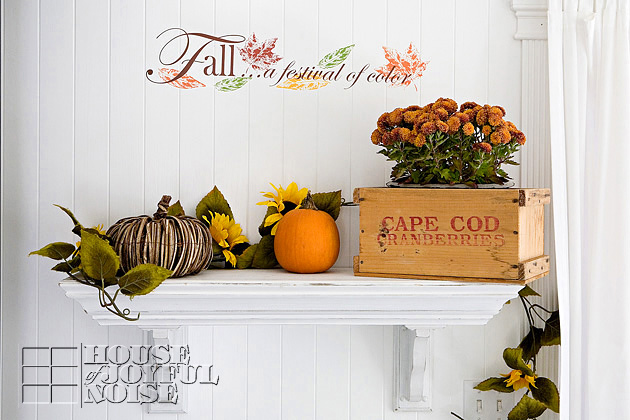 The overview, of mantel #2.
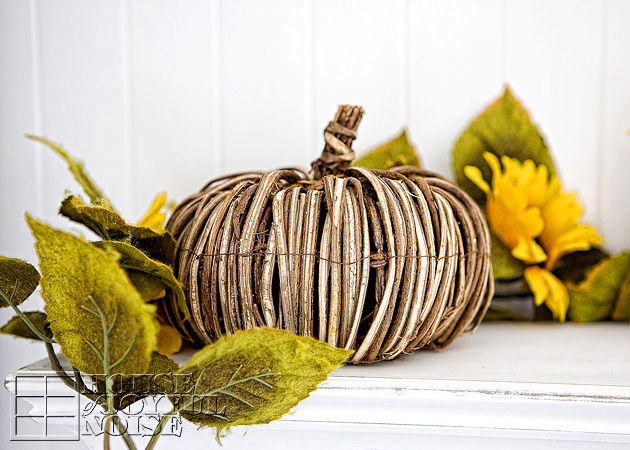 I spotted this pumpkin, adored it, and purchased it at the Home Goods dept of TJ Maxx.
I think it has a really high cute-factor, and I love the rustic qualities of it.
–
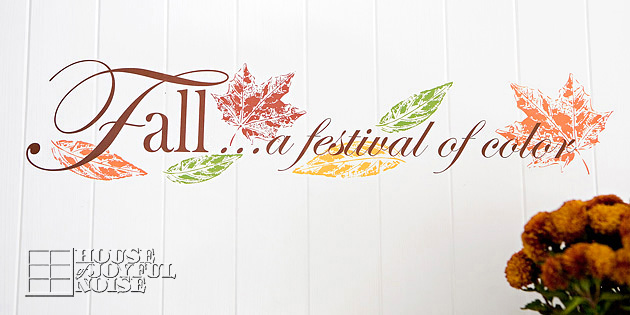 Now, you all may know custom lettering is at the snap of my finger! As my husband, Michael is a professional truck letterer / sign maker. But, I saw this wall adhesive at Michael’s Arts and Crafts, and fell right for it! It not only expresses one of the many things I love about Fall, but I really loved the leaves accents. So while I could have asked Michael to whip this up for me, why, when this was $1.99! And ready to go!
Here’s what’s even greater about it: I had imagined I would stick it on one of our painted walls. But when I got it home, I just though the best placement for it, was within the theme of our mantels. I wasn’t sure how well it would work on the bead board though, with all of the grooves. So I was very pleased to discover it worked beautifully! And I was really impressed with how discreet the fact that it’s a one-piece adhesive, is. People come into our home and when they see it, they get right up close to try and figure out…how did we do that? LOL. It’s a cool thing, and a very nice accent for the walls behind mantels! I always try to have some accents on the walls, behind the mantels, somewhere. Such as the wreath as well. It really just extend all of the beauty, and adds dimension with the various levels. It’s more pleasing to the eye.
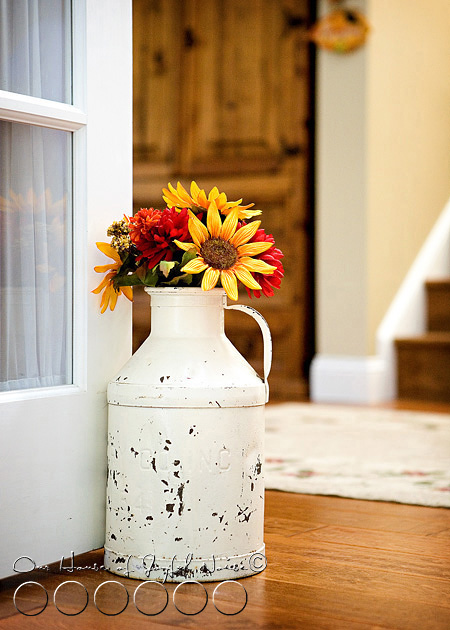
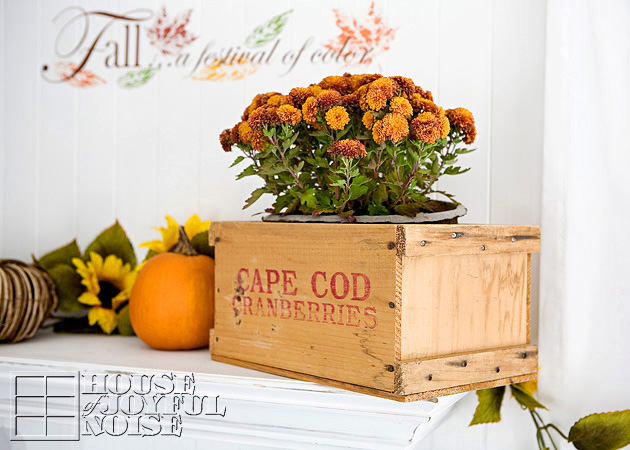 Lastly, I simply placed a pot of warm orange colored mums in an old cranberry crate Michael brought me home one day. (Actually, he brought me home two.) I love these crates, and I love that he found them in shed he was hired to clean out at the parish he was working for, and thought of me.
And that’s the end of our Fall mantels tour.
I may mix things up just a little for Thanksgiving, but I haven’t decided yet. I do know that I am enjoying my mantels as much as I dreamed, from putting them together through these various seasons, to the holidays we celebrate. I hope you’ve enjoyed seeing them as well, and have found any bits of inspiration in them, for any areas or even shelves in your own home. PIN away!
I plan to share the tutorials or details of some of the projects on mantel one, soon. So please share your thoughts, hopes, or questions of what you would like to know in those posts coming up, in our comments below! You are automatically notified by email if I reply to you, or if more fitting, I will address those questions in the posts coming up.
Hope you are relishing in all of the gifts of Fall, as much as we are!

