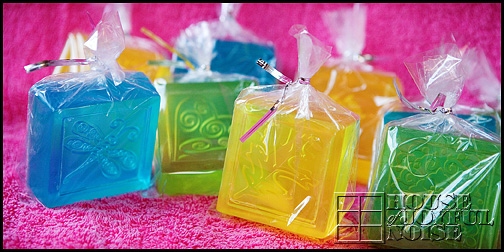
This was one of my personal favorite crafts we made; Embossed Homemade Glycerin Soap Bars! It was so much fun choosing designs, colors and scents. Yes, we know most people use soap pump bottles now. Bars are sometimes considered too messy….but my kids make a pretty good mess with the bottles too, anyway! The thing drips all over the place. Anyhoo…..if one MUST use the pump bottles, these are pretty enough to just sit in a bathroom and look nice!
So here are the EASY steps to making them. I tried to combine the photos of steps, in a storyboard format. So the steps are left to right, or top to bottom. I’ll do my best to explain the steps as well.
You will need:
- 2lb glycerin soap block
- soap molds
- rubber soap embossers
- soap scent oil
- soap coloring
- clear bags
- bag ties
From Home:
- a microwave
- a glass measure cup
Many of these soap supplies can be found all together in the soap supply aisle at your craft store. We always go to Michael’s Arts and Crafts.
Steps described below photos.
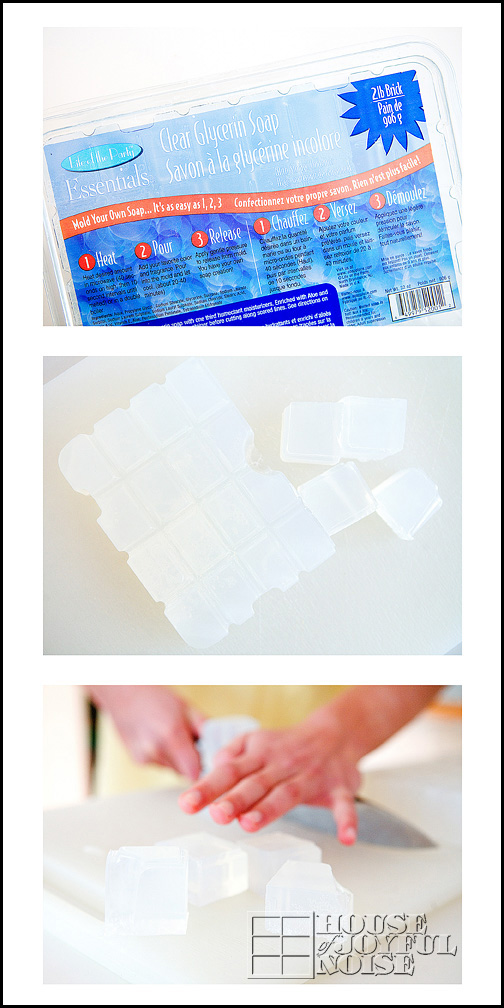
1) This is what a the package of the soap glycerin soap block might look like.
2) It is scored so you can cut chucks easily, with a large knife.
3) You want to cut the chunky cubes into groups of 4.
Next….
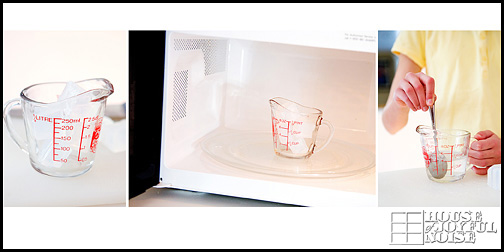
4) Put 4 cubes of soap into a glass microwavable measuring cup.
5) Microwave for 40 seconds, take out carefully, stir, and see if it is all melted. If it needs to go in again, do so in 10 second intervals, until it’s all completely melted.
6) Stir again.
We used scents and coloring put out by Party Lite. The oils are called Essential Oils. They all come in little bottles, in hanging packaging. These are found with the soap supplies at the craft store as well.
So then……
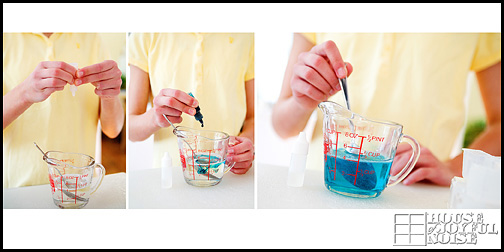
7) Add 6 drops of your preferred scent. We used Green Apple.
8) Add 3-5 drops of a chosen color. How much you add depends on how deep you want the coloring to be.
9) Stir again.
~~~
Embossing Your Soap Bars
They sell these rubber embossed designs, to lay into the bottom of your soap molds! Some soap molds come with a design embossed into the plastic mold as well.
Soap molds come in all kinds of shapes as well; oval, octagon, rectangle, square, etc. We went with the squares, as they fit these rubber embossers perfectly.
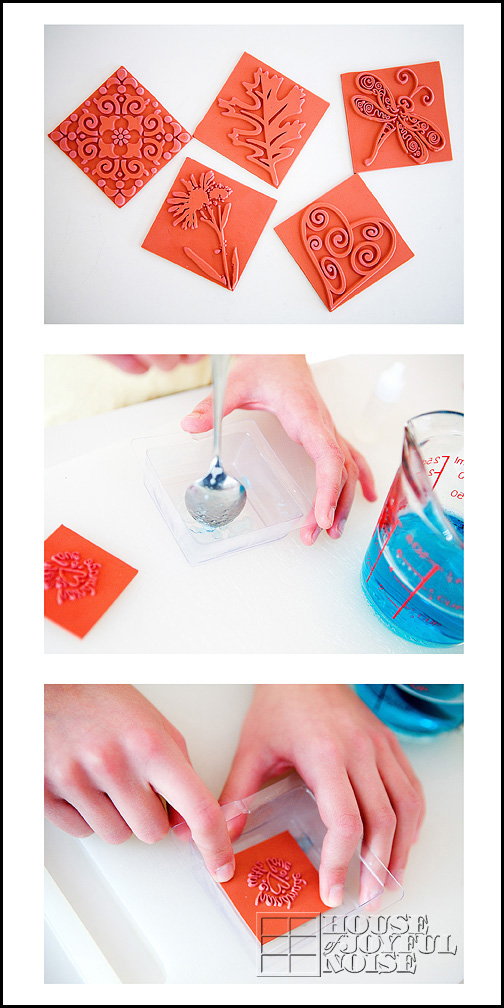
10) Rubber Embossers
11) With a spoon, put some dabs of the hot melted soap in the bottom of the mold. This helps keep the rubber embosser in place.
12) Place the embosser on the soap dabs, and gently press down well all over.
Next….
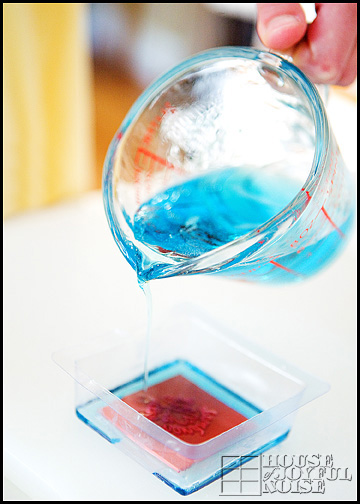
13) Start pouring the scented/colored/melted soap into the mold fairly slowly, but consistently.
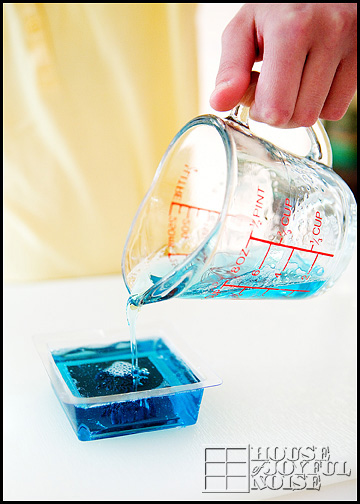
14) Fill nearly to the top. We just leave any bubbles. They mostly dissipate on their own.
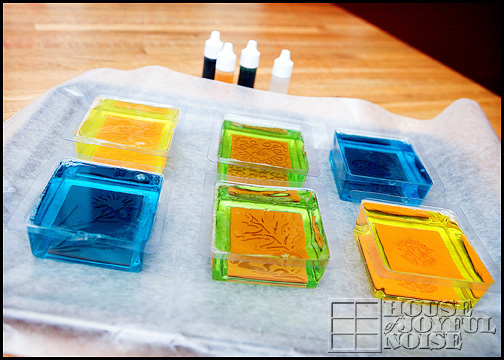
As we filled each mold, we placed them on a cookie sheet lined with wax paper.
They need to set for….awhile? lol. We always just let them set for a day or so, or overnight, to be sure they were turned solid. But we’re not sure how long it really takes.
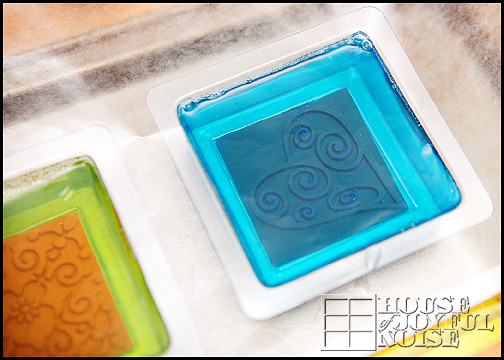
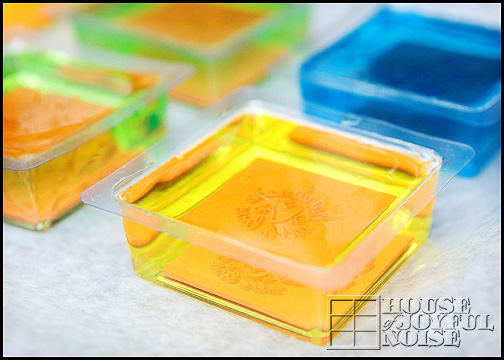
As they do start to set, you will see the soap start to get less crystal clear.
~~~
The next day they’ll be set for sure.
All you need to do is work them out of the mold. They don’t pop or slip right out, but it’s not that difficult with a little effort. The goal is just to try and not mark up your beautiful soaps.
Once they are popped out, you just peel off the rubber embosser, and admire your COOL design on the soap! Try not to get finger prints all over them too. Especially the tops.
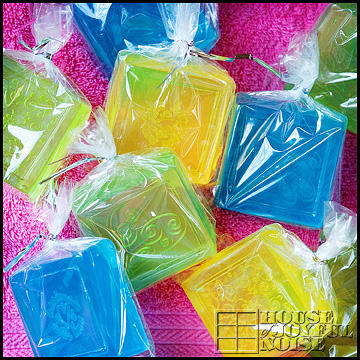
We just packaged the soaps with the proper size of clear bags, found in the candy aisle of the crafts store, and the fancy silver twist ties came with the bags.
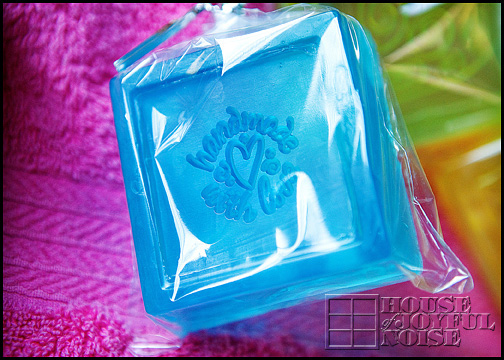
“Made With Love”. My favorite design. Although the dragon fly and the ornate tile ones were close seconds.
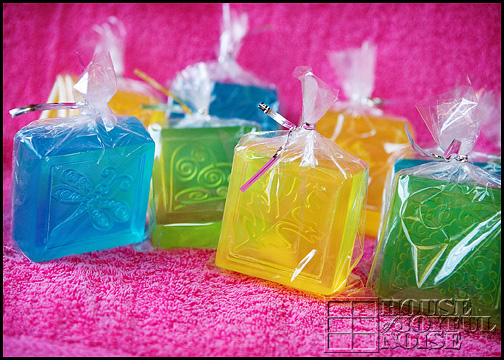
That’s it for this craft!! Easy, huh?? And so PRETTY! We think they made lovely gifts.
Trust me, they come out so nice, and smell so good!! I love the clarity of glycerin soap, but there are other kinds of soaps you can make too. I am sure the directions are a little different though. Naturally, with this soap making process we showed you here, there are certain steps you will not want your children to do alone; such as any of the steps that involve the hot melted soap, or chopping with the big knife! But they can count out 4 soap cubes and load the measuring cup up, choose and add drops of scent and coloring, pop out the soaps and bag and tie them, etc.
We do hope you try making some yourselves sometime!!
STAY CLEAN NOW! : )

These look good enough to eat Laura! I’ve never tried soap making and that and candle making are 2 things I’d love to do…
Your photos are gorgeous. The last one against the fuchsia…wow!
xo
Robin
All Things Heart and Home
This is a wonderful idea and I love the fact it’s so easy to follow. Instead of doing the embossed stencil do you think you could put a picture in the soap? If so what would you do to keep the picture safe?
Hi Christa! — That is another great idea you have, and I think I do have a solution for that!: Why not laminate the photo? You can have laminating done at office supply stores such as Staples or Office Depot. I don’t believe a laminated photo would be harmed, even being held under running water repeatedly. How personalized!
Another great idea for kids soaps, is to put little plastic or rubber animals, bugs, lizards, etc., in the soaps! After the kids have washed their hands enough times, they’ll have a new toy!
Hey Rene
– What a great idea to make them for the kids teachers! It’s something ‘different’ and I am sure many of them need and TAKE a nice hot bath at the end of the day! Your daycare kids will have fun making them. It’s a nice Valentine’s gift for Moms too.
Come back and tell us all about your Wassail on ‘W Day’ on Wednesday!! I hope they all WUV IT!! lol
I love this craft! I am going to have the daycare do this for their Valentines, and my kids will make them for their teachers. I have heart-shaped molds I can use. I’m going to try to find cellophane bags with hearts on them, or decorate the bags with heart stickers. By the way, your God daughter has used her soap in the bath and she always smells so yummy after! We are making Wassail on Wednesday – W is one of our letters this week so it Works out perfectly! Wa-hoo!!
Great idea about the lent project Regan
!
Sarah
— Thank you very much. Yes, we have 6 year old triplets. Multiples are such a blessing, and all babies are, and I am sure you will concur with that!
What a great craft … and gift! I will have to keep this in mind. I just found your blog, and it is beautiful! Your pictures are wonderful, so vivid! Did I read this correctly, are your three youngest triplets? I have twins, so that is why I am curious 😉 Grace and peace to you!
these are so pretty. they look like candy. i love
homemade soap. i have a bar from a soap shop down in san diego and it is the YUMMIEST scent ever. i don’t know what it is though, since i took the packaging off and threw it away without checking.
anyway, these are great. and i do like bar soap, it seems to last longer than liquid. my youngest is in to foamy soap right now but he uses SO MUCH and if he joins me for cooking i have to make him rinse his hands a million times so the bread, or whatever we are making doesn’t smell like soap!
well, this looks like great fun.
i might try this for lent.
it goes along the theme i have in a book,
using the scripture verse
Create in me a clean heart O Lord……
and i usually buy them each a new bar of soap.
happy saturday
bye.