
Here we are in May, and I am finally giving you all a progress update on the building of our grand craft/art studio. It was back in January when we first revealed this big and exciting home project of building a custom studio, which has been a dream of mine, ever since I was a little girl. There is no doubt that this creative space will get a whole lot of use. In fact, I can easily see it becoming the most occupied room, in the whole house, by our whole family. I am always going at craft or art projects, and Michael’s design, cutting and lettering prepping work space will be in here too. The kids are often crafting with me, or doing their own thing, and I can imagine they’ll be doing some school work up here as well. If they have independent work to be done after the lesson is taught, I might as well be productive! They’ll be plenty of room for all of us, and everything, if it’s designed and laid out well. And it will be.
So before I show you how much progress we’ve made, let me show you first where we were when we first shared our plans.
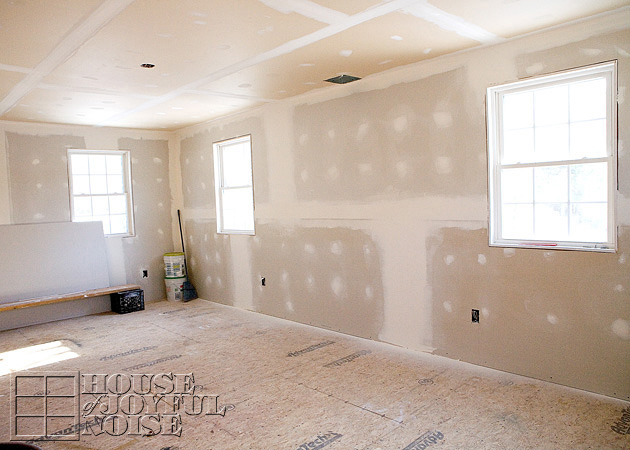 It was just sheet-rocked, with the plywood sub-flooring down. If you read that post, you might remember that that window on the right will be replaced by a larger picture window, moved from a wall downstairs. That will give all the more natural light. Although it gets lots of beautiful light already, all day long. Still, the large window will look out over our side yard, and that will be nice.
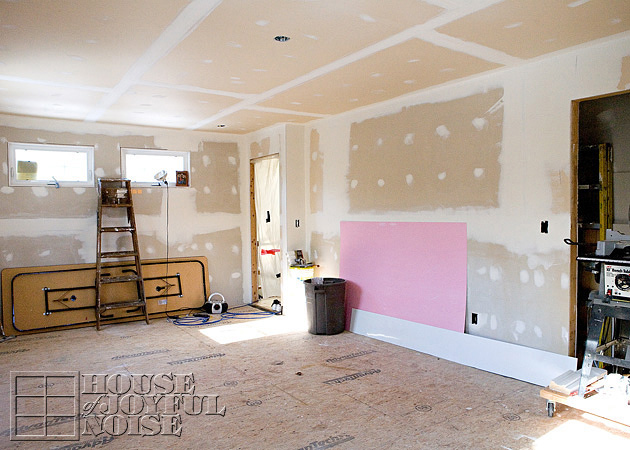 This is the opposite wall. We are seriously considering making this an old brick-faced wall, in true-studio form. How cool would that be? But it’s last on the budget list, so we’ll see. It can be done at any point, and regardless, I’m sure I’ll be moving in before we bother with that accenting.
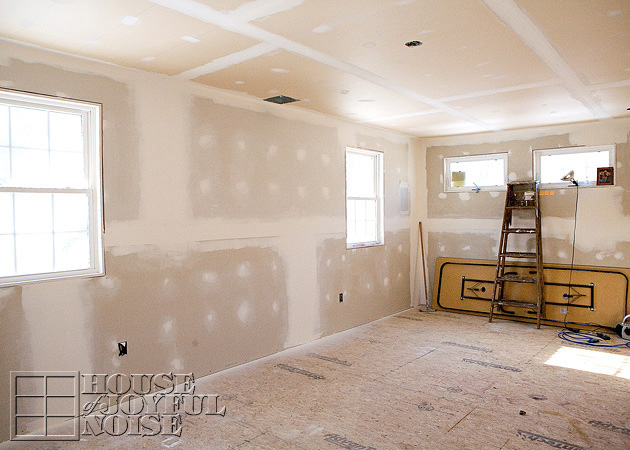
Back to the first wall, seen from the opposite end. It’s a very long room, measuring 12′ wide by 22′ long.
So I’ll tell you more about plans for the layout shortly.
But here’s whats been done . . . . . .
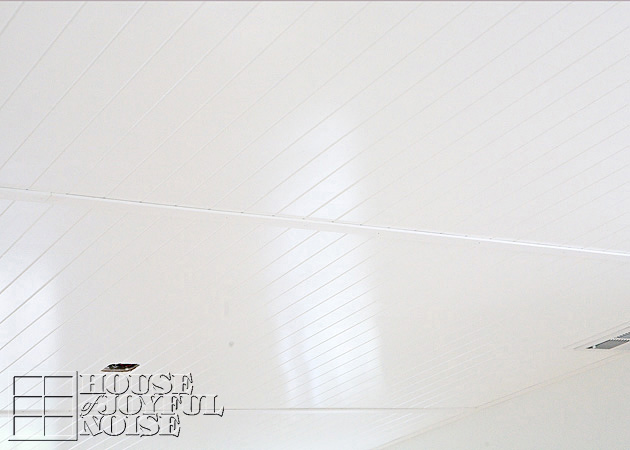 We decided instead of plastering the ceiling, we’d panel it, and give it sort of the bead-board look, but in a way that it would go up faster.
And I can clearly see in this photo, that my camera lens needs cleaning. Ugh.
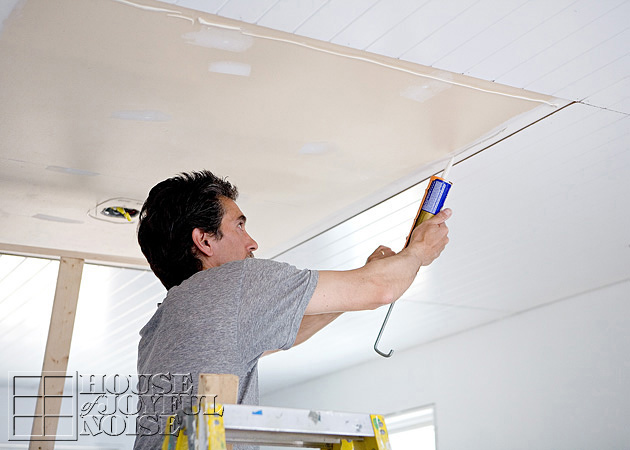 Michael adhered the large sheets with paneling adhesive, and hit it with a nail gun here and there too, for extra security.
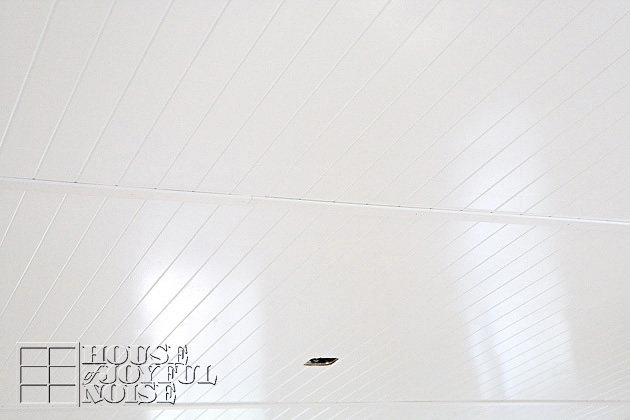 To cover the seams, and also to add a some design accent, we used pvc lattice. I’m not sure I’m digging how shiny it is, at all. Michael insisted that the semi-gloss was a better idea, because it would reflect and throw around light more. And he’s probably right. But the shiny is bugging me. So I’ll either get used to it, or it will get a coat of something flatter.
What’s your thoughts on the shiny look?
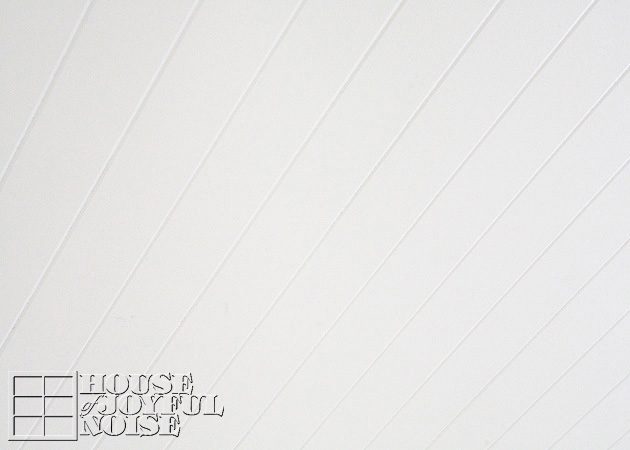 Just a closer look, at the v-groove detail.
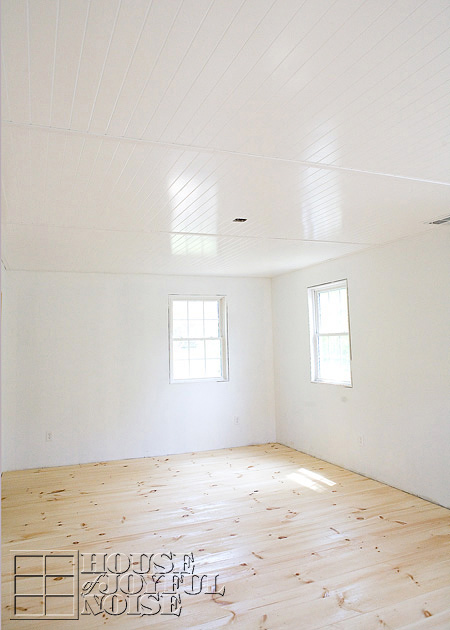
Before the ceiling was done, the walls were all primed and painted white. The whole studio will generally be white, for maximum light. There will be LOTS of color around, once we move in with all of my colorful supplies and whatnot, because much of the storage will be open and display-like. It’ll be a color wonderland! On a white canvas.
By the way, all of the trim work is done as well. It’s been cut and trim-fitted for all of the windows, doors, and baseboards. It’s just needing to be painted, and nailed in place. That always makes a big difference in the finished look of the space. I think.
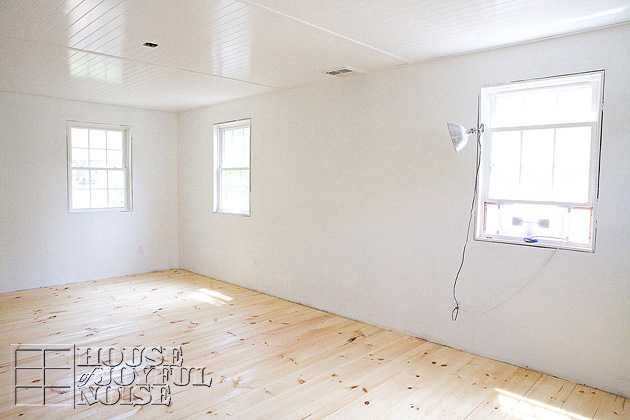
I am taking these photos from the doorway, because the floor was not quite dry, from the first coat of stain. So you’re unable to see the first half of the room in this photo. But in the center of the wide room, will be a very large and long crafting table, with seats for several people, and storage cubbies, and possibly some drawers, as well. There may also be a couple of additional seats along the walls somewhere. But generally, up to before that last window, will be open shelving, some floor cabinets, and other flat surfaces.
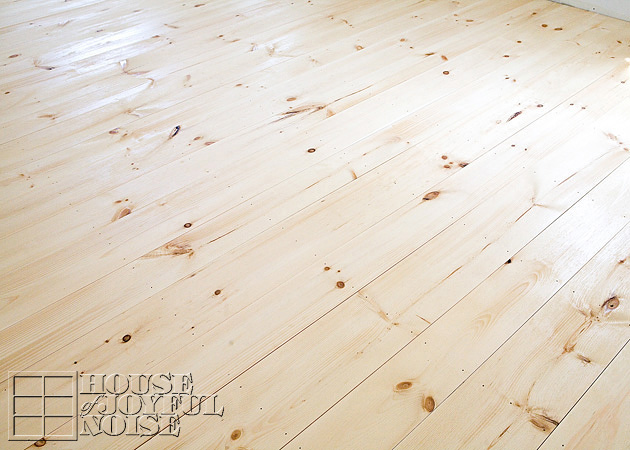 The floors are basic shiplap pine. If I had my way, the whole house would have been done this way, but I couldn’t talk my husband into it for the main living space downstairs, for the life of me. Upstairs, it is all pine flooring like this, and now he loves it. It’s cheap, and I love the look of it. It is soft, and dents easily, but that only makes me love it more.
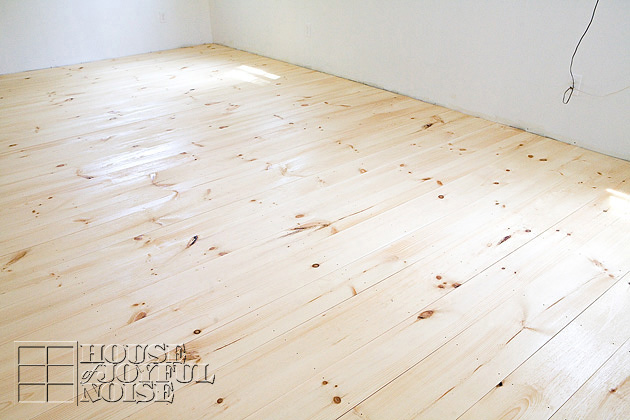 I honestly would have liked the boards running the long way, but Michael said they couldn’t, because the joists in the floor ran that way, and so the boards need to be the opposite.
So that’s where we’re at. Really not much more to go. I’ll tell you what we are doing next, though. I mentioned the end of this room would be used for something else. A little before that window on the long wall on the right of the photo below, and before the big closet on the left, is going a white sliding barn door on a temporary wall, which I think is going to be a stationary barn door. A beam will be put in across, to support and install the rail. And behind the barn doors, will be one our son’s room. It was the only way we could figure to give the boys their own room, and still let them keep the rec room in the lowest level. It will still leave us a large and roomy art/craft studio, so I don’t mind at all. And neither does he! He’s pretty excited. The reason it’ll not be permanently attached is because when the kids all move out, 🙁 , we may want to open it all back up.
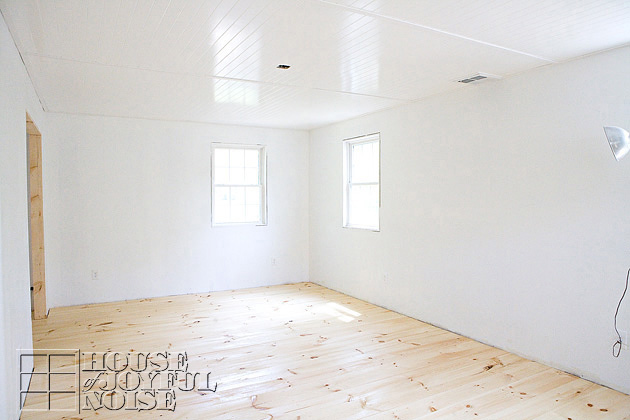 So the next post on the progress of this studio should be the barn doors. And the bigger window putting in at some point too. (I still can’t wrap my brain around that scary project part, but Michael is not deterred.). Then we’ll be furnishing it all and moving in! I can see it in my head, and it’s going to be SO awesome. We’re getting close! So stay tuned to see how it all turns out.
* * * * * *
Please come follow me here and there:


[…] you scroll down and see, you may want to see the previous states of progress, to really appreciate all it is now. It’s still just a little bit hard to show you […]