If brilliant colors make you happy, and you love fun projects, then this Valentine’s craft is just for you! We’re showing you just how to do it, step by step today!
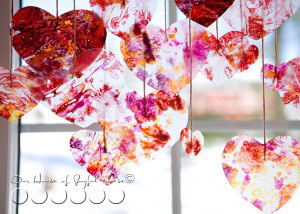
While my home is not completely decorated for the upcoming ‘month of love’ just yet, I knew it was time to get to some Valentine crafting! I happened to see this craft from Martha Stewart Living, and was inspired to try it ourselves, with a spin or 2 of our own on it. By melting crayons in between wax paper, and cutting out hearts, some very cute Valentine’s decor can be made! That Martha is a clever one, huh? ( Or, her creative team – whatever. lol.) You can make this craft as quick and simply. or as involved, as you choose, and I am going to tell you the ways how.
Supplies needed:
- Crayons, with paper removed (This craft is a great way to use up those old broken crayon pieces!)
- A sharpener with a fat hole.
- *Wax paper
- Clothing iron
- Brown craft paper, or brown paper bags (Just a protection layer for ironing.)
- Hearts stencils or cookie cutters (2-3 sizes is nice.)
- Pen or pencil
- Scissors
- Scotch-like tape
* DO NOT substitute parchment paper for the wax paper. It is not the same thing, as parchment paper has teflon in it.
Other optional supplies, depending on what you want to do with your crafts decoration:
- White cotton twine and food coloring. (Simplified option: thin ribbon in white or any Valentine color.)
- A clothing hanger, or a long tree branch
I intended to hang our hearts once they were done. So instead of using some satin ribbon (which is simple and faster, if you want to go that route), I had this vision of hanging our hearts on dyed string, that varied in color. So, with a roll of white cotton twine, and some food coloring, this is how I did it:
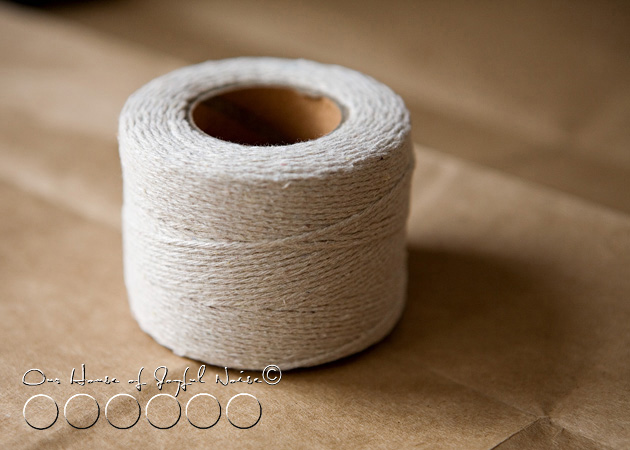
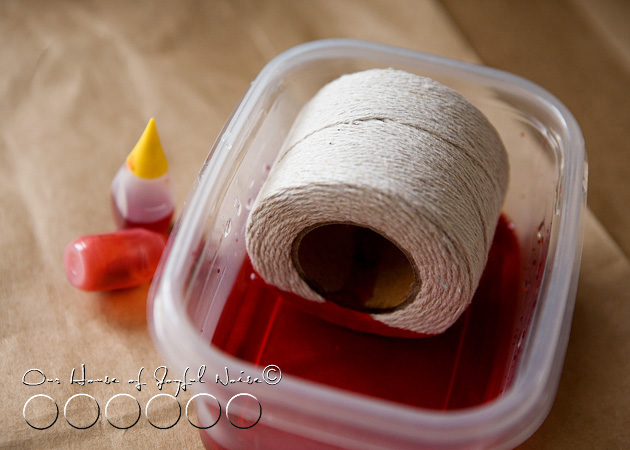 In a plastic container, I added some red food coloring to some water, deep enough to soak the roll on it’s side to the cardboard roll core. I just let it sit for awhile, while I did other things, until I thought it soaked through all of the layers of twine. Then, I made orange and yellow soaks as well, letting a different side of the roll sit in each.
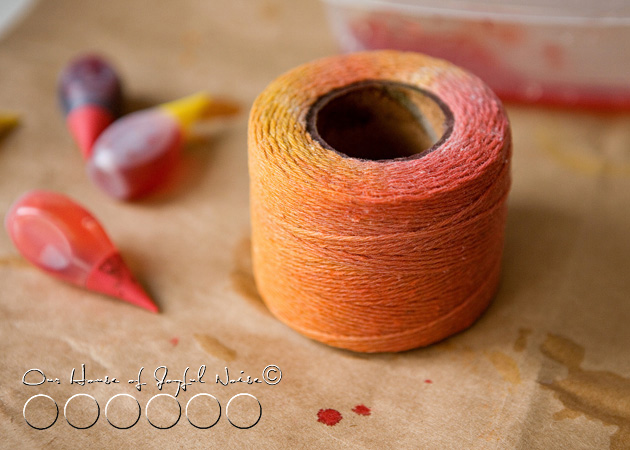 I loved the results! How pretty is that?
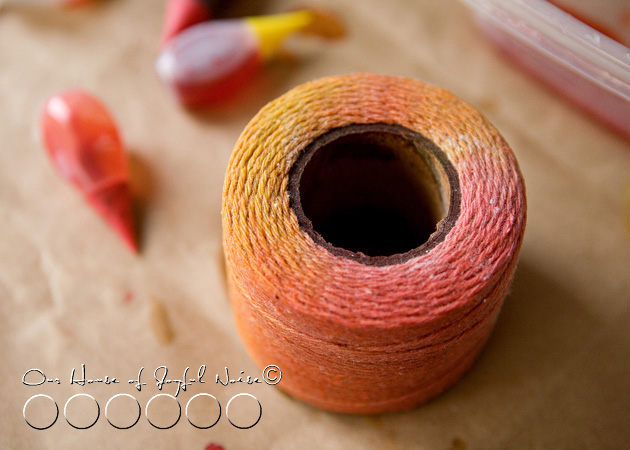
I knew as the twine was pulled off the roll, the layers would get lighter, but that too would only help the variations in the string colors. Now, all of this string is not going to dry on the roll all the way through, any time this year, but that’s o.k. You’ll be able to use the string damp just fine, and it’ll dry hanging.
 But while the string roll was soaking in various colors, the kids and I got to making our hearts.
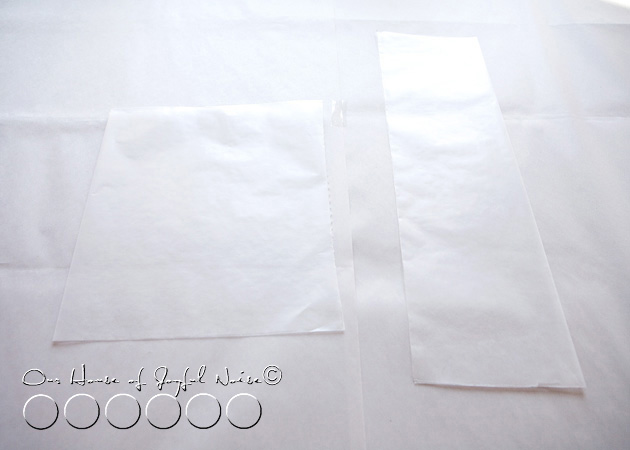
Pull off a piece or 2 of wax paper, fold in half to make a good crease, and then open back up. . . .
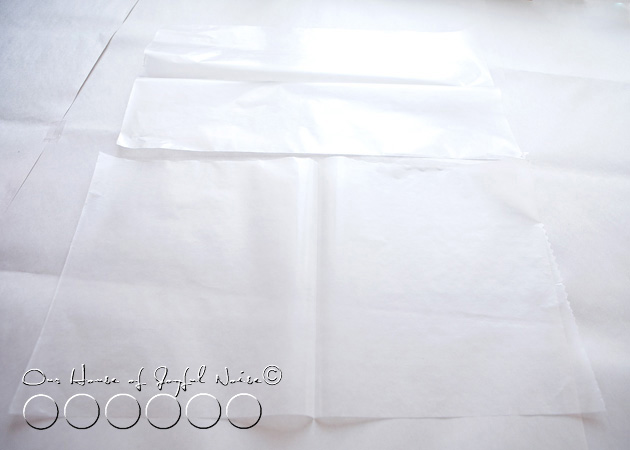 What size piece you use depends on how many hearts you’ll want to make. Remember, you’ll only be able to get hearts out of one half, as it will be ironed together soon, with crayon shavings in between.
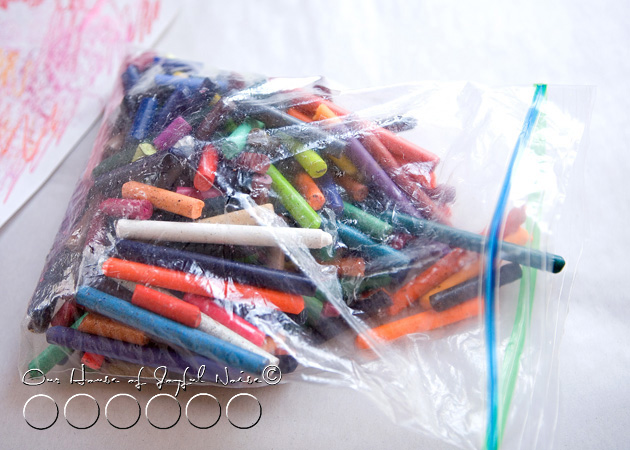 Grab your old peeled crayons, and start choosing some great colors for Valentine hearts. No need to stay with strictly traditional colors, such as red and pink. Try some purples, raspberries, and even oranges and yellows!
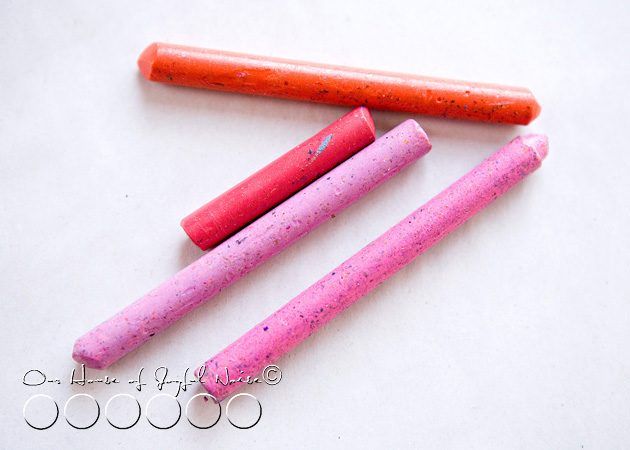 Now, if your old crayons have been kicking around together for some time, as ours have, they are going to have yuckity-doo-dahs all over them. Even as a kid, with me and my sibling’s bottomless bucket of crayons, I hated this.
So because I have had particular issues, long before I was a blogger, I have had a trick for this crayon problem. And since you came to this blogger with issues blog, I’m going to share it with you. : )
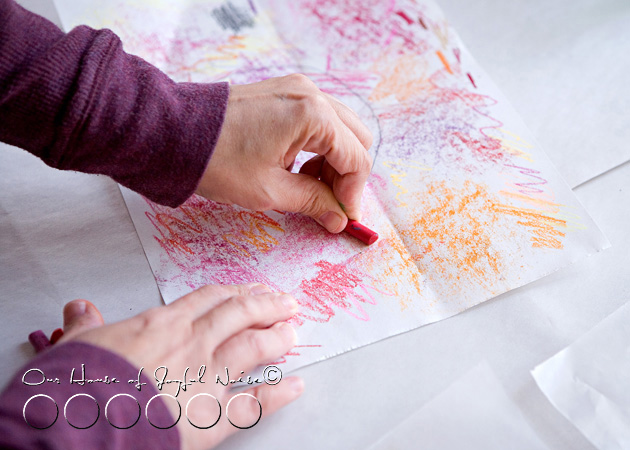 Just lay the crayons down, one by one, on some scrap paper, and rub the yuckity-doo-dahs away! I found this is also a good way to test what the color really looks like!! Some crayons when used, do not look anything like the shade of the actual crayon! So deceiving.
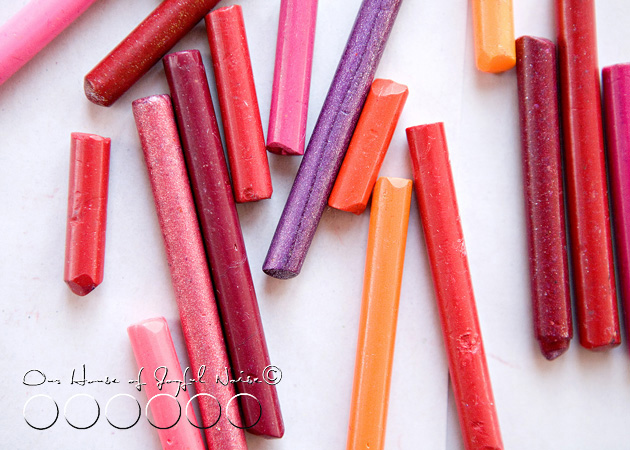 Old crayons, like new: Yuckity-doo-dah free!
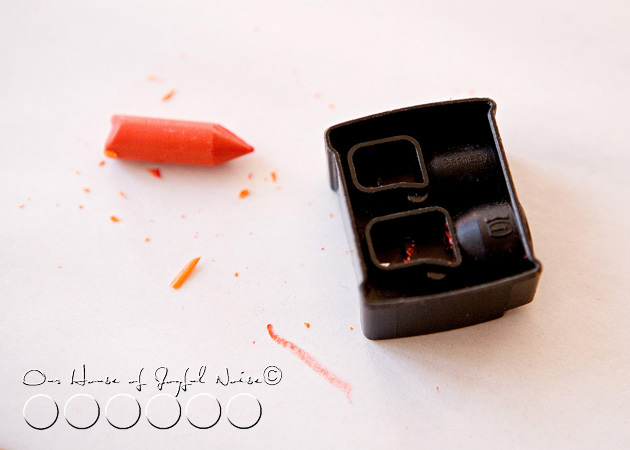 To make crayon shavings, you need a sharpener of some kind. Our little hand pencil sharpener did not have a hole big enough for a crayon, so we used my make-up one! Thanks Lancome!
Now….you’ll need to iron on your table or other flat surface, so I highly recommend putting down some crafts paper to protect your surface, from both melting crayon, and the heat from the iron.
On top of the protected surface, lay your open wax paper pieces.
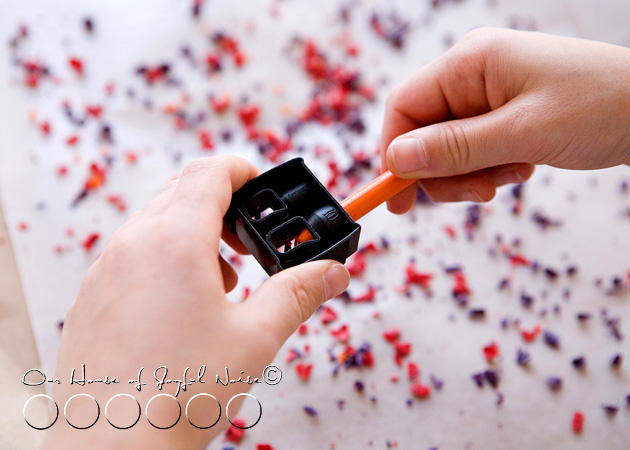 Over only one side of your wax paper piece, sharpen your crayons and let the shavings fall onto the paper. Each of my our kids did their own, and had their own unique colors combinations, which was going to make for a nice variety of colored hearts.
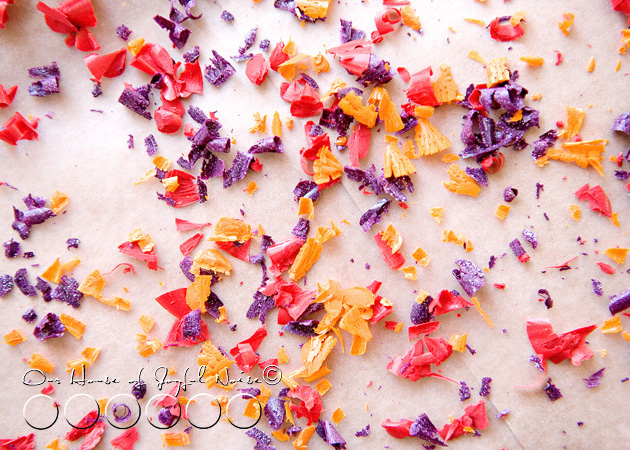 Some of our crayons were metallic ones!! So that was adding a whole new element of pretty!
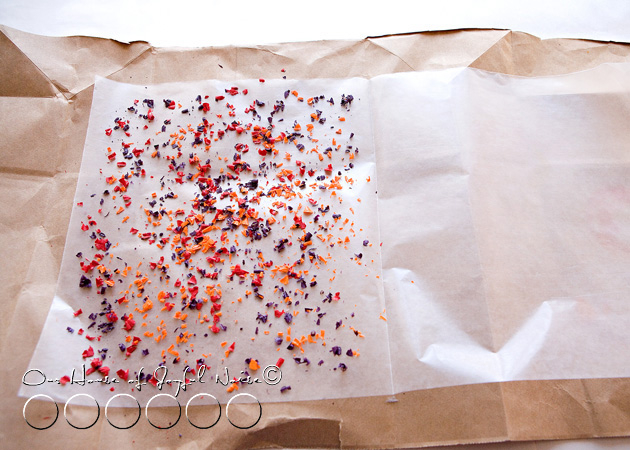 Make sure you cover the whole side with shavings pretty well. Brush any pieces in from the very edge though.
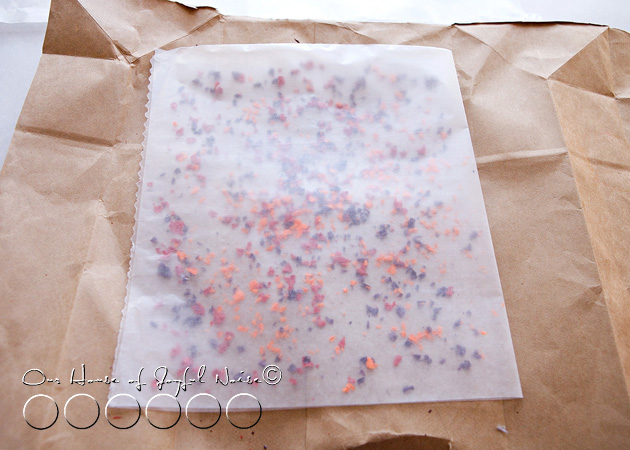 Fold over the empty side of wax paper, onto the side with the shavings.
Now, Martha’s directions say to fold up each open side some, to keep the melting crayon in. But, I didn’t want to waste any space, as we wanted to make lots of hearts, and some on the bigger side too. So….I just made sure I was working on my brown paper bag. (We also had other craft paper taped to cover our surface under that.)
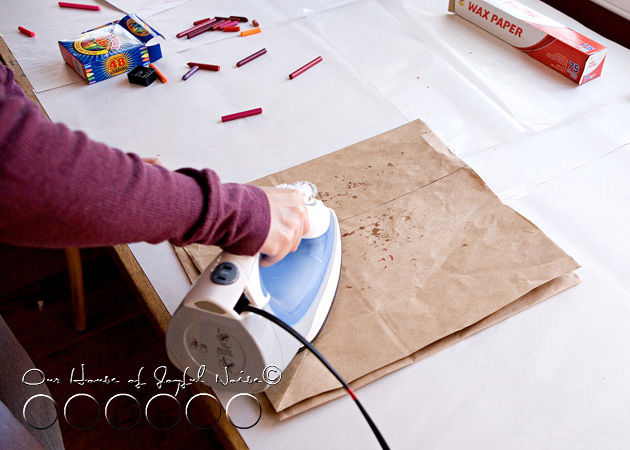 Now, after putting brown paper on top of your waxed paper and shavings, you can start ironing. What setting? Good question!! See, Martha said on a ‘medium setting’. But guess what? Our iron doesn’t have a medium setting! So I set it between silk and wool, ; ) …. and adjusted the heat up or down from there.
As you can see, some oils from the crayons may seep through the wax paper and the brown paper. It doesn’t cause any problems. Just make sure you clean the surface of your iron off when you are done with this craft, so it doesn’t transfer to your clothes! What a hot mess that would be! (Note to self: Clean surface of iron from crayon craft!!) (By the time I decide to iron an article of clothing, I’ll have forgotten I ever did this craft with it.)
As you iron, you’ll want to keep peeking, to see if there are more shavings that still need melting in areas.
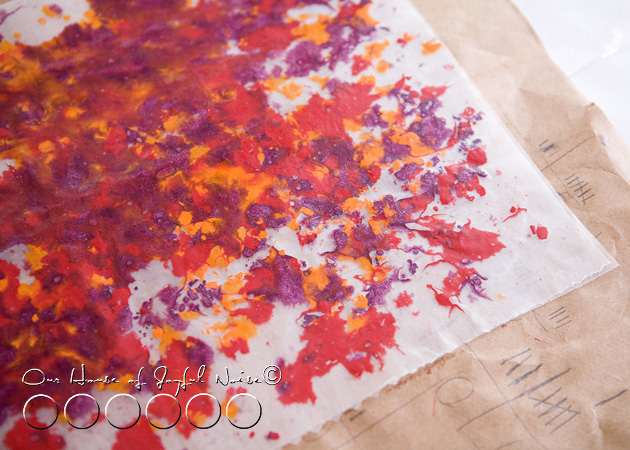 Heavy in crayon wax…..but nice!!
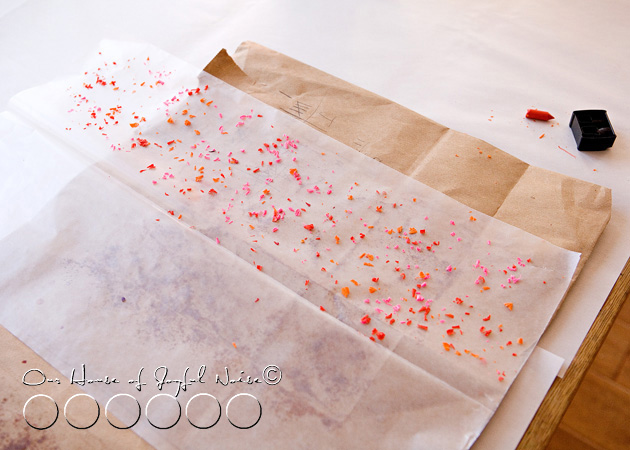 The next kiddo went with a lighter layer of shavings, for a new effect. Or, his hands just got tired from sharpening the crayons.
 They were looking good!! Just holding each of them up to the light, I could tell this was going to look super cool when we were done.

I couldn’t wait to see what this one was going to look like, all melted.
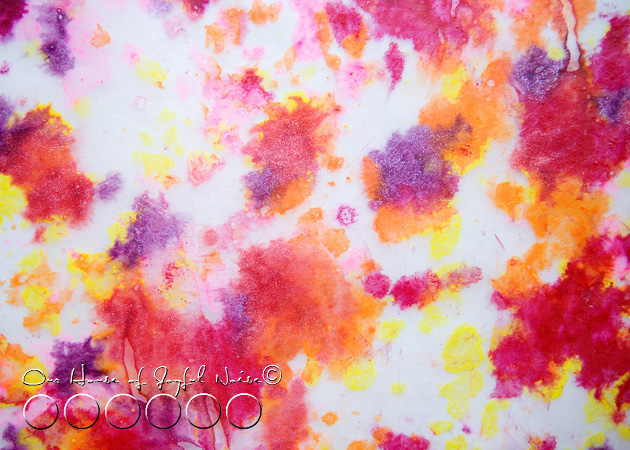 LOVE!!!
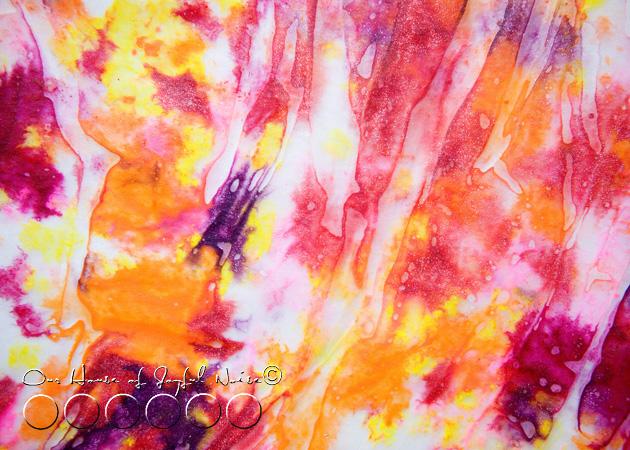 Now, you may notice some bubbling or wrinkling in areas. I’m not sure why this happened sometimes. I was guessing maybe it was too much heat at times. But since this was a fun crafts class, and not our Science class, we weren’t going to waste time running tests, to figure it out. We decided it was a cool effect, and embraced it.
Next, came tracing hearts onto our waxed pieces, and cutting them out with scissors.
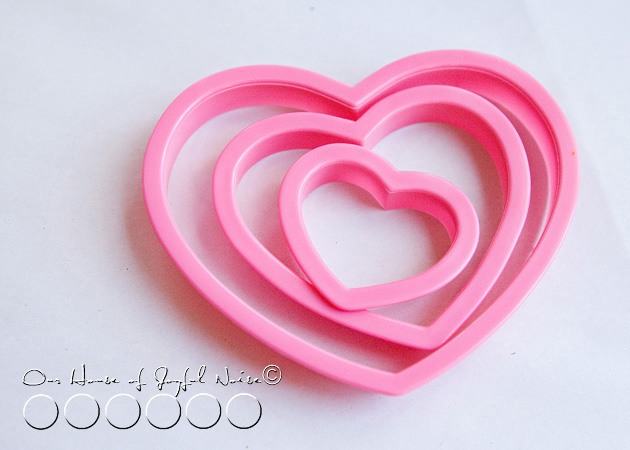 We used simple heart shaped cookie cutters that we had, in 3 different sizes. Just trace them using a pen or pencil, and then cut out on the heart shaped line. I used a pen, and because I was using it on wax paper, it wouldn’t really write, which I preferred anyway. I was able to see the tracing indention well enough to cut, just by tracing it a couple of times. * I did not take photos of tracing and cutting. I have faith you get the picture.
Nor did I take photos of exactly how we did the rest of our crafts. BUT……Once your hearts are all cut out, there several things you can do with them:
1) The easiest thing you can do, is just put them on your windows much like window clings, using a little transparent tape! The hearts have a stained-glass look, and they would be beautiful with the light coming through, and the colors so radiant.
2) Another option, is using pieces of thin cut ribbon, tape one end to the back of each heart, and tie them to a clothing hanger at different lengths. Instant Valentine’s themed mobile!!
3) You can take it to the extreme, like we did…..
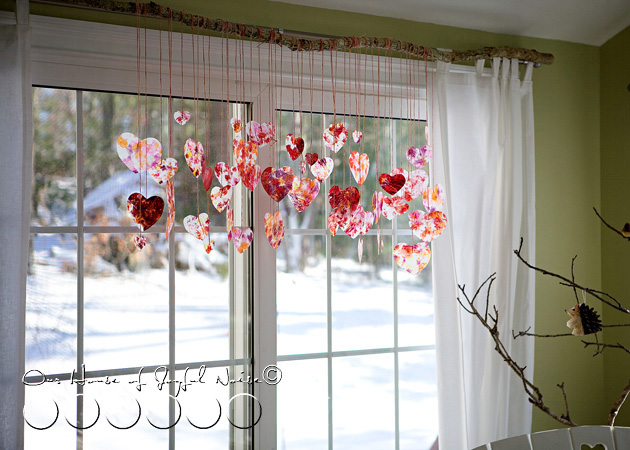
Michael went out and found us a really long and fairly straight tree branch, that would meet the length of our sliding glass doors. Then, to work in a comfortable manner tying our hearts on it, we set 2 chairs very far apart, and rested each end of the stick on the top back of each chair. Using long pieces of our dyed string, we wound one end around the stick a few times, and taped the dangling end to the back of each heart, at different lengths.
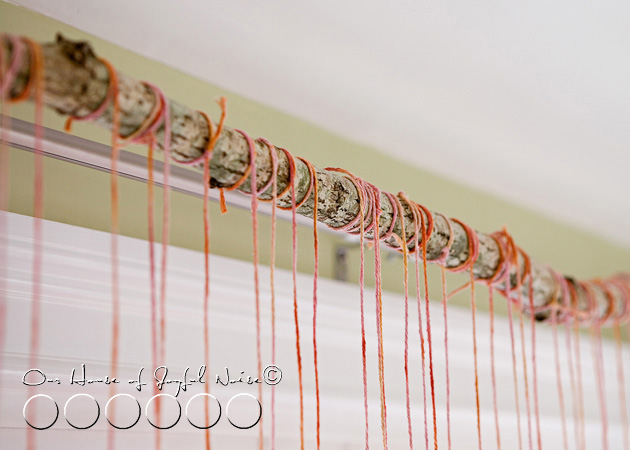 Yes, you could just tie it on quickly, but I knew I would love the look of our pretty, hand-dyed string, wound around this rustic tree branch. And I was right.
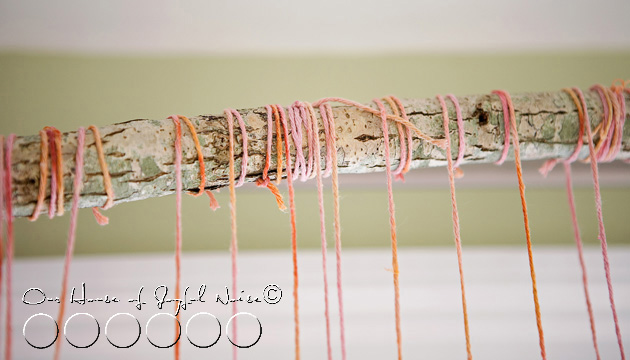 It was worth ll of my efforts. It may not be worth it to you. Also….my girls helped with this some.
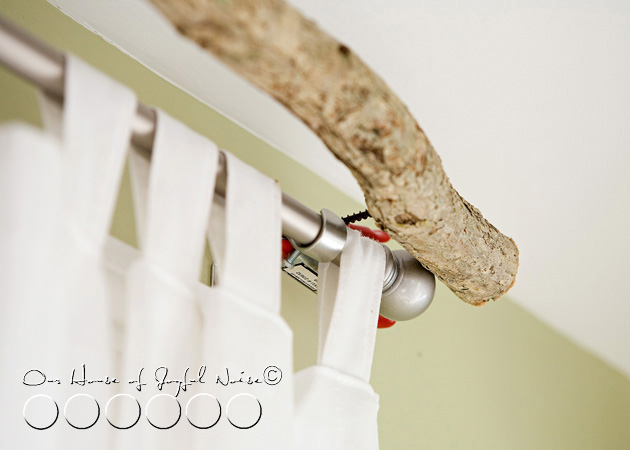 If you’re wondering how we hung this long tree branch adorned with colorful Valentine hearts up high and across our slider glass doors, I’ll tell you: Michael screwed a long screw into the backside of the stick on each end. Then we simply used those little tight-clamp thingies, and clamped them to the curtain rod bracket. See? No permanent damage anywhere.
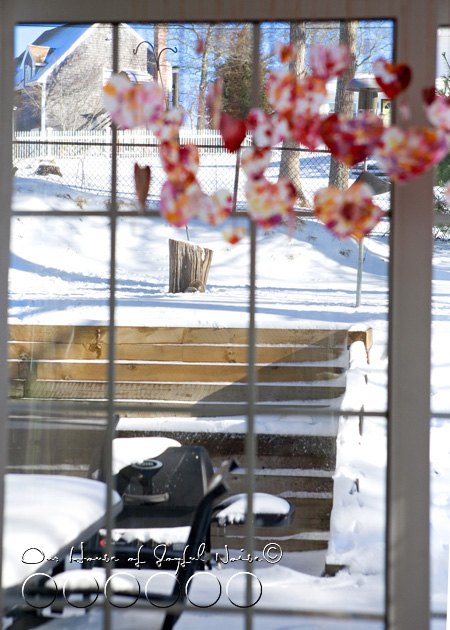
They colors really look beautiful, hanging there, even as I look past them, through our window into the snowy scene behind them. There are often squirrels out there frolicking in the snow (o.k. …finding the fallen bird seed), and birds at the feeders, eating.
We think the critters rather appreciate our Valentine decorations on display.
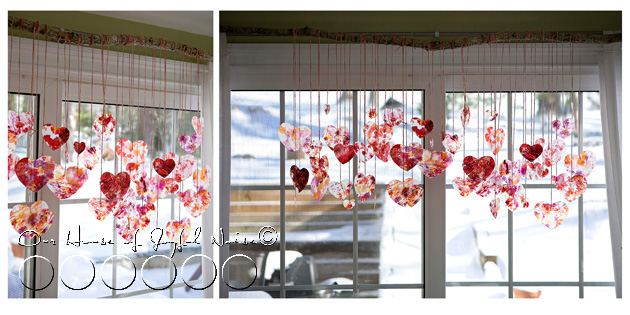
I love coming in our front door, and seeing them swaying in the breeze across the room in front of us. I can feel the love in the air. It makes us smile.
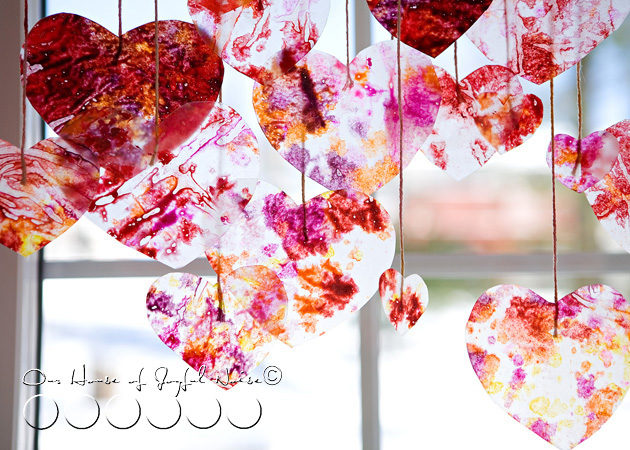 The colors of love are a beautiful thing.
Let them shine, shine, shine.
(Love this craft idea? Share the link on your Facebook! Your mom-friends will love it too! Or….*pin it* to one of your boards! ; )

I’m want to make these to put up as sun catchers but am hesitant that the crayons may melt in the sunlight.
Will they melt and dip in the sunlight?
Hi Emily,
No, you don’t need to worry about that. It is only a thin layer of crayon wax, so not enough to ‘drip’. Our branch of hanging hearts not only hung in the sun coming through the slider glass doors most all of the day, but it was right beside a burning wood stove, that we used all winter. You may get ‘warm hearts’ (which can only be a good thing, right? 😉 )…..but there is zero mess, even if you touched them.
Hope that eases your worries.
– The Fam at House of Joyful Noise blog
Made these with grandsons only we found leaves to make the shapes. We used fall colors of the crayons and hung them with tiny clothespins, twine and window cling hooks. They brightened up the window for fall. The boys had fun finding the best leaves for their patterns.
Love you and your grandsons twist on this project, Glenda! We would have loved to see them. Glad you all had fun together. What a wonderful grandmother you are, doing craft projects with your grandchildren. These will be memories they will remember forever. Love it!
The Richard Family / House of Joyful Noise blog
These are so beautiful…
I have to make them …I don’t think we get the wax paper here…but I will have to think of something and try it. Love them, love them…simply love them.
I am only able to get parchment paper, will this cause a problem?
You have specifically asked not to use parchment paper, is it because it will cause problems?
Please advise
Hi R Karan –
I don’t believe parchment paper will work, as wax paper will. For one thing, parchment paper is heat-proof, and non-stick. Wax paper is coated with wax, and that wax bonds with the wax of the crayons. So wax paper is recommended for the success of this project. We’re sorry!
The Richard Family / House of Joyful Noise blog
Hi – Thanks!
I used “some” paper. It looked fine but the wax kept falling off in small pieces so I am assuming that it was parchment paper 🙁
Instead – I took some old invoices (normal print paper) and scraped the crayon on it and folded in half and pressed it. The impression came on both sides. I just glued both the sides back to back with string running through. No where as nice as yours but I was happy (as the melted crayon stayed stuck) and my daughter (5 year old) is over the moon. She will give the big hearts hanging at school tomorrow. With the bits left over on the sides, I made baby hearts mobile to hang on the curtain rail near her bed, hers is a surprise which she will get tomorrow. Thank you for the wonderful idea.
Rachana
Way to go revising as you needed to, R Karan! We’re so glad you worked it all out. The fun is in the process, and it’s sweet to hear your daughter is over the moon. Hope the baby loved her surprise too. What a sweet idea that was. Thanks so much for coming back with the report!
The Richard Family / House of Joyful Noise blog
These are so beautiful. Shared here http://siayla.blogspot.ca/2014/01/got-hearts-try-these-heart-craftsjust.html
Thank goodness for google and finding a site like yours. 21 years of doing daycare and I run out of ideas. I haven’t made these for many years. I just finished doing these with the 3 yr olds and will be doing them with the school age kids when they get home. I’d send you a photo but the weather we’re having is really nasty and taking photos against the window impossible. Thank heaps and gobs for jogging my memory for this craft. The little ones LOVED it.
Lise, your comment here made me smile. It is so great to read feedback like this!! Some days I feel like I am running out of ideas too. So a little inspiration or jog of the memory is always appreciated. Hope your 3 yo littles had great fun, and your school age ones do too!
Thanks SO MUCH, for stopping by, and saying HI in your special way. : )
~Laura / House Of Joyful Noise
I love your expression – yuckity-doo-dahs! Alison love the craft. Looks so pretty. Thanks for sharing.
LOL Kelly! Oh, I am pretty sure I have my a whole language of my own! Although, most of it was born of me not being able to remember a word I was needing. LOL
Thanks for coming by, and sharing in my humor. : )
~Laura
Thanks for the instructions. We made this today and it brightens up both our entry and dining room. The kids had fun on their snow day off from school!
Just now seeing your comment Cindy, but I’m glad I did! I am loving to read your kids got to do this fun project on their no-school snow day! And that the project is brightening up your home. Thanks so much for letting us know!
~Laura
Beautiful! and great instructions Thank You. *Note* do not use news paper the ink transfers. I think this craft would be great for fall too, fall colors and leaf cookie cutters! adaptable to any season really. What A Great Craft!!
How true, JeanMarie! Making Fall leaves with this craft would be another wonderful idea. Especially off the branch the same as this one as well.
Thanks for stopping by, and sharing your thoughts. : )
~Laura
Beautiful & vivid! Great instructions, thank you. They look gorgeous in your slider window and really nice touch with the tree branch, I like it a lot!
I love the way this looks. i can’t wait to try it out. What kind of tape did you use and does it hold up fairly well? Where i want to put them is a little breezy when the door is opened so didn’t know if the tape would hold. thank you for the great tutorial.
Hi Liz –
We just used Scotch tape, because it’s clear. It’s been hung up for 2 years in a row now, going on the 3rd, and hanging in the attic throughout the year besides February, and no hearts have fallen off the strings yet. SO I guess it’s working!
Have fun and enjoy!
If you are just doing this for yourself (no kids, like me), I used a cheese grater, instead of the pencil sharpener, and it was really fast to shred the crayons. I switched it up between the different sizes to get variation.
What a great tip, Lori! I bet that idea is much faster, too.
Although I have to chuckle a little that this tip is for adults only. Because I most always manage to draw a little blood, with a cheese grater! lol
So pretty. I’m inspired.
INSPIRED; It’s always a good thing! : )
Laura, I love this project. Featured it at Saved By Love Creations today!
Johnnie, have I told you how much you ((ROCK)), lately?!
So cute!
Thanks, Demy!
I absolutely LOVE this! I am definitely going to make some of these for my mom’s kitchen window 🙂 She loves valentine decorations! Thanks for sharing!
Well this comment just makes me SmilE! That’s the way to spread the love. <3
I hope it brightens every one of your mother's days in the kitchen!
How pretty! Love it!
These are quite lovely! I did this with shades of yellow and orange once and used it for the center of a sunshine art project a long time ago.
I LOVE this! So pretty 🙂
Oh my gosh we had so much fun with this. I found an electric (battery operated) crayon sharpener and lot of old crayons. We actually went through all of our crayons and used the Valentine-y colors for the hearts and the other colors we remade into big stubby crayons. I had a silicone ice cube tray and it worked perfectly. I started hanging the hearts at the library where I work. A little slice of happiness and beauty when it’s 20 degrees outside and forecasts of freezing rain and snow.
Love this Laura! Can’t wait to try it with all of our broken crayons, I know the kids will love using the sharpener to make a mess too!
Thanks for the inspiration! xoxoxo