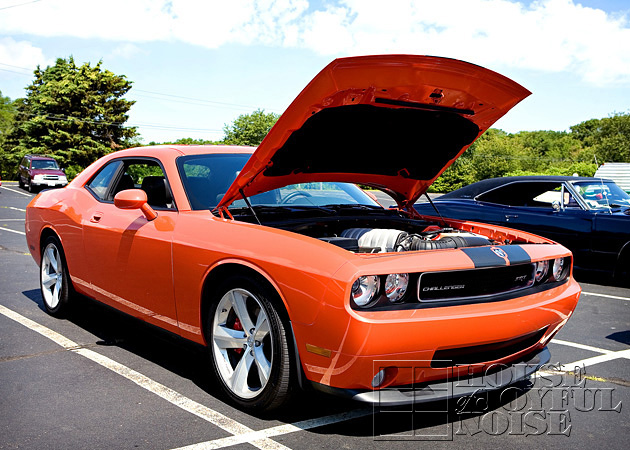
This car show was really small, and one we just happened upon, in the parking lot of our church, no less. The kids haven’t been to many car shows at all, and certainly not one in a long time, so they thought the whole thing was pretty cool. {S} is particularly into all kinds of cars (and trucks), like his Daddy. I not only love seeing all kinds of cars, but I love photographing them, of course. As a whole, as well as the details. So that’s pretty much what I did, and all I have to say.
I hope you enjoy the photos, Friends and Car Lovers!
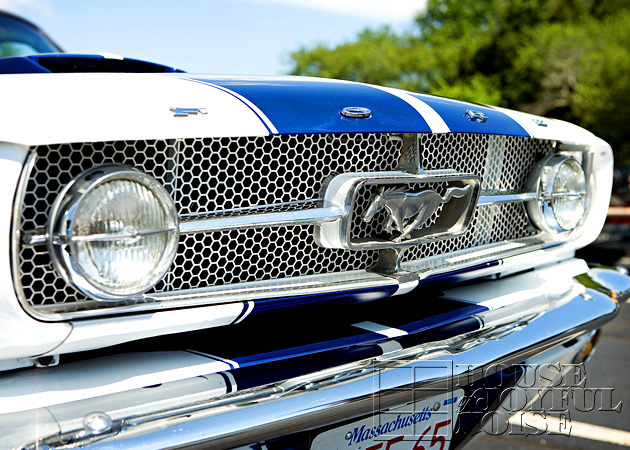
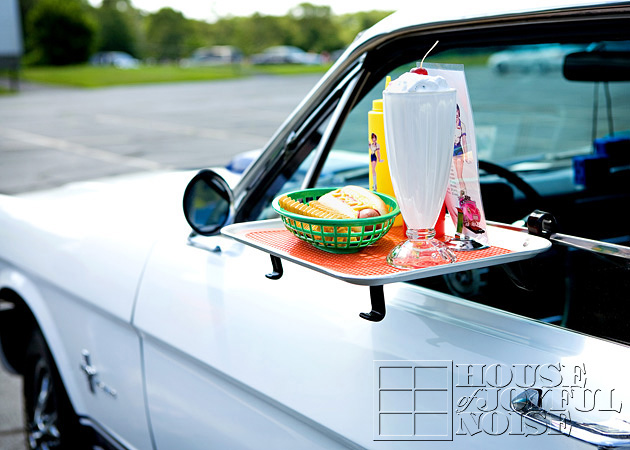
MUSTANG . . . .

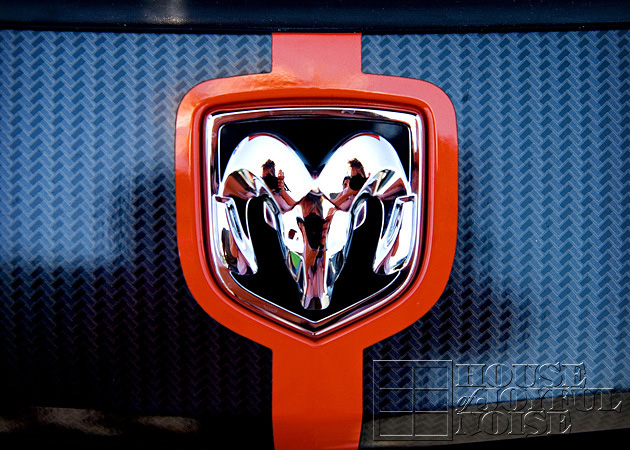
DODGE . . . .
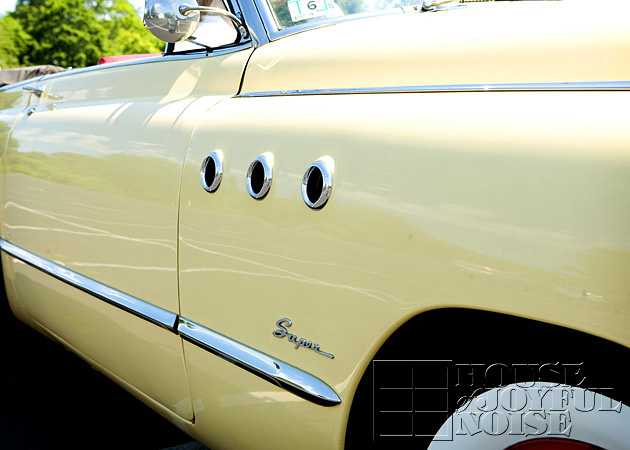
BUICK . . . .

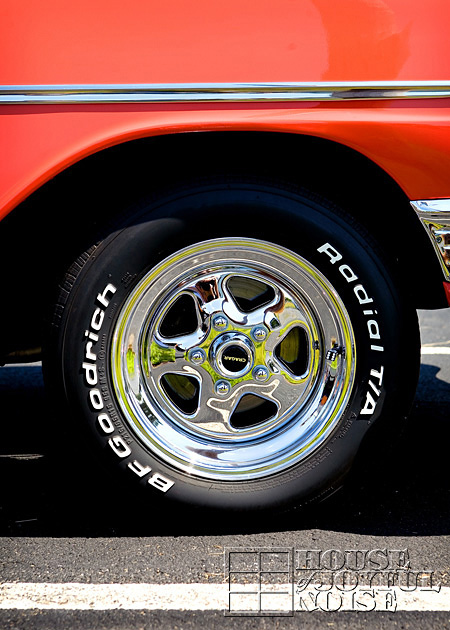
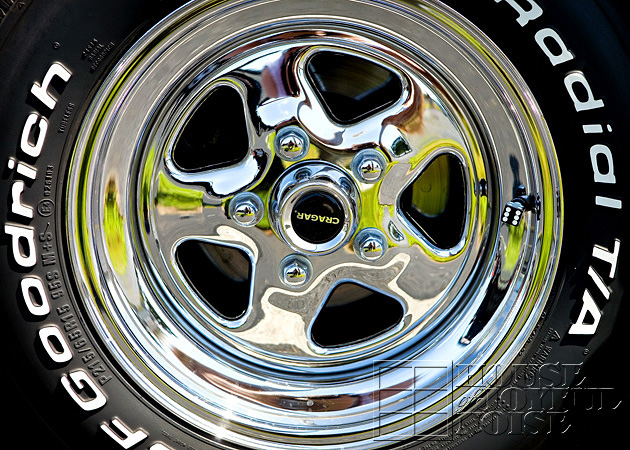
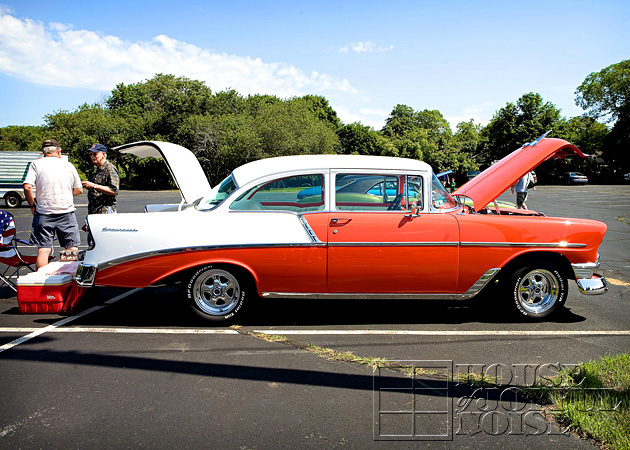
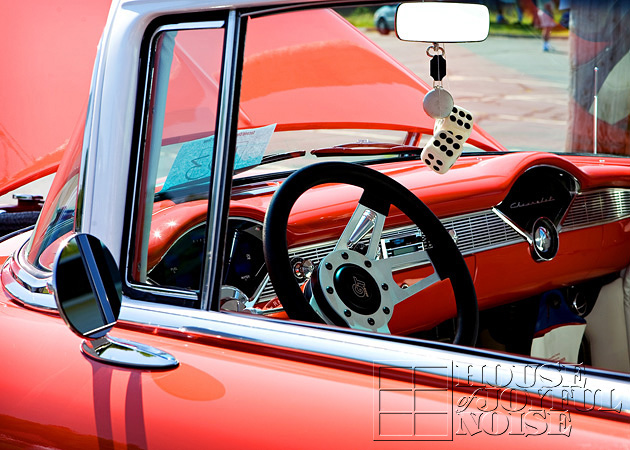
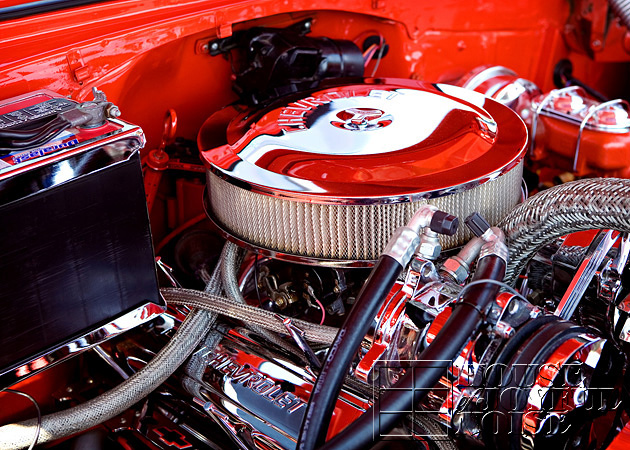
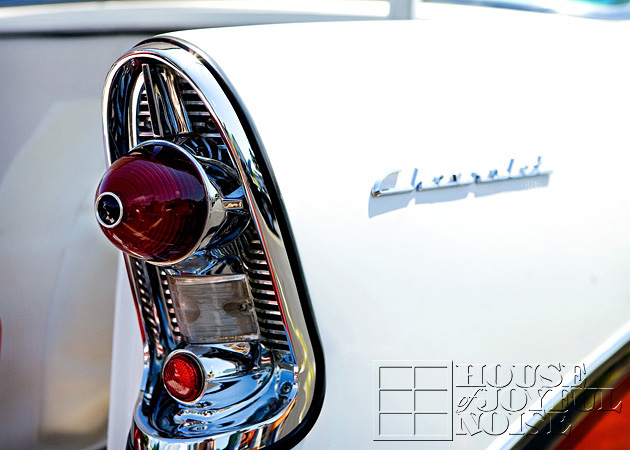
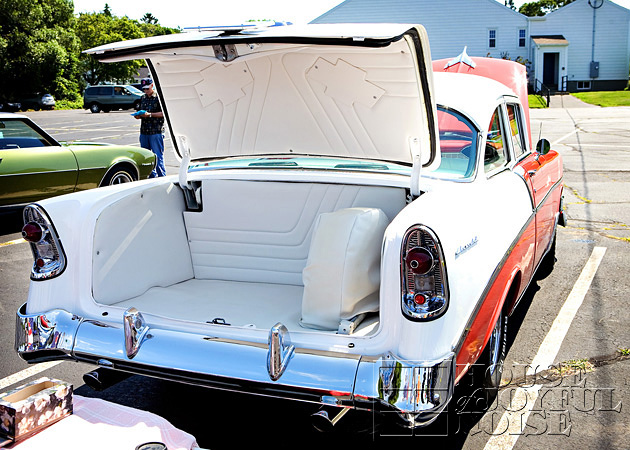
CHEVY . . . .
The End!