Hi blog friends! This is {A} this time. Mama said she has noticed we haven’t blogged any recipes of ‘real food’ in awhile, and it’s looking like we’ve been on a ‘sweets kick’ lately, so she said to let you know we’ll have some meal-related type recipes coming up soon. She just needs to think of some. But today, I wanted to share this cookie recipe I came up with on my own. Everyone in my family loved them when I made them, so I hope if you make them, you do too.
Teddy Graham Sandwich Cookies
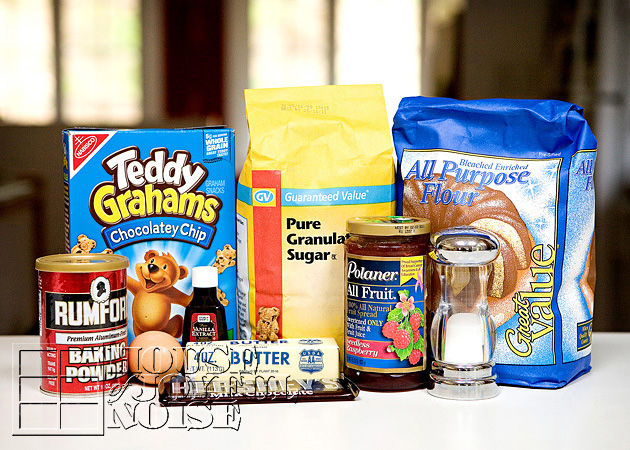
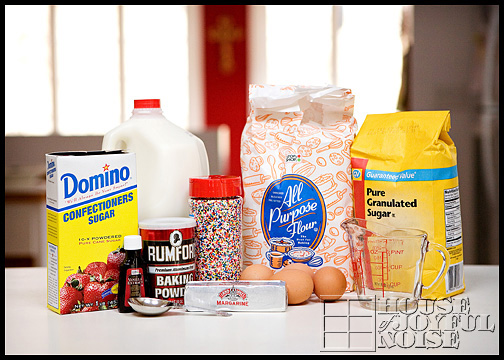
Participating Ingredients:
All Purpose Flour, Sugar, Butter, Vanilla Extract, Baking Powder, an Egg, Polaner’s Raspberry All Fruit, Salt, Hershey Chocolate Bars, and Chocolate Chip Teddy Grahams.
- 1/2 c. butter, softened (1 stick)
- 3/4 c. granulated sugar
- 1 large egg
- 1 tsp. vanilla extract
- 1-1/3 c. all purpose flour
- 1/4 tsp. baking powder
- 1/4 tsp. salt
- 1/2 c. Polaner’s All Fruit Seedless Raspberry Jelly
- Chocolate Chip Teddy Grahams
- 2 regular sized Hershey Chocolate Bars
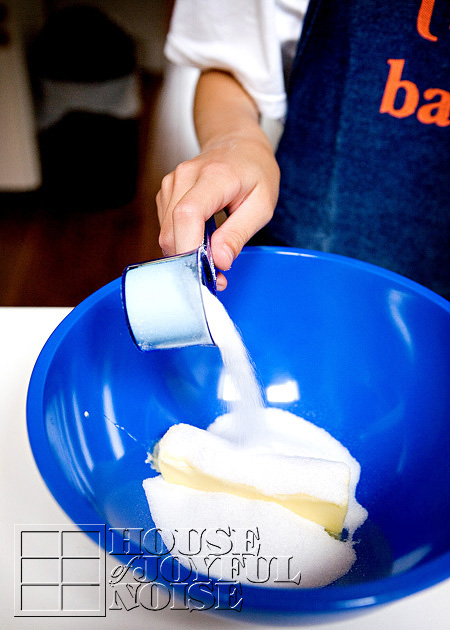
In a large bowl, put softened butter and sugar.
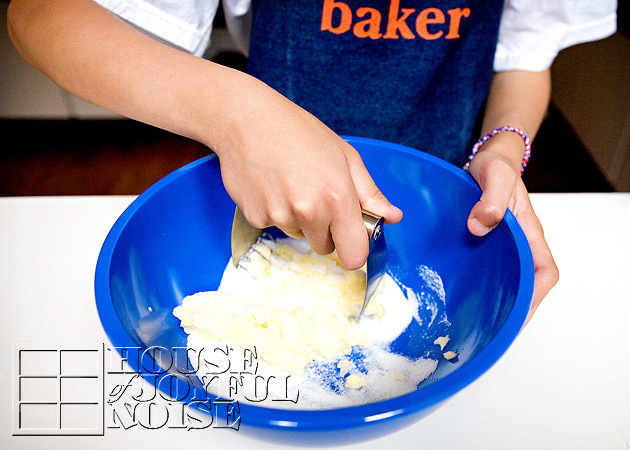
Cream until fluffy.
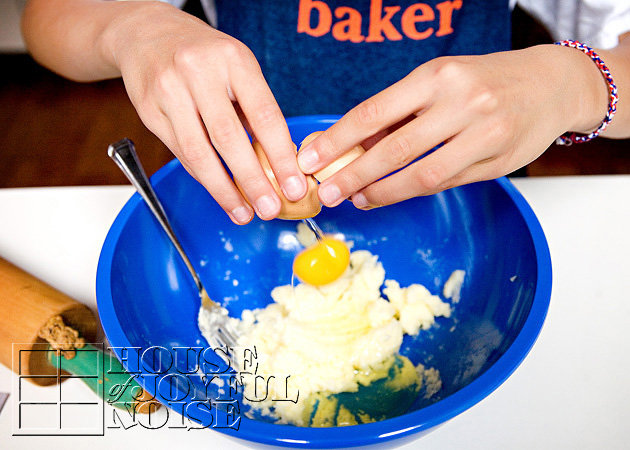
Add egg.
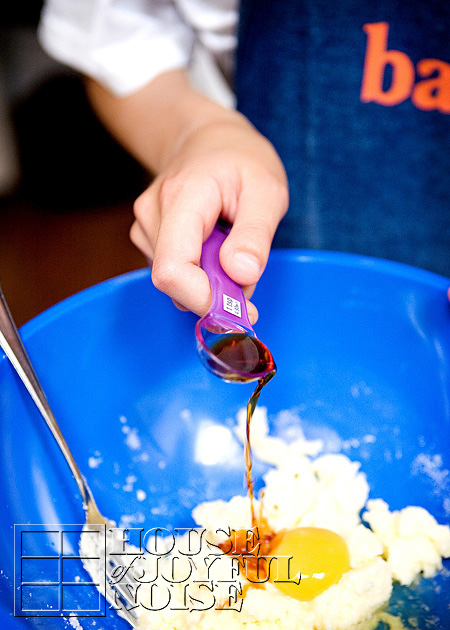
Add vanilla extract.
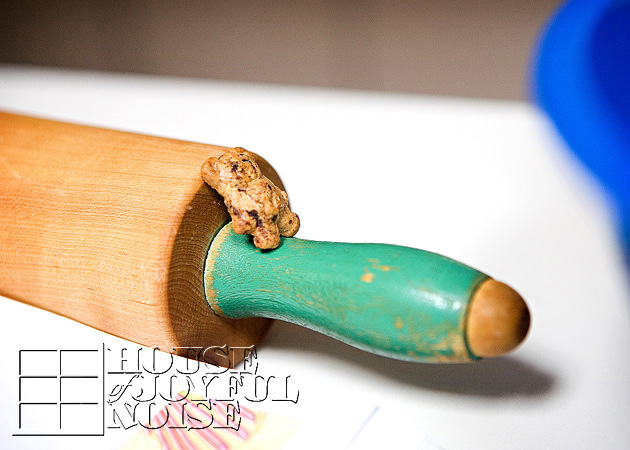
(He wanted to watch, so he hopped out of the box and made himself comfortable on the rolling pin.)
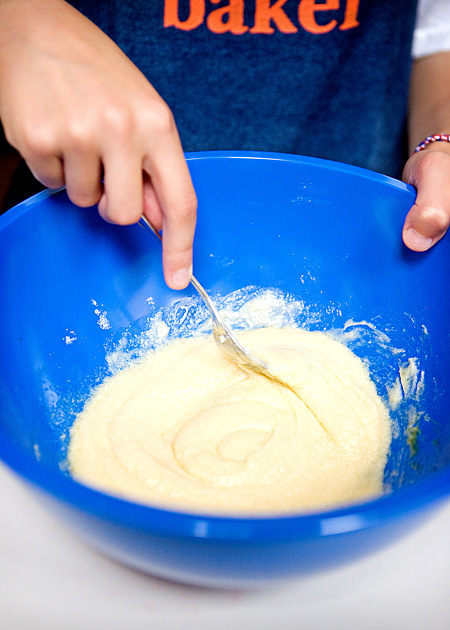
Mix and beat egg and vanilla extract in creamed mixture with fork.
In a small bowl, combine dry ingredients: flour, baking powder and salt.

(Oh…sledding in our dry ingredients now! Great! Do I have time for this?)
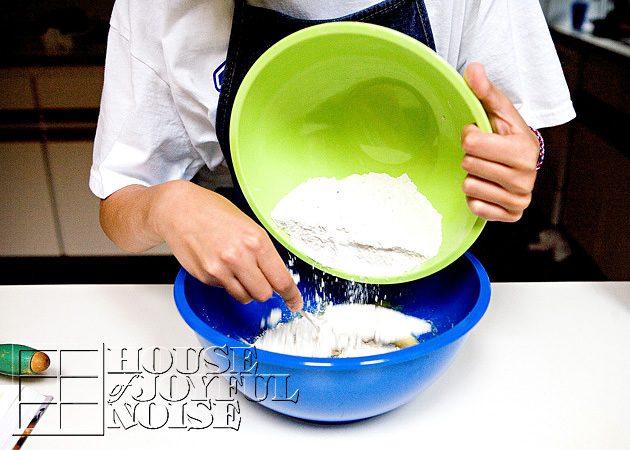
Little by little, slowly add dry ingredients into creamed mixture.
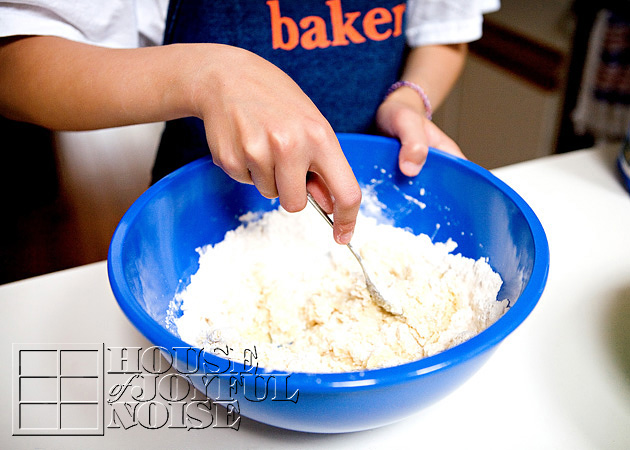
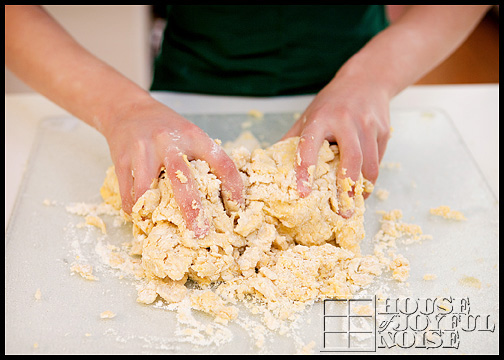
Mix all together really well.
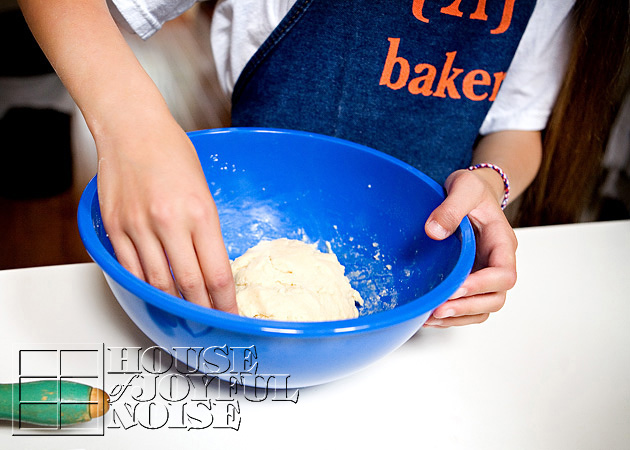
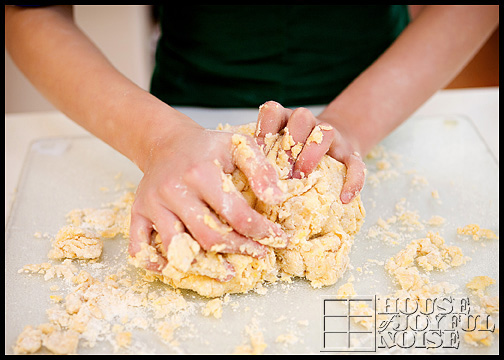
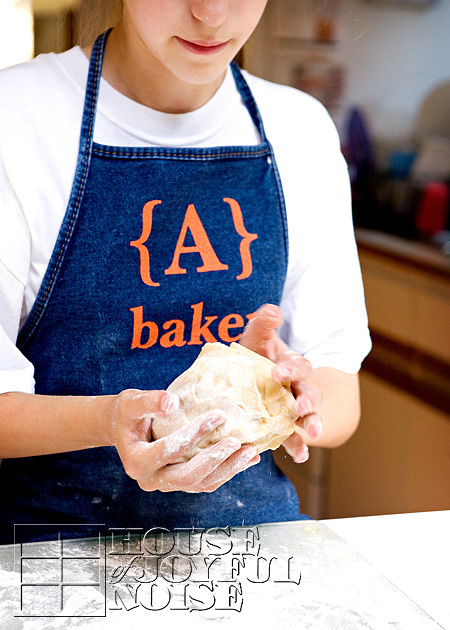
You might need to eventually use your hands.

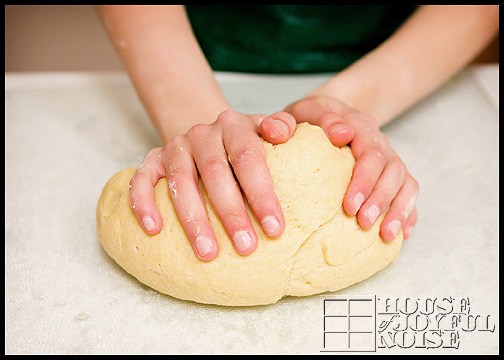
Once it’s a good ball of dough, cover the bowl with plastic wrap…

….and place in fridge for 2-3 hours.
Later, remove from fridge and cut dough into 1/2, and place that 1/2 back into fridge to keep chilled.
Preheat oven to 375 degrees.
Start kneading remaining 1/2 with floured hands, and have floured surface ready as well.
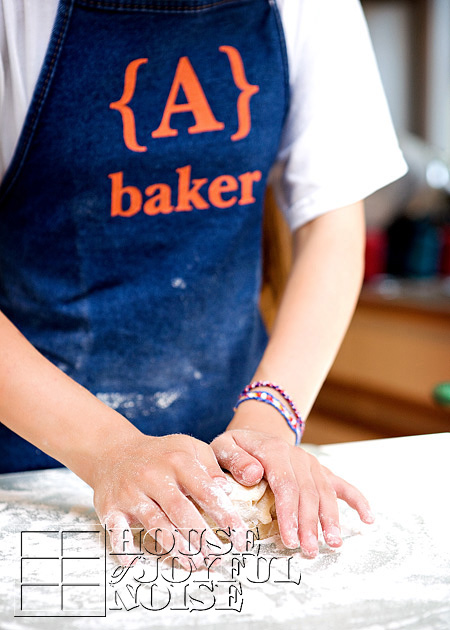
Keep kneading, and get ready to roll it out.
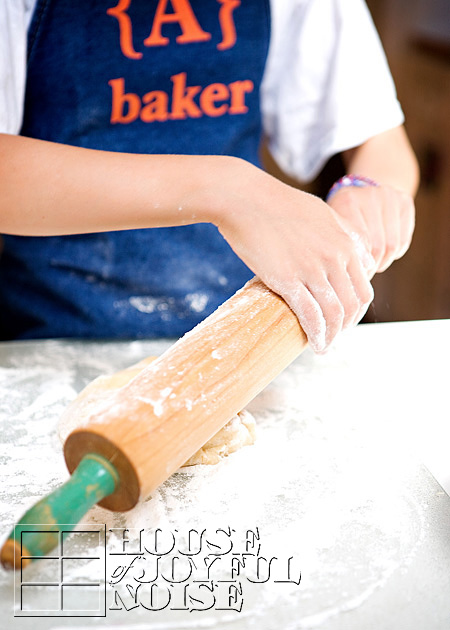
Flour rolling pin.
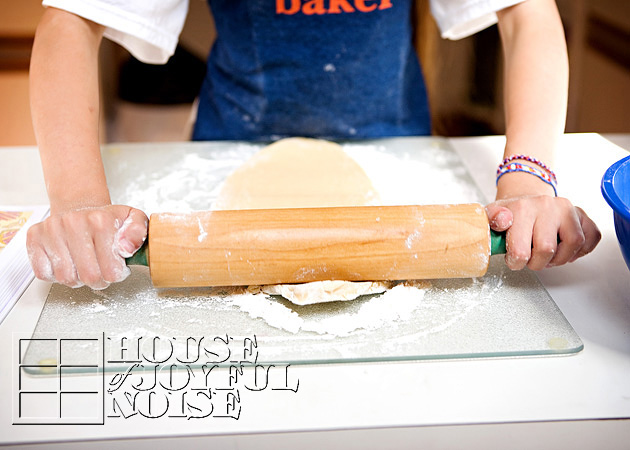
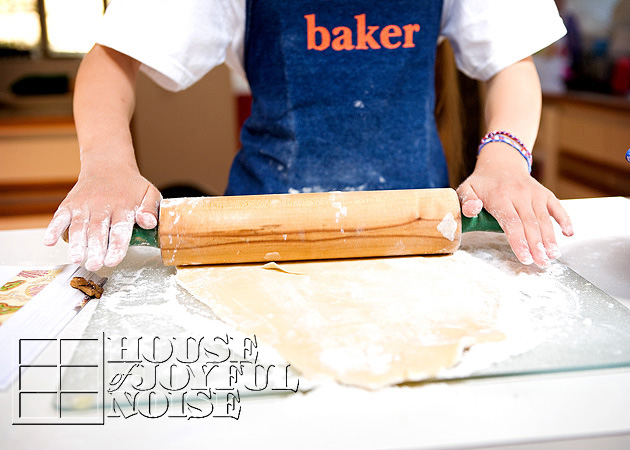
Roll out dough to about 1/4″ thick.

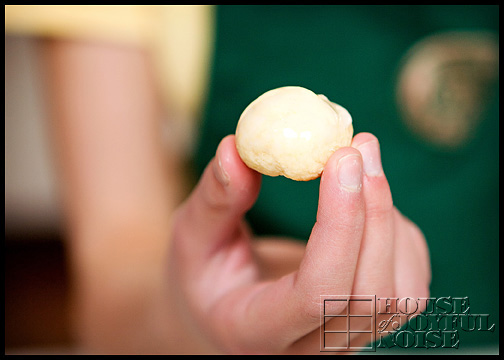
With a 2 1/2 inch circle cookie cutter, cut out as many dough circles as you can.
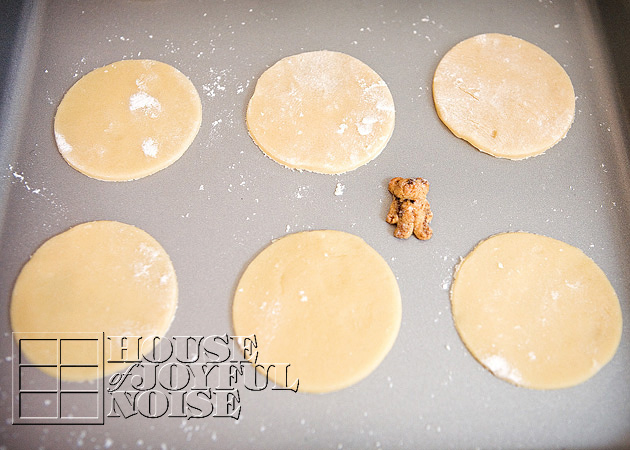
And place them on cookie sheet. (Um, I wouldn’t recommend staying there, Buddy. You might be sorry in a minute.)
Get out remaining dough from fridge, knead and roll out same as above.
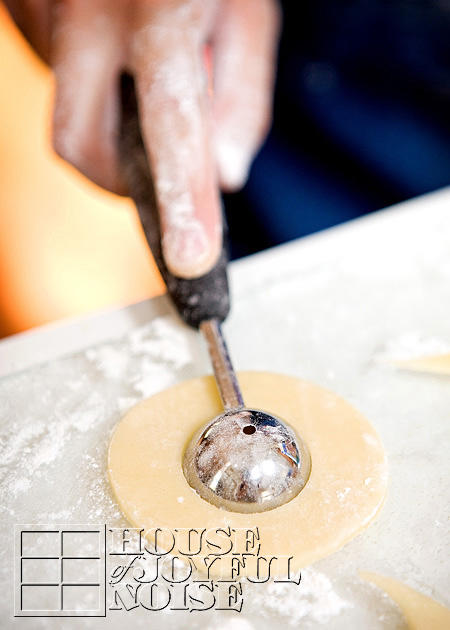
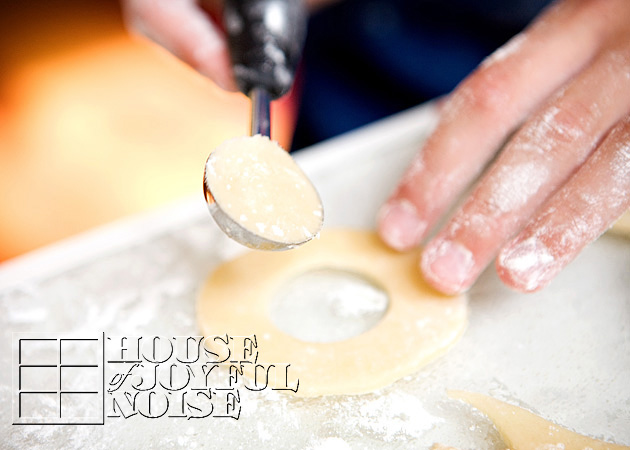
When about 1/4″ thick, cut out as many circles as you can again, removing all of the scrap dough around them, and using a melon ball scooper, cut a small circle out of the middle of the the dough circles from the second batch of dough only.

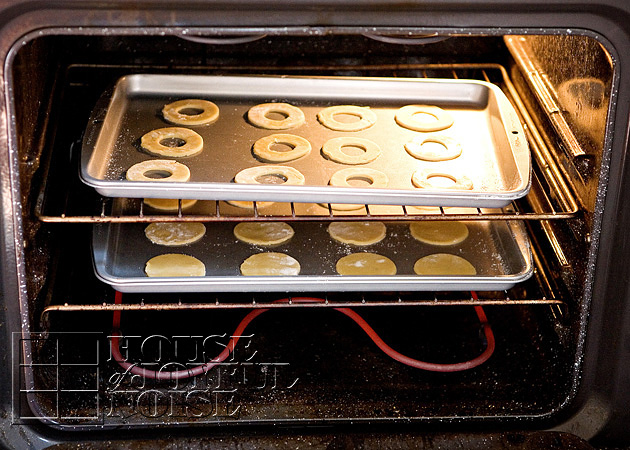
Now both sheets of the two shapes of cookies are ready to go into pre-heated oven.
(He’s a stubborn one, huh?)

(Oh, he jumped off at the last minute. Smart. Slow, but smart.)
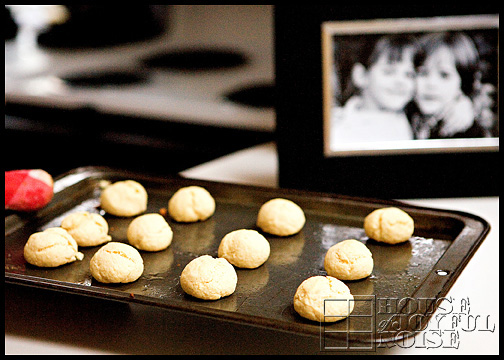
Bake cookies for 7-9 minutes—but this varies from oven to oven. Basically you want to take them out as soon as you notice the edges start to turn golden.
Remove from oven when done, and let cool completely.

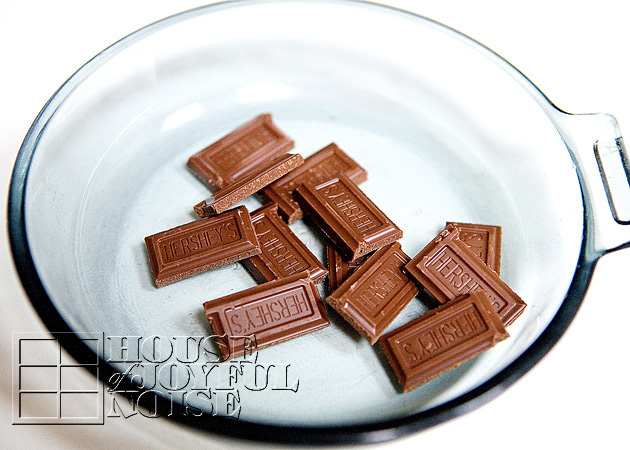
Take a Hershey Chocolate Bar or 2, break up into microwave safe dish, and microwave at 15 second intervals, giving stirs in between, until just melted.
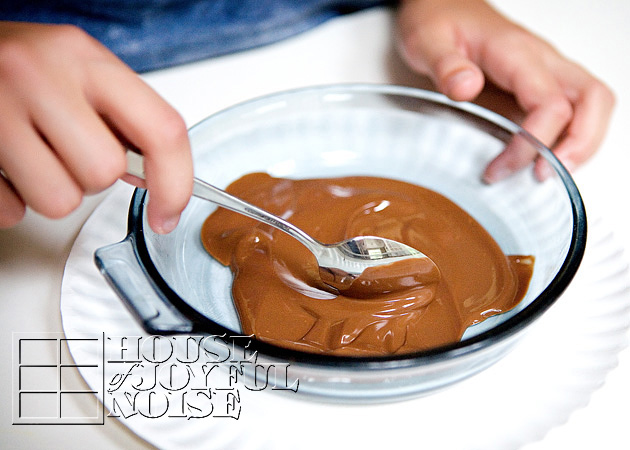
Stir well.
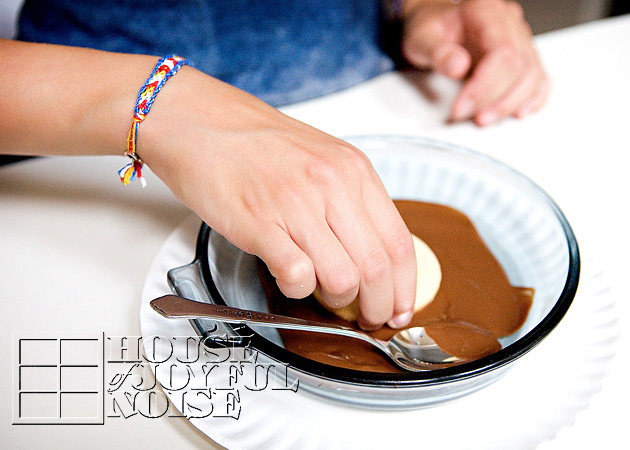
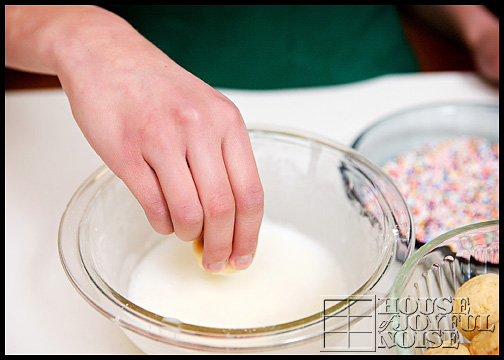
Take whole circle cookies, one at a time, and dip in chocolate inside-face down to cover that side.

Place each on clean cookie sheet, as you go.
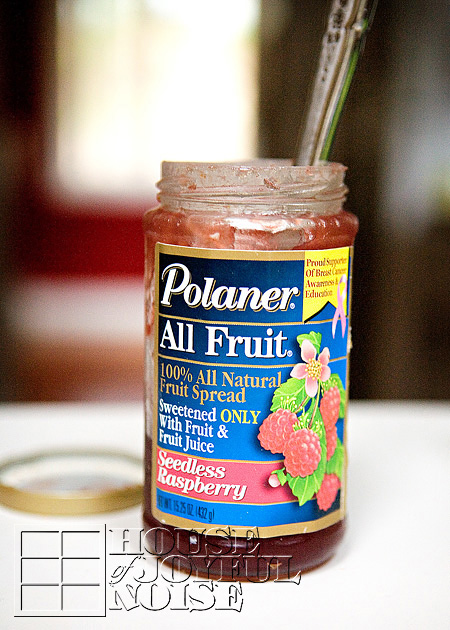
Grab your Polaner’s All Fruit.
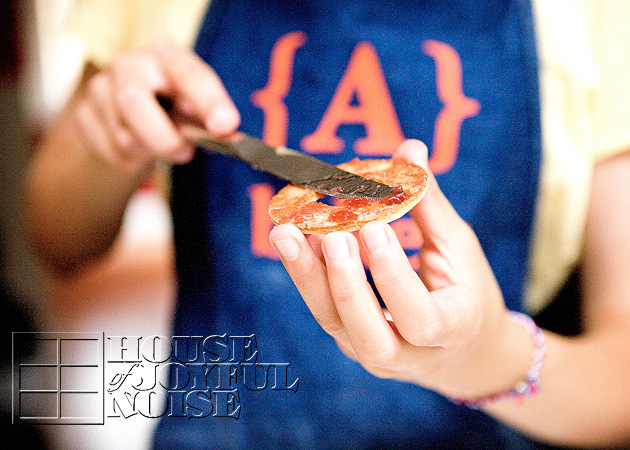
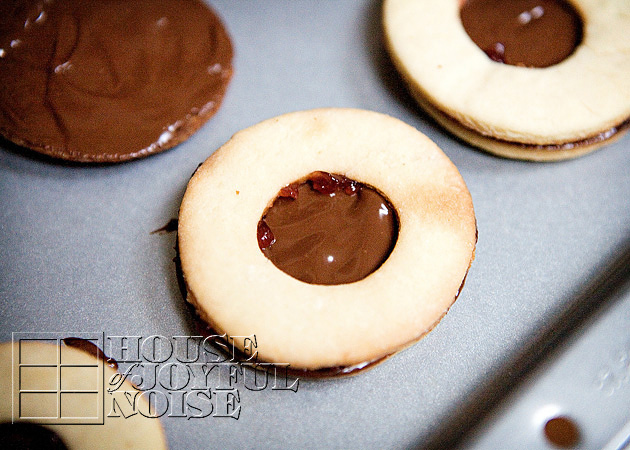
Spread some on the inside-face if each holed-circle.
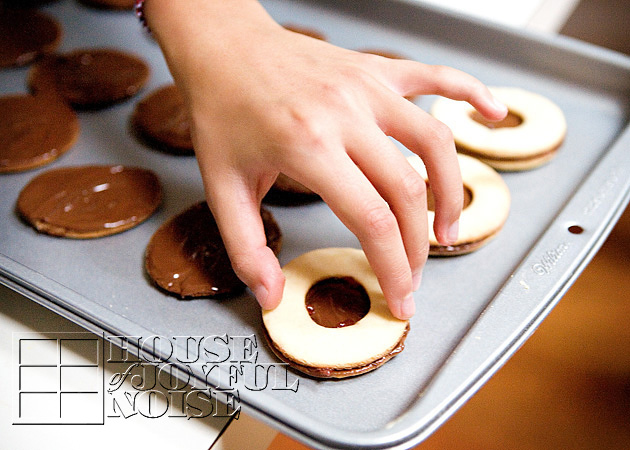
Place down onto chocolate cookies, making sandwiches.
Place sheets of cookies into fridge to harden up chocolate. When hardened, place into containers or zip lip lock bags for storage, but keep refrigerated in warm weather. Take out for at least a few minutes before serving, because they tend to be a little firm if you bite right away.

Just before serving, place a Teddy Graham in the center. I wait to do this, because the Teddy Grahams are on the soft side as it is, and so get a little too soft from absorbing moisture from the cookie/chocolate. They are just better with a little crunch.

Makes about 1 dozen sandwich cookies.
They are really delicious, and they aren’t just for kids!
Enjoy!!