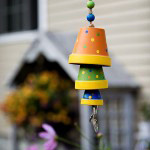
Making this flower pot wind chime was a fun and simple project to do with my kids. I was really looking forward to hanging out with them and painting, and I knew I would also love seeing the wind chime in my gardens, where I had every intention of hanging it, when it was done.
While I think we kind of ‘made it our own’, this flower pot wind chime was not at all my idea. I have seen them so many times at crafty website now, and so many style-versions of it, that I’m not sure which style I saw first, or where! Someone must have come up with this adorable idea first, but I’ll be darned if I know who! Whoever did, we thank them for the fun inspiration, to make something (else) to have around, that makes me smile inside, every day.
Here’s the basics on how we made our terracotta flower pot wind chime.
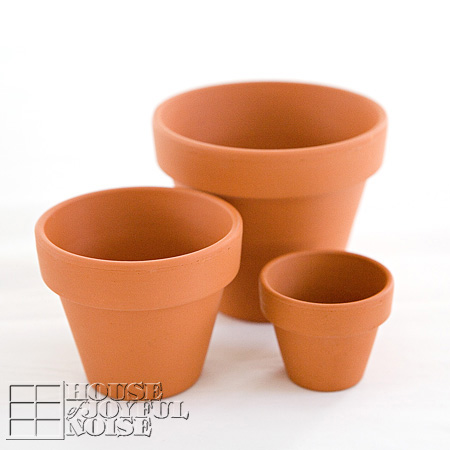
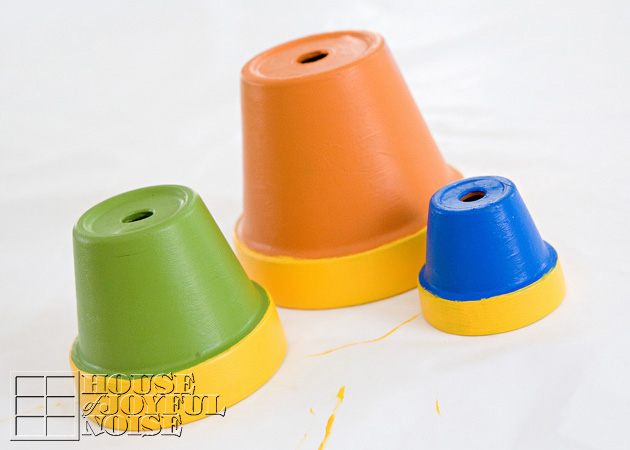
We started with 3 different sized terracotta plants, that have drainage holes in the bottom.
The smallest is tiny, at 1-1/2″ tall. Then the 2 next sizes up: 2-2/3″ and 3-1/2″.
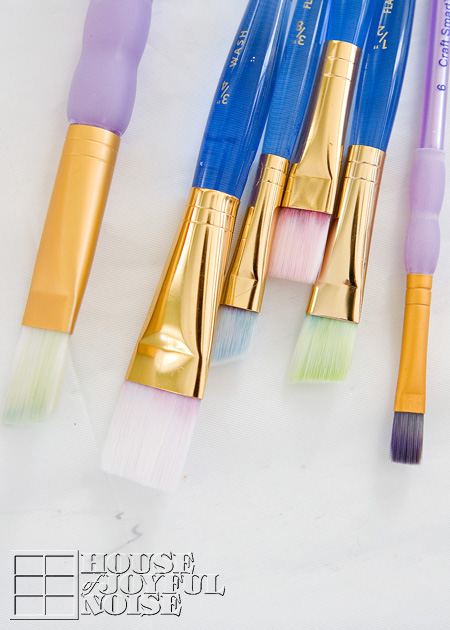
Using our little collection of synthetic brushes, we got to painting our pots.
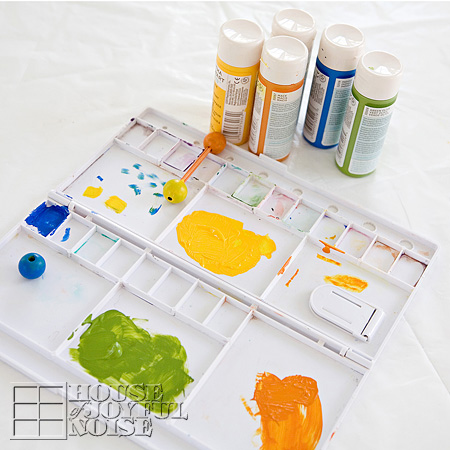
We used Martha Stewart Craft Paints, which are an acrylic paint. We also looked around and found what wooden beads we had in the house, which we wanted to use on our wind chime as well. After choosing our colors of paint and how we were going to paint the pots, we wanted the beads the same colors. One we had already was the correct color-green. The other 3 we had were not, so we painted them correct colors. If you can imagine, painting small wooden beads was not that easy. But we quickly figured out a helpful trick: We stuck 2 toothpicks in the bead holes, to hold them while we brush painted them the colors we wanted them to be. You can see them resting on the palette, drying.
 I really wanted to take photos of the kids painting, for me! But they were done and back outside, on the other side of my window, swimming again, before I ever got photos of them painting. But, since they weren’t paying any attention to me anymore, I did clean up the edges of their pot-rim painting, just a little. ; )

Our original idea, was to decorate our pots with little garden bugs. Like butterflies, ladybugs, dragonflies, etc. It would have been so cute! Don’t you think? But none of us felt we could paint them that well, that small, and we couldn’t find any stickers or decals of any sort, to kind of Modge Podge them on. So, when it came time to decorate the pots, the boys were busy playing something else, and Alexis was at work. So O (Olivia) and I decided to just polka dot them. I love polka dots, so I was sure I’d love it as much as the garden bugs idea.

Applying the polka dots could not have been easier. Since we wanted the dots very small, on our small pots, we just used q-tips! We dipped the tip in the paint, and then dotted it right onto the pot! The hardest part was spacing the colors. I always drive myself crazy with that…..not wanting the same colors right near each other, and trying to get even spacing too. But we did a well enough job!
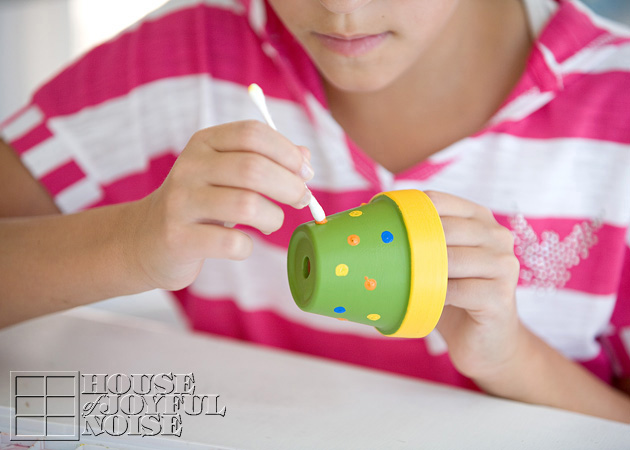 O and I worked together, polka-dotting, and our q-tip trick worked like a charm.
Now, I didn’t take photos of the assembly. But it’s easy enough to explain: We used jute twine, and strung it through the holes of the pots. We tied big enough knots on the string, to hang the pots on the string as we wanted. So each knot was inside the pot underneath the drainage hole.
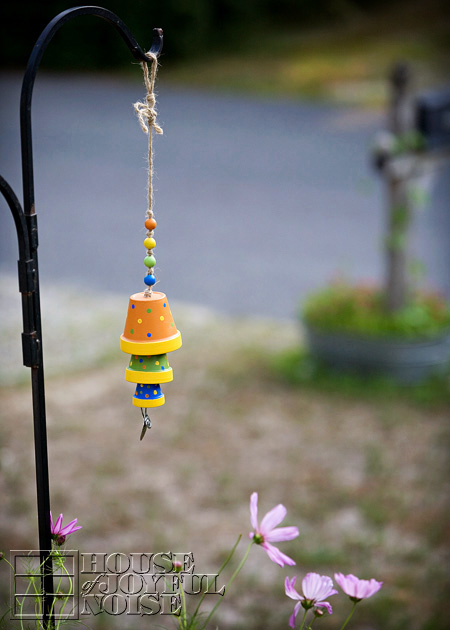
Now, some crafters who have made flower pot chimes, opted to have the string come down out of the pot, with a wooden bead on the string (held in place with a knot before and after the bead) to act as the ‘ringer’, that would hit the pot when the wind blows. So they designed it that way, spacing their pots out more. We chose to use the pots themselves, to be the ringers, so that when the wind blows hard enough, the pots hit each other. That required (visually) setting the pots overlapping each other a little.
As an afterthought too, I decided I wanted to give the chime a quick UV protectant spray coat of clear acrylic. Since my chime was all already assembled, I just put some tin foil over the spoon, and sprayed it anyway, getting some up into the pots as well. I do recommend spraying the painted pots before assembly, if you wanted to. But no big deal. It’s an aerosol, so it worked easy enough afterwards.
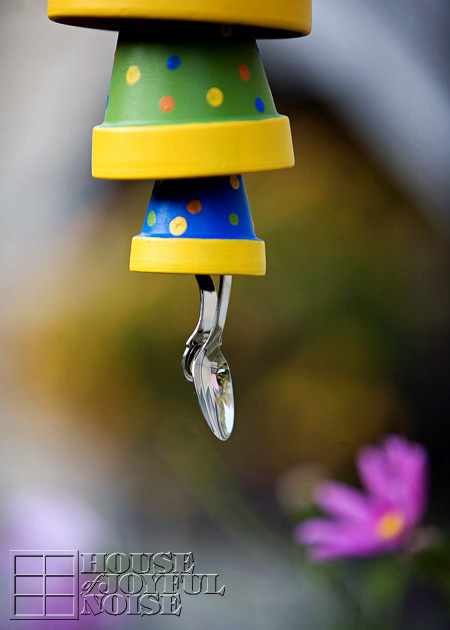
Aside from the paint design, the other touch that made it more ‘our own’, was that we added a stainless steel baby spoon as the bottom ringer. It really is a special touch, to me, with the memories of giving Alexis her first baby food, and then the triplets coming along, and the 3 little mouths we were trying to keep up with come the spoon- feeding age, with them. We didn’t bother having 3 bowls and 3 spoons, or we’d spend as much time picking up and putting down bowls and spoons, as we did putting spoons in sweet little open-waiting mouths. Go ahead. Imagine that for a moment. No…..1 spoon, 1 bowl of food….down line of sweet, messy mouths we went. And then started at the beginning again. Gosh I miss those days.
Wait. How did I end up talking about feeding my babies? Oh yes….the baby spoon, and the happy memories it brings me.
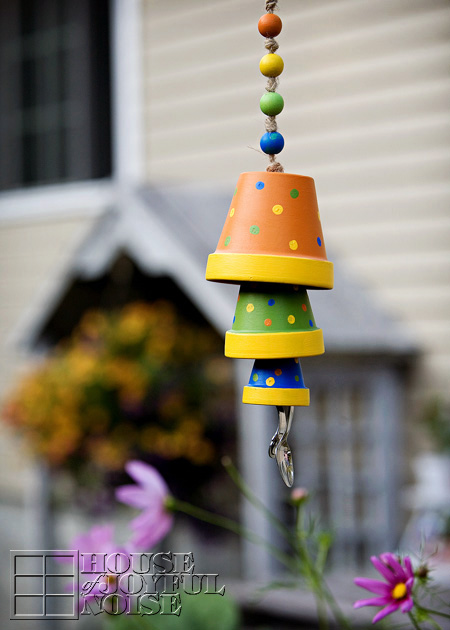
So, it was simple as that. Anyone can make an easy and whimsical wind chime, even if you’re not that crafty. It’s a breeze.
Anyway, we’re happy you caught wind of this little fun project, and came to take a look. Even if you’re just blowing through.
Ok, I’ll stop now.
P.S. Feel free to chime in, in the comments.
(Oh my gosh! Somebody stop me!)

How did you add the small spoons to the bottom of the chime?
Watch Indian Dramas on <a href=" https://sasuralsimarka.online/ Sasuralsimarka watch online
I love this adorable clay pot version and this is a great idea for kids! Made with 3″ pots and smaller for a really cute chime to set among your flowers.
Very cute and quick craft. A list of supplies would be great.
I need a list of supplies please
Hi Donna – All of the supplies you need for this project are exactly what you see:
– 3 small terracotta pots in graduating sizes
– craft acrylic paints and brushes
– wooden beads
– natural jute
– baby spoons
>> Hope that helps!
The Richard Family / House of Joyful Noise blog
This DIY project certainly adds some colour and make a sweet tinkling sound.
I’m looking at this as a possible vacation bible school craft. Did you drill a hole through the spoons or just tie them tightly to the twine? Also since we’re under a 30 minute time restraint, how long did it take the paint to dry?
Hi Kim! I believe we just tied the spoons, but I can’t recall for sure. It’s actually time to hang it out, being spring now, so I went to check, but it happens to be buried at the moment. That said, I’m not really confident you’d be able to do this craft in under 30 minutes, with a bunch of little ones. Possibly if you had a lot all ready to go, and a whole lot of adult help. It does dry pretty fast though.
Not sure any of that helps, but I sure hope so. 🙂
Laura / House of Joyful Noise blog
I used to feed my twins that way too…with one spoon and one bowl of food.
My family would comment on the exchange of germs….like I could ever keep toys passed
from one baby to the other from going into both mouths regularly!! :o)
Blessings,
Denise
PS…. cute chimes too! :o)
Exactly, Denise! Assembly line is the way to go, with multiples! I think it was pretty smart of us. 😉
Thanks so much, for the visit, and the comment.
Laura / House of Joyful Noise blog
I’m thinking about doing this with my Cadette Girl Scouts during their Breathe journey. The first step is to become aware of the air. I think this will do nicely. Thanks for the idea!
So cute. . I’m gonna have my son make these for grandparents day!♡
What a thoughtful idea, Rose! I am sure your son’s grandparents will love such a gift, made with love, and your son will have such fun making it. <3
Laura / House of Joyful Noise blog
Loved the chimes. I give arts and crafts classes to kids. We will be making this project very soon. Thanks for the inspiration.
What a wonderful idea, LuJean! Hope the children really enjoy doing this project! I’m sure someone will be very happy when they bring their chimes home!
Thanks for the visit, and sharing your plans. Have fun!
Laura / House of Joyful Noise blog
Very cute one 🙂 looks perfect in the garden 🙂 could u please tell me from where u bought those small terracota pots
Hi Sumuna! I bought all of the terracotta pots for this craft at Michael’s Arts and Crafts. They even have the teeny-tiny ones there. But if you aren’t near a Michael’s, I am sure any reputable craft store will carry them as well.
Hope that helps! Thanks for the visit. 🙂 Laura / House Of Joyful Noise
very cute! Would look great in a garden
That’s exactly where mine is! In our gardens. : )
Thanks for your visit, Kate.
Laura / House Of Joyful Noise
Great present for Mothers Day. My little girls had lots of fun painting the pots. We used seashells instead of forks and spoons. Enjoy!
so sweet! What a lovely idea, thanks for sharing
This would be so much fun to make with my boys! Might have to do this.
I think your boys would have fun making it too. 🙂
Ok, I am doing this. I was thinking last week that I need chimes, but nothing was speaking to me. This is it. Thanks!
xoxo
Go for it, Johnnie!! 🙂
Laura, these look like so much fun to make! What happy colors…love the polka dots and the beads…a cute addition to your garden!
This is beautiful!! I’ll have to make this with my daughter this week. We even have the perfect place to hang it!
Thanks Jenifer. I’m sure you’ll have as much fun making it with your girl. It’s a simple and fun little craft, you really can enjoy every day.
Maybe you can show us yours, when it’s done. We’d love to see it. : )
I thought that this turned out so cute! I just love the wind chime. I am going to go to the store and buy some of the smaller terra cotta pots and make me some. They would also make a great gift. Thanks for the idea!
Yes, they would make a great gift, Elizabeth. I was thinking the same thing.
Have fun making yours. Thanks for coming by, and chatting! : )