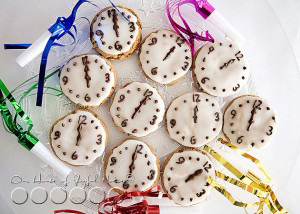
My kids and I were trying to come up with some themed food for New Year’s Eve, and {JM} came up with this great idea, right off the bat: Cookies that are designed like clocks! (Oh, to have his quick, 8 year old brain!)
Right away I started trying to figure the details, and decided to start with homemade Gingersnap Cookies. To design them, we went with a white icing that hardens, and a bit of chocolate art. The design process does involve some intricate detail work, but if you enjoy the creative process and have a little patience to work with, they are worth the effort! Your party-goers will be impressed with these festive cookies, you made!
First, I’m going to start by giving you this basic Gingersnap Cookie Recipe. This post is not featuring how to make the cookies, with step by step photos, etc., but how to turn them into clocks. So, using the recipe below, bake some cookies and let them cool before getting to designing.
Participating Ingredients for Gingersnap Cookies:
- 3/4 shortening
- 1 cup white sugar
- 1 egg
- 1/4 cup molasses
- 2 cup all-purpose flour
- 2 teaspoons baking soda
- 1/2 teaspoon salt
- 1 teaspoon ground cinnamon
- 1 tablespoon ground ginger
Preheat oven to 350 degrees F. Grease cookie sheets.
In a large bowl, cream the shortening and sugar. Add the egg and beat until light and fluffy, then stir in the molasses. In a separate bowl, mix together the flour, baking soda, salt, ginger and cinnamon. Add to the egg mixture, and stir until well blended. * (See foot note below). Roll bits of dough into 1 inch balls. Dip each ball into sugar and place on cookie sheet, sugar side up, about 2 inches apart.
*Now, being the first time we made these, we did indeed use 1 inch balls of dough. However, we found that the cookies were pretty small to work with, and it was difficult making such tiny chocolate numbers! So……we advise that you make cookies twice the size, using 2 inch dough balls, and putting a little further apart on the cookie sheets. That way, your chocolate numbers can be made larger, and it will all be easier to do.
Bake for 10-12 minutes, until cookies have spread, and cookies have cracked. Let cool on wire rack.
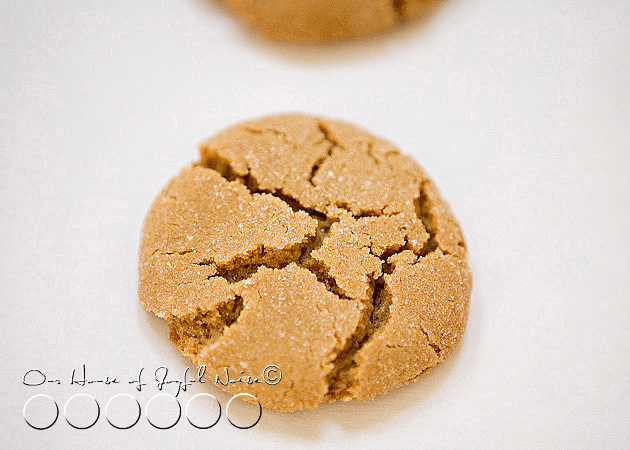 They are delicious straight and plain, for sure! Crispy on the outside, a little softer on the inside, and amazingly good! Surely no one would notice, if just one, was missing. ; )
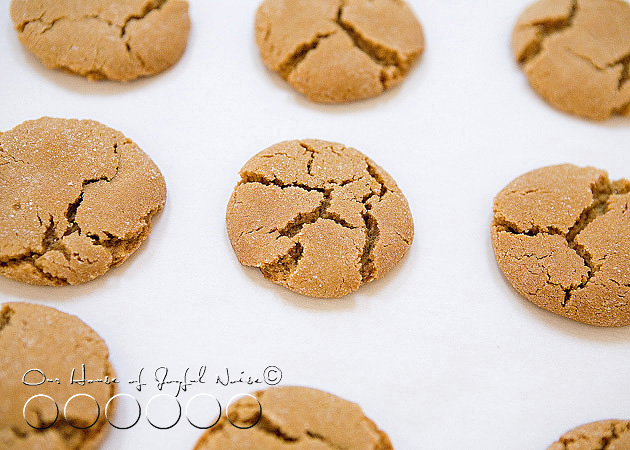
Again, these are small cookies, and we recommend having bigger ones to work with.
Now, once they are cool, you’ll need to whip up some icing. I am going to guess some of you already have a recipe, and I am sure there many variations out there. This one below is the one I started with. BUT, I really needed to add a lot more liquid than it calls for, being careful to keep it a very pretty thick consistency. Really, this is one of those recipes where you need to tweak as needed, depending on how yours is looking.
Note: You’ll probably want to at least make a double batch of this icing.
Participating Ingredients for Cookie Icing
- 1 cup confectioner’s sugar
- 2 teaspoons milk *
- 2 teaspoons light corn syrup
- 1/4 teaspoon of preferred extract (called for almond, I used vanilla, frankly, because I hate almond. )
* I probably had to add at least 2 tablespoons of milk! But gauge for yourself.
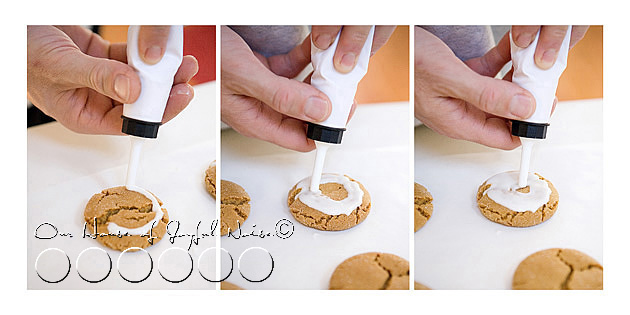 Using a piping bag, we outlined a circle around the edge of each cookie, and filled it in, using the tip to push the icing around some, to help get it all covered.
–
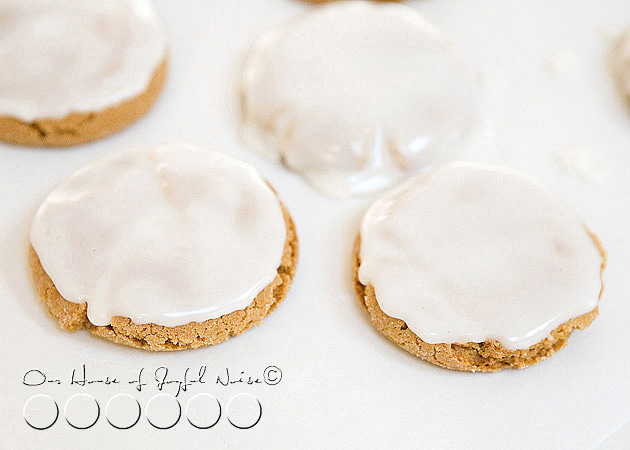
The icing is bound to drip a little sometimes, but if you try not to be close to the edge where the fall-off is, you should do o.k.
At the back of the photo above, you can see where we experimented with seeing if covering the whole cookie would be easier. It was just too much icing. So we stuck with our original icing plan.
Allow the iced cookies to set, so that the icing can harden.
*****
Now you’ll need to melt some chocolate to work with, otherwise known as tempering. I should do a post just on this process at some point, but you’ll need to know it for this recipe! So I’m going to share with you a quick tutorial. Now, you may have used the double-boiler method of melting chocolate before, but we’ve never had much good luck with that. Then, we learned a quick and easy trick to tempering chocolate, from Barefoot Contessa – and I am going to share it with you right now:
You’ll need: some milk chocolate -shaved or chips (we used Hershey chocolate chips, which as chips are easier to melt), a glass measuring cup, a wooden spoon, and a microwave.
In the glass measuring cup, add about half of the amount of chocolate that you’ll need. Microwave it for about 15-20 seconds. Take out, and with the handle/ butt end of the wooden spoon, mix the chips rapidly. It will likely need more melting, so put it in for 10 second increments, and stir with the end of the wooden spoon very rapidly after each time, until the chocolate is all melted smooth and glossy. Now, just as the remaining half of your chocolate, and stir rapidly some more. You really want to mix it hard and fast – the more you do, the shinier your chocolate will be.
Now that’s a tip we can all use for life!! Thanks Contessa!
***
Now below is some writing with chocolate tips. Since I didn’t photograph making the teeny-tiny numbers, here below I am using the photos of when we made the words for Jesus’ Birthday cake on Christmas.
We printed out the words on a piece of paper, having laid out the size we wanted, in the font we wanted. Then we slipped that ‘stencil’ to trace, under a piece of parchment paper. Using a fine tip on a piping bag filled with the melted chocolate, do your writing or designs!
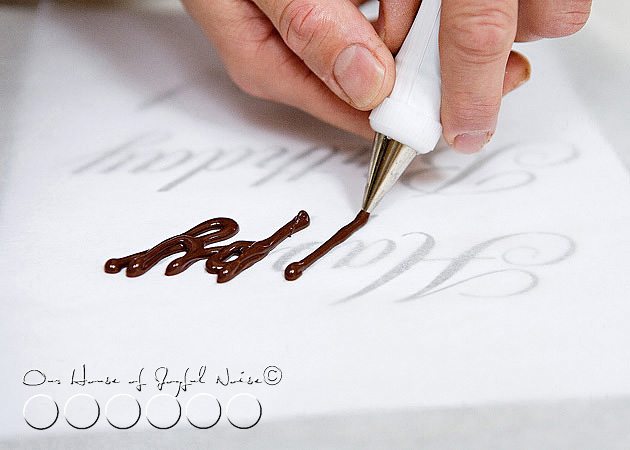
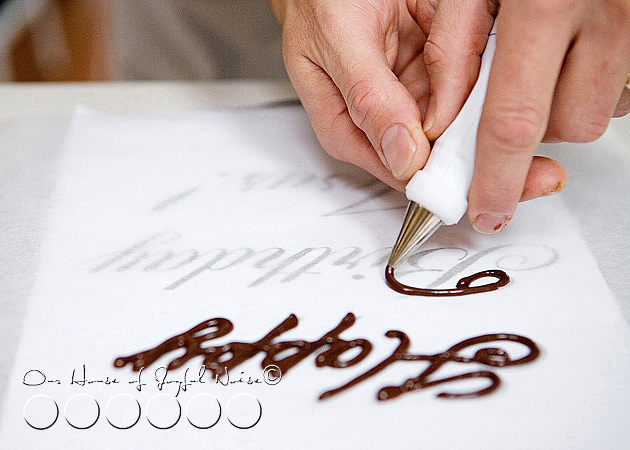
As the chocolate cools, it will harden.
Our words came out nice, and when they were hardened, we just placed them on our cake!
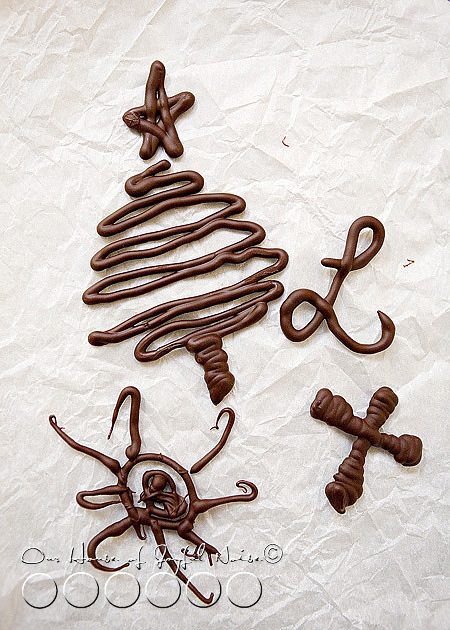
Michael and the kids had chocolate left in the bag, and they just couldn’t stop themselves from playing with chocolate some more.
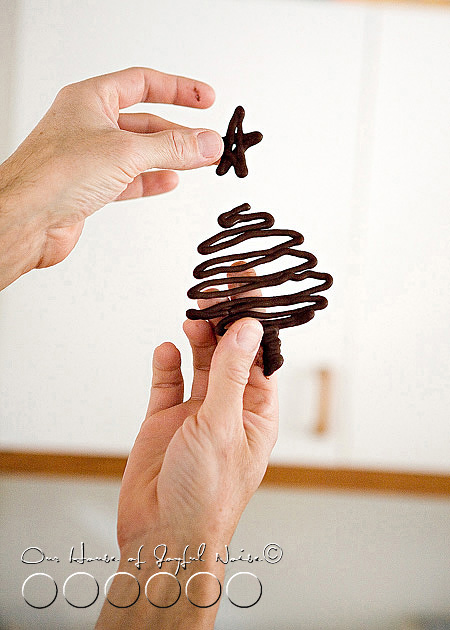
See how you can just pick it up?
So this is the method we used, to make tiny little number and click hands. They were probably only 3/8ths of an inch, so you can imagine it was a tad difficult. Bigger would be easier. This way, doing the chocolate work on parchment paper first, if something comes out awful, you didn’t ruin a cookie or a cake. You just start a new one on the parchment paper, and use the ones that came out best.
If the icing on the cookies is hardened, then use a bit more icing to apply the numbers and dots to the cookie.
Otherwise they won’t stick and stay put.
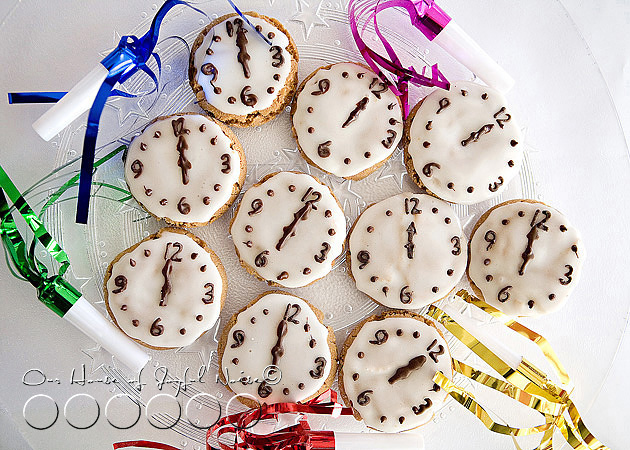
So here is how our Midnight Snaps came out!! Not perfect by any means. But we think they are imperfectly cute!
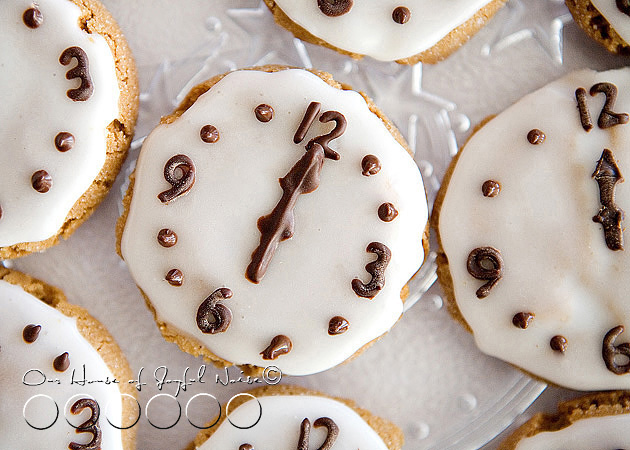
Now I realize I am giving you this grand idea, pretty last minute. (lol….lol….). So I wouldn’t blame you, if you went out and tried to find some large, store bought gingersnap cookies, or maybe even molasses cookies, to just bring home and decorate. That would be a time saver for sure. ; )
May you all rock around the clock on New Year’s Eve, (or at least until midnight) and may we all have a Happy New year!
