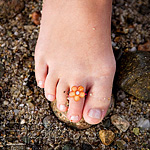
My little girl, ‘O’, is always in a crafty mood. Her name is Olivia, but we call her ‘O’ almost as much. She gets excited about any craft or project going on, and always (always) wants to help. So she and I were chatting one day, and had come up with the plan to make her some cute stretch jewelry, possibly using buttons of some sort. The next time we were in the craft store for other projects, we picked up the supplies for her jewelry too. It’s a simple project, with adorable results, and practical for little active girls, too.
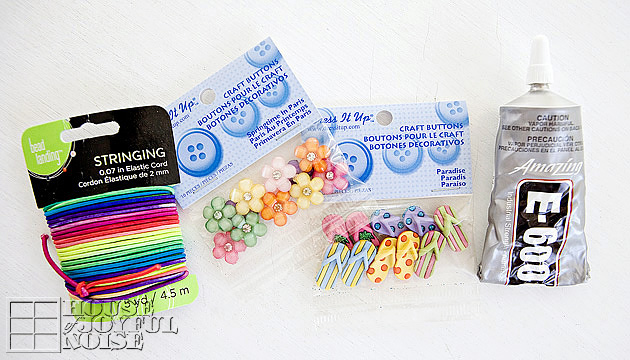 We found a whole section of all kinds of cute element buttons. I would have had a hard time choosing, but ‘O’ is a pretty decisive girl, and decided the flowers with the rhinestone centers, and the flip flops, were what she wanted. Interestingly, while they were all labeled buttons on their packaging, some did not have any hole or loop on the backs, to thread in any way! Such was the case with the flowers. The flip-flops however, did have a loop on the backs. No worries though. I was sure my Amazing E-6000 would do the trick. We also picked up stretchy elastic string. I wanted to show you these supplies in their packaging (these bought at Michael’s Arts and Crafts), so that you would know what to look for, if you wanted to do this project yourself.
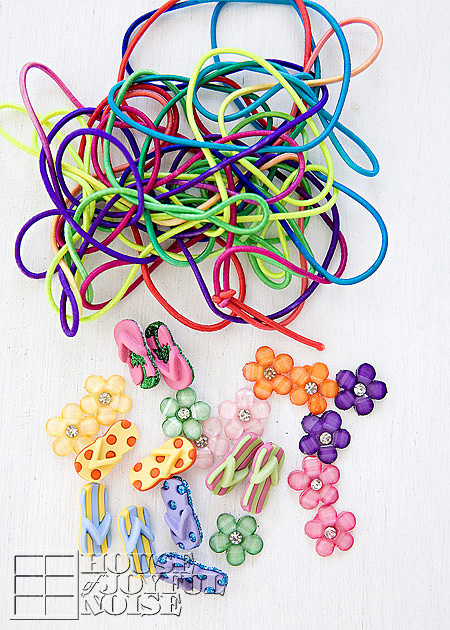
The string we got, as you can see, is all one long piece that changes colors. So you can just choose an area of color you want, and cut it to the length you need. Really fun matching up up with the buttons. Aren’t they so cute?
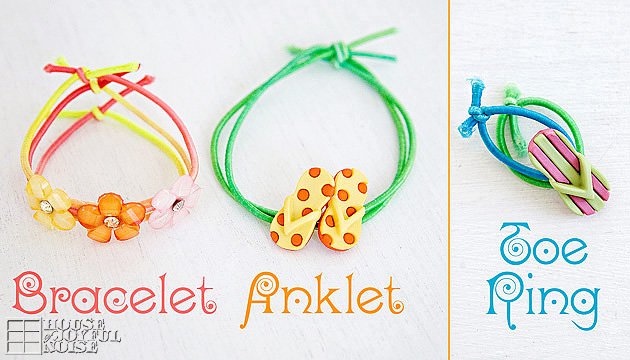
So we had a plan to make some bracelets, anklets, and toe rings.
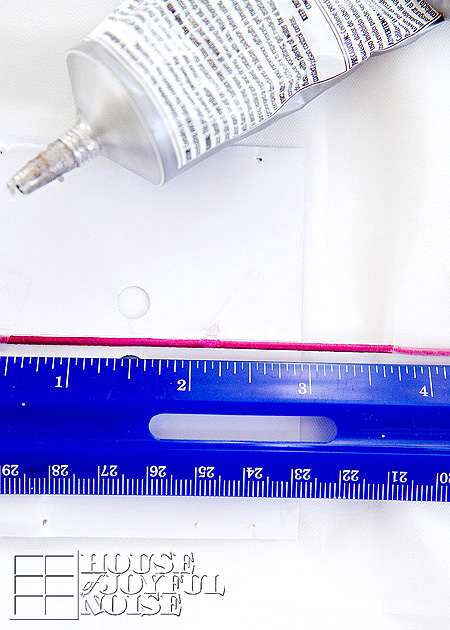
Depending on if your piece will be for the wrist, ankle, or toe, just take a quick measurement using the string around that body part, and than add an adequate amount more, for tying. Now buttons with a hole or loop to thread of course will just slide right onto your string. But the flowers we needed to glue. So after cutting the string to length, we found the center of the string by using a ruler we had nearby. But you can estimate by folding the string in half or whatever. In the center, we put a dab of glue, and then set the flower on and held it for a second. We were working on a piece of paper, to protect our table from the glue. But being that the glue dribbles right over the string, we didn’t want the string adhering to the paper. So when it was set enough . . . . . .
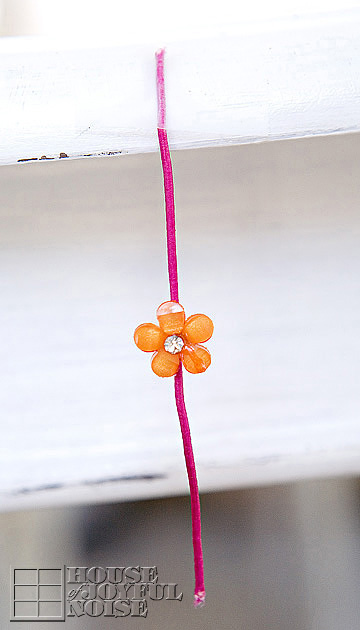
. . . . . .we just taped them to the table’s edge, and let them hang, to completely dry.
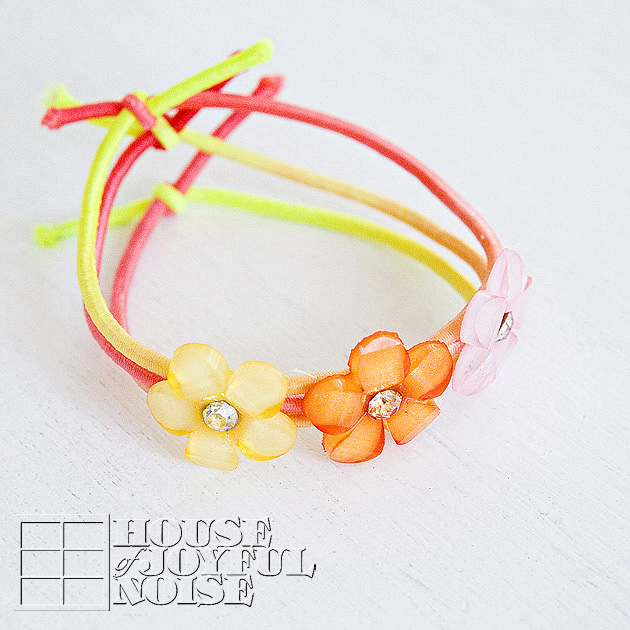 ‘O’ really had fun, choosing different elements, and then choosing what colors of string to go with it. We especially liked how this one came out. We chose to use three pieces of string, and knot each of them on their own, instead of all together. It really alters the look! The E-6000 really works amazing. After knotting the jewelry on for the proper fit, you can then trim any excess string end with scissors. You just want to be sure they are tied to be snug, but not tight or uncomfortable, cutting off circulation or leaves band marks.
TIP: You may also want to dab the string ends with some kind of nail polish top coat, just so they don’t unravel or get fuzzier. I did, and I also put a dab on the knots, for extra security.
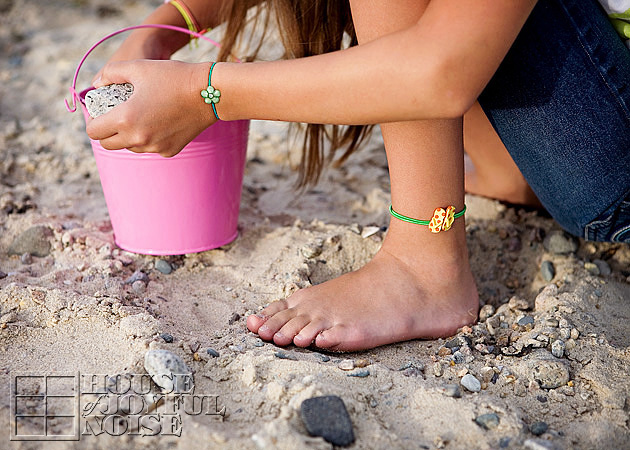 Aside from these accessories just looking adorable and so age appropriate, they really are great for every day play wear, being that they are fitting, and not the kind that will get caught on anything. They are not likely to break in any way, or get lost. But even if they did, none of it is valuable in any way, and they can so easily be made again.
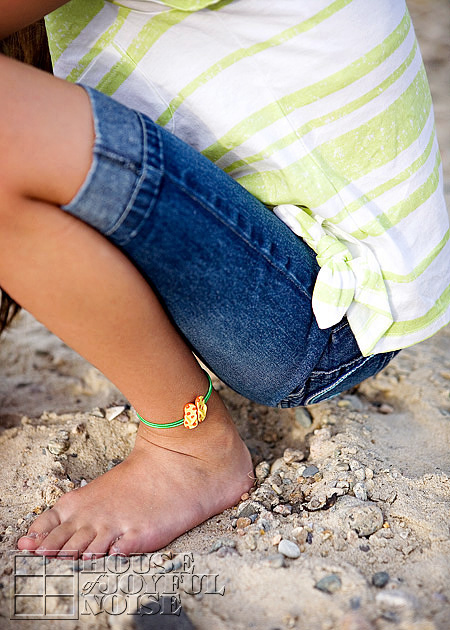
So little girls can just HAVE FUN, as they should, and not worry about their *bling*.
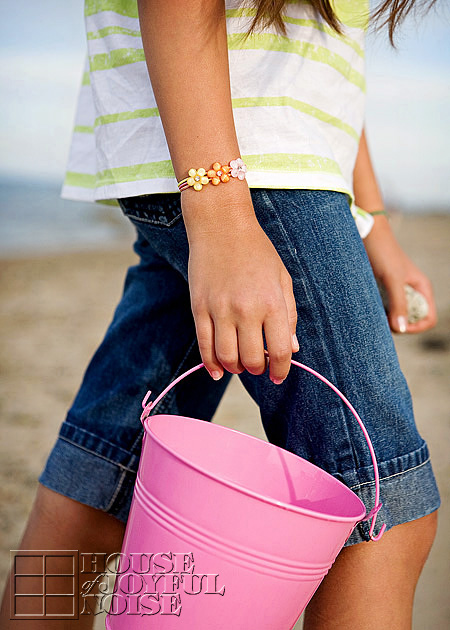
So perfect, for a little pretty style at the beach.
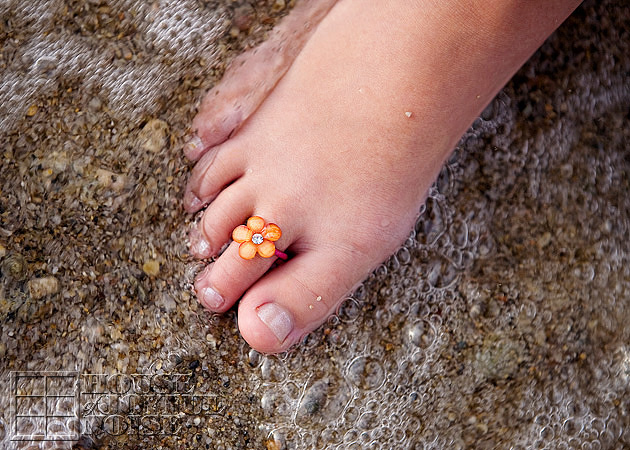 And they can even get wet, without a problem.
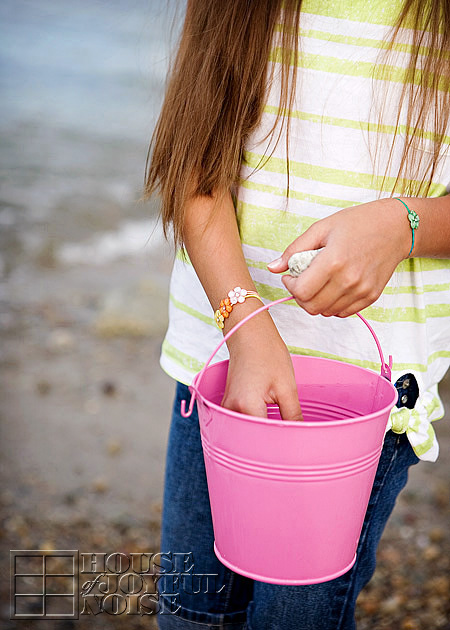
The options really are endless, and I can already see us ending up with a larger collection. Because how cute would it be to make holiday accessories? We can find button elements like this for Christmas . . . . . .Halloween . . . . . .Easter . . . . . . and it would also look lovely with any kind of clothing, including dressy-dresses.
If you are hoping to make homemade gifts this year, this is a great inexpensive and quick idea, for any little girls on your list. If you aren’t sure of their sizes, just leave them untied, and when you give jewelry to them, you can just tie it off on them, and trim the excess. Just as we did it making these for ‘O’.
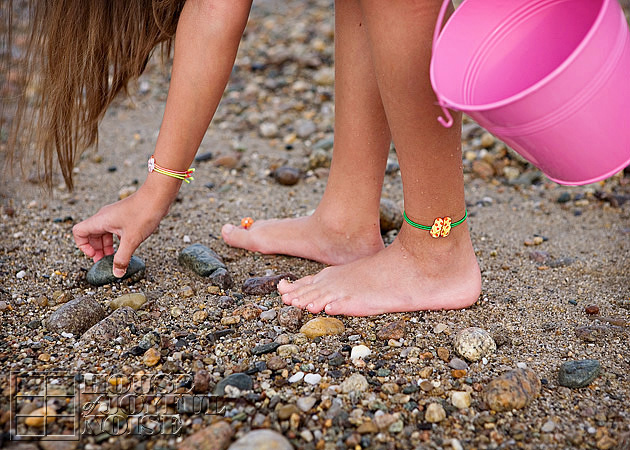 We did not make any choker style necklaces, or pony-tail holders, but those are a couple more ideas.

‘O’ is the kind of girl who enjoys fashion.
She likes shopping for clothes, and enjoys putting her outfits together every day, including any accessories for her hair or as jewelry.
 Love it? Say it. Pin it! Share it. Make it!
