• HOME
  • About Us
  • {A}’s Chipmunk Training Archives

 Homepage

  • The Homestead
    • Home Projects
    • Home Improvement
    • Home Decor
      • Seasonal Home decor
        • FALL Home Decor
        • WINTER Home Decor
        • SPRING Crafts and Creations
        • SUMMER Crafts and Creations
    • Our Chickens
    • Gardening
    • Organization
    • Re-Purposing
    • Furniture Refinishing
    • Budget
  • Crafts & Creations
    • Seasonal Home decor
      • FALL Crafts and Creations
      • WINTER Crafts and Creations
      • SPRING Crafts and Creations
      • SUMMER Crafts and Creations
    • DIY (Do-It-Yourself) Project
    • Kids Arts and Crafts
    • Homemade/Handmade Gift Ideas
    • Holiday Crafts
    • Fan Pulls
    • Free Printable/Downloadable
    • Sewing Projects
    • Giveaways
    • Business Features
  • Recipes/FoodFun
    • Breakfast
    • Lunch
    • Main Dish
    • Sandwiches
    • Appetizers
    • Slow Cooker
    • On The Grill
    • Side Dishes
      • Soups
      • Salads
    • Baking
      • Breads, Rolls and Muffins
    • Snacks
    • Treats
    • Desserts
    • Drinks
  • Homeschooling
    • Elementary Homeschooling
      • Elementary Homeschooling READING
      • Elementary Homeschooling MATH
      • Elementary Homeschooling LANGUAGE ARTS
      • Elementary Homeschooling SCIENCE
      • Elementary Homeschooling HOME ECONOMICS
      • Kids Arts and Crafts
    • Middle School Homeschooling
      • Middle School Homeschooling SCIENCE
      • Middle School Homeschooling HOME ECONOMICS
    • Language Arts
    • Math
    • History / Social Studies
    • Geography
    • Foreign Language
    • Field Trips
    • Games
    • Nature Study
  • The Big Picture
    • Life In General
    • Celebrations
    • Faith
      • Into the Light; The Series
    • Giveaways
    • Reviews & Sponsors
  • Photography & Lettering
    • Photography
    • truck lettering
    • vehicle graphics
    • Newborns
    • Kids
    • Engagement
    • High School Senior Pictures
    • High School Senior Pictures Sneak Peeks

Incubation and Embryology of the Chick | Chick Coloring

March 31, 2010 By Laura 7 Comments

Incubation and Embryology of the Chick | Chick Coloring

chick-coloring-incubation-embryology-10

Although we have a small line-up of home schooling posts about recent happenings coming your way, I’ve been inspired recently to take a little trip down our home schooling memory lane, back to early 2007, when we did a study on chick embryology,  incubated eggs and hatched chicks!   At the time, the kids ages were 9, 4, 4, and4.  So not only will you notice how young our kids look compared to today (now 12 and 7, respectively), but you’ll see how very unfinished our home was back then!  Remember, Michael has been finishing all of the inside of our home himself.   (With a little help and direction from me too.)  As far as we have to go on this house, we can look at these photos and think, “We’ve come a long way, Baby!”

My brother, his wife, and their 2 kids, have a chicken coop, which began with an order of live chicks last year, I believe.   But soon they will be receiving a batch of eggs, and will be incubating and hatching them themselves, for the first time. I am SO excited for them, and especially for my niece and nephew, to have this exciting experience!  So much so, that we are itching to do it again ourselves all over again, since the our youngest kids are 3 years older now. The little ones would be able to get so much more out of the study and be a lot more hands-on, as {A} was for our first experience 3 years ago. It would be fun for the kids to compare notes with their cousins too.  Nonetheless, with Easter coming in a few days as well, we thought it would be cute and fun to blog about our chicks.  This experience in 2007, was ‘pre-blog’, so we never did get to share it with you all.

chick-coloring-incubation-embryology

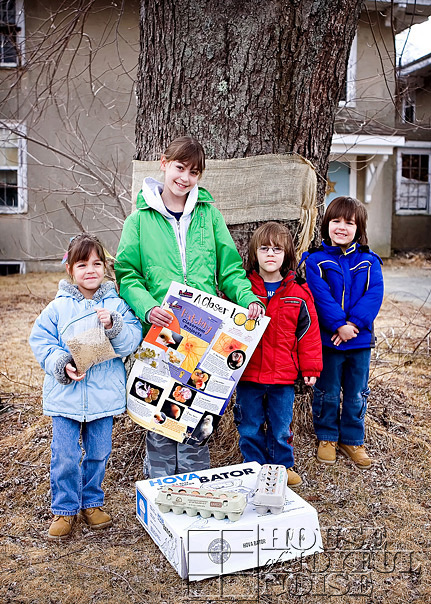
We picked up our order of 24 eggs from the Plymouth County 4-H on March 13 of that year.  They have a wonderful Embryology Program, and supplied us with the eggs, an incubator (rented), a very informative book, a poster, and some feed.
–

chick-coloring-incubation-embryology-11

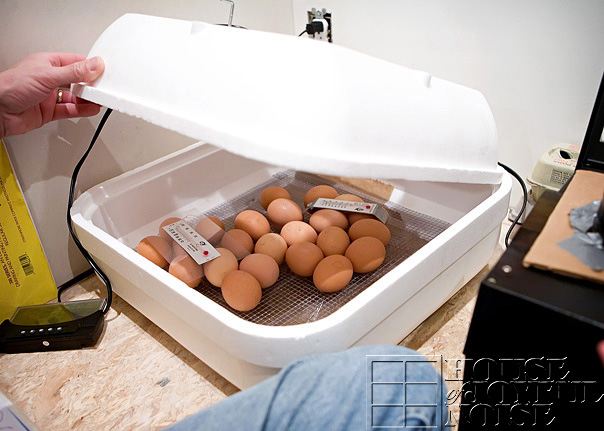
We got our eggs incubating right away.  This process of incubation, to expected hatching would be about 21 days.  The temperature of the inside of the developing eggs needed to be regulated at 100-101 degrees.  So the goal of environmental temperature within the incubator, needed to stay within the 97-103 degree range.  The humidity level was also a very important factor, and that was the hardest part for us!

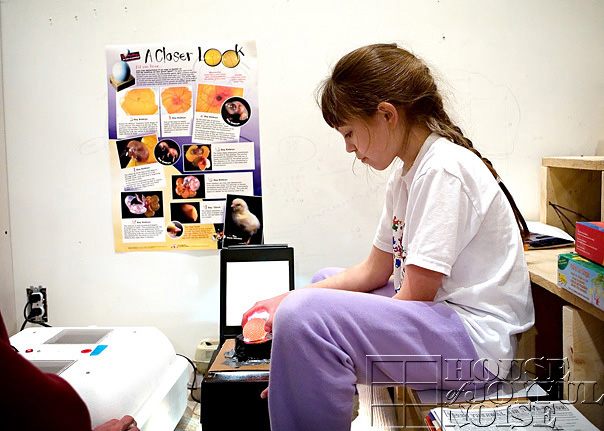
{A}, being the oldest and the most appropriate age for this project at the time, was the most involved in the hands-on activities .  She did most of the rotating duties, temperature checks, egg observations, and kept records on everything on a daily basis.

The eggs needed to be rotated 3 times a day.  Therefore, we marked them with an X on one side of each egg, and an O on the other.  (We had XO eggs! lol).  They were each also numbered, 1-24.  These markings helped us be assured that every egg was rotated every time.

chick-coloring-incubation-embryology-12 –

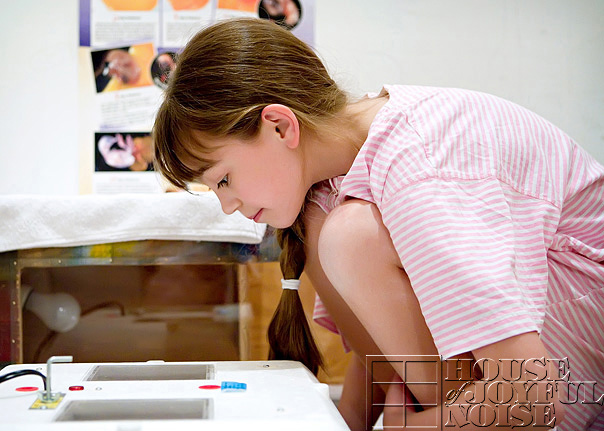
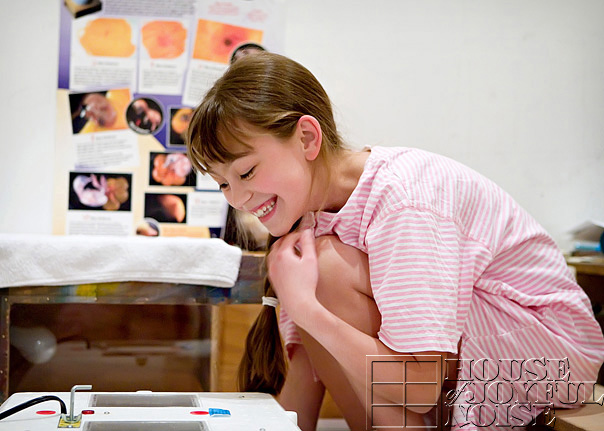
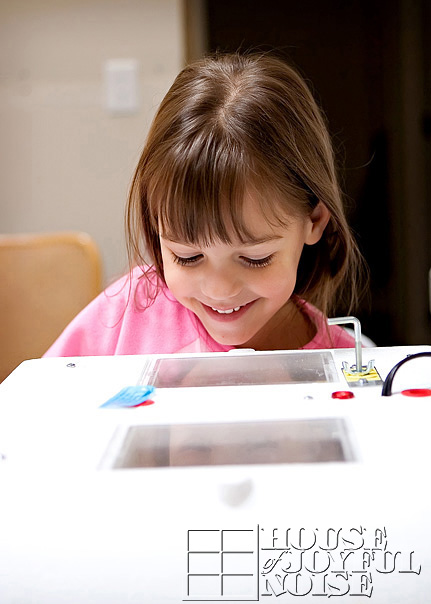
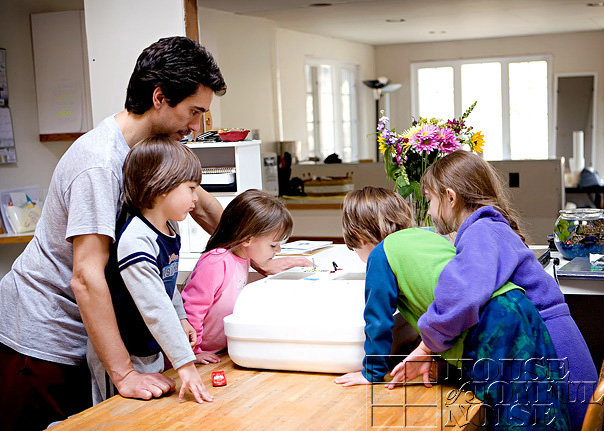
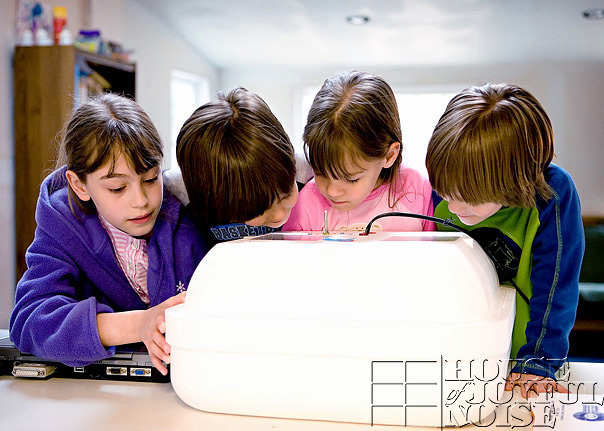
Candling was a very interesting activity that was part of this project.  This allowed the kids to observe the development of the chicks, without damaging them.  This can be done on days 3,4,6,7,and 13.   Michael created a make-shift ‘candle’ using a light projector we had.

chick-coloring-incubation-embryology-13

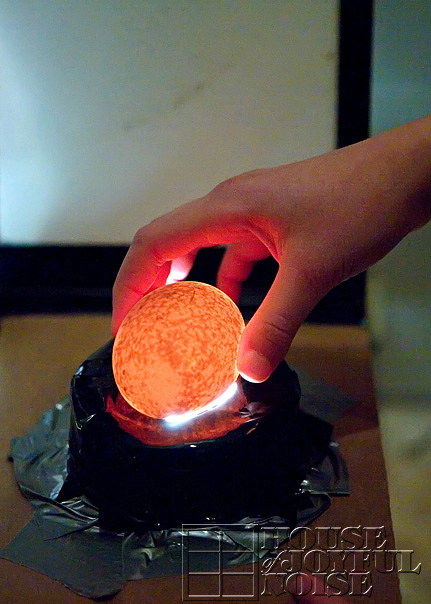
By holding the egg to the light, we were able to look for developments and progress inside of the eggs.

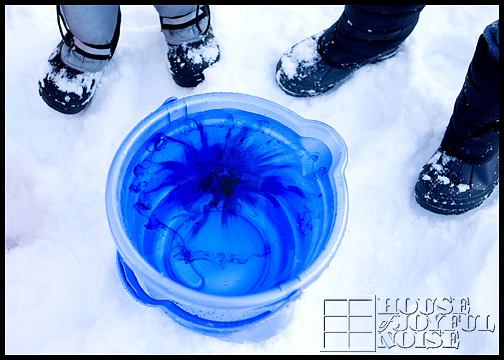
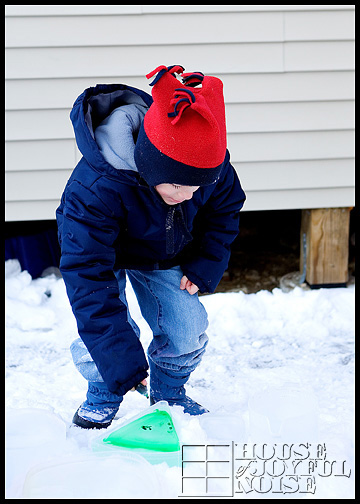
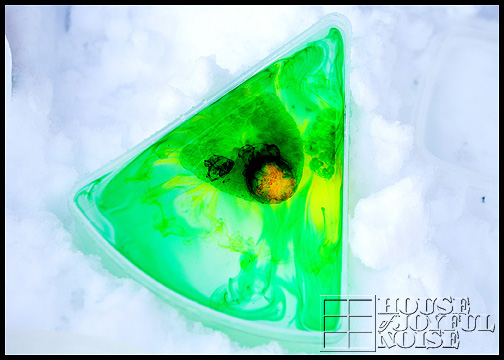
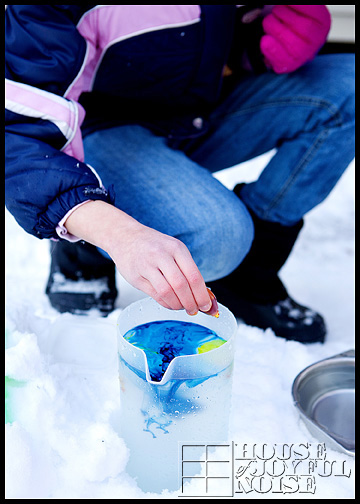
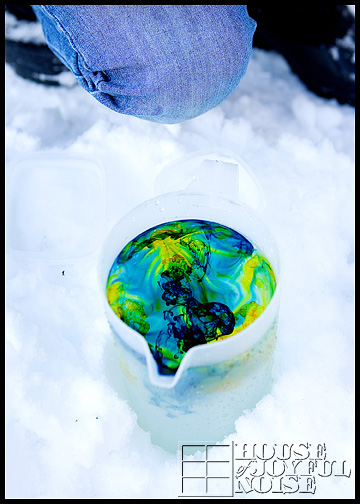
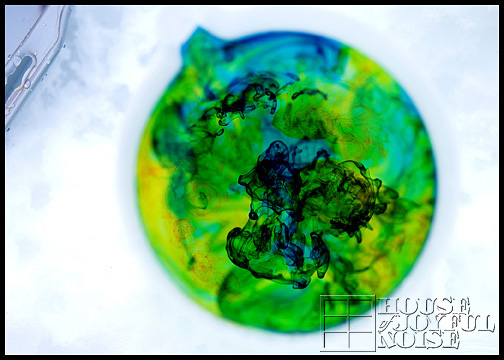
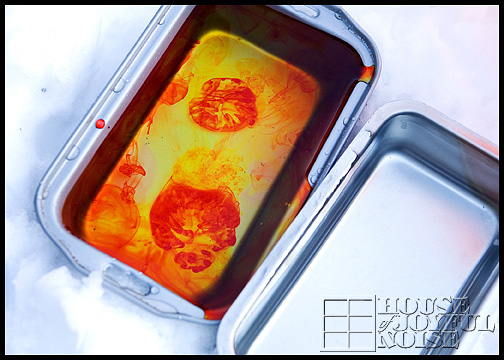
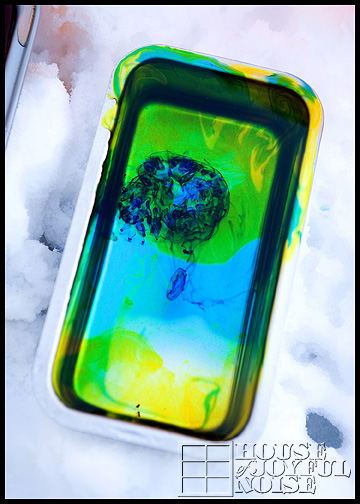
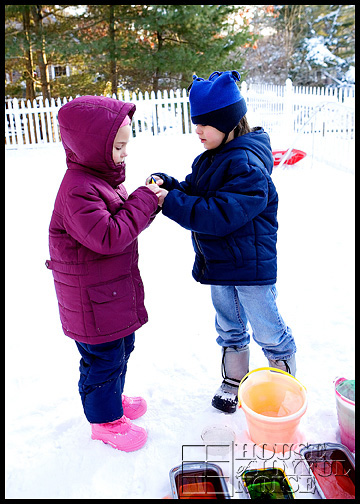
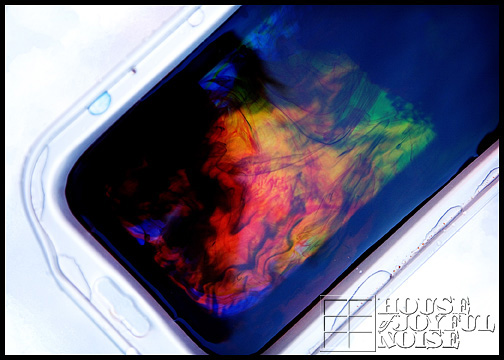
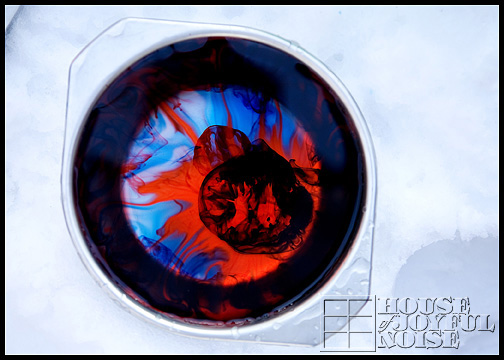
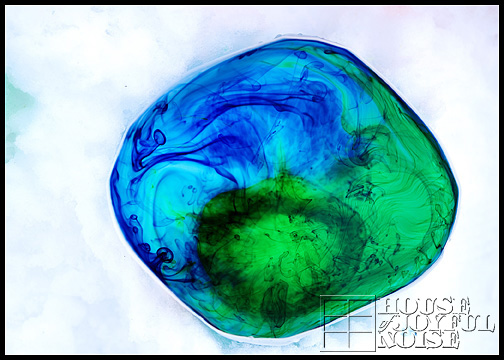
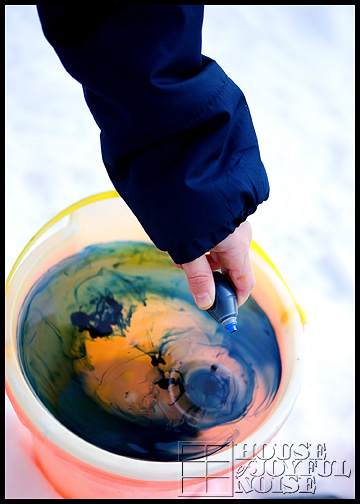
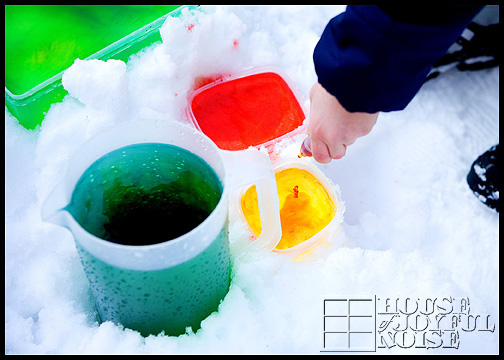
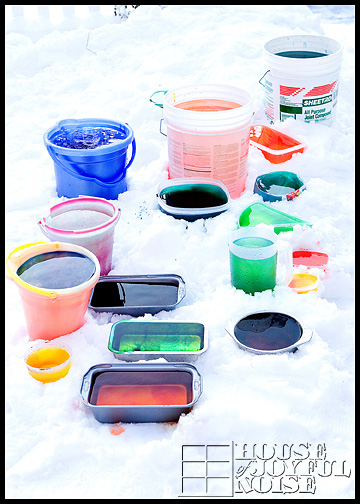
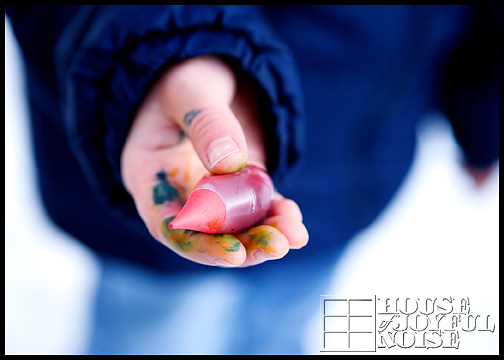
In the period of time in days 11-14, we had the option of giving our chicks some COLOR.  This is a completely safe and harmless procedure for the chicks!!  If it was not, we wouldn’t have done it!  To understand this process more thoroughly or to get directions, please see (and save)  this link:  Chickscope. Another great link is here.  In brief, this is done by injecting harmless vegetable dyes, into the albumen area of the egg.  This is a pinhole break through just the very surface of the egg shell, at a specific area of the egg. In the following days, as the chicks continue to develop and grow, the sac that contains the color is naturally broken, and the chick is surrounded by the fluid coloring.  This results in temporarily colored chicks.  Michael performed this procedure, while {A} observed and recorded data.  Unfortunately, I was away these few days at a professional photographer’s conference.  So there are no photos of this part of the study.   But the results are coming up!

Throughout the day on March 1, we could hear faint peeps from within the eggs!   Talk about excitement!  The next day, the peeps were a little stronger.  We knew the time was drawing near, as we were just about at day 21!

Sure enough, very late at night on March 3, as I was exhausted and headed to bed, I took a last peek into the incubator, and lo and behold, an egg was hatching!   I was like, “Are you kidding me?  They are going to start hatching NOW?!  As I’m ready to go to sleep?”.  It was like both of my own labors, that kicked in high gear, right as I was most exhausted and badly needing a good night of sleep.  So of COURSE eggs would start hatching at this time.

Still, the anticipation and excitement perked me up a little.  I got {A} up and, the little ones, one by one, to take a peek.  I put them back to bed after a few minutes, but I kept watch for awhile longer.  It looked like it was going to be a slow process, and so thankfully, unlike my own labors, I was able to go get some sleep.

Early the next morning, we had 2 hatched!

chick-coloring-incubation-embryology-14

We could see that there was another, who had tried to break free of it’s shell, but never quite made it.  We lost that one.  But the 2 that successfully hatched seemed to be doing fine.  One was a very dark color.  He almost looked purple?  Which was not a color we had used, so we were confused for a bit there.  The other was green.

chick-coloring-incubation-embryology-15

I was not able to take photos of the chicks very well, through the little cheap (no pun intended, lol) plexi-glass viewing windows, but they were sure fun to watch! They were flopping all over the place, and all over each other.

The kids were so tickled, watching for more activity with the other eggs, and watching the chicks that had been born.

  chick-coloring-incubation-embryology-16

chick-coloring-incubation-embryology-17

chick-coloring-incubation-embryology-18

chick-coloring-incubation-embryology-1

chick-coloring-incubation-embryology-2

In the end, we had only hatched 4 eggs.    To truly learn from the study, and understand the developments of the embryos/chicks, it was necessary for someone to break open and study the eggs that had not hatched.  I could not do it myself.  Michael took that task on.    He and {A} took those eggs up on the hill out back, and dug a big hole in the ground.  Then {A} sat on a stump, with her back to her Daddy, while he dictated the number on each egg, and the stage of development, while she recorded the data in her notebook.  Then Michael buried them.

What they found, was some eggs were never fertilized at all. Some barely started developing, and for some reason didn’t continue.  Others were pretty much fully developed, but had never hatched. It was all natural outcomes.  That was probably the only unpleasant and sad part of this experiment.

Soon, the chicks were able to be transferred to a big sanctuary (Michael built), where we could really observe and enjoy them.

chick-coloring-incubation-embryology-3

Once our baby chicks dried off and got fuzzy, we realized our dark chick was not a colored chick, but a rooster!
–

chick-coloring-incubation-embryology-4

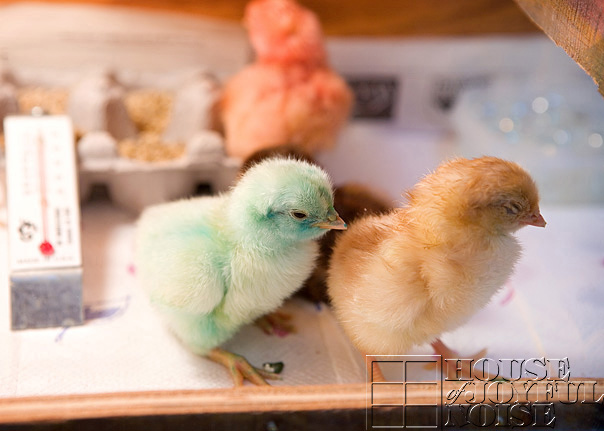
We also had a green one, a natural yellow one, and a pink one.    One for each of the kids!!  We did expect a higher hatching success rate, but we were glad to get some!

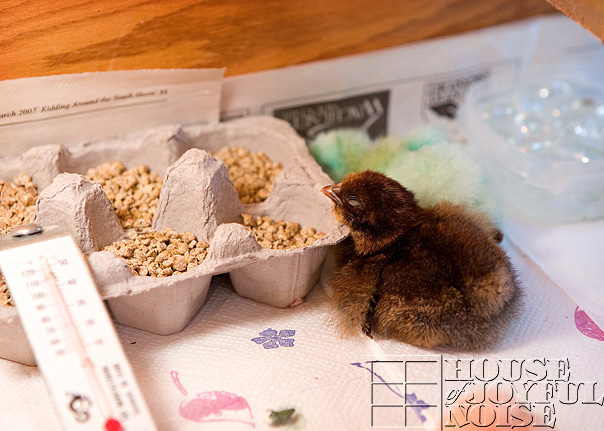
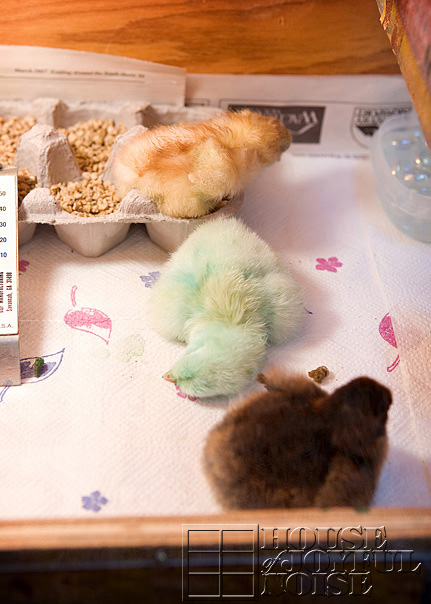
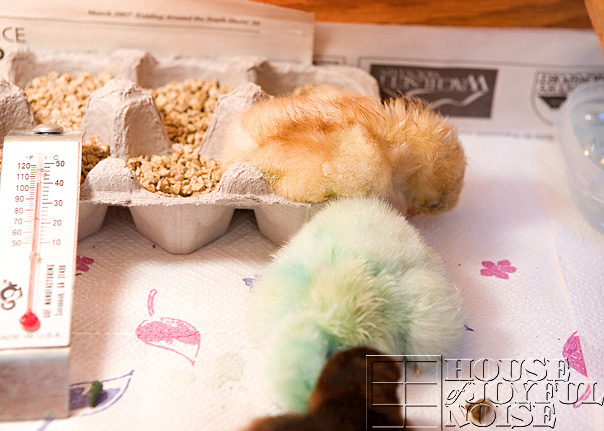
The funniest, and most entertaining thing about these chicks in their first few days, was just watching them gain their strength.  They were so active one moment, and would suddenly just doze right off and plop where ever they were.

chick-coloring-incubation-embryology-5

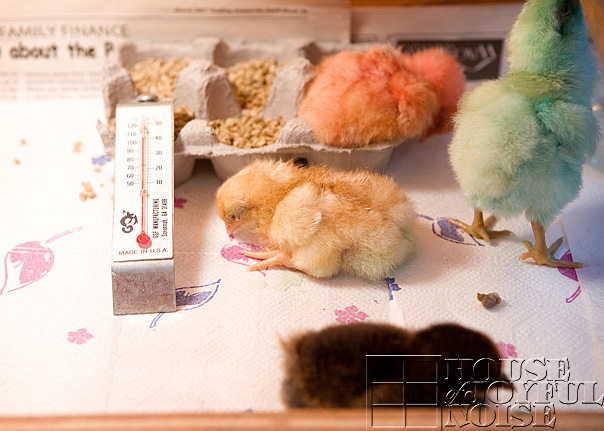
It was an absolute riot, to watch happen, over and over.   Just look at these photos of them!  A moment before, they were very energetic, then they would just wither into a nap, and the next moment be up and about again.  We know some older folks, who do the same thing these days.  ; )

  chick-coloring-incubation-embryology-6

chick-coloring-incubation-embryology-7

chick-coloring-incubation-embryology-8 –

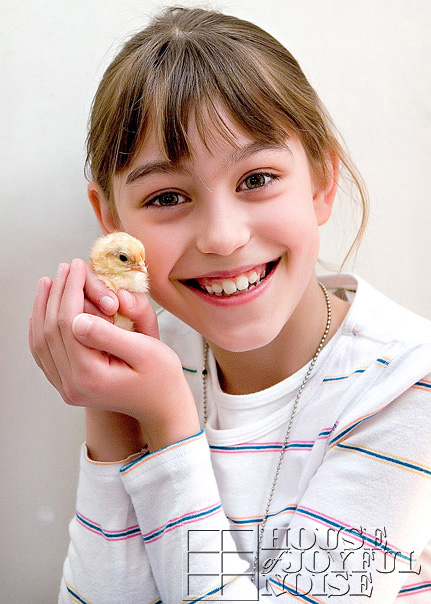
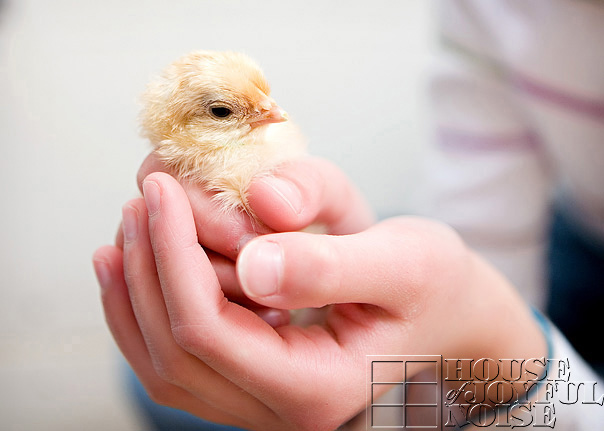
Soon, {A} was able to gently hold them one by one, although it was important to keep it fairly brief and keep them warm, and to always wash hands after wards!  (The same was done handling the eggs.)

chick-coloring-incubation-embryology-9

With each of the kids having their ‘own chick’, and knowing we wouldn’t be able to keep them much longer, I just knew a fun photo shoot, with the kids and the chicks  in the studio, was in order!!    So click on over to the Photography & Lettering section of this blog, to check out the portraits from that shoot, and find out the names of our chicks!!  Not much to read in that post!  I promise!  Just photos to enjoy.  See you there!!

Save

Save

Filed Under: Homeschooling, Science Tagged With: 4H-club, baby-chickens, chick-candling, chick-development-candling, chick-embryology, chick-incubation, coloring chicks, egg hatching, homeschooling, homeschooling-science, homeschooling-science-experiments

Colored Ice Castles – Homeschooling Science Experiment

January 27, 2009 By Laura 14 Comments

colored-ice-castles-homeschooling-science-experiment__

This is how home schooling happens a lot in our family:

Someone gets a cool idea they think would be a fun to try, (in this case, that would be me), and we decide to do it. For fun.  So we discuss our plan, start getting stuff together, and as we get to work on the project……….we start to wonder, or predict out loud.

And suddenly it hits me. “Hey!  This is a science experiment!  Yes….this is going to count for science.”

But ‘the lesson’ was not planned for school.  It was just something fun to do.  Curiosities arose that we wanted to explore and experiment with.  We were just LIVING.  Yes . . . . learning often times just happens.

As you can guess by now, that’s exactly what happened with this project.  The kids are always watching the outdoors thermometer through the window of our school room. If it’s below freezing, they like to put a bowl of water out, and check it all day to see how long it took to freeze.  You know…’just for fun.’   So I thought to myself, “Wouldn’t it be fun to fill up all kinds of containers, all different shapes and sizes, and then build an ice castle? “  (and continuing to talk to myself in my head….because a lot of conversation happens with myself up there, I said…) “Hey!!  We could use food coloring and make them COLORED ICE CASTLES!!!!”  Because I am a color freak, I got REAL excited the other day, to tell the kids what we were going to do.

Creating Colored Ice Castles

So we gathered everything we needed, bundled up as best we could, and went out and got to work.

colored-ice-castles-homeschooling-science-experiment

The kids started filling up all of the containers with hose water.
*

colored-ice-castles-homeschooling-science-experiment_5

And took turns choosing colors, and squeezing drops of food coloring  in.

colored-ice-castles-homeschooling-science-experiment_7

When one of them added yellow to the red, the colors intoxicated me…..and I went CrAzY taking photos from then on.

And I love most all of the photos I took.

colored-ice-castles-homeschooling-science-experiment_8
So now you’re going to have to see them all. : )

colored-ice-castles-homeschooling-science-experiment_9

colored-ice-castles-homeschooling-science-experiment_10
Because I have little control, when it comes to these kinds of things, you know. : )

Just look at the beautiful colors floating and swirling!

colored-ice-castles-homeschooling-science-experiment_11

Oh….it gets better.

colored-ice-castles-homeschooling-science-experiment_12

Look at that!!!  The kids started adding color to different containers at the same time, which resulted in lots of outbursts of excitement at the same time…“Look at this one, Daddy!”  “Mama look at these colors together!!  Hurry!”
We were getting dizzy. But it was all good!

colored-ice-castles-homeschooling-science-experiment_13

I was having so much fun taking photos.  I just knew they were going to be beautiful.

colored-ice-castles-homeschooling-science-experiment_20

colored-ice-castles-homeschooling-science-experiment_25

Here below, {O and J} swap colors.

colored-ice-castles-homeschooling-science-experiment_23

colored-ice-castles-homeschooling-science-experiment_26
THIS ONE, ABOVE, IS MY ABSOLUTE FAVORITE!!

Honestly, I get butterflies.

And by this time, I was (incorrectly) thinking that we were going to have the COOLEST TIE-DYE ICE CASTLES!

colored-ice-castles-homeschooling-science-experiment_27

colored-ice-castles-homeschooling-science-experiment_28

colored-ice-castles-homeschooling-science-experiment_29

colored-ice-castles-homeschooling-science-experiment_31

Oh Dear….Unexpected Science Experiment Happenings

About now we start to notice that the 2 colors are mixing and changing to one color.

BUMMER!!

No tie-dye ice castles?? I, personally, might have sulked for a moment or 2 over that development and reality check.  But, this is all part of science experiments, and the kids were still excited.  They got me excited again, too.

When I saw all of the multi-colors were gone, I thought “Good thing I took photos!!!”  lol

They still looked vivid and beautiful, all together.

colored-ice-castles-homeschooling-science-experiment_35

Now, I did say to the kids at the start, “Let’s try NOT to get food coloring all over our hands. OK?”

colored-ice-castles-homeschooling-science-experiment_30

Reality check number 2.  lol

But you know….I love the colors, even all over my children’s faces and hands. I do!!  Even if we’re going out…..going to Mass…where ever. If it doesn’t come off all of the way….OH WELL!!  I think it’s evidence of their creativity!

DIRT is another story!!

Watching, Waiting, and Wondering….For Days

So the next couple of days were annoying, temperature wise.  It kept being a little warmer than it was supposed to be, and the darn water in the containers would not freeze all of the way!!  We knew it needed to be 32 degrees or colder, to freeze. (We’re like Einsteins, huh?  Ha haha!)  But for how long would it need to be that cold?  And how much longer would the BIG containers take, than the small ones?  These are the scientific questions we had, and the things we observed and studied over the next few days.  We knew…..it was taking a lot longer than we ever wanted it to!!

What’s more….we could see the color really settling to the bottom of the containers.

Why, we wondered??  Which led us to what ‘wondering’ always does.  Research!!

The Scientific Explanation

BECAUSE:  Cold water does not allow the molecules of the food coloring to break down as easily….or dissolve.  So, because it could not really ‘mix’ with the water, being a separate element, it all settled. What’s more, the molecules of the food coloring were so big, that they were not able to freeze all of the way.  So the food coloring ended up being pockets of slush, within the frozen water/ice.   It was interesting that the 2 elements were able to separate that much in the end, from being 2 colors swirling around each other, when first added to the water.

By this morning, we were done waiting.  The big containers STILL did not seem solid all of the way through—-but gosh darn it….WE WERE BUILDING OUR CASTLES TODAY!!

The Results

colored-ice-castles-homeschooling-science-experiment_37

colored-ice-castles-homeschooling-science-experiment_38

colored-ice-castles-homeschooling-science-experiment_39

colored-ice-castles-homeschooling-science-experiment_42
{S}(on the far right) was excited about the pizza slice container one.  He is also very partial to green, because it is ‘his color‘.  (As triplets, we had a lot of color coding going on when they were babies.)

TA-DAAAA!!!!!!!

colored-ice-castles-homeschooling-science-experiment_45

colored-ice-castles-homeschooling-science-experiment_47

colored-ice-castles-homeschooling-science-experiment_48

colored-ice-castles-homeschooling-science-experiment_49

colored-ice-kids-with-castles-homeschooling-science-experiment

I LOVE this shot of my kids, and their ice creations!!

They had SO much fun doing this!!  So did I!!  So did their Daddy!!

We built it in the front yard, for the world to see. (You know…the ones who happen to drive down our dead-end street. Ha haha!).

Another lesson learned:  We don’t always get what we’re expecting to.  But we learn to love what we DO get.

Because it’s ours.  Because we made it.  Because we created memories together, doing it.
And that makes it all beautiful, to us!

Save

Save

Save

Filed Under: Crafts & Creations, Elementary Homeschooling, Elementary Homeschooling SCIENCE, Homeschooling, Middle School Homeschooling, Middle School Homeschooling SCIENCE, Science, Seasonal Crafts and Creations, WINTER Crafts and Creations Tagged With: colored-ice, colored-ice-castles, elementary-homeschooling-science-experiments, homeschooling, homeschooling-science-experiments, how-to-make-colored-ice-castles, kids-winter-creations, kids-winter-fun, middle-school-homeschooling-experiments, outdoor-winter-activities, winter-science-experiments

We are wicked happy to have you here! We invite you to connect with us anywhere you are, too!


SUBSCRIBE to House of Joyful Noise blog! Every new post, delivered right to your email box!

Archives

Find Us on Facebook

SuperWebTricks Loading...


POPULAR POSTS

* * * * * *

SUBSCRIBE to House of Joyful Noise blog! Every new post, delivered right to your email box!


Privacy Policy

Amazon Affiliates

Never at any additional cost to you, we may earn a small commission for our endorsement, recommendation, testimonial, and/or link to any products from our website. Your purchase through our links helps support our family, while sharing with you the products we authentically use and recommend, for various ideas, and letting you know where you can purchase them. Thank you for your support!

[footer_backtotop]

Copyright © 2023 HouseOfJoyfulNoise.com · Genesis Framework by StudioPress