Hi People!
This is the first of a handful of installments, that finally show you what we were making as we crafted during the pre-Christmas season. Now that all of the gifts have been given, we can share, and not be concerned with ruining any surprises. But we hope that some of you may gather an idea or 2, by us posting these projects, to put on your idea list for crafting and/or gift giving of your own, next Christmas or anytime.
We tried to think of gifts we could craft, that most anyone could use. Universal, sort of gifts. We think we did pretty well in the end. These gifts are simple; Simple to make (as the kids did a lot of it, with instruction and/or assistance), and simple in concept. We did not invent any of these things, but simply put ‘our touch’ to them. Should any of these projects appeal to you, we’re sure they’ll come out as your own as well. So many of you are SO creative, that you will likely make them even better, or put a new twist of your own on them, that makes them unique for you. Whatever you do, have fun!! Remember, even if everything doesn’t come out perfect, the fact is that they were made with love! If your recipients can’t appreciate that, then….well,… I won’t say. But they should. lol. Otherwise, you might consider ‘indian-giving’. Ha haha!
So let’s get to it! :
You may or may not recall, that one of the headers to a crafting post was this:
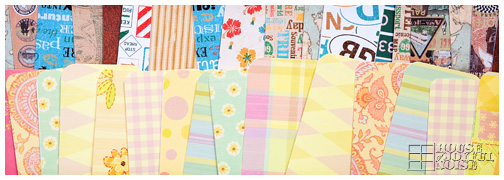
Showing any more than that would have given the project away. But we were making…………
BOOKMARKS!
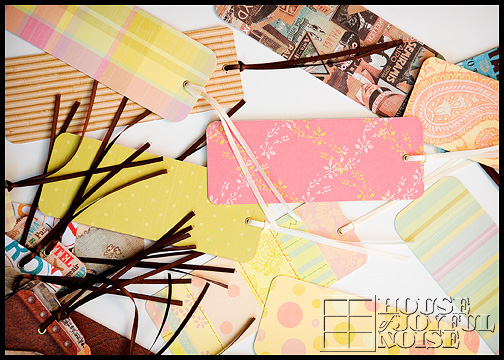
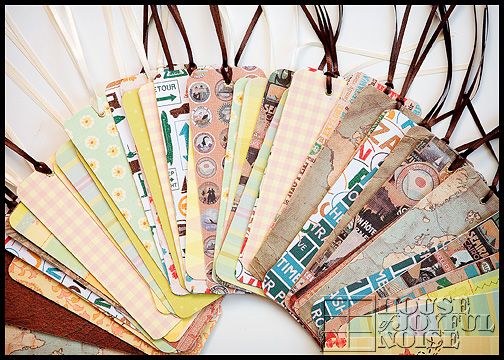
We know we love books, and we love to read. Many people are the same. Even if they are not big cover-to-cover kind of readers, one may find a bookmark handy to keep their place in a recipe book, a how-to book, a magazine, a journal, their Bible…and who knows what. So we hoped these would come in handy, in some way, for our recipients. We did know that many do love to read, in our case.
I did not think to take step-by-step photos, since photos would have given it away. But we think you’ll get the gist by looking at the photos of the finished bookmarks, and reading the following information.
Here’s how we made them:
Directions
First, we needed some card stock. We found these handy pads of beautiful designed card stock in, in the scrapbooking aisle of Michael’s Arts & Crafts. They are actually meant for making greeting cards, but they worked out to be just what we were looking for, and a good size too. They looked like this:
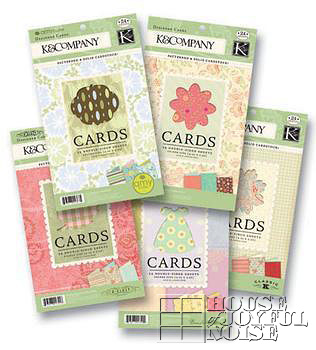
One thing we REALLY loved about these card stock pads, was that each ‘card’ was 2-sided!! It had a different, but coordinating, design on the backside! So that means we had 2-sided bookmarks!! Very cool. We were excited about that.
So we cut these cards into bookmark size, and marked the centers of exactly where we wanted a hole for the ribbon.
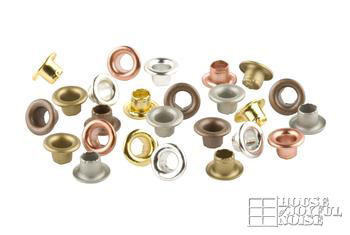
Some supplies we already had on hand that we used are: thin satin ribbon, a Fiskar cutter (used by many scrapbookers, that make cutting straight as easy as gliding the blade). Also, eyelets that look like this:
And an eyelet tool setter kit, which I already had on hand too, from scrapbooking with eyelets. That looks like this:
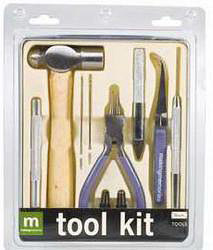
It might look scary, but every piece is pretty self-explanatory as to what it does. Included are 3 size whole punchers tips (which 2 you can see right over the l and k of tool kit, and the other is already screwed onto the handle piece, 3rd in from the right). All you do is choose the correct size tip for the size eyelets you are using, stand it up on the card stock right where you want a hole, and tap with the hammer. Next, put eyelet through the hole, hold it in while turning over the card, and get the ‘splaying’ tool. (I may have made that word up. Not sure. But it spreads the backside of the eyelet out to hold into the card. So roll with it.) So you put the ‘splayer’ into the eyelet back, and hammer! This takes some real hammering, so be sure you are careful and use cardboard or something. I used a self-healing cutting board.
Now take a piece of cut ribbon, doubled over, and put the 2 ends together through the eyelet, and then through the loop of your ribbon. To finish the bookmarks off, we used a corner rounder, which is also found in the scrapbooking section.
That’s it!
No doubt, you’ll want to keep a few for yourselves too. We did! So Happy Reading!
All of the supplies used can be found at any Michael’s Arts and Crafts, or most any other good craft store.
If you have any questions, just let us know!! I am always happy to clarify!
I am also used to needing to. lol : )
