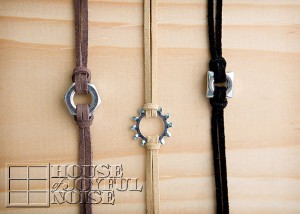
It seems to be somewhat easier, to come up with crafty ideas for my girls. But the other equal half of my kiddos, are boys! I know they get just as excited when I am making something for them, too. So I try to see what cool ideas I can come up with, that they’ll dig.
Something recently got me thinking about hardware. Hardware is just cool, and definitely boyish! With all the various sizes and shapes that it comes in, for all kinds of building and fix-it projects, I got brainstorming what cool projects I could come up with for my boys. In this post, I’m sharing some hardware jewelry and belts I made for them.
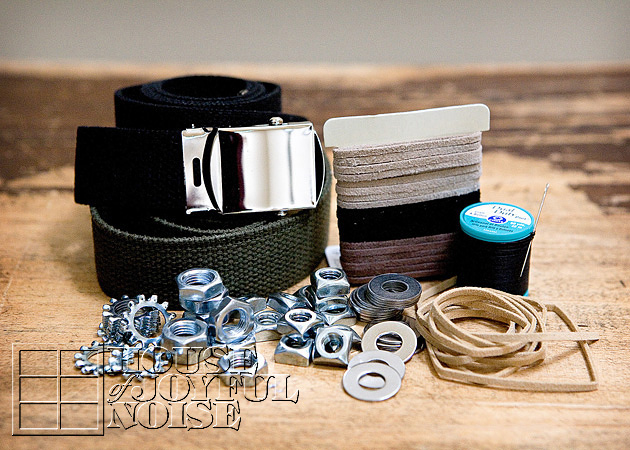 I picked up a couple of adjustable belts at an army surplus store, and some suede string in a few different boyish colors, at the craft store. I also gathered some heavy duty sewing thread, a sturdy quilting needle, and of course, a variety of hardware!
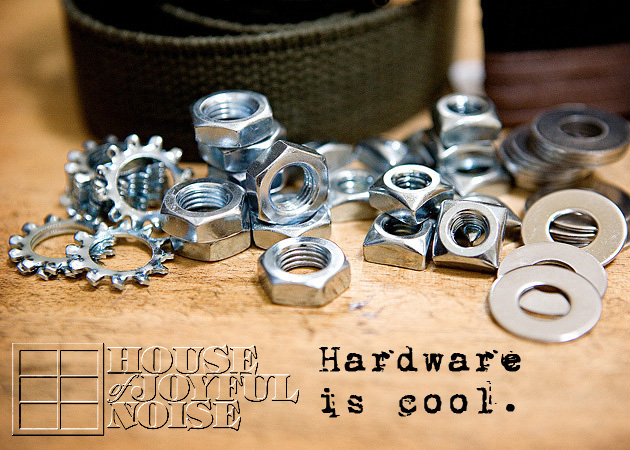 I have to say, picking out the hardware was pretty darn fun! I went to the hardware store with all of my kids in tow, and we were there for a good while! I think we were making the store clerk a little nervous that we’d mix up the hardware in the 2 aisles of tiny organized drawers of hardware! But we didn’t. ; )
I knew I’d be getting some good ole hexagon bolt nuts and flat washers. But I was eager to see what other cool little shapes I could find as well. I thought the square nuts and star lock washers were very cool, so I got a bunch of them as well. Now, if your husband is handy as mine is, you may already have some of this kind of hardware at home. My husband did have a big tin of hardware, but they were really old and dirty. While it would have been great to recycle that, I wanted new and shiny pieces for these projects.
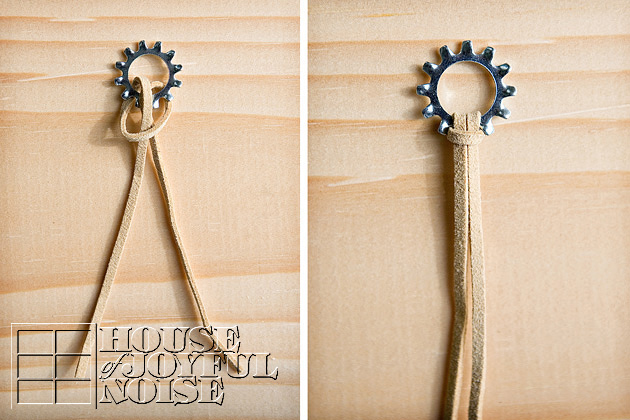 To make bracelets, choose a hardware element, and then figure out how much suede string length you’ll need to tie round one side of a boys wrist, and double that length, with a little extra for tying. Do the same with a piece for the other side of your hardware element. For a necklace, cut a single piece long enough for the desired length and tying. The above photo demonstrates how you can attach the suede string to the hardware: with your piece of string folded in half, feed your two loose end through the backside hole of your hardware, out of the front, and then bring those ends in between and through the loop on the opposite end. Pull and the loop will close onto the hardware, as seen.
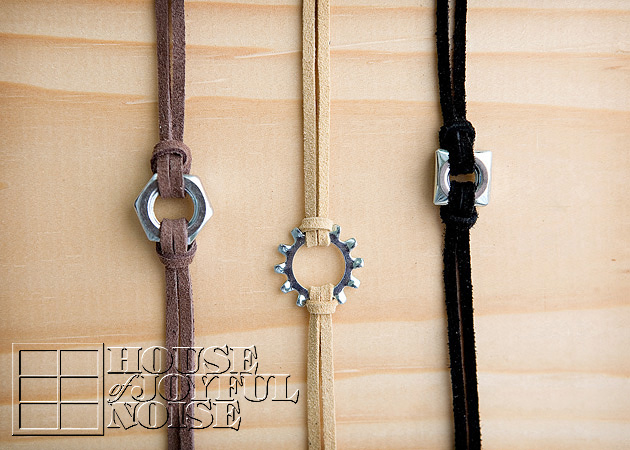 Here are three finished bracelets, using a single piece of hardware. If you prefer, the end of the strands for any of the jewelry shown, could be finished with clasps, but we didn’t bother. We just tie them on. It adds to the casual feel! (Warning: You do need to tie them tightly though, or they tend to just come untied.)
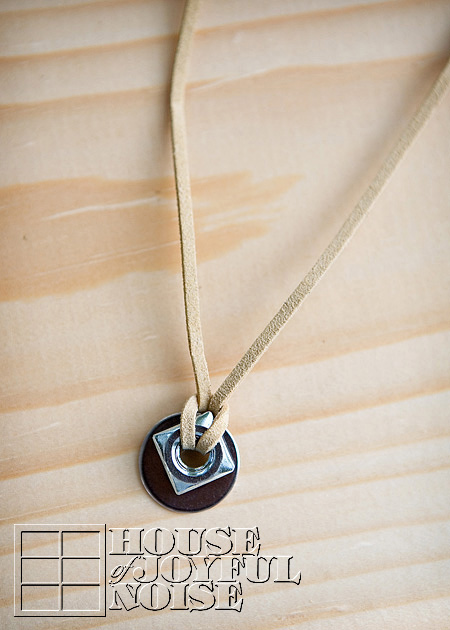
Here is a necklace, using a flat washer and a square nut.
It’s fun to play around with the hardware, and seeing what combos you can come up with, for a different design or look.
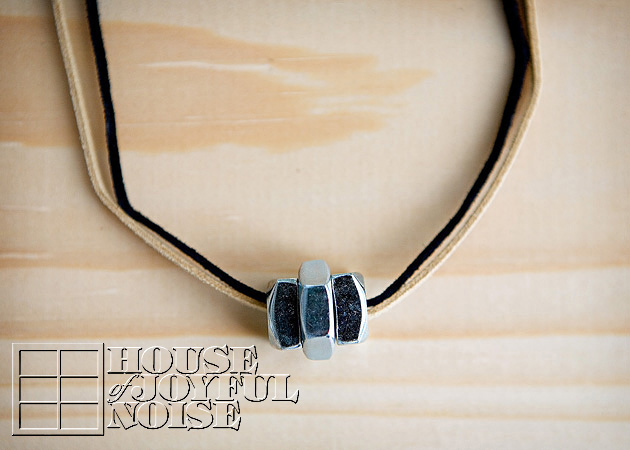 This is the front view of another necklace, using a double strand of suede in 2 different colors, holding a hex-nut in the middle and square nut on each side.
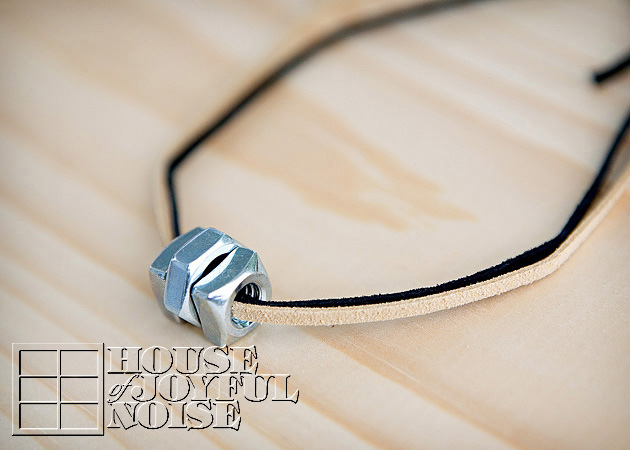 This is a side view of the same necklace.
Now, for the tricked out adjustable belts! These take just a little more time and simple effort! But if you get the smiles from your boys that I did, it’s well worth it! Well, actually it’s only fair to admit that their big sister asked me if I’d like some help sewing the hardware these, and I happily said “yes!” So maybe you’ll have a helper too, but might I at least suggest that you at least use the help of a thimble! Pushing a needle through the material of these belts can result in some sore fingertips.
These first couple of steps that I explain next, are actually easy to do, and probably steps you’d figure on your own would be helpful to do first. But, I thought I’d just suggest them just in case. More than anything, they are most complicated for me to explain! So bare with me. (Or skip the directions if you don’t plan on needing them.) :
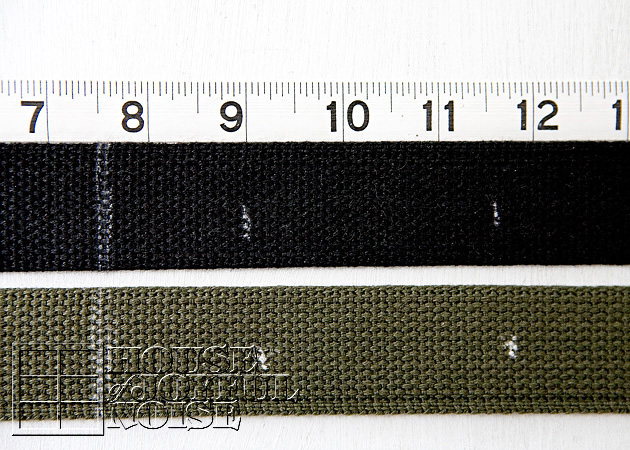 The first tip I have for you, is to get a waist measurement of the belt wearer, if you can. Or, you can just use the belt on the boy(s) to figure things out, which is what I did! These adjustable belts can be cut to length, so that is a wonderful thing. But because of the hardware elements you’ll be hand sewing on, you need to know where that buckle is going to be on the belt!
Here’s how I did it:
I simply slid the belts right through the loops of my boys pants that they had on, just sort of overlaying the excess of the belt over the buckle, to figure out how much of the belt you’ll be needing. Slide the buckle along the belt, and determine how much of the belt end would be fed through the buckle, when putting it on. By doing that, you’ll get an idea of where to lock the buckle into place, with the toothed lever underneath. Mark each side of the buckle with chalk. Then you can really feed the belt through the buckle, and mark off where the ‘tail’ of the belt is, that is coming out of the buckle, and which is actually the opposite end of the belt. You are marking it off with chalk, because you don’t want to sew any hardware on that area, or it will not fit through the buckle. (Think about it. 😉 So you’ll only want to be sewing elements on the area of that will actually be around their waste – not the piece that will be going through the buckle. (Am I over-explaining here? This is the longest paragraph in the whole post – I swear. 😉 Once you have the buckle in place on the belt, with the right amount of tail, you will see the excess of belt material that you can cut off. Be sure to cut the right end, that is already a rough end! It’s the end closest to where the buckle is. You do not want to cut off the sealed end with the metal piece!
Once the buckle area is chalked off, and the tail is marked off, you can make a couple of tick marks between belt loops if you’d like, so you generally where the are of belt will be showing. This is not necessary, but an added step if you want the hardware to show in just the right places, and not hiding under any loops. Then you can remove the belt off the pants, and cut off that excess material you won’t need. They come pretty long from the army surplus store, even at the shortest length. Them I took off the buckle for the time being, to be able to work with the belt easier. Next, I laid the belts flat on the table, and I figured out how spaced I wanted the hardware pieces, by just generally laying them out, and then measuring the estimated space. After marking where I wanted my first piece, I measured and made a tick mark about every 2 1/2 inches from there.
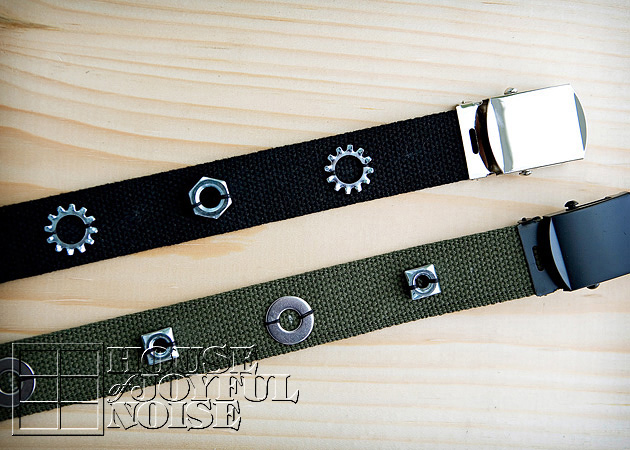 Here are a couple of finished belts. The hardware pieces are just quickly hand sewn on. I secured each each side of the hardware with 2 stitches, using the heavy duty thread. I also did one stitch in the center of the hole (of the hardware) just through the belt material, to take up some thread slack on the back side, while crossing over from one side of the piece of round hardware to the other. This allowed me to sew on a whole piece of hardware at a time, before finishing off the stitch and cutting the thread. (I started with long doubled thread, so that I could sew on and finish off a few pieces of hardware at a time, before really needing to re-thread a new strand of thread.)
I’m happy to say, my boys were thrilled with their new accessories! So much so, that they were happy to model for me, so they could show you how cool it looks sporting these hardware accessories. Take a look for yourself…..

Yup, this is Mama’s boys. And I love it! (Although their triplet sister, and big sister, are just as much my blessings!)
 I think they’re looking cool (with or without accessories), and I think they know it. Rico Suave 1 and 2……no? ; ) lol.
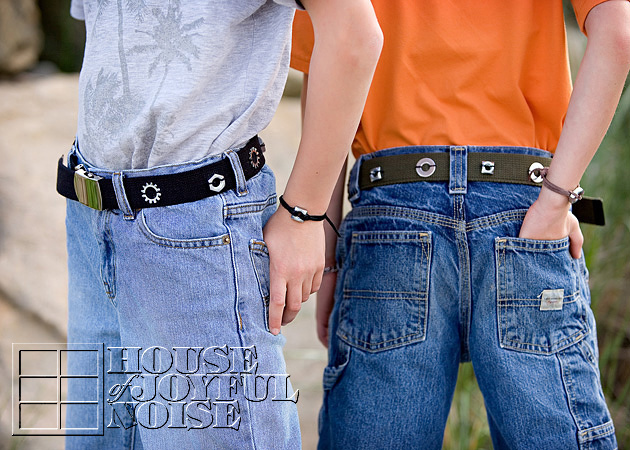 They don’t normally tuck shirts in, but they’ve been wanting to, to show off their belts. Their Daddy tucks his shirts in, all lot of the time. I don’t get it, but I love him anyway. lol
 So there you go: My boys sporting their cool new accessories, Designed by Mama! And yes, I did edit out all of their bumps, scrapes and bruises, acquired by all of the ways boys full of antics get them! But tell me what you think; Is wearing hardware possibly the new cool? Or do my boys just make it look good?
