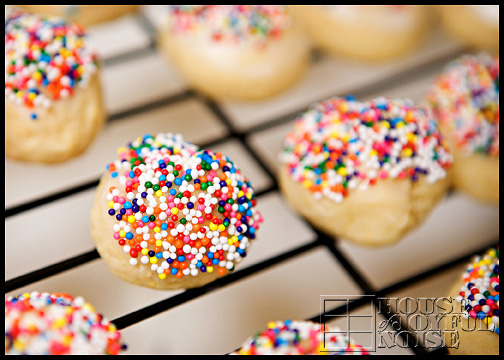
Have you ever seen cookies like these? They are called Italian Cookies, and maybe they are ordinary to you. But the very thought or sight of them, has always made my heart simply swell. The recipe will be below.
My Godmother has made these cookies for me, all of my life. I think she makes them a lot. She may even be known for them in the lives of many people who are in her life. But it doesn’t matter. Whenever she made them for ME, it always felt like such a gift of her love for me.
My Godparents are AMAZING people. Not just to me, but to anyone who knows them. They are the essence of unshakable faith, completely selfless sacrifice, sincere compassion, and always a lot of very unconditional love. As Godparents, they always gave all of those gifts to me. They also truly had a BIG part in forming the foundation of my faith. They were ALWAYS there for me. ALWAYS with some wise words, without judgement. ALWAYS lived an example of inspiration. I have always felt so blessed to be their Godchild. Even though I have always known, I am one of umpteen of Godchildren that they have. Again…a testament of the kind of people they are to everyone. But they have always made me feel like their only one. Now as a grown adult with children of my own, they give that same kind of love to my husband and my children. And my they all feel it, powerfully, just as I always did.
My Godmother is a retired teacher. I have spoken about her in this blog before, I am sure. In the years of her teaching, she reached the hearts of 100’s and 100’s of children. If you were in her student, you knew you were very sincerely loved. And she taught each one with all she had. She instilled in me the love for books, which thank God, my children have been able to embrace as well. When she retired from teaching, her grown former students from all over the world, came to give her their thanks, or sent notes of the beautiful impact she had had on their lives.
When I was a teenager with troubles on my mind, my Godmother was there to talk with me, and she made me these cookies. As an art student, when I came home for the weekend, she wanted me to come visit, and she made me these cookies. When my family and I go visit them, she has these cookies made for us. And when my mother died, she was there for me, and she made me LOTS and lots of these cookies.
So I don’t know if you have ever seen or tasted cookies like these. But whenever I think of them, see them, or taste them…..I am filled with the comforting feeling of her love.
{A} bakes A LOT. And lately, more than ever. I think baking posts like this will become quite regular from her, here on our blog, because it is a big part of her. I will share more about that another time. But suffice it to say, she got the recipe for these cookies from my Godmother, having grown up with her own sense of how special they were. So this is {A}’s post, sharing this Italian Cookies recipe, and how to make them. They are indeed delicious. But it’s the memories of love that the familiar taste of them bring, that we love even more.
~ Laura
~~~~~
Hi Everyone! {A} here now. I am going to share with you how to make these cookies that are very special to us. You will find a printable version of this recipe at the end of the post.
Here is what you’ll need:
Participating Ingredients
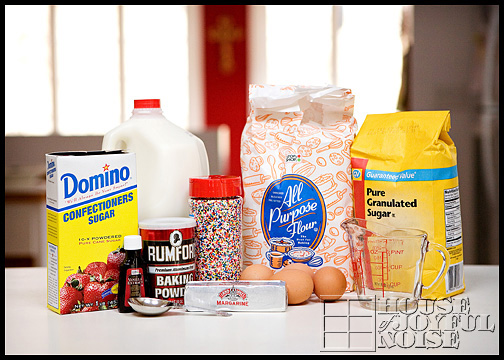
- 4 C All Purpose Flour
- 1 C Sugar
- 2 Tbs. Baking Powder
- 4 Eggs
- 1/2C Land-O-Lakes Margarine
- 4 Tsp. Vanilla Extract
- 1/4 C Milk
- Confectioners Sugar
- A Little Extra Milk for Glaze* This cookie dough was formed by hand. But you can use a Kitchen Aid or other mixer, and it will be much faster.COOKIE DOUGH
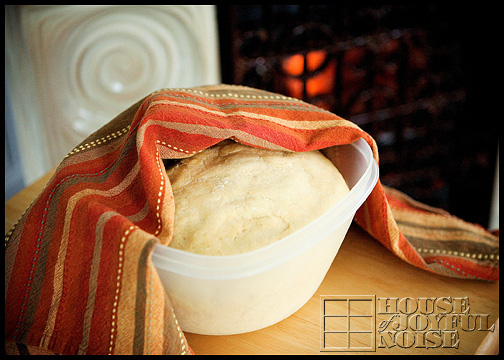
- In a large bowl, put in flour, sugar, baking powder, eggs, margarine, vanilla, and milk. (Add your own special love.)
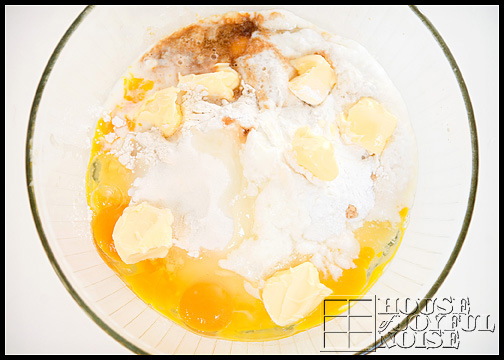
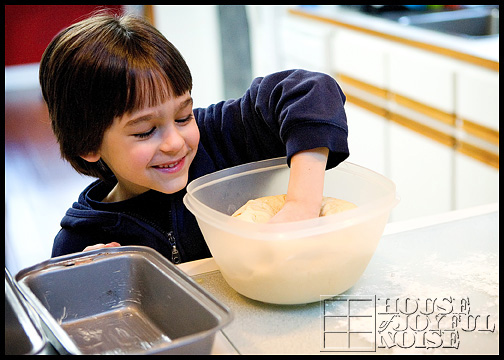
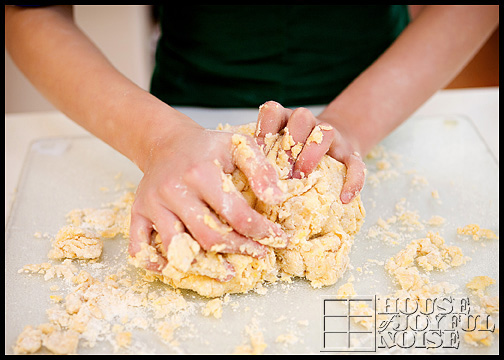
2. Mix it all together with fork at first. Once it starts to form, you can use your clean hands.
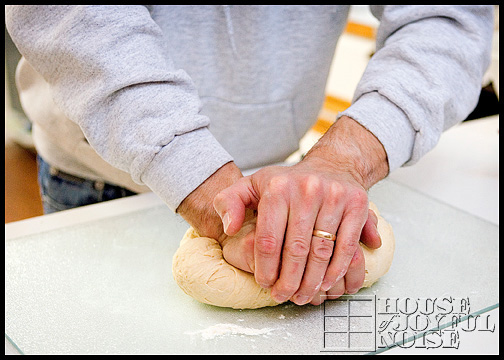
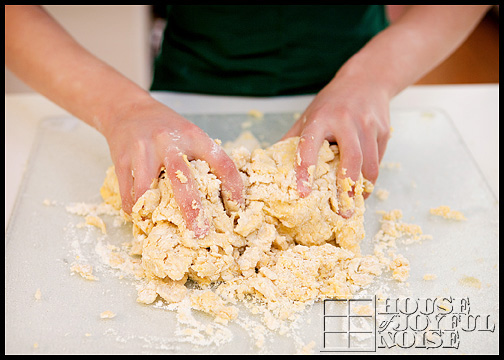
3. Flour a counter or big board.
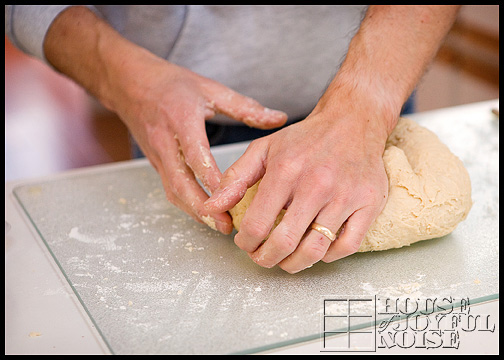
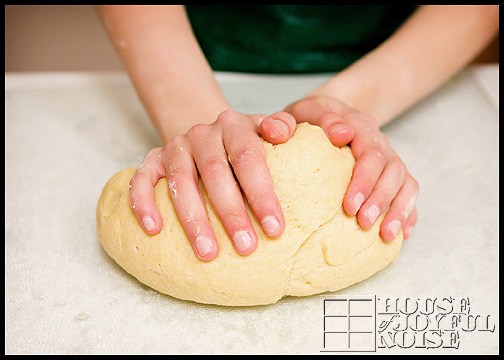
4. Remove dough from bowl, and knead for 8-10 minutes, sprinkling the surface more if the dough starts sticking.
6. Grease baking sheets with vegetable oil. (You probably can use Pam Spray…if you’re a fan of that.)
7. Preheat oven to 375 degrees.
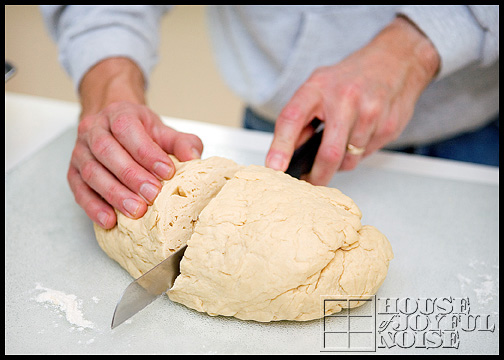
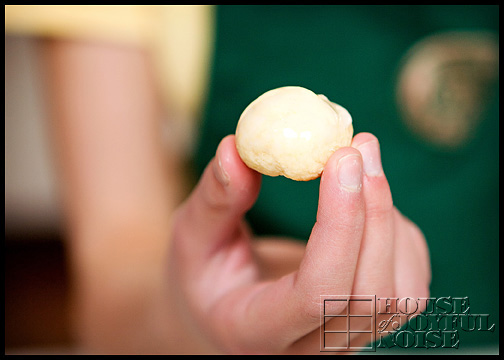
8. Grab a piece of dough, and begin to roll into a ball between the palms of your hands. You want it to be about the size of a chestnut.
(I decided the ones in the photo below are too big. I made them all smaller after Mama took a photo. But see how I am rolling them in my hands into balls.)
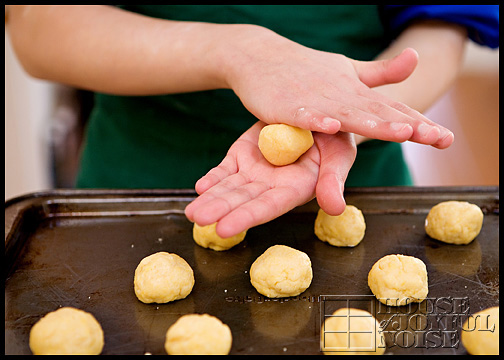
9. Place the dough balls on the cookie sheets, about an inch 1/2 apart, staggered. You will likely have more dough balls waiting for their turn in the oven.
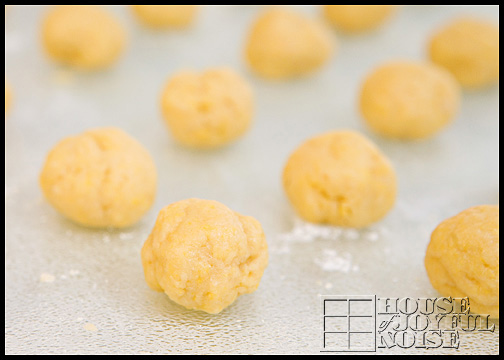
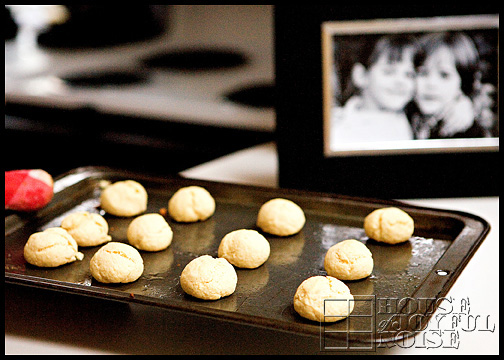
10. Bake full sheets for 8-10 minutes. You want them to be pale, but if you are wondering if they are cooked enough, open one with knife and see if it is baked through well. If not, put back in for 1-2 minutes more, depending on how doughy they still were.
11. Remove from oven………and then place them each on a cooling rack.
GLAZE and SPRINKLES
12. In a small bowl, pour some confectioner’s sugar, and add a little milk. I don’t really measure the sugar or milk here. I recommend adding one tablespoon of milk at a time, and stir well. You want the glaze thick-ish. You will be surprised at how much powdered sugar you need!
13. Pour sprinkles into shallow bowl. Watch out, because these things are ridiculously bouncy!!!

14. Once the cookies are COMPLETELY COOLED, you can start glazing them. We just dunk the top of the cookie into the glaze, lift out, and really let it drip off as best as you can.
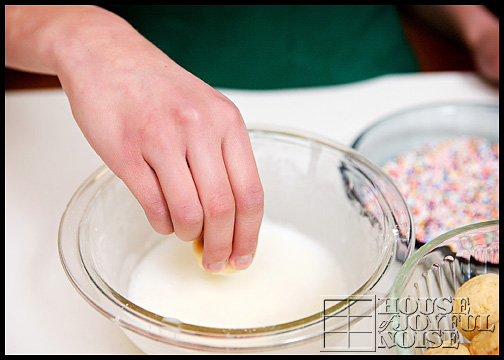
15. Place dunked cookies back on rack. The glaze needs to set a little.
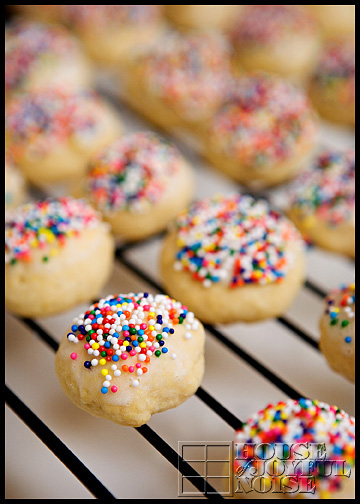
16. Continue dunking cookies, but when keep checking the first ones you dunked, and once you see that the glaze on those is starting to become clear, they are ready for sprinkles! (If you sprinkle them when the glaze is too wet, the colors of the sprinkles will run, and your cookies will be a multi-colored mess. Kind of pretty anyway, but not what we are going for here!)
17. Now to get the sprinkles on the cookies, we think Mama’s Godmother shakes them on out of the container. She has patience like that. But this is how we do it:

Pretty easy, huh?
18. Keep glazing and sprinkling, putting them on the rack as you go.
19. Any air tight container is great storage for these. They are so pretty all together!
* This recipe makes 6 dozen cookies. But trust me, they go fast. (Especially if Mama is around these cookies.) Below is what was left after filling two larger containers.

ENJOY!!!

ENJOY!
I hope you enjoyed this recipe post! You can print it out below.
~ {A}
-
- 4 C All Purpose Flour
- 1 C Sugar
- 2 Tbs. Baking Powder
- 4 Eggs
- ½C Land-O-Lakes Margarine
- 4 Tsp. Vanilla Extract
- ¼ C Milk
- Confectioners Sugar
- A Little Extra Milk for Glaze
- * This dough for this cookie recipe is formed by hand. You can also use a Kitchen Aid or other large mixer.
- COOKIE DOUGH
- In a large bowl, put in flour, sugar, baking powder, eggs, margarine, vanilla, and milk. (Add your own special love.)
- Mix it all together with fork at first. Once it starts to form, you can use your clean hands.
- Flour a counter or big board.
- Remove dough from bowl, and knead for 8-10 minutes, sprinkling the surface more if the dough starts sticking.
- Grease baking sheets with vegetable or olive oil oil. (You probably can use Pam Spray...if you're a fan of that.)
- Preheat oven to 375 degrees.
- Grab a piece of dough, and begin to roll into a ball between the palms of your hands. You want it to be about the size of a chestnut.
- Place the dough balls on the cookie sheets, about an inch ½ apart, staggered. You will likely have more dough balls waiting for their turn in the oven.
- Bake full sheets for 8-10 minutes. You want them to be pale, but if you are wondering if they are cooked enough, open one with knife and see if it is baked through well. If not, put back in for 1-2 minutes more, depending on how doughy they still were.
- Remove from oven.........and then place them each on a cooling rack.
- GLAZE and SPRINKLES
- In a small bowl, pour some confectioner's sugar, and add a little milk. I don't really measure the sugar or milk here. I recommend adding one tablespoon of milk at a time, and stir well. You want the glaze thick-ish. You will be surprised at how much powdered sugar you need!
- Pour sprinkles into shallow bowl. Watch out, because these things are ridiculously bouncy!!!
- Once the cookies are COMPLETELY COOLED, you can start glazing them. We just dunk the top of the cookie into the glaze, lift out, and really let it drip off as best as you can.
- Place dunked cookies back on rack. The glaze needs to set a little.
- Continue dunking cookies, but when keep checking the first ones you dunked, and once you see that the glaze on those is starting to become clear, they are ready for sprinkles!
- - (If you sprinkle them when the glaze is too wet, the colors of the sprinkles will run, and your cookies will be a multi-colored mess. Kind of pretty anyway, but not what we are going for here!)
- Now to get the sprinkles on the cookies, we think Mama's Godmother shakes them on out of the container. She has patience like that. But we dip them in a bowl of the sprinkles.
- Keep glazing and sprinkling, putting them on the rack as you go.
- Any air tight container is great storage for these. They are so pretty all together!
- ENJOY!
~~~~~