The kids and I were recently brainstorming for ideas, to put together a very special package for a certain little boy. It was very special circumstances, that called us to put something together very special, just for him. I wanted to share with you all this idea our oldest, {A}, came up with: Making a no-sew, double-sided fleece blanket for him.
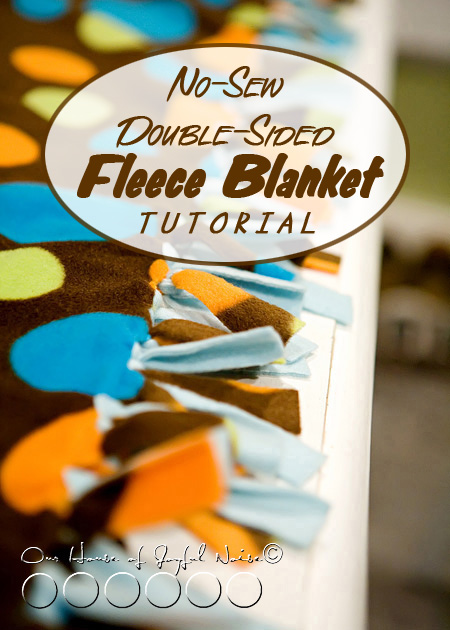
It was the perfect idea for this little boy.
The kids had received fleece blankets like this before, as gifts, and as single layer blankets. But I wanted to see if we could make a double-sided blanket, so that it would have a different pattern on each side. How FUN, right? And it would be double warm and cozy!
It’s really quite easy, and well worth the effort! Maybe this is a home-made gift idea you can use sometime, for Christmas gifts, or birthdays.
They are great for anyone, at any age. From babies to grandparents, and anyone in between. Just change up the patterns to be more suitable for the recipient, and it’s perfect. Who doesn’t use blankets? It can be a single layer too, and would take even less time. It just wouldn’t have a different pattern on the reverse side. They are great as throws for beds, getting all wrapped up and cozy to watch a movie, as a lap blanket while you read, or even traveling in the car. Just choose the appropriate patterns, and a suitable size for whom ever it is for.
Here’s How Easy it is to Make a No-Sew, Double-Sided Fleece Blanket
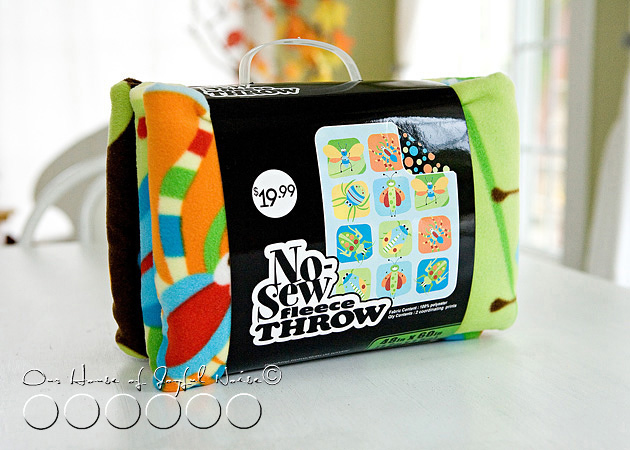 We found this set of 2 different patterns, at Joann Fabrics! I didn’t know there was such thing, and had planned on having to choose 2 patterns separately, and have them cut off the roll to size. So we were pleased to find these available! (I also unexpectedly got it at half price!!) There are a few sizes available in sets. This one was 48″ x 60″. Perfect width and height for a little boy. But you can buy any patterns you want off the rolls, and just cut them to matching size.
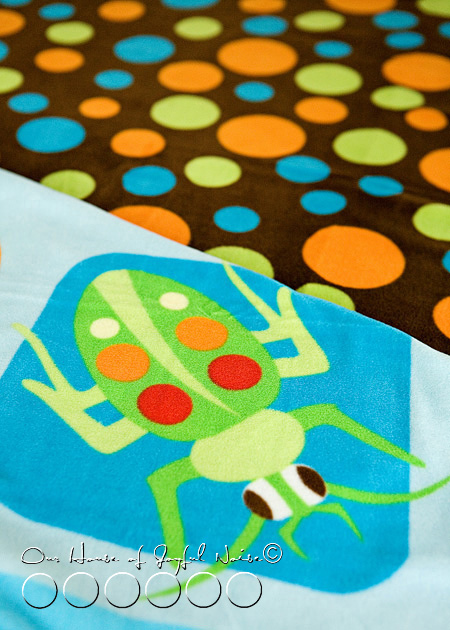
I was tickled with this 2-in-1 fleece fabrics of chocolate brown with colored polka dots, and bugs!
Again, perfect for a little boy.
- The first thing we did was lay it out on a clean table, layering the 2 pieces, one on top of the other, as perfectly lined up as possible.
Then we chose a side to start on, and laid a heavy board several inches away from, but along that edge, to keep the fabric from moving too much.
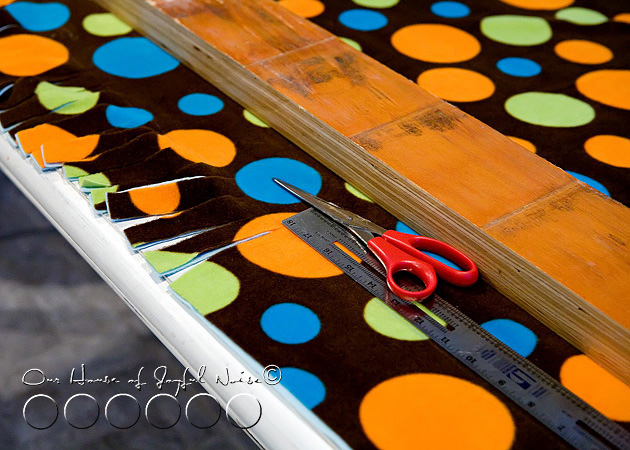
We were prepping to cut fringes through both layers. So using a snapline chalk, we measured up 5 inches from the edge, and snapped a chalk line across from one end to the other, to indicate where to stop cutting, so the fringes would all be the same length. This would create 5 inch long fringes, minus what is taken up when we knot them. Then we measured in from each corner 4 inches, and cut 1 inch wide fringes, all the way across in between. In other words, we stopped cutting fringes 4 inches from each end. This would leave you a squarish block piece on all of the corners, for now. We’ll get to why we did that, in a bit.
Now, if you don’t have a chalk-line to mark things off, you can use a ruler and chalk per usual. But this was faster.
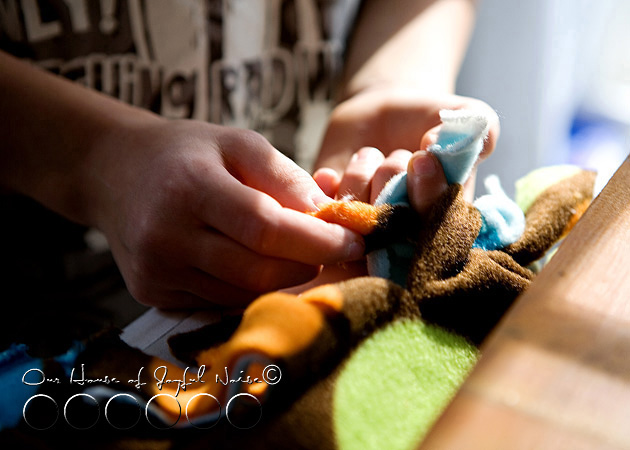 Then, we just started tying each top layer of fringe piece, to the bottom layer fringe piece.
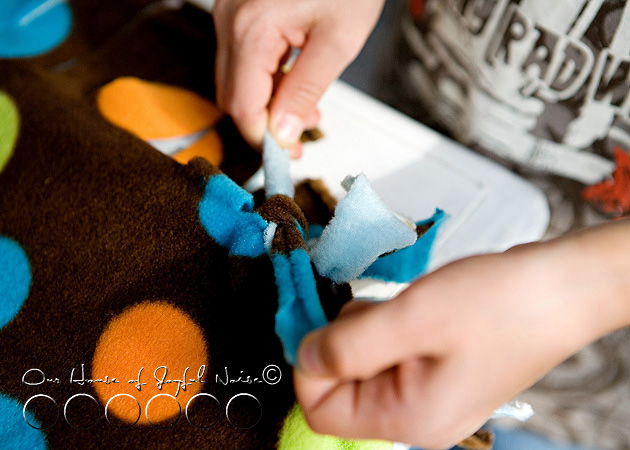 Now because this blanket is 2 layers, the fringe pieces need to be double tied. Or else it would just un-tie.
But if it was a one-layer blanket, you would just knot the one piece of fringe, and once, would do.
You get me? ; )
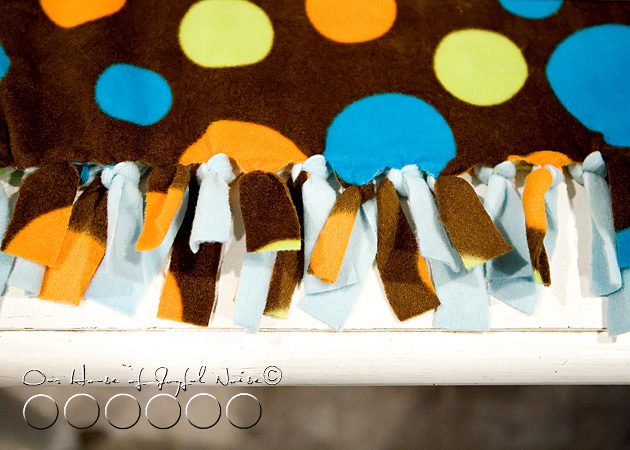
This is how it starts looking.
–
There can be a cool little technique here, where the print of the same side can show most. or the other side. While tying it (like the beginnings of shoe tying), I found whichever side you stuffed through the whole, is the side that ended up on top. I wanted the opposite side showing, so I made sure to stuff that piece and pull it through to on top.
Now you even get that, or you don’t. Either way will not ruin your blanket. This project is virtually fail-proof!
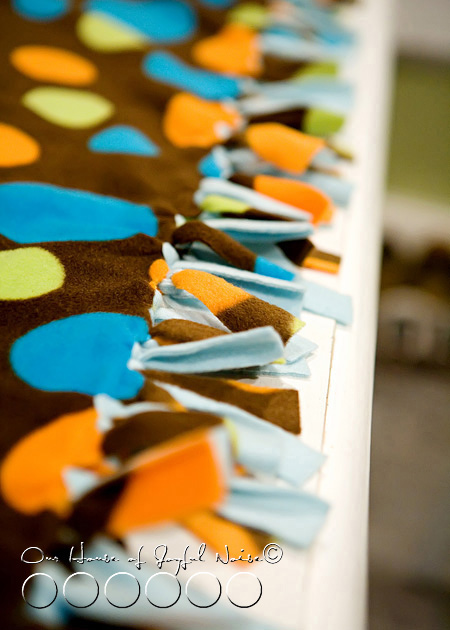
This is done all the way down, to your 4 inch corner piece.
The same process is done on every side of the blanket. Again, stopping 4 inches for each corner.
Now what to do with the 4 inch corners: We just cut 1 inch fringes, on angles, to go around the corner. I think it was 3 cuts, creating 3 more fringes. Just make then 1″ -ish wide, like the others. This was to create a rounded corner blanket. It IS an option, to just make fringe cuts one inch apart, all the way to the end, on 2 ends, to make the whole blanket more rectangular. If you do it that way, I would do one whole side first, and then the opposite side, so they are the same. Then work on the other 2 sides.
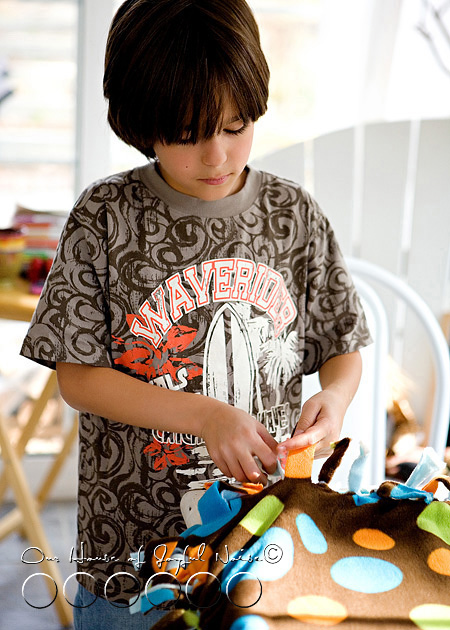
Cutting 2 layers of fleece at once was a little hard for the kiddos, but they were very helpful for tying! They took a lot of care with their work.
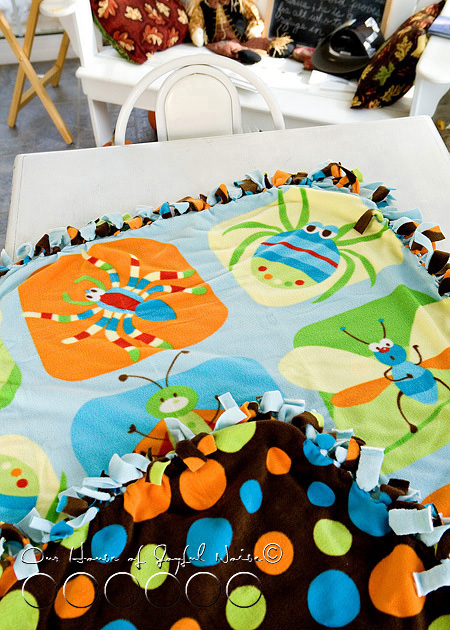
Look how cute! I just loved the colors. And the bugs. And the polka dots!
We were really happy with how it came out.
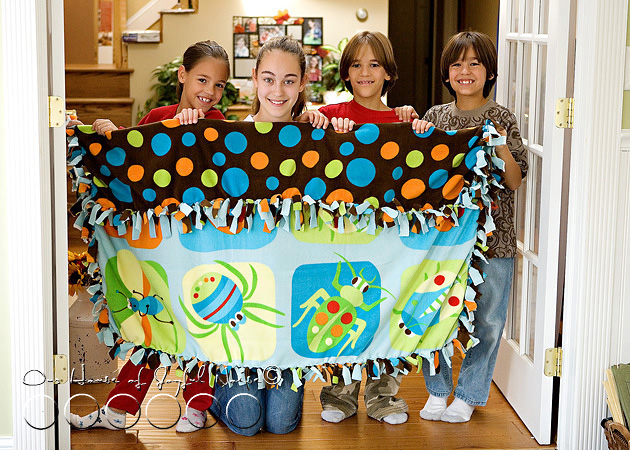
The kids were really excited to send it out to our special gift, to this special little boy, along with some other gifts. It was a big package.
We hope our home made blanket warms his heart, as much as it warms him, head-to-toe.
It was certainly made with love!

Can I made a fleece blanket like you have shown us EXCEPT can one side be a matching cotton fabric. I have some material that goes perfectly with some fleece fabric I have but it’s a nice cotton. I’ve got it laid out but before I start cutting the edges into strips, thought I’d better ask someone.
Hi Ellis,
I am sorry I am just seeing your comment. In answer to your question, I would say I don’t see why not. My only thought that you think may or may not be a problem is, the thread strands that may come off of the cotton fabric, from being cut? Especially when washed or dried, but maybe just from use. I would suggest cutting fringes on a scrap piece of that cotton fabric, and test it out, before making a whole blanket.
Hope that helps.
– House of Joyful Noise blog
Fleece is so easy to use, warm and snuggly! I sure do wish it was a natural fiber, though.
What a great blanket! I love those so much! I have made several as gifts in the past and have a stack of fleece sitting next to me as I type waiting to be made into more! My nieces requested bigger ones this year for their birthday since they have outgrown the ones I gave them as little girls! Way to go you guys! 🙂