It’s the most beautiful time of the Fall season here in New England, with tree foliage at the peak of their most vibrant colors, on show. Soon, the leaves will be falling all around us, and swirling around our feet, as we go from here to there. The gardening season for this year, is surely all but behind us. Looking back, we’ve had a wonderful and productive season, for which we are very thank for.
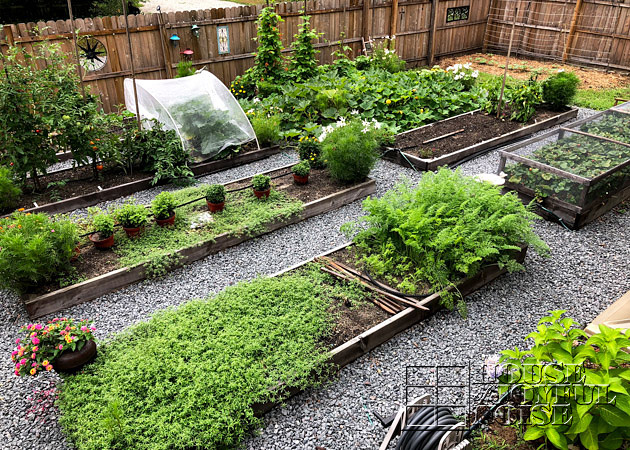
(August 2018 – when all was thriving.)
Now that we are well into this Fall season, where all that grows comes to the end of life, little by little the Fall clean up in our organic gardens has been done, and all looks barren and just about ready for a long winter’s nap.
One of the last fruits of our labors to reap, is the harvesting of our organic, non-GMO carrots!
–
Harvesting Carrots
Everyone has their own ways of doing things when it comes to harvesting and processing the vegetation that comes from their gardens. You just tend to find a system that works best for you, with a little experience. In this post, we thought we would take you through how we get our carrots from the ground to the freezer, in the way that we find to be the fastest and easiest manner.
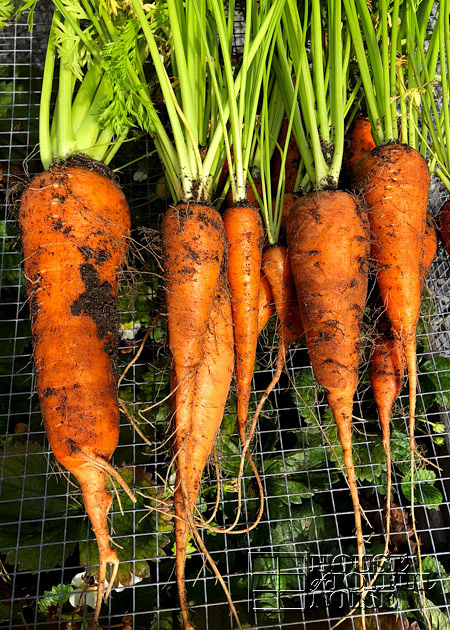
In the spirit of sharing, the variety of carrots we have been growing are Shin Kurodas. The bright orange roots of this type of carrots typically grow five to six inches long. But honestly, we have pulled up a wide range of sizes, depending on how close they are grown together, or how long we have left them in the ground, growing, since we often harvest as needed; ground to table. This type of carrot is stump-rooted in shape, and are tender and sweet flavored.
–
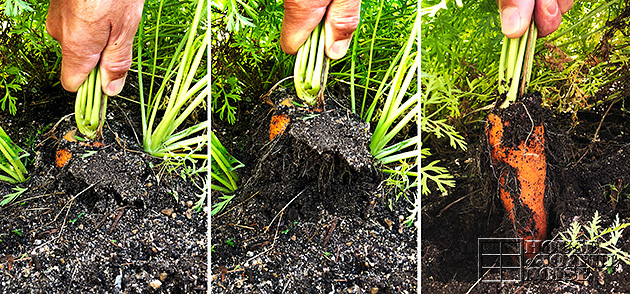
As fun as carrots are to grow, they are even more fun to harvest! It’s rather exciting to them pull up out of the earth, one after the other, and see how big (or small) each one is going to be. Ripping the roots from the ground is also rather therapeutic and gratifying, if we do say so ourselves. (Fall clean up in general, is gratifying, in that light.)
–
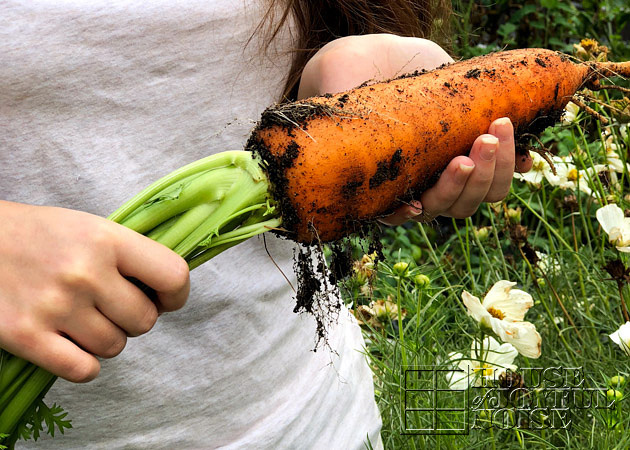
Here we have one of the biggest carrots we have grown to date. It was mammoth, compared to the others.
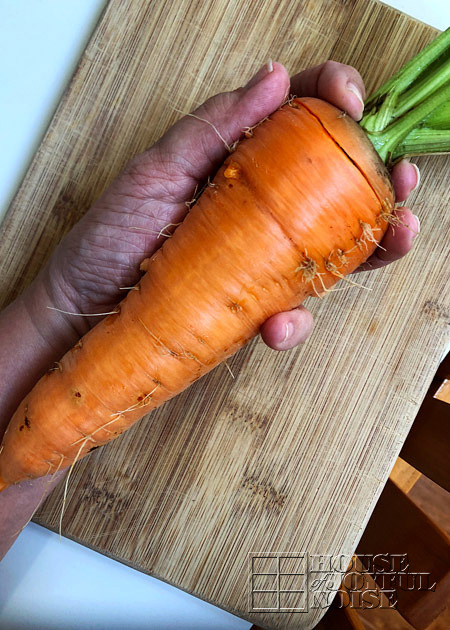
I’d say it was well over 9″. It had a healthy girth, as well. Me and O couldn’t even wrap our fingers around it towards the top.
(Although admittedly, us girls don’t have the biggest hands.)
O.k., let’s get to our process.
–
From Dirt to Freezer:
Our Process of Harvesting Carrots
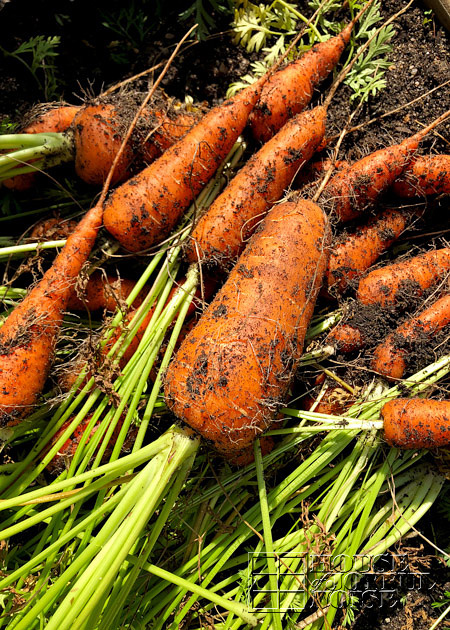
Cleaning the Carrots
Let’s face it. When it comes to the roots, it’s a dirty job! And harvesting carrots is no exception!
There was a time I would haul them all to my kitchen sink, and battle the subsequent mud and hairy roots as I rinsed and scrubbed carrots.
What a mess! I really don’t need that much earth in my kitchen, at any point, for any reason.
So I came up with a better way. A MUCH better way.
–
The Pail!
A simple pail of water, outside, for a good pre-bath!
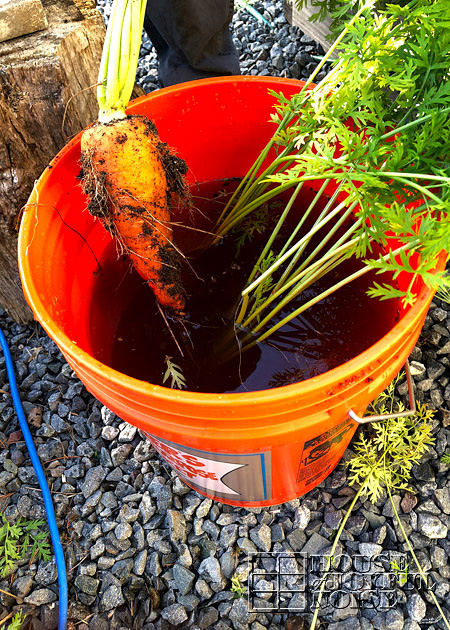
Just regular hose water in a pail, will do the trick, and make the job in the house a whole lot easier.
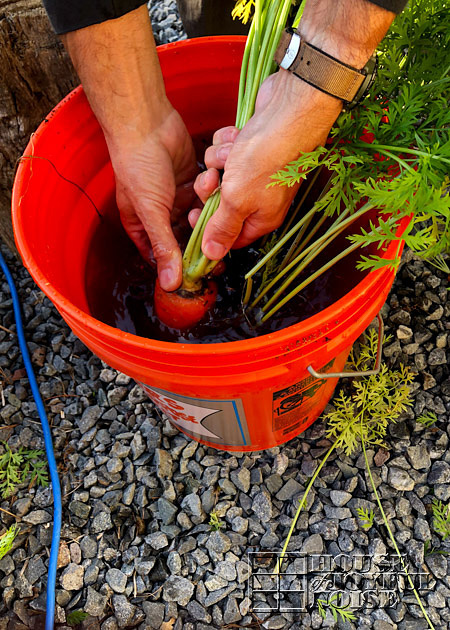
Every carrot gets dunked . . . .
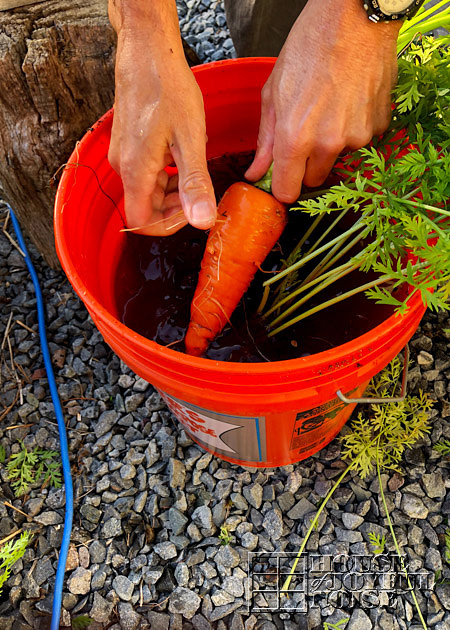
. . . . to hand wash off most of the dirt, and pull off most of the hairy roots.
They don’t need to get completely clean, as they’ll get scrubbed clean in the kitchen sink later.
But enough to remove most of the dirt before they go in the house.
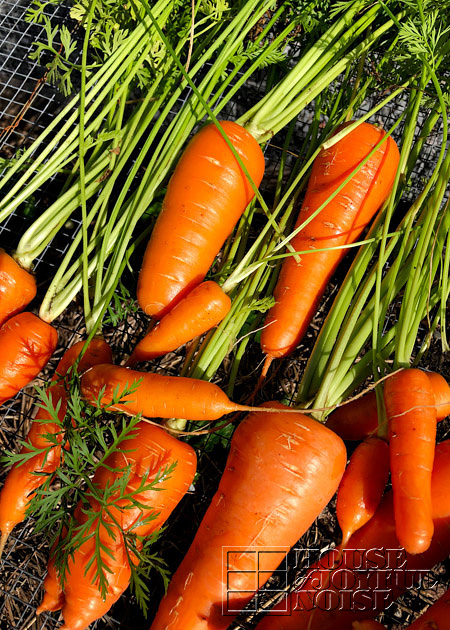
MUCH better Wouldn’t you say, too?
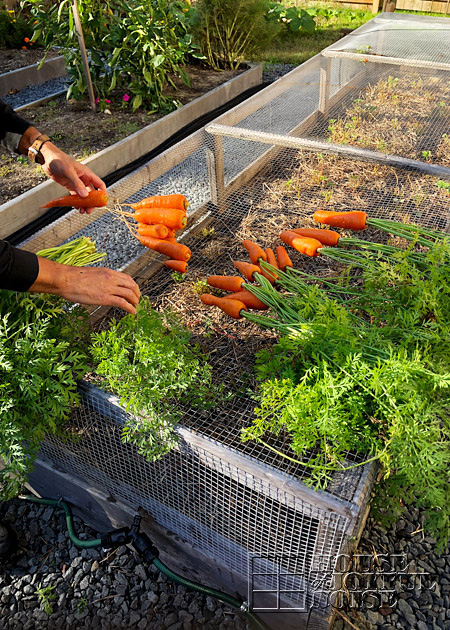
We just throw them on top of the strawberry bed cover right behind us, which is a perfect area for them to drip-dry.
And while they are outside, we also twist off all of the carrot greens. Carrot greens can be eaten, although we haven’t yet. They can be stir-fried, or thrown into soup.
But we know some other creatures who appreciate them even more than we would.
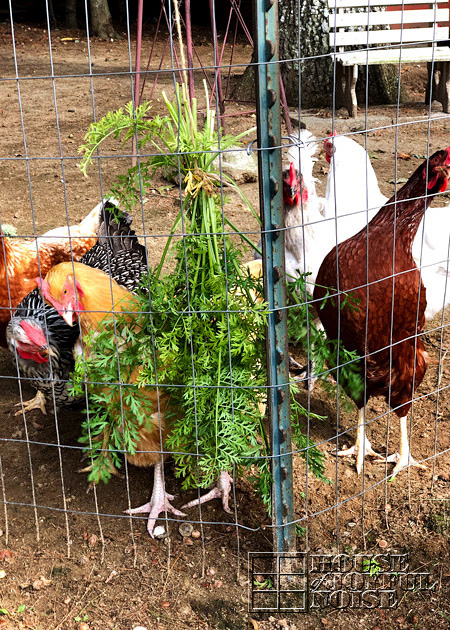
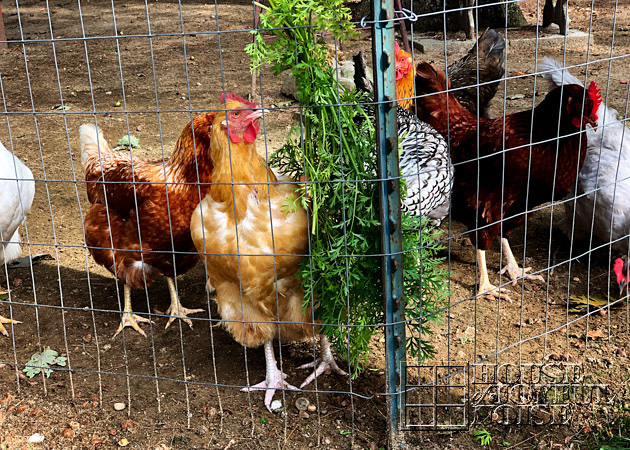
We tie them up in bundles, and hang them on the fence as a real treat and a whole lot of fun, for the chickens.
They are usually gone in a matter of minutes. Chickens don’t know how to take their time and enjoy something. They are too worried about someone else taking whatever it is from them, before they get gobble it up themselves. From our observations, there is not much spirit of shaing among chickens!
–
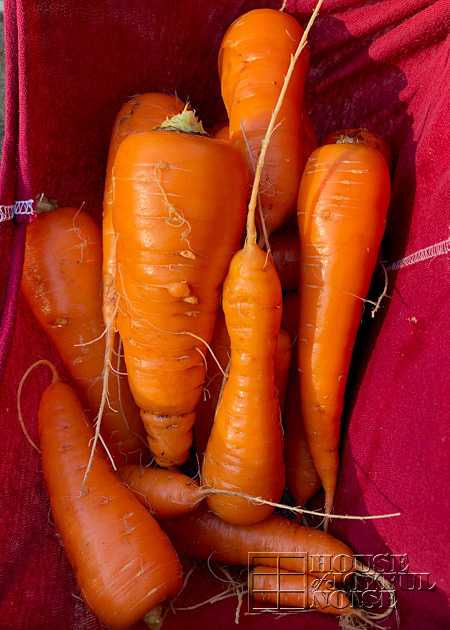
Then the pre-washed carrots go inside, to get finished up.
–
The Sink Scrubbin’
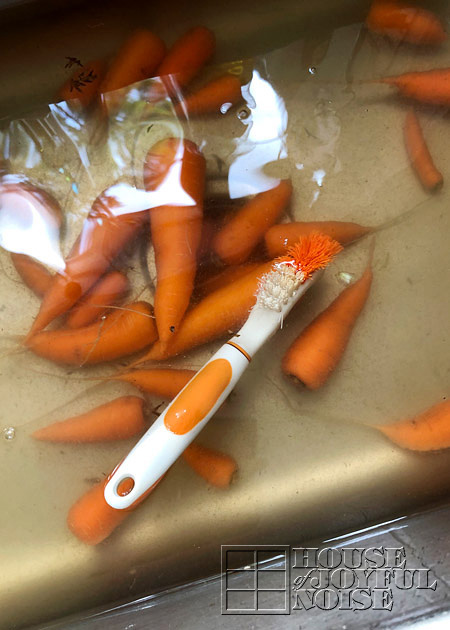
It’s really nice to be able to at least see into the water! No more fishing for carrots, in the murky waters, or a mud-covered sink, when the water is drained.
We have the perfect brush that gets the last bits of dirt out of the creases. (I’m not a freak about it. A little organic dirt never hurt anyone.)
–
Time to Get Choppin’
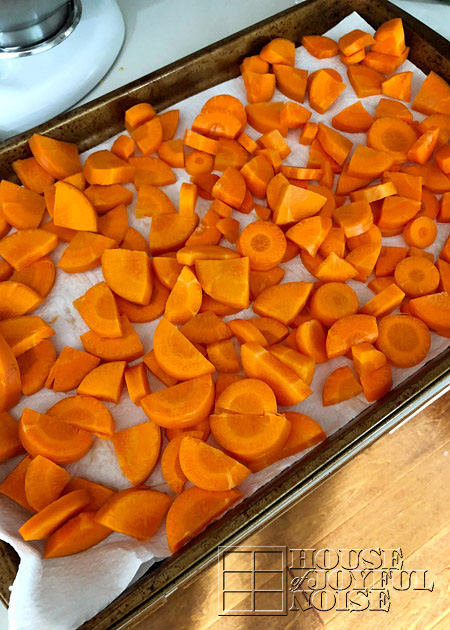
All of the carrots get sliced in a fairly consistent thickness. If it’s a very fat carrot, I slice it in half the long way, and maybe even halve that, before slicing them. This helps them all cook or steam evenly later, if they are all relatively the same size.
Since we freeze most of our carrots, I like to spread them all out on a cookie sheet lined with paper towel, and leave them to dry for awhile. That way they don’t freeze into an iceball in the freezer once they are bagged.
–
Bag ‘Em!
I just use zipping freezer bags in the quart size, to freeze the carrots in batches.
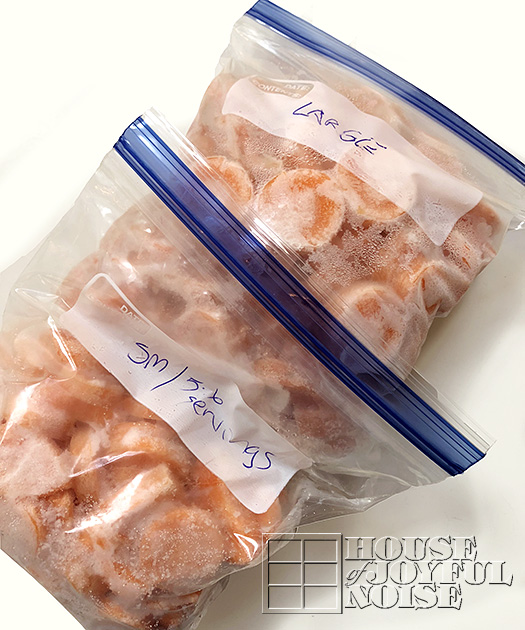
The SMALL batches are for having carrots as a side dish with a main meal. So I put enough in a bag for 5-6 servings.
They can be thrown in a steamer and be ready in no time.
The LARGE batches are to have on hand and throw in soups, stews and things like Chicken and Dumplings. etc.
–
*WHOA!*
I had to come back to edit this post! I almost forgot to share another tip about freezing things in bags. You want to get as much air as possible out of the sealed bag, before freezing. This helps reduce or eliminate any ‘freezer burn’. If you don’t have a vaccuum sealer (as I don’t), here is the trick I do instead:
I use a straw! I actually have a steel straw, and it works great out. You just put the straw in the bag, at the end of the otherwise sealed bag. And you suck all of the air you can out. I cover the tip of ther straw as I go to exhale all of the air I sucked out (Since air will re-enter the straw, and work against your progress.) Just keep doing it until the bag is fairly air-free, and things appear ‘vaccuum sealed’. Then pull out the straw while simultaneously zipping the bag closed. Make sure the seal is closed tight all the way across, and it’s ready to be tossed in the freezer.
–
So as you can see, growing carrots and taking them from the dirt to the freezer is not a whole lot of work, and well worth the effort to have as an organic orange vegetable on hand, all year long.
Thanks for coming by and playing in the dirt with us, to check out our post on carrots today. If you have any thoughts or other tips, please share them down below! We’d love to hear anything you have to share.

I’m so excited to learn you don’t have to blanch first. Looking forward to trying this.