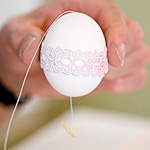
A couple of pre-Easter seasons back, we blew out and decorated eggs, and prepped some for hanging. I took lots of photos of the process of the way we did it, but never blogged it for you all. It’s not all that hard. And the best part is, you don’t have to figure out what you’re having for dinner that night! You’ll have a bowl full of egg yolks, ready to scramble. : ) Breakfast for dinner! We do that sometimes around here.
Scroll down to read and see just how simple it is to blow out eggs, and string them for hanging after decorating them.
When you’re done reading through, the above collage is the perfect Pin It image for these tutorials.
(Hint, hint. ; )
So let’s pierce some eggs.
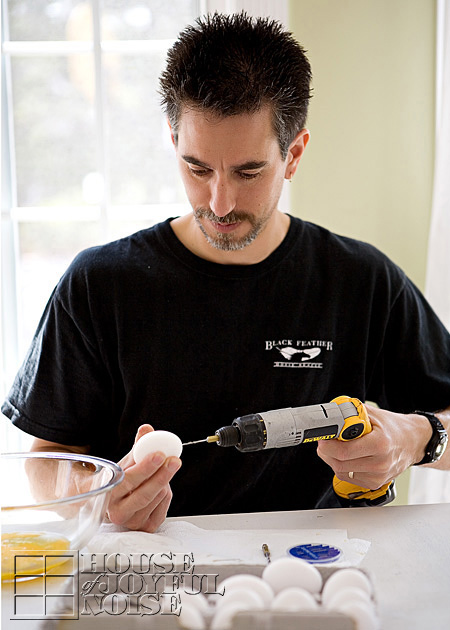
Using a drill makes putting the holes in the egg very easy. Use a 1/16 drill bit for the top of the egg. This is the smaller hole.
On the bottom of the egg, make a slightly bigger hole, using the 1/8 drill bit.
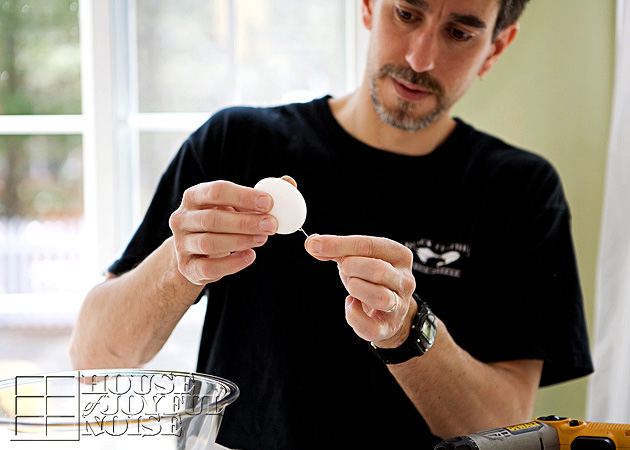 Next, use a long pin in the bottom/big hole, and move it around and jab in and out, to break up the yolk sac some.
Now it’s time to blow that yolk out.
 We let the kids take turns blowing them out. They thought it would be so fun. But I was worried their head would explode, seeing how red their faces were getting! I was like, “Oh my gosh! Breathe!” Ha ha ha.
It took them a little bit to learn how to direct the air from their blow, into the hole. You need to do that best you can. You can also try a syringe, to push air through. Once the yolk starts coming out, it comes out pretty fluidly.

Plenty for our family of 6.
So after you have blown all of the eggs you want hallowed out, you’ll want to wash them off and out a bit. Run them under warm water, getting water inside the egg too, and shake them some, to wash the inside of the egg. Drain them as well as possible. You can then put them all on a plate in the microwave for microwave them for 10-15 seconds
Now you can decorate them. It is a little tricky to dip-dye the hallowed eggs, because they tend to float now. So if you are dyeing them, you’ll need to keep it submerged with a spoon or whatever. Of course, there is a host of other ways you can decorate eggs. And remember, since these are blown eggs, you’ll be able to keep them! So consider drawing on them, doing a little decoupage with dried flowers, using Washi tape, or embellishing them in a number of ways. Just use your imagining and have fun.
If you’d like to hang your hallowed eggs, here is how you can string them:
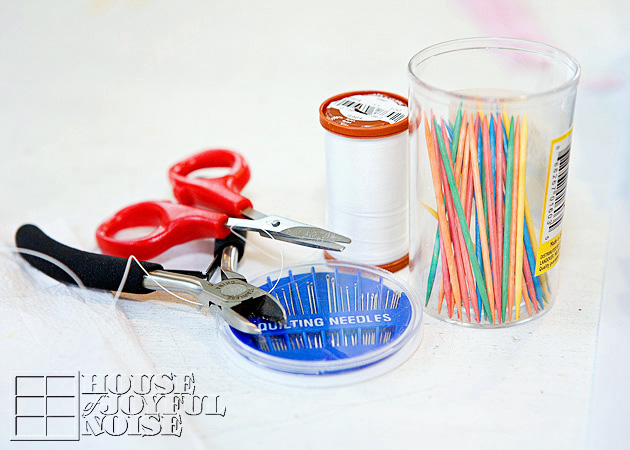 These are helpful supplies to string your eggs:
- strong thread
- eye needles
- little scissors
- toothpicks
- small (wire) cutters. As you have probably caught on by now, my husband was the executor of this project this day, while I was the photographer.
(Please excuse my husband’s hard-working hands in these detail shots. Love this man so much, for all he does for our family. And then he does fun things like this with us, too.)
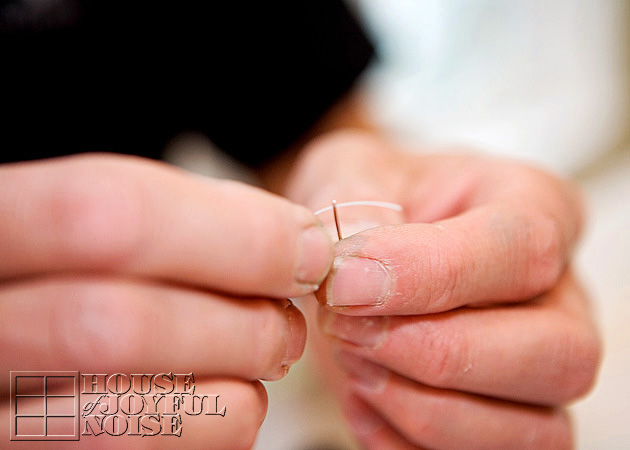 Thread one of the larger sized needles, and tie it off as a single thread.
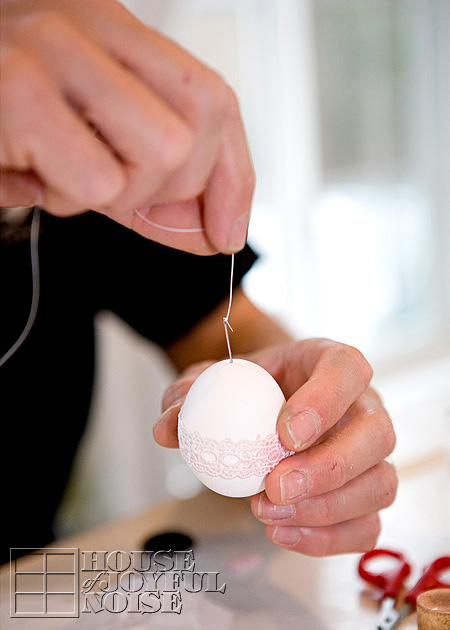
Insert the threaded needle in through the top of the egg, all the way, but leave plenty excess out of the top for hanging later.
Now it needs to come out the bottom, and as you can imagine, it would be challenging to make the needle do that.
So here’s the trick . . . . .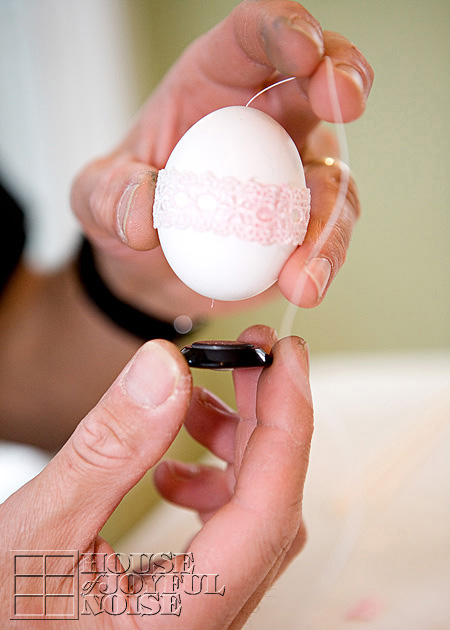
Hover a magnet underneath the egg at the hole.
You can gently shake the egg as you do this, to try and get the tip of the pin to the hole as well.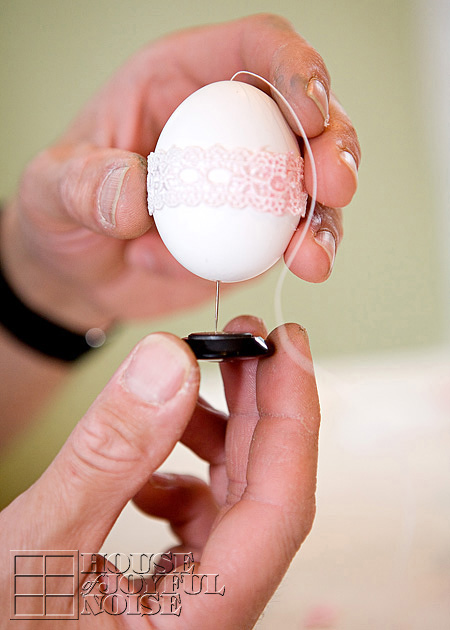
The magnet will draw the the threaded needle down out of the hole.
Cut the pin off the thread now. You won’t need it anymore for this egg.
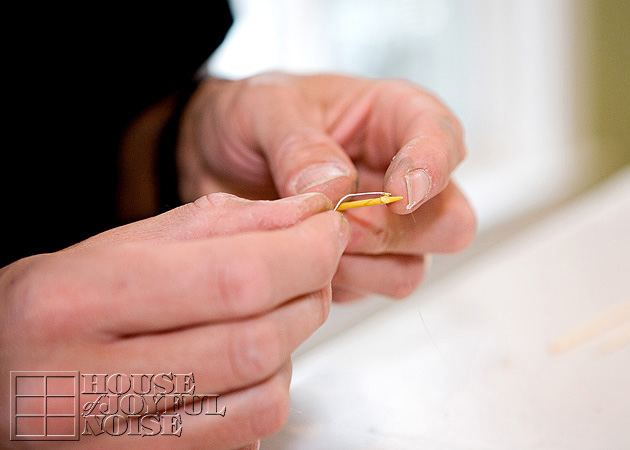 On the same end of the thread that you cut the pin off, tie on a toothpick, and wrap the thread around it, as shown above.
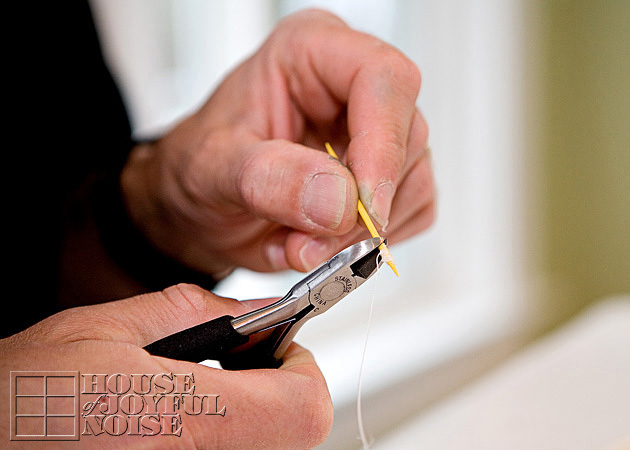 You only need that little piece of toothpick where the thread is wrapped, (maybe 1/2″ or a little more) so you can cut the rest off using your cutters.
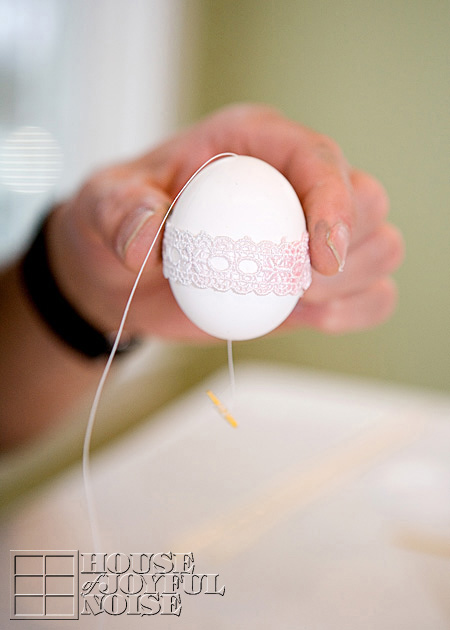 So now you have this little piece of toothpick, tied onto the thread, that is coming out of the bottom of your egg.
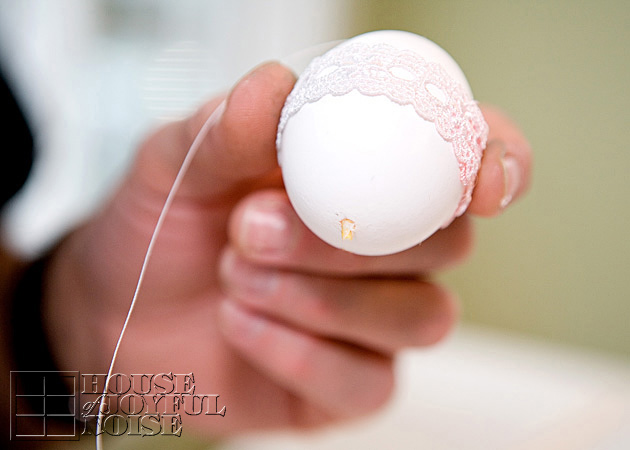
Now carefully push the whole thing back up into the hole of the bottom of the egg. Let it fall in all of the way.
This will act like an anchor inside the egg, for the string coming out of the top of the egg, to hang it.
So with the single thread coming out of the top, tie it in a loop, to hang your egg.That is the process you do with all of your eggs. If you don’t wish to hang some or any of your eggs, of course you won’t need to string them.
All of it is fairly quick, and you’ll have your beautiful decorated eggs for years to come.
Here’s how we have used some of ours:
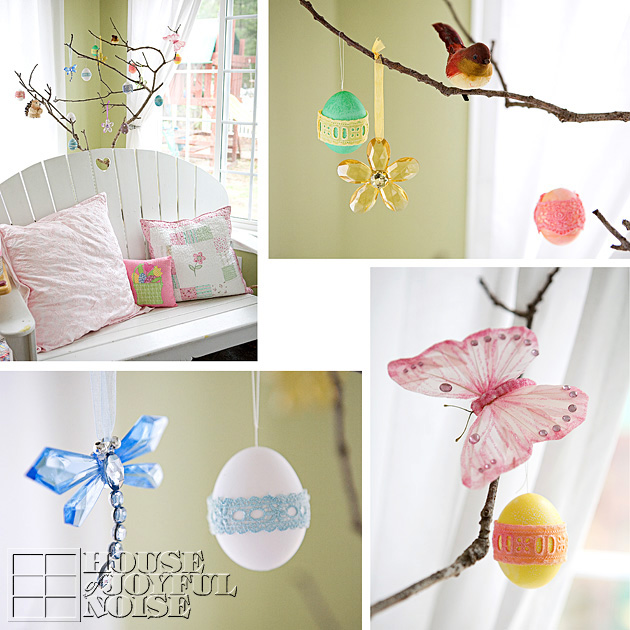
Hung on an Easter Tree.
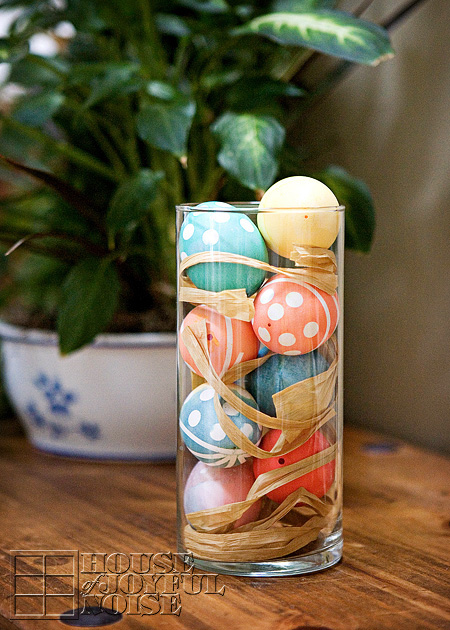
In a glass cylinder vase, with some pieces of Raffia paper.
What ways will you use yours?
I am considering making some more this year, decorating them in a new beautiful way, possibly personalizing some, and giving some of them as gifts!
We hope you found this tutorial helpful and learned some tricks that will help you blow some eggs of your own, and maybe string a few as well.
Thanks for coming by! May your Easter celebrations with those you love, be beautiful!
* * * * * *
Please come follow me here and there:
This tutorial was shared at Joyful Homemaking’s Think Tank Thursday Link Party #230!


What a great tutorial. I found your blog post via Pinterest. Glad I did. I’m writing a blog post myself on Easter decorations. I’m going to mention and link to your tutorial here.
Thanks! And have a great Easter holiday!
Hey Nicole! We’re glad you really enjoyed our post! Thanks so much for sharing the link to it in your upcoming post. We’ll get a ping-back so, we look forward to reading it. Wishing you and yours a blessed and Happy Easter, as well. 🙂
Laura and family / House of Joyful Noise blog
I raise chickens and decided to blow out some of the eggs as they are different colors and sizes. I found on line a handy little item that the people who make those Russian or Polish painted eggs. It is a Blas Fix tool. (I think that is the name.) There is a tool that cuts a hole and then another one to blow it out without having to faint! It makes one hole. however for your project you could cut two holes. Its very easy to use for a 10 year old once they get the hang of it. It cost about $7.00 and makes quick work of the initial phase of your beautiful eggs! I would love a tutorial or short explaination of the eggs in the glass jar too though!! I always enjoy your posts!
Yes, Mary! Someone JUST told me about that tool, the other day! Looked quite handy indeed, and I think we’ll have to get us one.
The eggs in the glass jars were just using a PAAS coloring kit. You know, with the little colored tablets, in some vinegar and water.
Egg coloring and decorating is so fun, and I especially enjoy taking photos.
I’m so glad to hear you enjoy our posts! We appreciate YOU, and your visits!
Have a blessed & Happy Easter!
~Laura / House Of Joyful Noise
LOLL, It´s German. Blas fix means Blowfix and if anyone can´t find it online: It looks like an accordeon balloon thiny that has a crooked extension featuring a needle which you insert into the hole in the egg from beneath. That needle is supposed to destroy the yolk and then you use the bulb thing to blow air into the egg achieving overpressure which chases the contents from the egg.
Just make sure you point the hole down unless you want your kitchen splattered…
It´s great though! Have fun NOT fainting!
Freddie
Thanks for the little education Freddie! It does sounds like quite the handy gadget.
We appreciate your visit, and the knowledge you took the time to share with us. 🙂
The Richard Family / House of Joyful Noise
Great step by step! Thank you so much~!
You are quite welcome, Jessica!
Thanks for coming by. : )
You said the magic words: Breakfast for Dinner. I love doing that 🙂
Us too, Julie.
Omelets….pancakes….egg, vegetables and cheese roll-ups….yes.