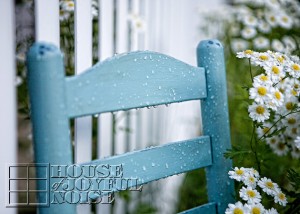
There’s been these 3 little chairs, sitting in our basement for years now. One of my husband Michael’s clients offered them to him, knowing we had triplets, and thinking maybe we could use them. They are about toddler size. So he brought them home, and they’ve been in the basement ever since. I’ve never been a primary-colors kind of girl. I thought maybe I would repaint them or do something with them at some point, for the kids, or maybe as available props for my photography studio. But, I was just never inspired to ‘have-at’ them.
Until of course, I was.
 I know these are ugly. Please don’t leave! I promise you, it gets much better! We were hauling out all kinds of things out of our basement that needed to GO, for our yard sale. Michael put these chairs out there, and when I saw them I said, “Hey! We’re not selling these! I could make them into cute little garden chairs!” Well then….there was my inspiration. The idea hit me for the first time, and flew out of my mouth. (As most thoughts do, if you must know. But I’m getting better.) As so as it was, I was finally inspired to do something with these 3 little chairs.
The challenge was the primary colors of paint that was already on them. Yes, I was going to paint them anyway, but I was NOT going to NOT distress them. And I sure as heck was NOT going to strip them. They didn’t mean enough to me, to work that hard. I mean, I love to paint, and to sand, and even to wax. But stripping off paint? Not so much. So the primary colors underneath were staying, and I was starting to imagine, they were going to look pretty cool when I was done!
I’ll say right here, that I didn’t take photos of every step of the process. But I think you all know what painting and sanding looks like. I DID take a whole bunch of photos of the chairs all done though! Lots. Those are the more fun photos you all like to see most, right. Because there was no special complicated process. I will tell you just how I did it right now, which was easy as 1-2-3, and then you can see so many photos I had so much fun taking as well, simply to show you.
Since I had 3 chairs, I thought it would be perfect to use the cans of the 3 colors of Annie Sloan chalk paints that I still had: Provence, Versailles, and Paris Grey. So, 1) I painted each one those colors. It was actually very scattered painting sessions over a period of a few weeks, and my girls helped some too when they wanted to. 2) Then I distressed them to my liking. (That means, a lot of sanding. ; )
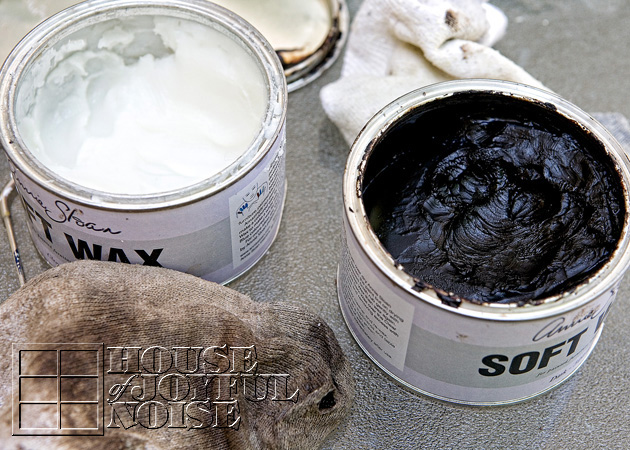 3) Lastly, I waxed them with my Annie Sloan waxes. It was especially important for them to be waxed, because I knew they were going to be left outside in all kinds of weather. So they needed some kind of protection, to preserve all of my efforts, of making them into cute little garden chairs around our homestead. I did wax each chair one at a time, from start to finish. First I did the clear wax all over a chair, let it set up a bit, but before it was completely dry, I worked in some dark wax where I wanted it, to give them a more antiqued, aged look. It kind of has to be done that way, because the dark wax is potent stuff. It only takes a little bit, and if the clear wax is too dried, it is hard to rub off – or even rub around, the dark wax. So that is always the little bit tricky part, as well as wicked messy and sticky and stinky. But I’ll tell you what, this point in my project process really proved even to me, how much I love furniture refinishing! Because it was also sunny and hot this day. But I was out on our deck working away in the sun, sweating my a*# off (but wouldn’t you know it, it’s still all there!), but singing and rocking out to the music, with that nasty sock on my busy hands, and having a ball!
Or I might of been high on wax fumes. Hard to say. But it was fun! That much I’m sure of.
Not much chatting left. Just a ton of photos, and some tidbits I think you might like to know.
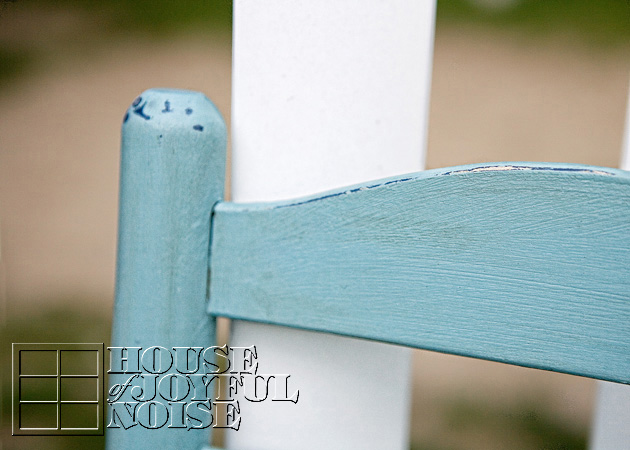 Here you can see a couple of things, that really make these chairs beautiful to me. Knowing the primary colors underneath were going to show, I was careful in deciding which paint color was going on which chair. So here is the (Annie Sloan) Provence, on the dark blue. You can also best see in this photo, the dark wax work, that helps make the chair look more aged.
And a bunch of photos, where I have this one right now . . . . . .
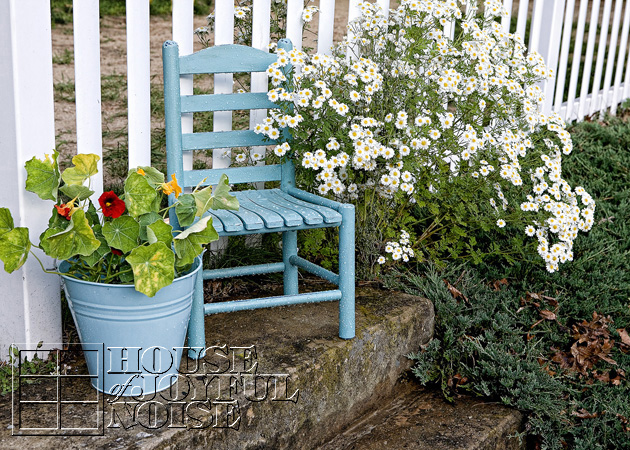
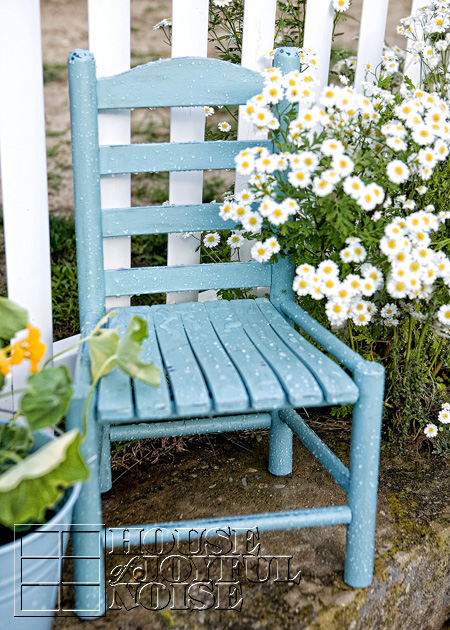
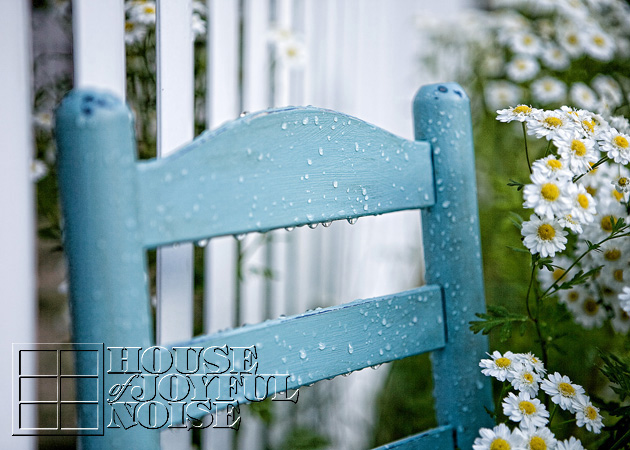
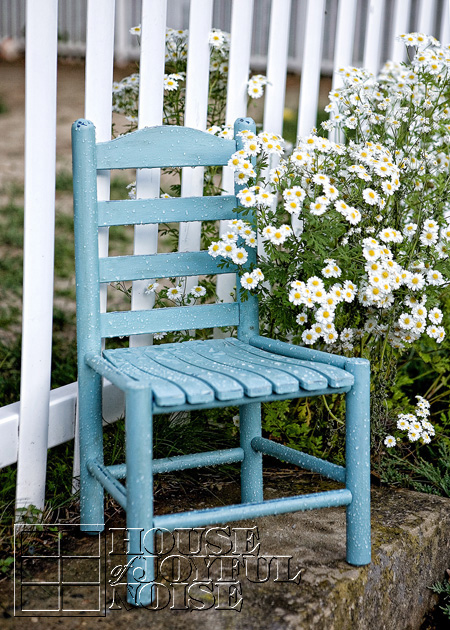
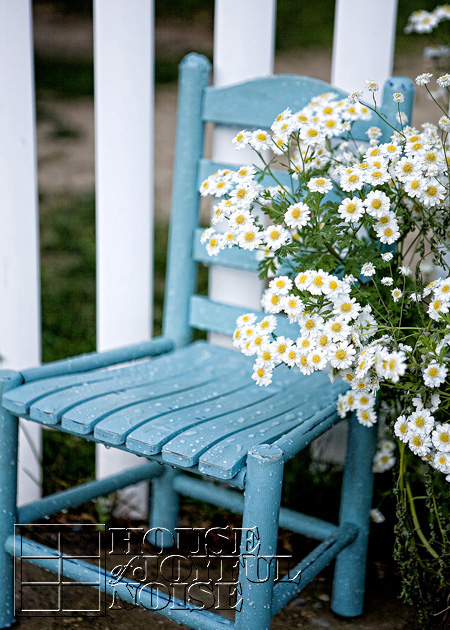
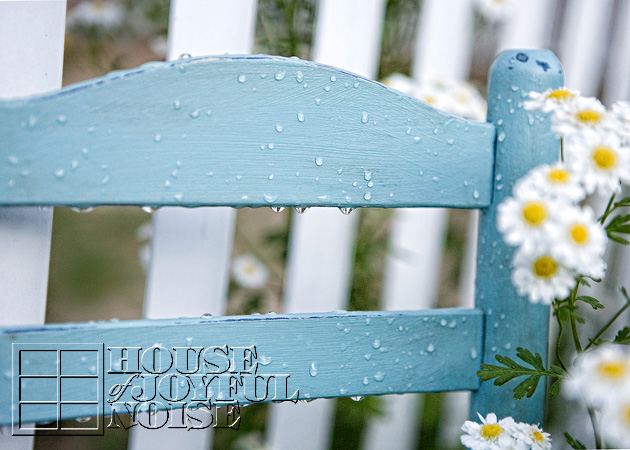 Do you love it? I do!! I love the color, and I love where it is, with the daisies and the white picket fence there. What I don’t love, is our yard. You may have noticed the lack of real grass. We pretty much just have crabgrass, and fine sand. I don’t much like the cement steps either. But, we have decided to hold off a bit and not invest in our grounds anymore, until we make some other pretty big decisions. So, we make due, with making ugly . . . pretty, best we can for now.
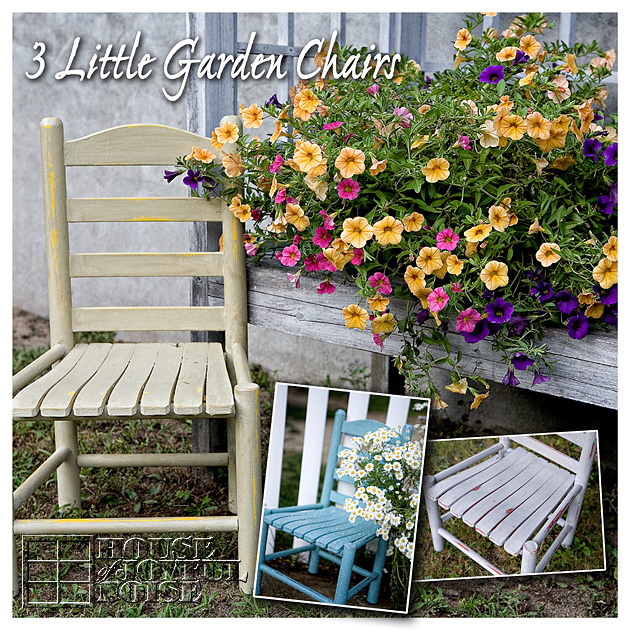
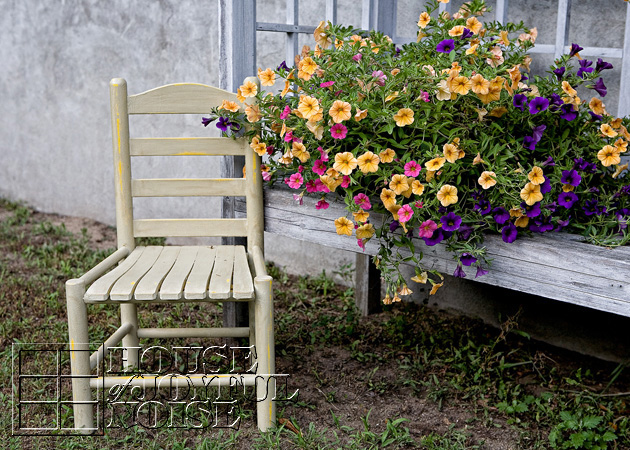
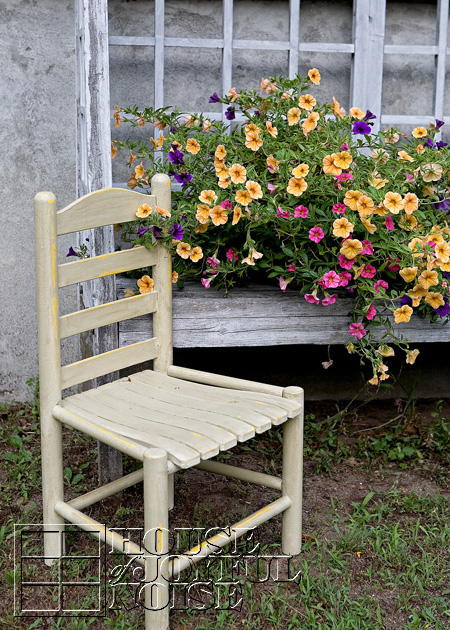
Next up, is the one that was yellow chair, which I painted Versailles. It’s out front with the garden beds, next to the covered bench and potting bench . . . . . .
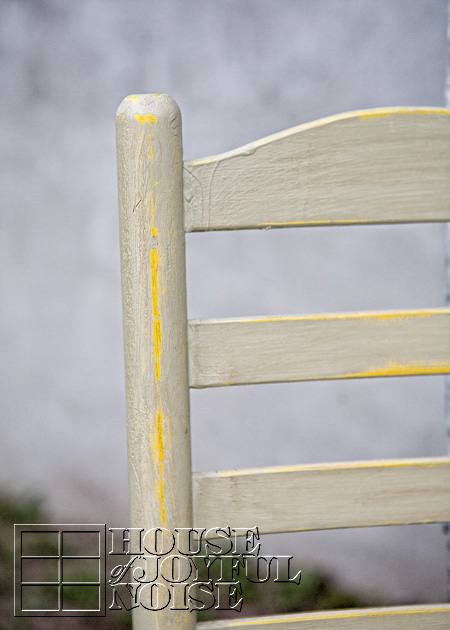
Again, you can really see the paint underneath, where I excessively sanded, just the right amount. : ) You can also see the dark wax work, which only adds some character to it, to me. And do you see where the paint dripped? Some may think that is some imperfection. But I see it, and it makes me smile and feel happy. Because it reminds me of the memory, that my little girl was helping me paint this chair.
And lastly, is the red chair, that I painted Paris Grey! I really wasn’t sure where I was going to put this one. So I just stuck it under the apple tree, and it seemed to look like it was at home there. Funny thing is . . . . . . it’s not at our home. (Yikes!)
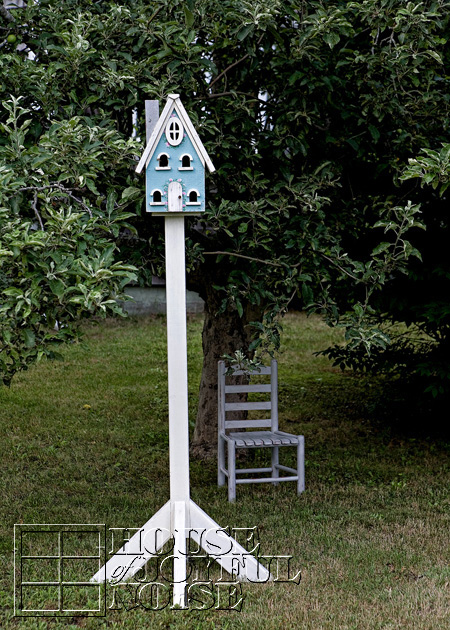
The apple tree is not actually ours, nor on our property of course. Just over the line, but we pretend it’s ours. The owner is not usually around at all, and Michael does manage the property. (My excuse to take such liberties.) But she’s coming tomorrow for a week, so we’ll see if I get my hand slapped, or she kicks it back to our side, along with the birdhouse. And if I get arrested or anything, I’ll surely let you know. Because we’ll need to collect some bail! (You all would help me get out. Right?! Say yes.)
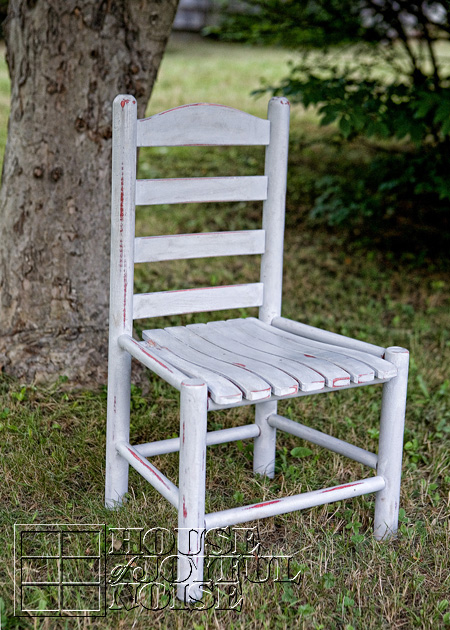
Care to sit for a spell, in the cool shade of the apple tree?
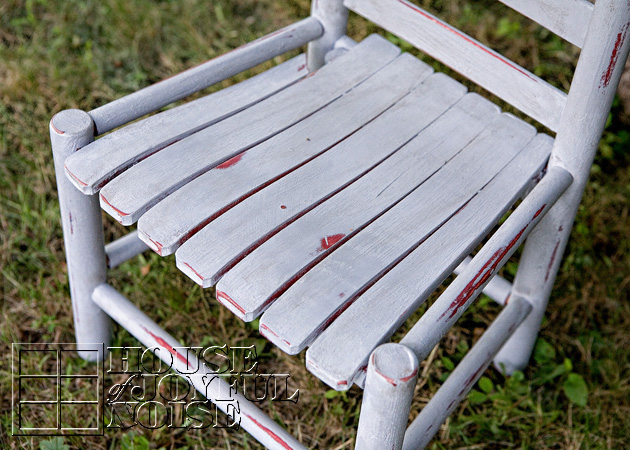
See? I really go to town, with my sand paper! This one even has a little broken piece. Again = love.
I always say . . . . . . it’s the little things, that make me so happy.
 Thanks for taking a stroll around my gardens with me. (We literally, walked around the garden beds.) I always love when you visit us here, so please come again. We invite you to join us on Facebook too.

Your hard work TOTALLY paid off!!!! The chairs look GREAT!!! And I ADORE where you placed each of them.
I sure hope you’re planning on sharing this at The DIY Dreamer.. From Dream To Reality! 🙂
They all turned out gorgeous, Laura! What a beautiful garden you have!
Thanks Steph! Yes, parts of our gardens are lovely. But some isn’t looking to hot right now! Select photography is everything. 😉 lol
Adorable little chairs : ) I would totally pretend the apple tree was mine too! I love apple trees ; )
Thanks Ashley. I love the colors and the way I finished them, but really, I think it’s their size that makes them so darn cute!
LOL about the apple tree – I love them too! The pretending is really working for me. It’s a vacation home next to us (that my husband manages), but the owners are actually there this week, and they have not touched my chair. So they seem to be ok with me pretending too. 🙂 I might climb it next! lol
I could steal… umm, I meant “borrow” everyone of these! Just darling.
Love the colors and the pretty photographs too =)
Well if one comes up missing Shannon, I’ll have an idea what happened. 😉 At least I’d know it went to a good home, and would be well loved. lol
Love them all, perfect job!! So beautiful 🙂