Not long ago, I shared with you all the Customized Sketch Journals the kids and I made, and I mentioned in that post that the idea came to me while brainstorming a birthday gift for a special little someone else. I said that I would share more about that in a coming post. Well this post is about that special little someone, and the little birthday gift I made for her.
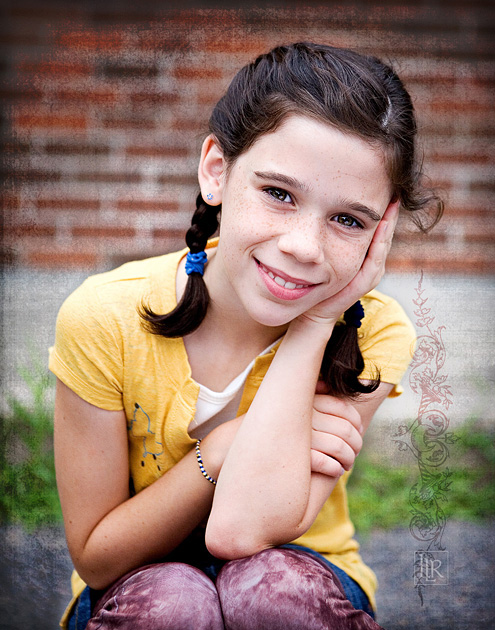
This is Julia, my Goddaughter. Feel free to tell me how beautiful she is, and I’ll tell you I know. I took this photo of her, of course, but it’s a couple of years old. That just means that she’s a little bigger-beautiful now. She has a real creative soul, and in that way reminds me of myself at her age. So come special occasions, I like to gift her with little things that encourage that side of her. It’s not always artsy stuff, but often. It is almost always late. Thankfully, she is very forgiving, also.
So for her birthday this year, I knew I wanted to give her some kind of book to seriously doodle in. I’ve been trying to doodle more myself, like I used to when I was younger. I think it really can get the creative juices flowing, and actually express a lot about yourself, if you let it. You know . . . let your pen(cil) go free as it will. Wanting her to have this actually has a backstory: I’m a natural-born artist (don’tcha know), and when I was in 8th grade, I won an artist award. I had submitted a drawing for some city calendar contest made up of students artwork from all of our city’s schools. They chose 12, (for the months of course ; ), and I won October’s slot. There was an award’s ceremony, and the award was a hard cover book, full of blank pages. I knew what it was for. But I could never bring myself to make a mark in it, and I always regretted that. I just imagine how cool it would be to have that book now, and see all of my sketches and doodles filling the pages, from when I was a kid. So the point is, . . . JULIA, DON’T DO THAT!! I want her to let her pen(cil) go fancy-free, and never have that same regret. Ultimately, it was all of my thinking about that, that got me thinking I should do something similar with my kids. Thus, their sketch journals.
For Julia’s though, which was to be made by me, and with love, I had a good vision of the finished piece in my head. I just wasn’t sure exactly how I was going to execute it all. I did know I wanted to start with a hardcover book of blank quality pages, and I found some at the craft store.
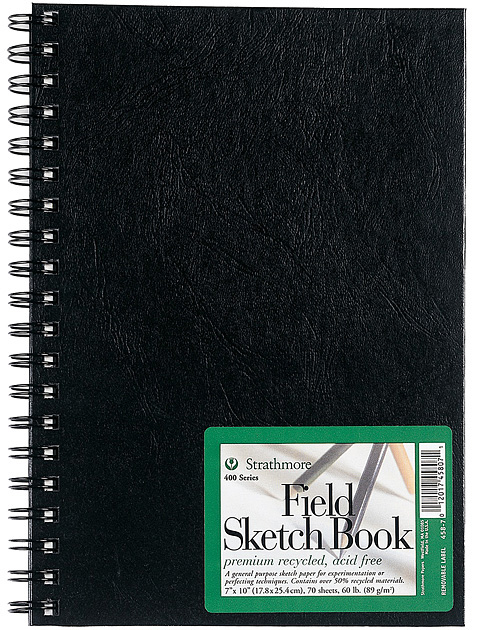
This is the exact book I got. Black leather hard cover, filled with good blank art paper pages.
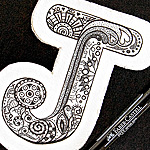
Now my vision from here, in order to make it special for her, was to personalize it with a fancy J. I decided to fill the J with my own doodling, incorporating little meaningful messages for her. I also envisioned the J built up, like piled paper, with ragged edges.
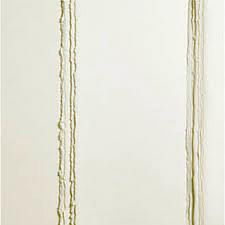
Much like the ragged edges of single sheets of soft or cold-press watercolor paper, as seen in the photo above. Except, I knew I was going to have to cut out, several J’s, to pile it up. So I decided to figure that part out when I got to it, and hope I could!
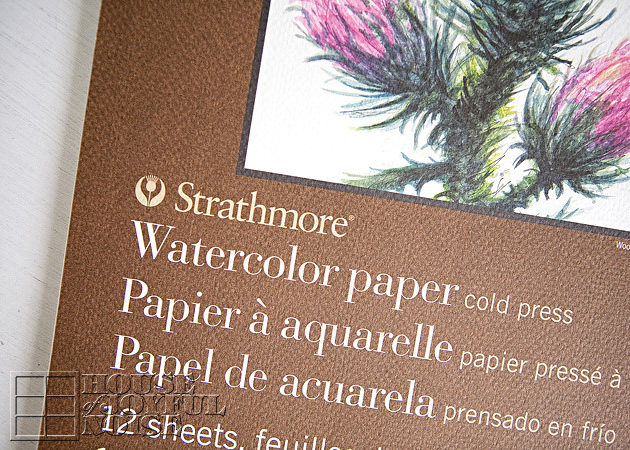
So along with the journal book, I bought a new pad of cold press watercolor paper. I needed some more anyway. Because I wanted the surface to have some texture, but not too much to mess with the flow of my pen, and thus my doodle-control.
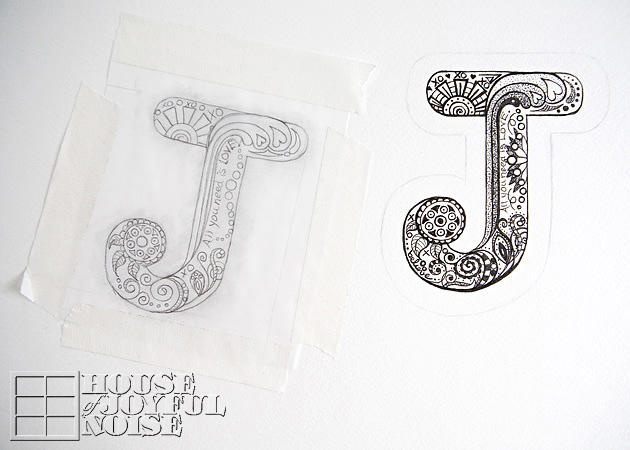 I started my artwork on a tracing paper. Because, although I do encourage just letting it fly when doodling, this was a special gift, and I wanted this artwork within this J a little more organized in design form. So, when it was finished on tracing paper, I transferred it to my art paper. (For those wondering about that method-there are many. But I just laid my pencil down on the backside of the tracing paper, and made a layer of lead. Then I turned it back over, and traced the whole design with pressure onto my art paper. Surely you know of that trick. ) Then I got to work with my permanent pen. Of course as I worked, my hand kept rubbing off what I had transferred, which was so light as it was. So I had to redraw much of it, or make some up as I went. But that was alright, even if it was different than what I originally drew.
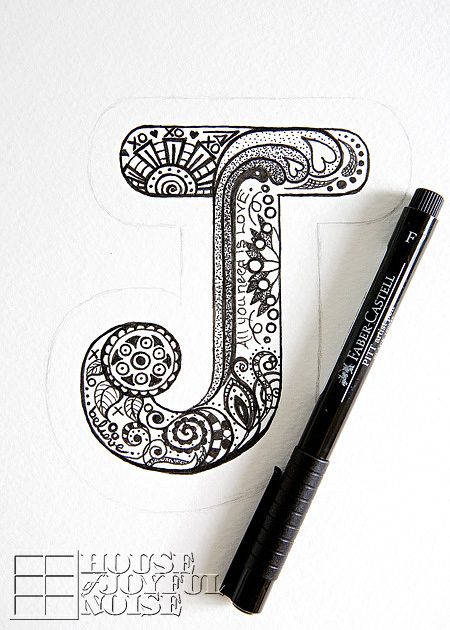
And there it was. A little bit of everything: free-flowing strokes, cross-hatching, coloring in solid, and stippling. I used to love stippling. If you are not sure what stippling is, it is the technique of creating a whole image in dots. I have a couple of artwork pieces of stipple-work I could share with you too. I really need to photograph my old stuff, from the art-school days, and share it with you all. I keep saying that. But anyway . . . this J took some time! I think it was 5 or 6 inches tall. I did a lot of it in the car at the park, while my boys were at flag-football practice, and my girls were being otherwise active. (Which would have been a wise idea for me too. )
Now, there are some photos missing here for this step, so my text explanation will have to do. Do you see that light pencil outline about an inch or relief around the J? That is where I cut the J out of the paper, and then traced that several other times on the same art paper, and cut all of those out too. Because I wanted to pile them up! Like a stack of J’s. So, one J at a time, I applied glue between the J’s, but only in the middle/whereabouts that the artwork was on the top layer, staying away from the sides. Reason being, somehow, I wanted to get it raggedy. And I didn’t know how much paper I would lose whilst trying to destroy the edges some. The thing was, this cold press paper was pretty hard and sturdy! Even at the edges, it was just a hard edge. So the piled paper was even more so. I had no idea how I was going to change the hard edge. I thought…sand paper? I went poking around my husband’s stuff, looking to find some sand-paper or….something, because I didn’t think sand paper would work either. When suddenly, I saw one of my boy’s first tool kit.
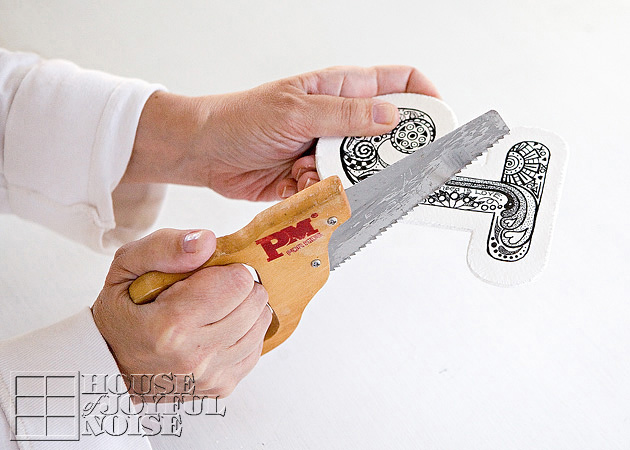 I thought I’d give that bitty saw a try, and it worked! Well, not quite the same as I had hoped. But I liked the effect well enough! It did take a lot of sawing, and did make a fine mess (of fine paper fuzzies), but it worked!
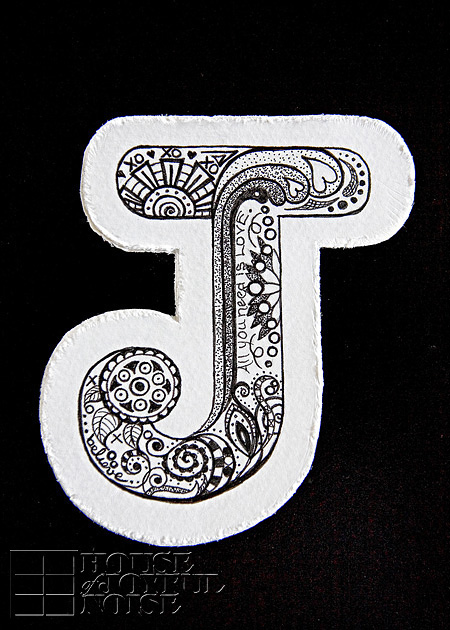
Finally, I was able to apply the whole piece to the book, with E-6000.
This baby was stiff, and slightly curved/curled up. So even with E-6000 I was/am still hoping it will hold down flat.
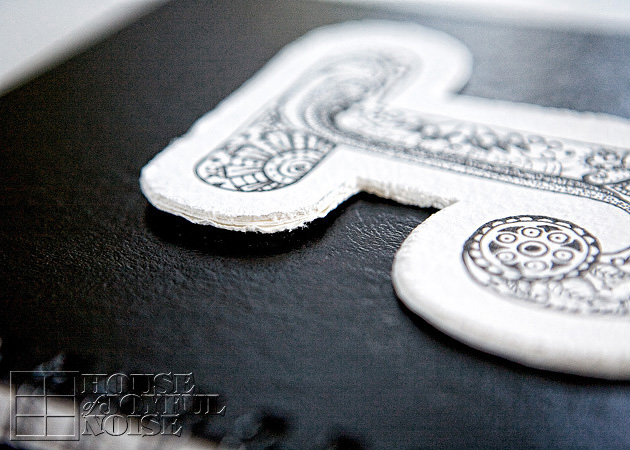 Here’s a good look at the edge of my piled up J’s.
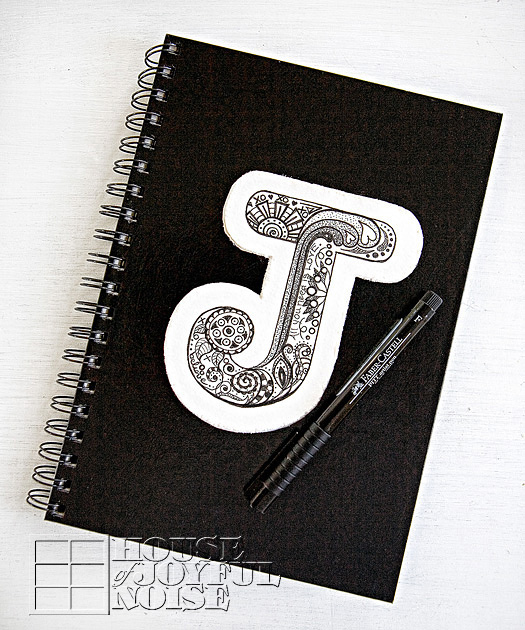
Julia’s Doodle Journal, all finished, and made with love.
On the first page, I wrote her a special message from me.
But the rest of the pages are hers to express herself, and I’m sure she will.
Revealing all of the beauty that is within her, as well.
******
Come follow me here or there:


