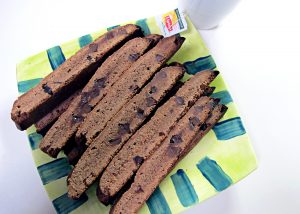
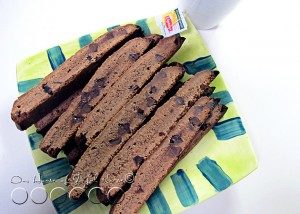
A friend of ours baked our family these double-chocolate Biscottis, and we enjoyed them so much, we asked him for the recipe. (So we could have some more!). He very kindly sent the recipe to us, and he also suggested it as a blog post. We thought it was a great idea! It’s just not nice not to share, Italian cookies this good
bis·cot·ti
Definition of BISCOTTI : small rectangular twice-baked cookies, typically containing *nuts, made originally in Italy.
*We omitted nuts, as one in our family has a serious allergy to nuts.
Josh’s Double Chocolate Biscotti Recipe
Recipe
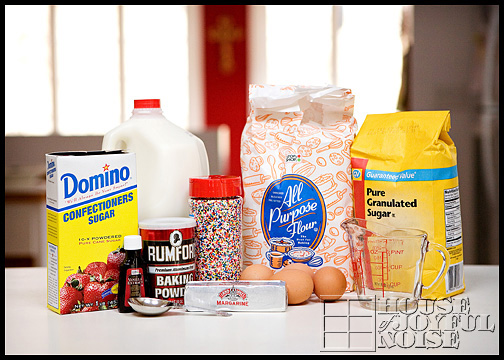
Participating Ingredients
- 1 cup of butter, softened
- 1 1/3 cups of sugar
- ½ of a cup of unsweetened cocoa powder
- 4 teaspoons of baking powder
- 4 eggs
- 3 ½ cups all-purpose flour
- ½ cup of white chocolate pieces
- ¼ cup milk, semisweet, or dark chocolate pieces
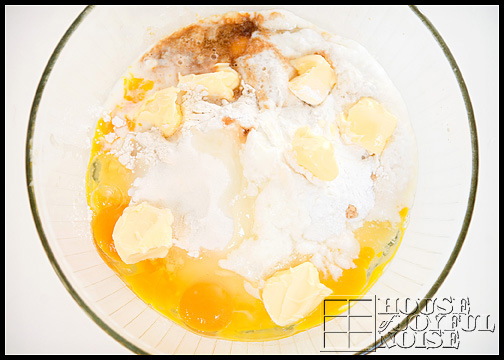
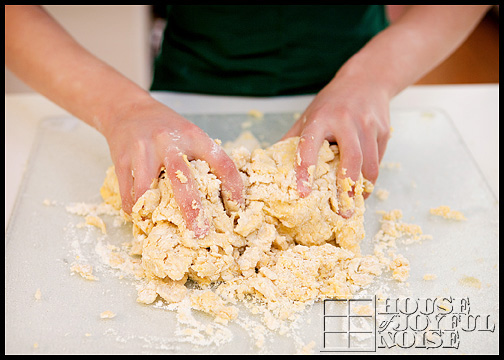
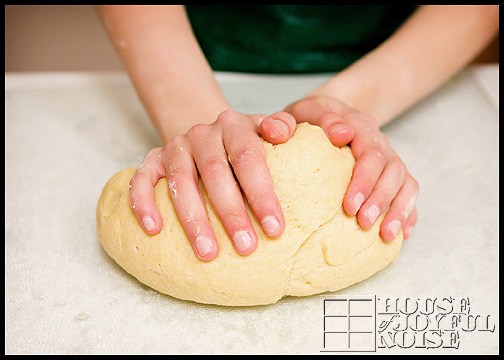
Preheat oven to 400 degrees. Lightly grease 2 or more cookie sheets. Beat the softened butter with an electric mixer on medium/high speed for 45 seconds to a minute. Add sugar, cocoa powder, and baking powder. Beat until combined. Beat in the eggs until combined. Beat in flour, “If you can’t beat in all the flour, just stir it in.” Stir in the chocolate pieces.
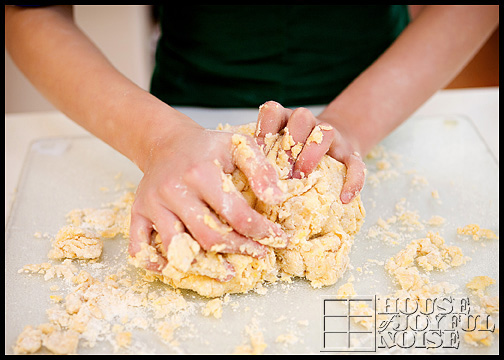
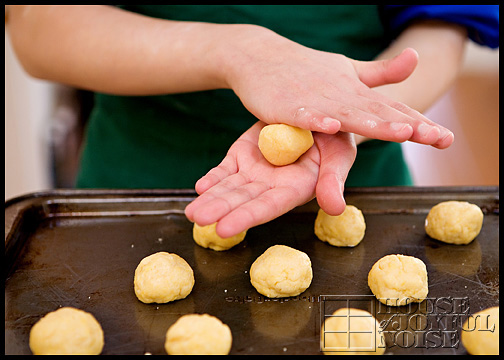
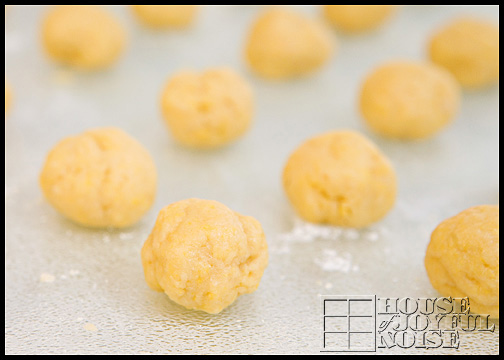
Divide the dough in fourths: shape into four loaves and put them on the cookie sheets, adjusting the thickness and length of them to fit in the cookie sheet but not bake into each other.
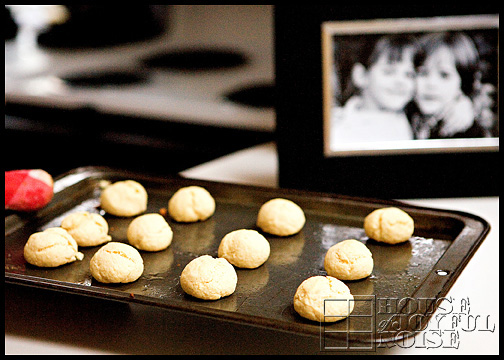
Bake for 23 to 28 minutes or until wood toothpicks inserted near the centers comes out clean. Cool the loaves on cutting boards for 1 to 4 hours. (They slice easier if you let them cool longer and become more firm.)
Preheat oven to 350 degrees. Use a serrated bread knife to cut each loaf into slices, you may cut them as thick or thin as you like. Bake them for 12 to 15 minutes, turn them over on their side, and bake them for another 12 to 15 minutes.
Cool, and enjoy!
Origin of BISCOTTO
Italian, biscuit, cookie, from (pane) biscotto, literally, bread baked twice
First Known Use: 1946
- 1 cup of butter, softened
- 1⅓ cups of sugar
- ½ of a cup of unsweetened cocoa powder
- 4 teaspoons of baking powder
- 4 eggs
- 3 ½ cups all-purpose flour
- ½ cup of white chocolate pieces
- ¼ cup milk, semisweet, or dark chocolate pieces
- Preheat oven to 400 degrees. Lightly grease 2 or more cookie sheets. Beat the softened butter with an electric mixer on medium/high speed for 45 seconds to a minute. Add sugar, cocoa powder, and baking powder. Beat until combined. Beat in the eggs until combined. Beat in flour, “If you can’t beat in all the flour, just stir it in.” Stir in the chocolate pieces.
- Divide the dough in fourths: shape into four loaves and put them on the cookie sheets, adjusting the thickness and length of them to fit in the cookie sheet but not bake into each other.
- Bake for 25 to 28 minutes or until wood toothpicks inserted near the centers comes out clean. Cool the loaves on cutting boards for 1 to 4 hours. (They slice easier if you let them cool longer and become more firm.)
- Preheat oven to 350 degrees. Use a serrated bread knife to cut each loaf into slices, you may cut them as thick or thin as you like. Bake them for 12 to 15 minutes, turn them over on their side, and bake them for another 12 to 15 minutes.
- Cool, and enjoy!
Be sure to grab the printable recipe, before you go! Hope you enjoy, too!