No-Bake Eclairs

I’m going to be quite honest with you here: This dessert of no-bake eclairs is quick, easy, and sooooo good.
I’m going to be even more honest than that: It’s not quite like real eclairs. It’s more of a…. fun spin-off, of real eclairs. But you know, everyone is going to eat them all up, just like that, anyway. So does it really matter?
I’m thinking, ‘not really’. So here we go….
–
No-Bake Eclair(s)
 Participating Ingredients:
- *Graham Crackers
* The kind we actually prefer is the Nabisco Grahams Original, in the red box.
- 2 boxes Instant Vanilla Pudding
- 8 oz. Cool Whip
- 1 can Chocolate Frosting (Milk Chocolate of Chocolate Fudge), and 2 Tbs. Milk
- 3 1/2 cups Milk
- (tad of Butter, if making in cake pan)
Now there’s 2 ways you can make this no-bake eclairs dessert. It’s all just layering of pudding mixture and cracker until the topping, either way.

The original recipe I got was made in a 9″ x 13″ cake pan. This is the easiest and fastest way to make it. If you make it this way, just coat pan with a rub of butter first.
But we had another idea that we are sharing with you here. It takes a bit more time, but we didn’t mind.
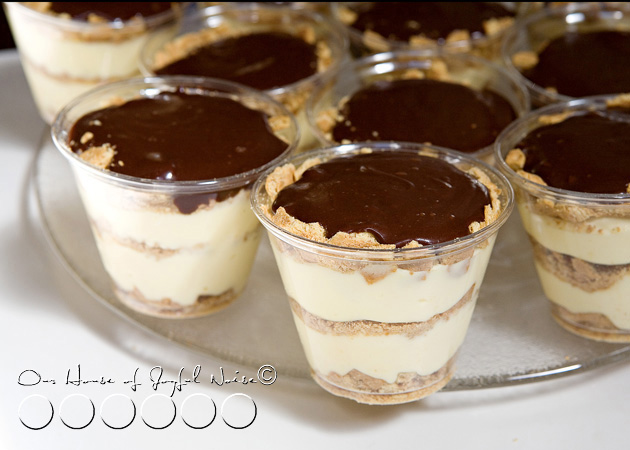
We wanted to make cute little individual servings, in the 4 oz hard plastic clear cups.
First step: Mix all of the pudding and the milk with the blender in a good sized bowl, let it get thick. Then add the container of Cool Whip in and mix.

Over a little bowl, break graham crackers into roundish pieces, to fit the bottom of about 11 4 oz cups.

They don’t have to be perfect.
–
As you do this, save the crumbs and little pieces you are breaking off. They will not go to waste!
(You need ’em….so don’t eat ’em!)
 ….because you are going to put them on top of that cracker circle, like this.
Next, on top of the crumbled crackers in each cup, add a few plops of pudding/Cool Whip mixture to less than half way up the cup…

….and then add a good layer of just crumbled graham crackers.
Then more pudding/Cool Whip mixture.

For the top layers, you do want to use another circle of graham cracker fitting for the larger tops, and then just use up the crumbled cracker you have to put on top and fill in the sides, etc.
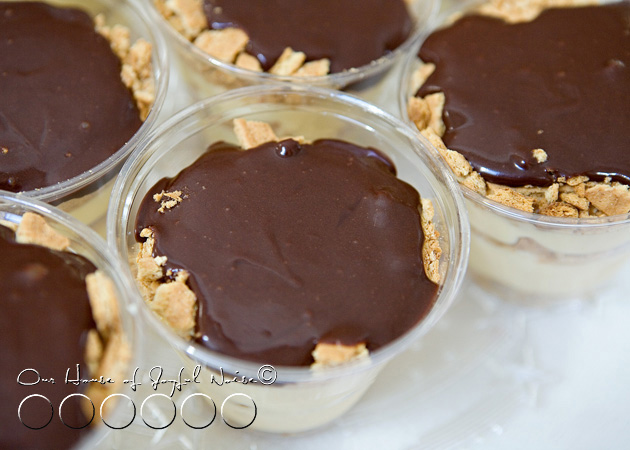
Now in a separate little bowl, add the chocolate frosting and 2 Tbs. of milk, mixing it all together to make it nice and creamy, and easily spreadable.

Using a spoon, carefully put some on the tops of every cup, and spread it around a little.
Now if you wanted to make the cake pan version, it can be a lot easier and faster. The layering is all the same, but any crumbling is really not necessary, since there is not a lot of custom fitting to do with the crackers! So you just lay crackers in a single layer, all over to cover the bottom of the pan, and start your layers.
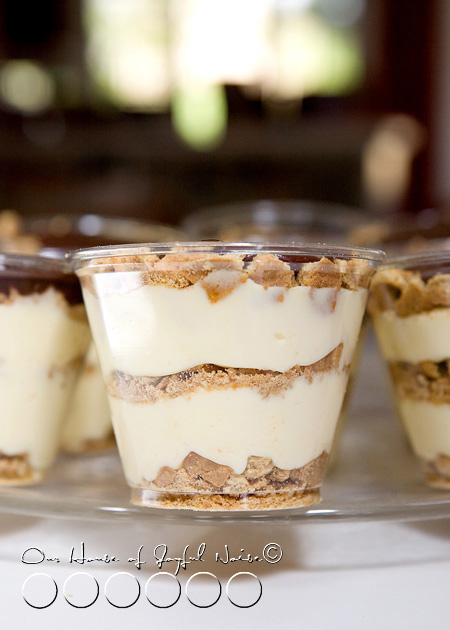
So whether the cups or the pan, the layers go as follows, with the 1st layer being at the bottom:
- 6th layer – frosting (w/ 2 Tbs milk) mixture
- 5th layer – graham cracker
- 4th layer – pudding / cool whip mixture (the rest of the mixture, for the pan)
- 3rd layer – graham cracker (flat in pan, crumbles only in cups)
- 2nd layer – pudding / cool whip mixture (about 1/2 the mixture, for the pan)
- 1st layer – graham cracker (& crumbles in cups)

The layers look really nice in the clear cups. When the cups are all filled, put them in the fridge to chill and set a little, until you are ready to serve them.

They are ready to serve and enjoy!!
(Go ahead and lick the cup when you get to the bottom. We won’t tell. ; )

