
I find spring-time to be such a craft-inspiring season. Although winter & spring has been taking turns around here in the past few weeks, I still like to think of it as just spring, as it should be. Time for garden planning, enjoying the new warmer, sunnier days, and looking for those very exciting signs of spring. They are popping up all around us, despite the occasional surprise snowfall! With spring comes all kinds of cheery colors and symbols always associated with this season of new life. It just makes me feel like crafting!
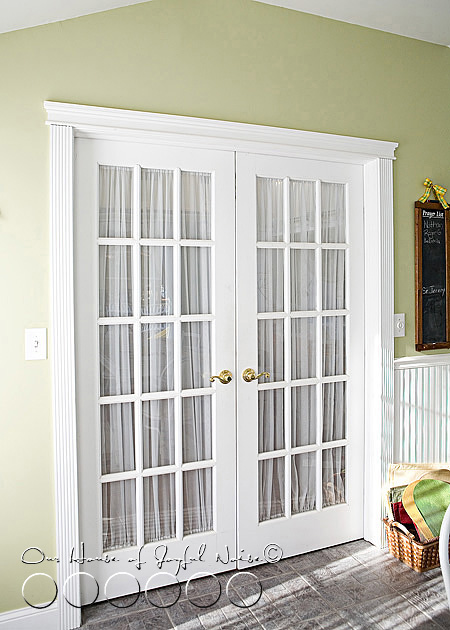
This is a craft you can do with ANY kind of doors or windows in your house!
The French doors between our sun room, which is always bursting with sunshine or a soft natural light, and our living room, has been the focus of my craft quite a few times! All of the rectangular panes of glass strike me as mini picture frames, calling for some little artwork. This past Winter, I made beautiful sparkly snowflakes on blue ribbon, which is a craft I am saving to share later this year. There was a functional twist of an idea I used with them, and I think some of you will rather enjoy using the idea for yourselves next year, when I’ll have the opportunity to share it with you in time to use the idea.
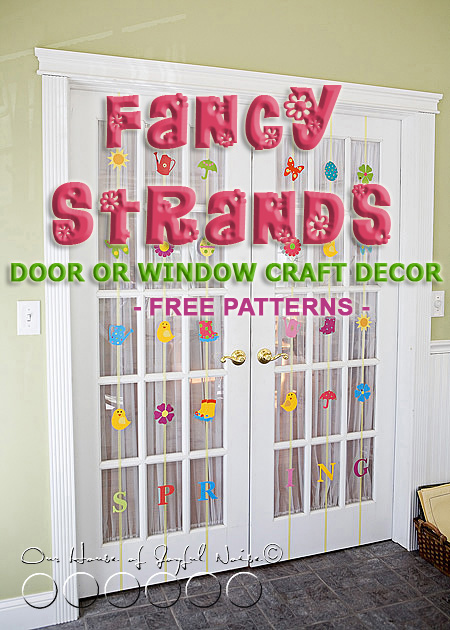
My craft idea for Spring is very similar, although strictly and adorably decorative, using very simple Spring shapes, ribbon and colorful card stock.
I designed a small collection of Spring Shapes in Photoshop, to use as stencils again and again. I will share these with you by the end of this post. But here is a peek at what I came up with.
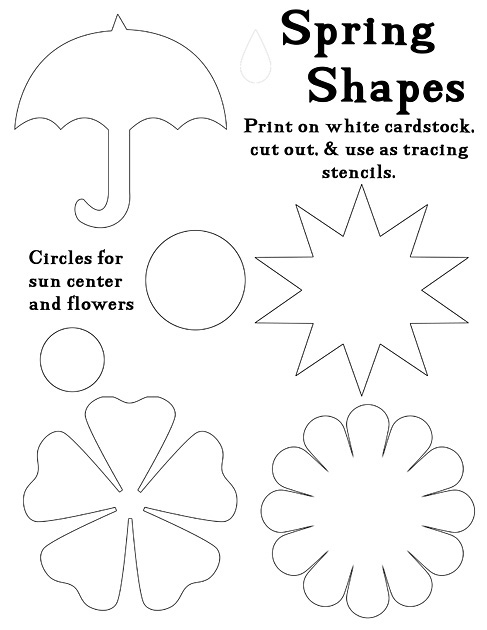
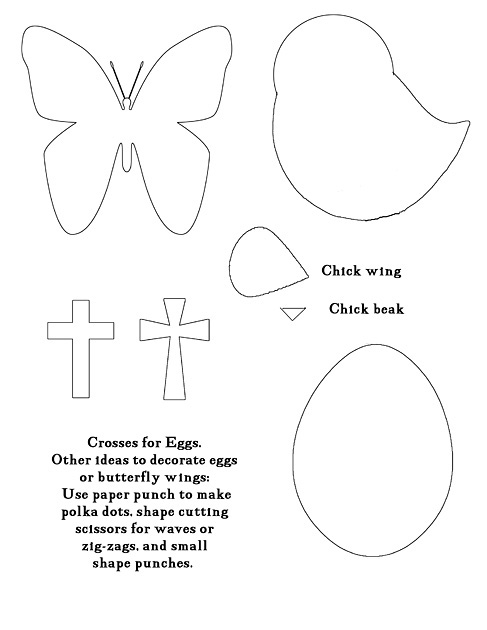
The supplies needed were few and simple:
-
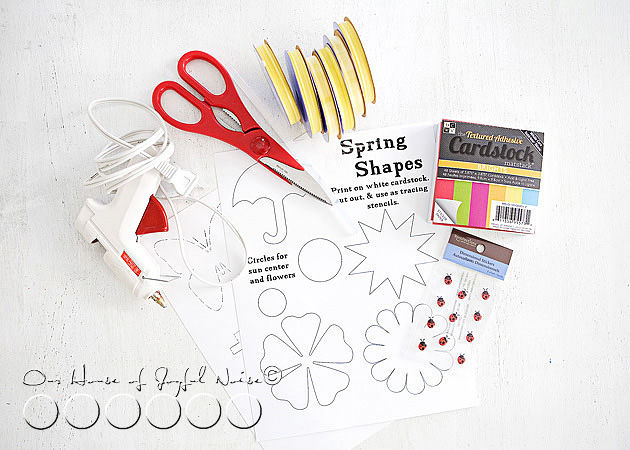
Spring Shapes, printed on card-stock to cut out - 6 full rolls of thin ribbon
- Card-stock in cheery bright Spring colors
- Scissors
- Hot Glue Gun
- *Any little embellishments you like.
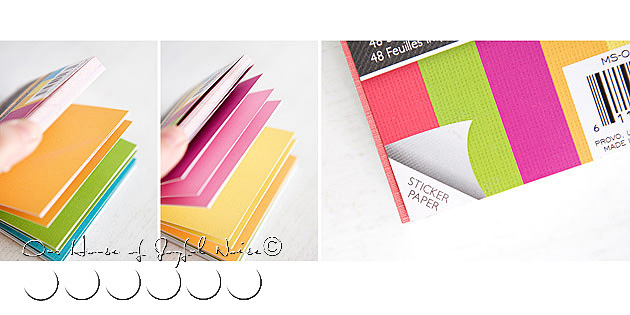
I found this block-pad of linen card-stock in beautiful colors, at the craft store. I knew it would be perfect, to use for my Spring shapes, that I wanted all relatively the same size. It was a pleasant surprise to realize they were sticker paper too! That was going to work out nicely, for adding the centers on flowers, etc. And if there was no need for sticky paper, I just left the backside on.But you can use any colored card-stock, that comes in sheets, as well.
Alright, so I didn’t take photos of every step. That’s needless really. But the simple directions are, that I cut my Spring Shapes out of the white card-stock I printed them on, and used them as stencils on the little square card-stock pieces. There was a whole lot of tracing stencils, and cutting out, going on. Then it was sticking or gluing pieces together, to make little happy die-cuts of art.
I have to tell you, as crafty as I am, I HATE CUTTING STUFF OUT!! With scissors. Thankfully, my kids love it! It’s great practice for scissors-skills for them. I did do a lot of the cutting for this project, but they enjoyed helping when ever and wherever they could. I was thankful for every bit.
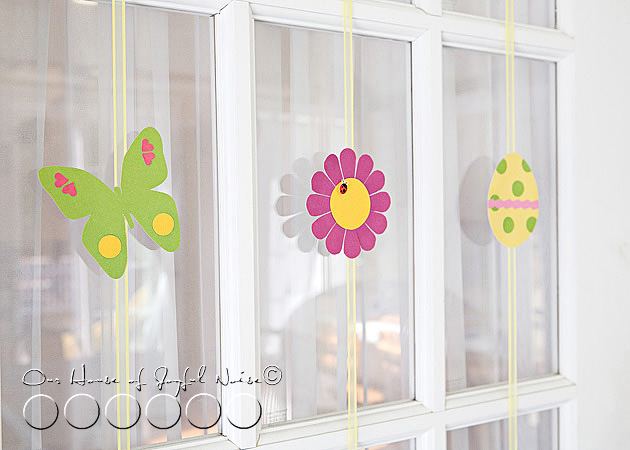 Using almost an entire roll of ribbon for each row of windows top to bottom, attach one end on top of the door, and center of the row. Run it all the way down, to attach to the bottom of the door, again keeping it center. Cut off any excess before attaching. We use a tack at the top, and glue on the bottom.
Then just dab a little hot glue onto the center of each die-cut one at a time, and apply it to the ribbon in the center of each window.
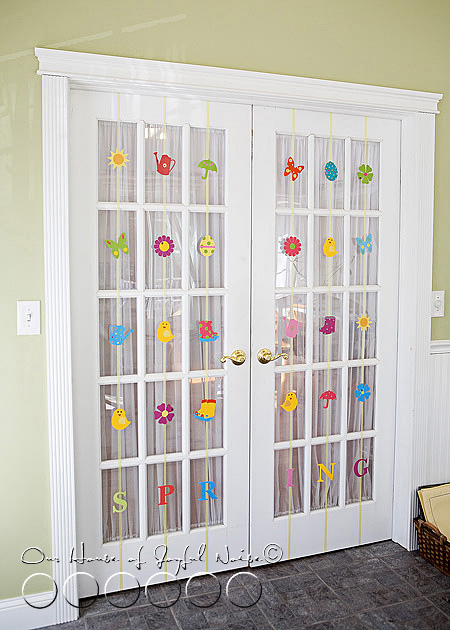
Here are my doors, all done!! CUTE, or WHAT??
Such a simple project, but just a lot of cutting. This was a craft for the kids and I to do together, from the get-go, so I knew which part I’d be letting them do some of! Hopefully you have a few of those happy-cutters, too.
You know, you don’t have to have French doors, to do this project!! You can do the same thing, in grid picture windows, or make horizontal strands as a Spring-themed decorative garland!
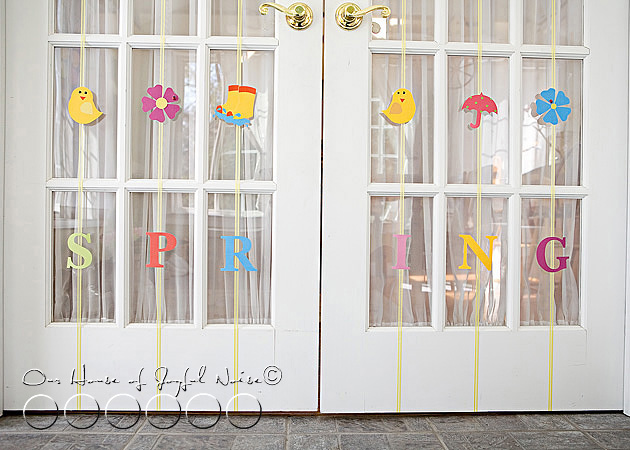 I can tell you, by the time we had made 24 die-cut pieces, trying to make them each a little different, we got to the last 6 and wondered if the doors would look cute enough still, with nothing across the bottom row of window panes. And then I had the quick and easy idea, to wrap up this craft, in 6 simple letters:
S P R I N G
Seeing my Spring-ish doors makes me smile anyway. But what really warms my heart, is the words spoken by my little boy the other day: “Mama, every time I see my butterflies that I made, that you put up on the door, I get a really happy feeling inside.”
Dang if that doesn’t make me really happy inside, too. I love doing projects with my kids. It’s so rewarding, for all of us, in so many ways.
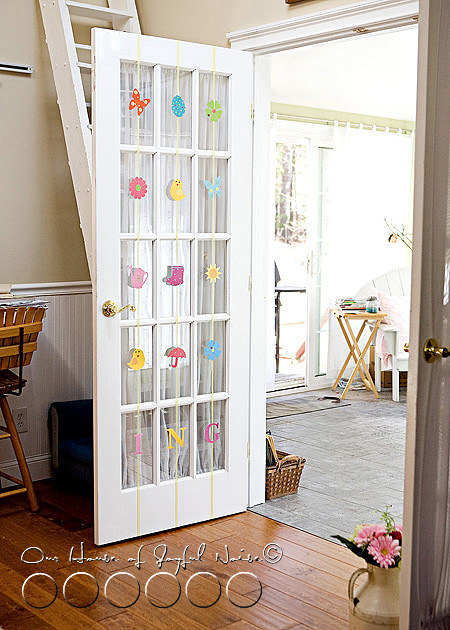
Just so you know….our French doors are rarely closed like that. Our 4 season sunroom, is open to the rest of the house most all of the time. It’s surely a cheery passage-way now.
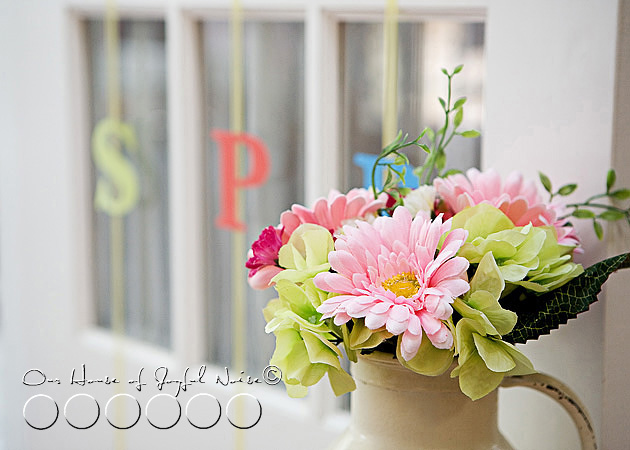 When spring turns to summer, I’ll be taking these strands down, but keeping them to use again next year, just as I did the winter ones! They are easily re-usable, for at least a few years if not more, if they are stored nicely.
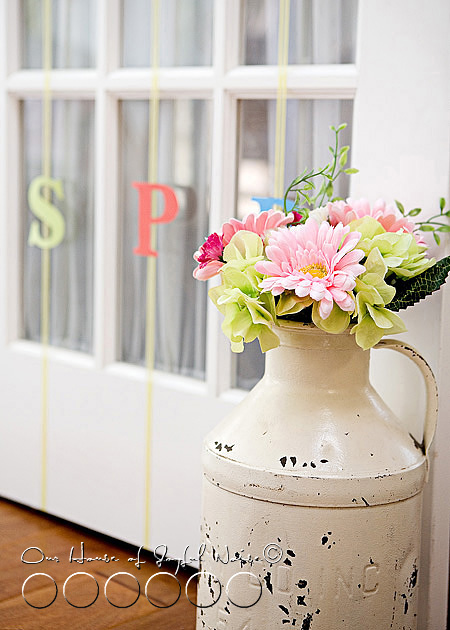 On a side note….I do struggle with displaying fake flowers in my house. I prefer fresh of course. But it’s just not budget smart, year round. Unless I can cut fresh flowers from outdoors now and then, and I do when I can. But in between….fake it is. I just like to have some especially, in my old milk jug.
So just for fun, I decided to design a little collage, to show you some of the pieces a little closer up. Naturally, when posting photos on a blog, some detail is lost. But it’s still a closer look.
And then I thought the collage came out so cute, that maybe it would be a fun idea, to have a Give-Away! It will printed as a 12 x 12 photo (such as it is), and mounted on a sturdy backing. It will be sprayed with a protective coating, so it can be popped right into a 12×12 glassless frame. (I never use glass in my frames. No need when they are mounted and sprayed, and they look so much nicer without the glare.)
The collage of these mini-photos, is of course, of little paper art. But how cute would it look on display, near your Easter tree, in your kitchen, or in a little girl’s room! It would look cute anywhere!
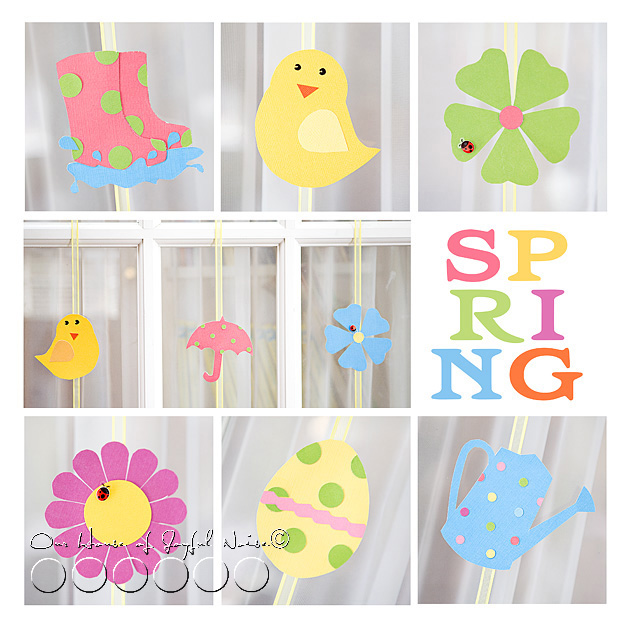
If you’d like to try and win this Give-Away, all you need to do is the following:
1.) Follow our blog, via Subscribing or our Facebook Page, in the sidebar. (If you are not already.)
2.) Leave a comment below, saying anything you wish, or letting us know you are now following our blog!
3.) Link up a crafty idea of your own, right now, if you can!! (Not required, but we hope you share something if yours if you’ve gotten creative, and blogged it, lately!)
I’ll do a drawing from the comments by the close of the week!
Want to do this craft yourself? Here are the pdf links to my Spring Shape Sheets:
I hope those links work for you anyway If not just email me, and I will send them to you. I did free-hand draw a few on my own, that are not on the sheets, but most are here. You can add idea of your own too. Just keep the shapes simple.
ENJOY!
******
