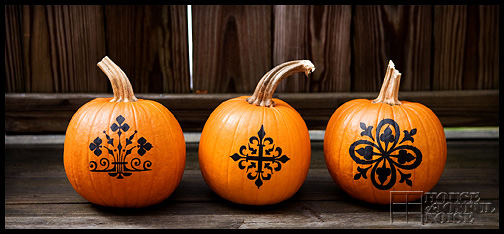
On Sunday after mass, we went and picked up our pumpkins, having planned to paint some for our home decor. It’s such a wonderful and inspiring time of year, and we were really looking forward to this project.
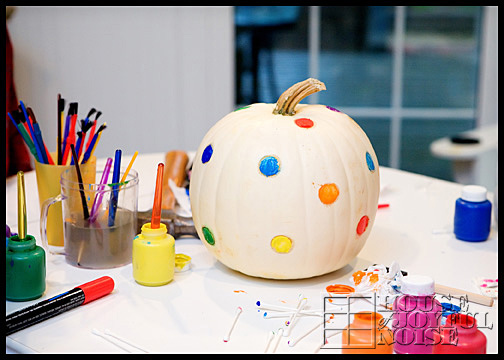
The kids worked together on this white pumpkin, below. The polka dot theme was inspired by September’s issue of Better Home and Gardens. The circles were embossed with an plunger-type apple corer. While the directions instructed to insert the completely cored out pieces from other colored pumpkins into other colored pumpkin’s holes, (which is a great idea), we opted to just just partially carve a circle, and paint it in. We didn’t have enough different colored pumpkins to do the other way anyway. The kids all worked on this one together.
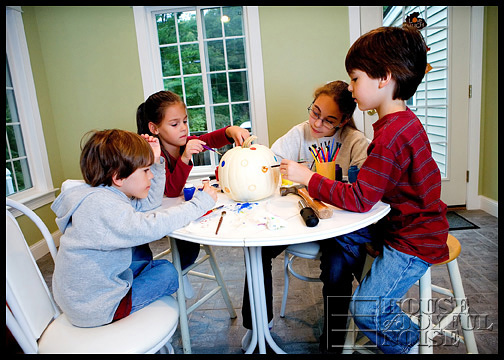
And it came out great! So fun and whimsical!!
I was really excited about a design idea I saw in a magazine last year. That particular project suggested using paper doilies as a template. After going to 3-4 stores that were out of doilies completely, or didn’t carry them, I came up with Plan B….have my husband cut some designs out of vinyl, and use those as a template! : ) Seemed like a great idea, but applying a flat piece of sticky vinyl to a very round pumpkin, was a challenge and 1/2, to say the very least.
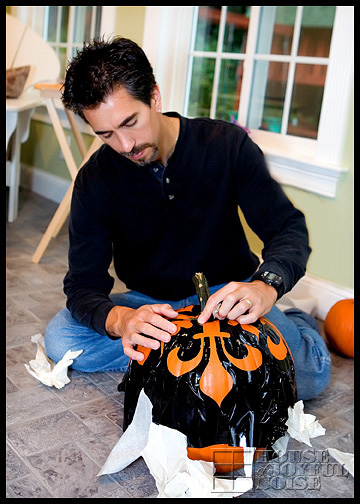
I had intended on painting it with some black acrylic I bought, until we tried some gouache markers we had. They colored in like a dream…the coverage was unbelievably perfect, fast and easy.
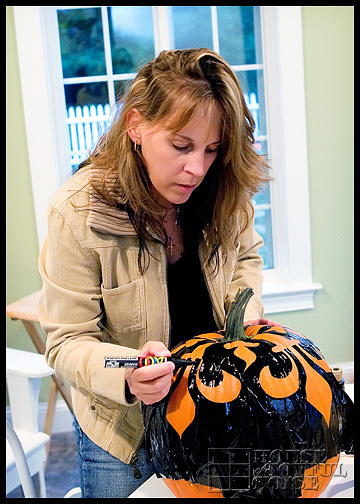
I thought this big pumpkin was my own to work on, but soon had begging helpers who got to work with me too. It seemed you couldn’t really make a mistake, so I let them join in. I was anxious to peel off the vinyl template anyway, so the more hands, the better.
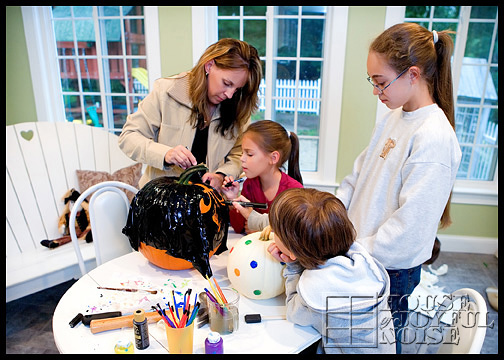
But I got too excited, too soon. When we peeled off the template, it had really bled (a lot!) underneath the edges of the vinyl. What a mess. While the designs look pretty dang nice in the end, I can’t tell you how much cleaning up I had to do on the first big pumpkin. (The one we are painting in above.) I mostly used the edge of an x-acto blade, but also some wet q-tips and a pencil eraser for the light smudges left. Talk about tedious work. But it was worth it to me. : )
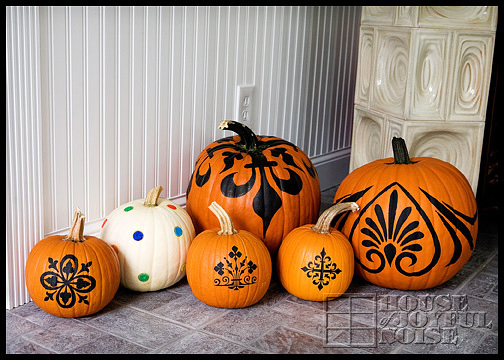
Just 2 pumpkins took so much longer than I had expected, so after the kids went to bed, my husband and I got to work on the other big one, with acrylic paint and a sponge brush this time. It went pretty easy still, and came out much cleaner. Some cleaning up to do still, but not nearly as much. Then we did the little ones, and I was sad when I turned around and realized we did the last pumpkin! I wanted to do more!! I just LOVE them. and can’t decide exactly where to put the 6 we did around our home, because I want them everywhere, in every room!
Below are all of the ones we did. We may do more if we have time this month. If not, this is a project worth doing again next year.
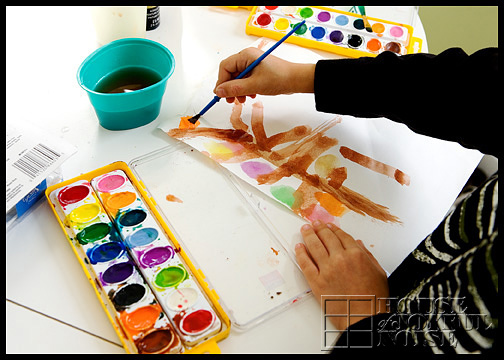
Today, the colors of Fall we have seen so far, continued to inspire everyone…..
We’ve only just begun to enjoy our harvest festivities! We have so many places we want to go, plans and ideas for creating, crafting and baking, and can only hope we manage to get them all in! We don’t want to miss a moment of the joy this season brings.
Thanks for dropping in. Come by again soon. : )
